Framed wood initial with scrapbook paper…

I am always thinking of new gift ideas for special people in my life.  This week is teacher appreciation week, and my kids teachers are pretty special people and deserve to be treated extra specially.

011

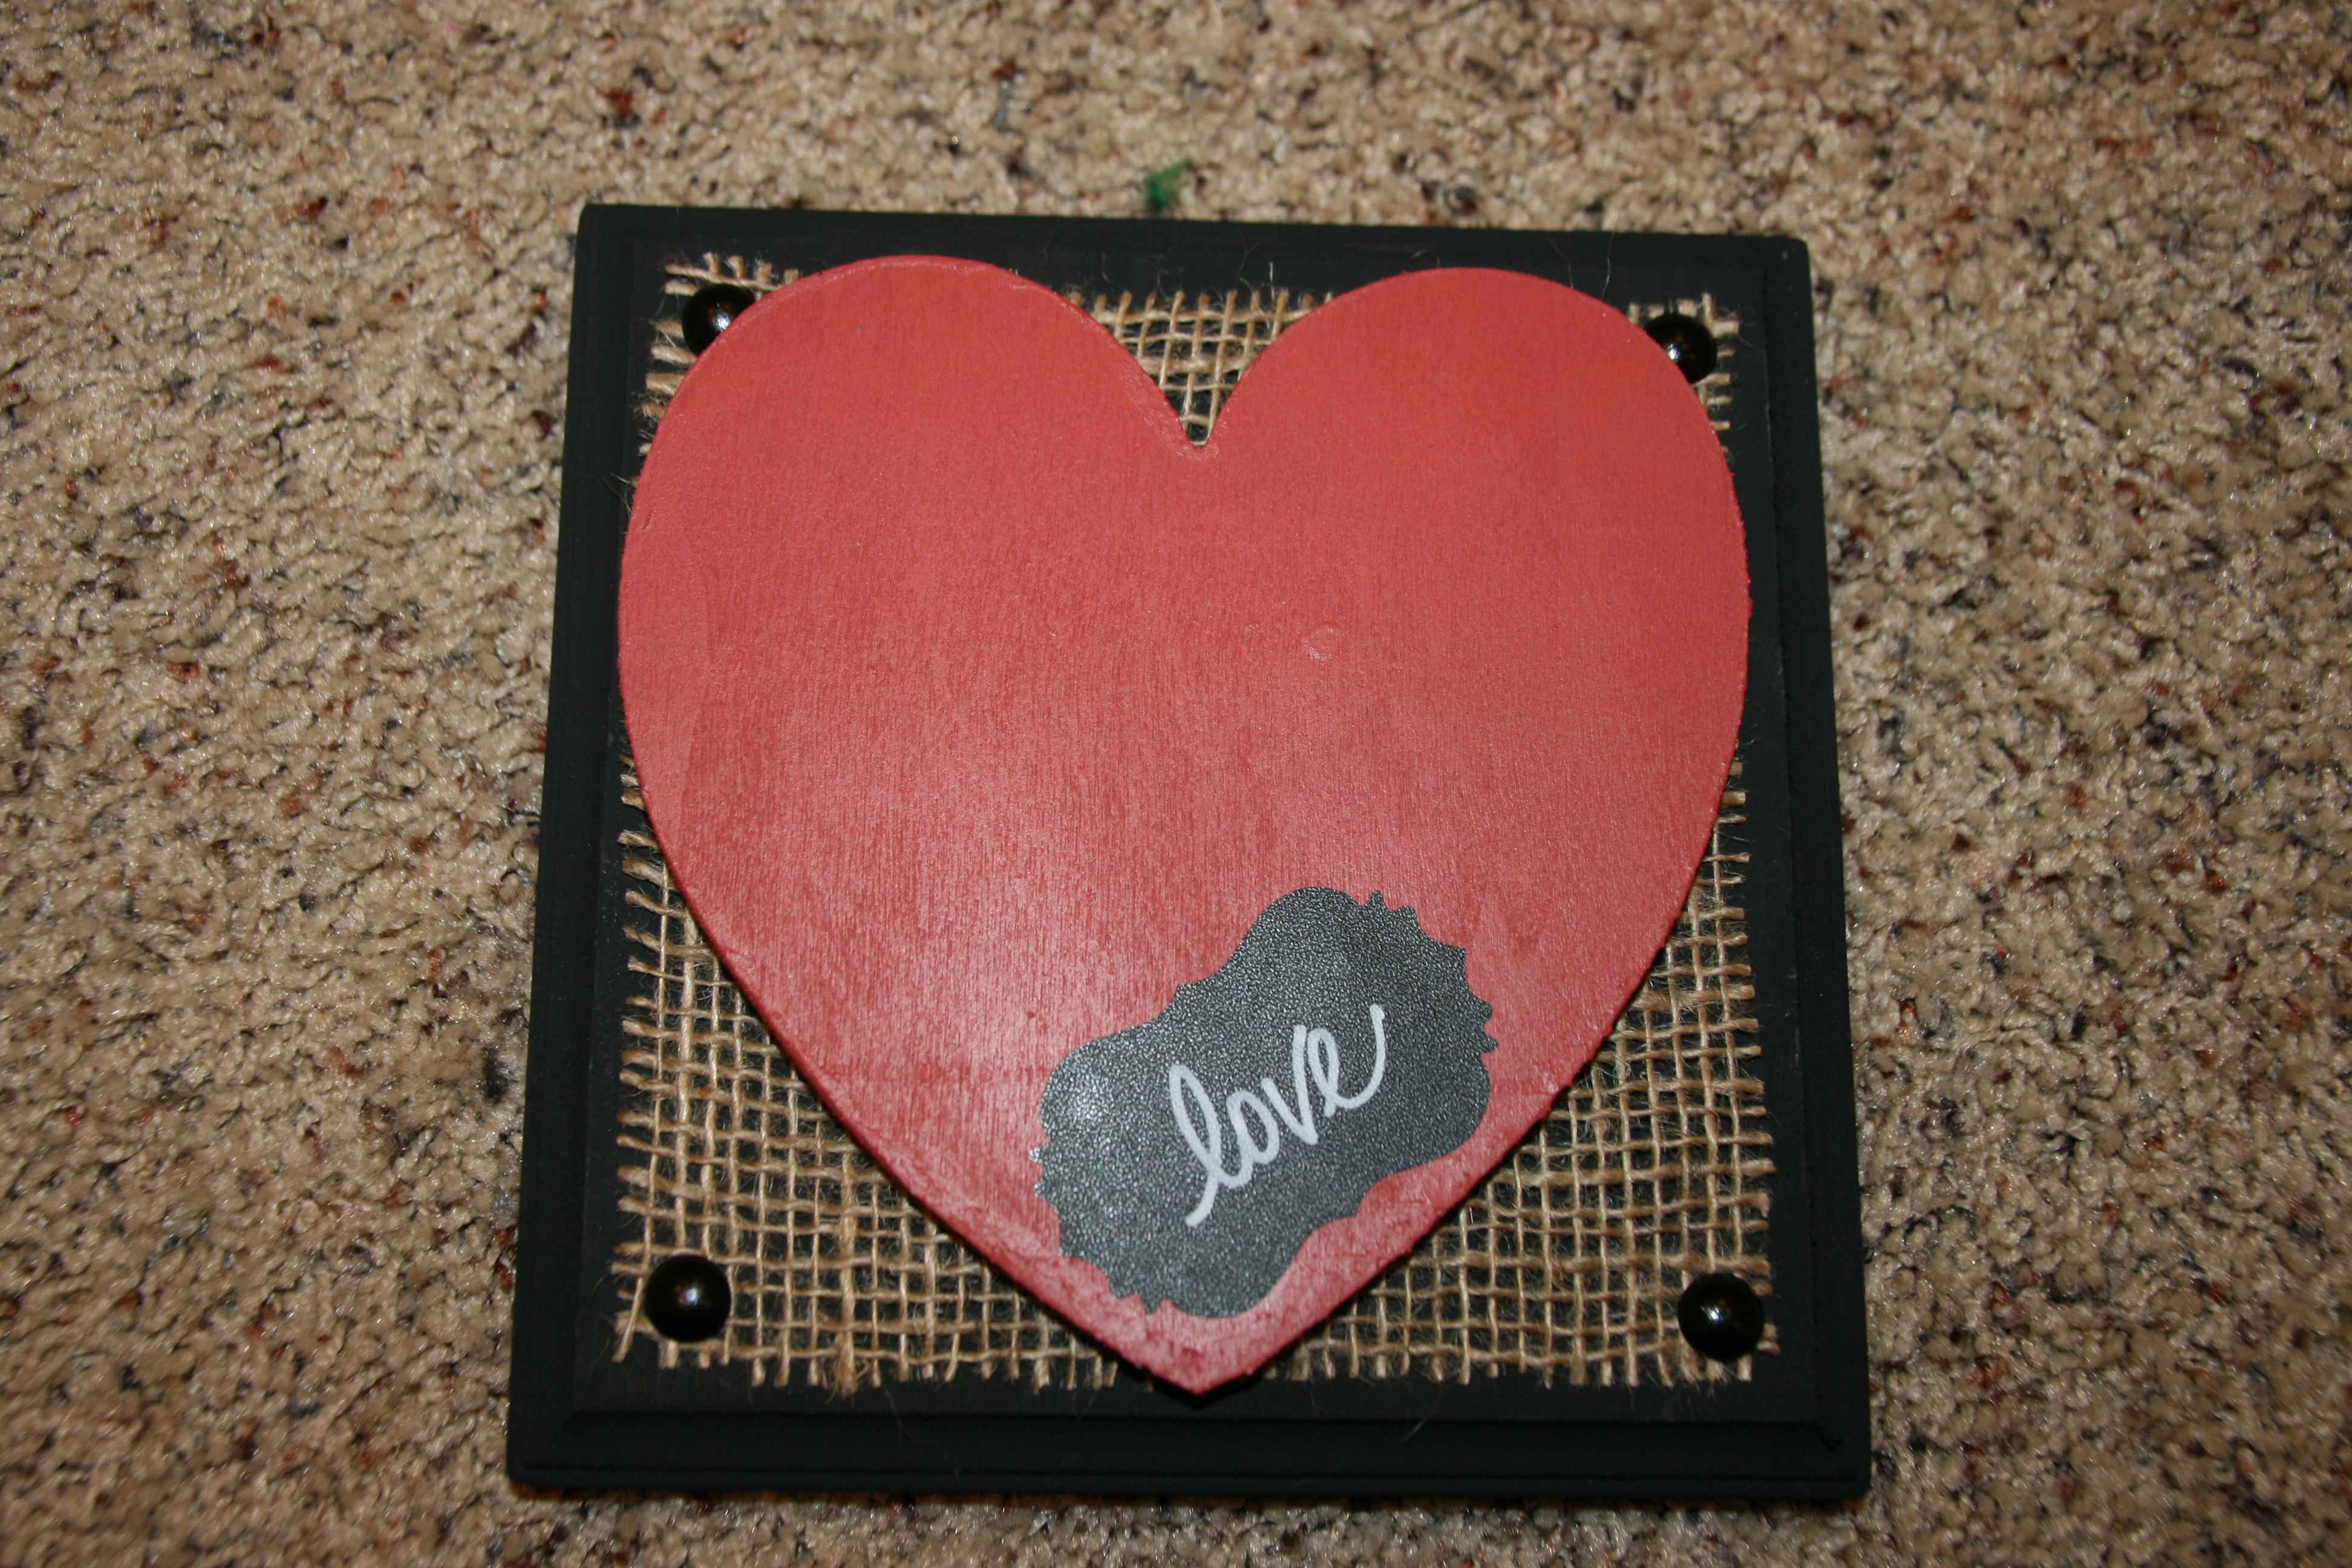
I came up with the idea of using a wood initial and mounting it onto scrapbook paper, then framing it.

007

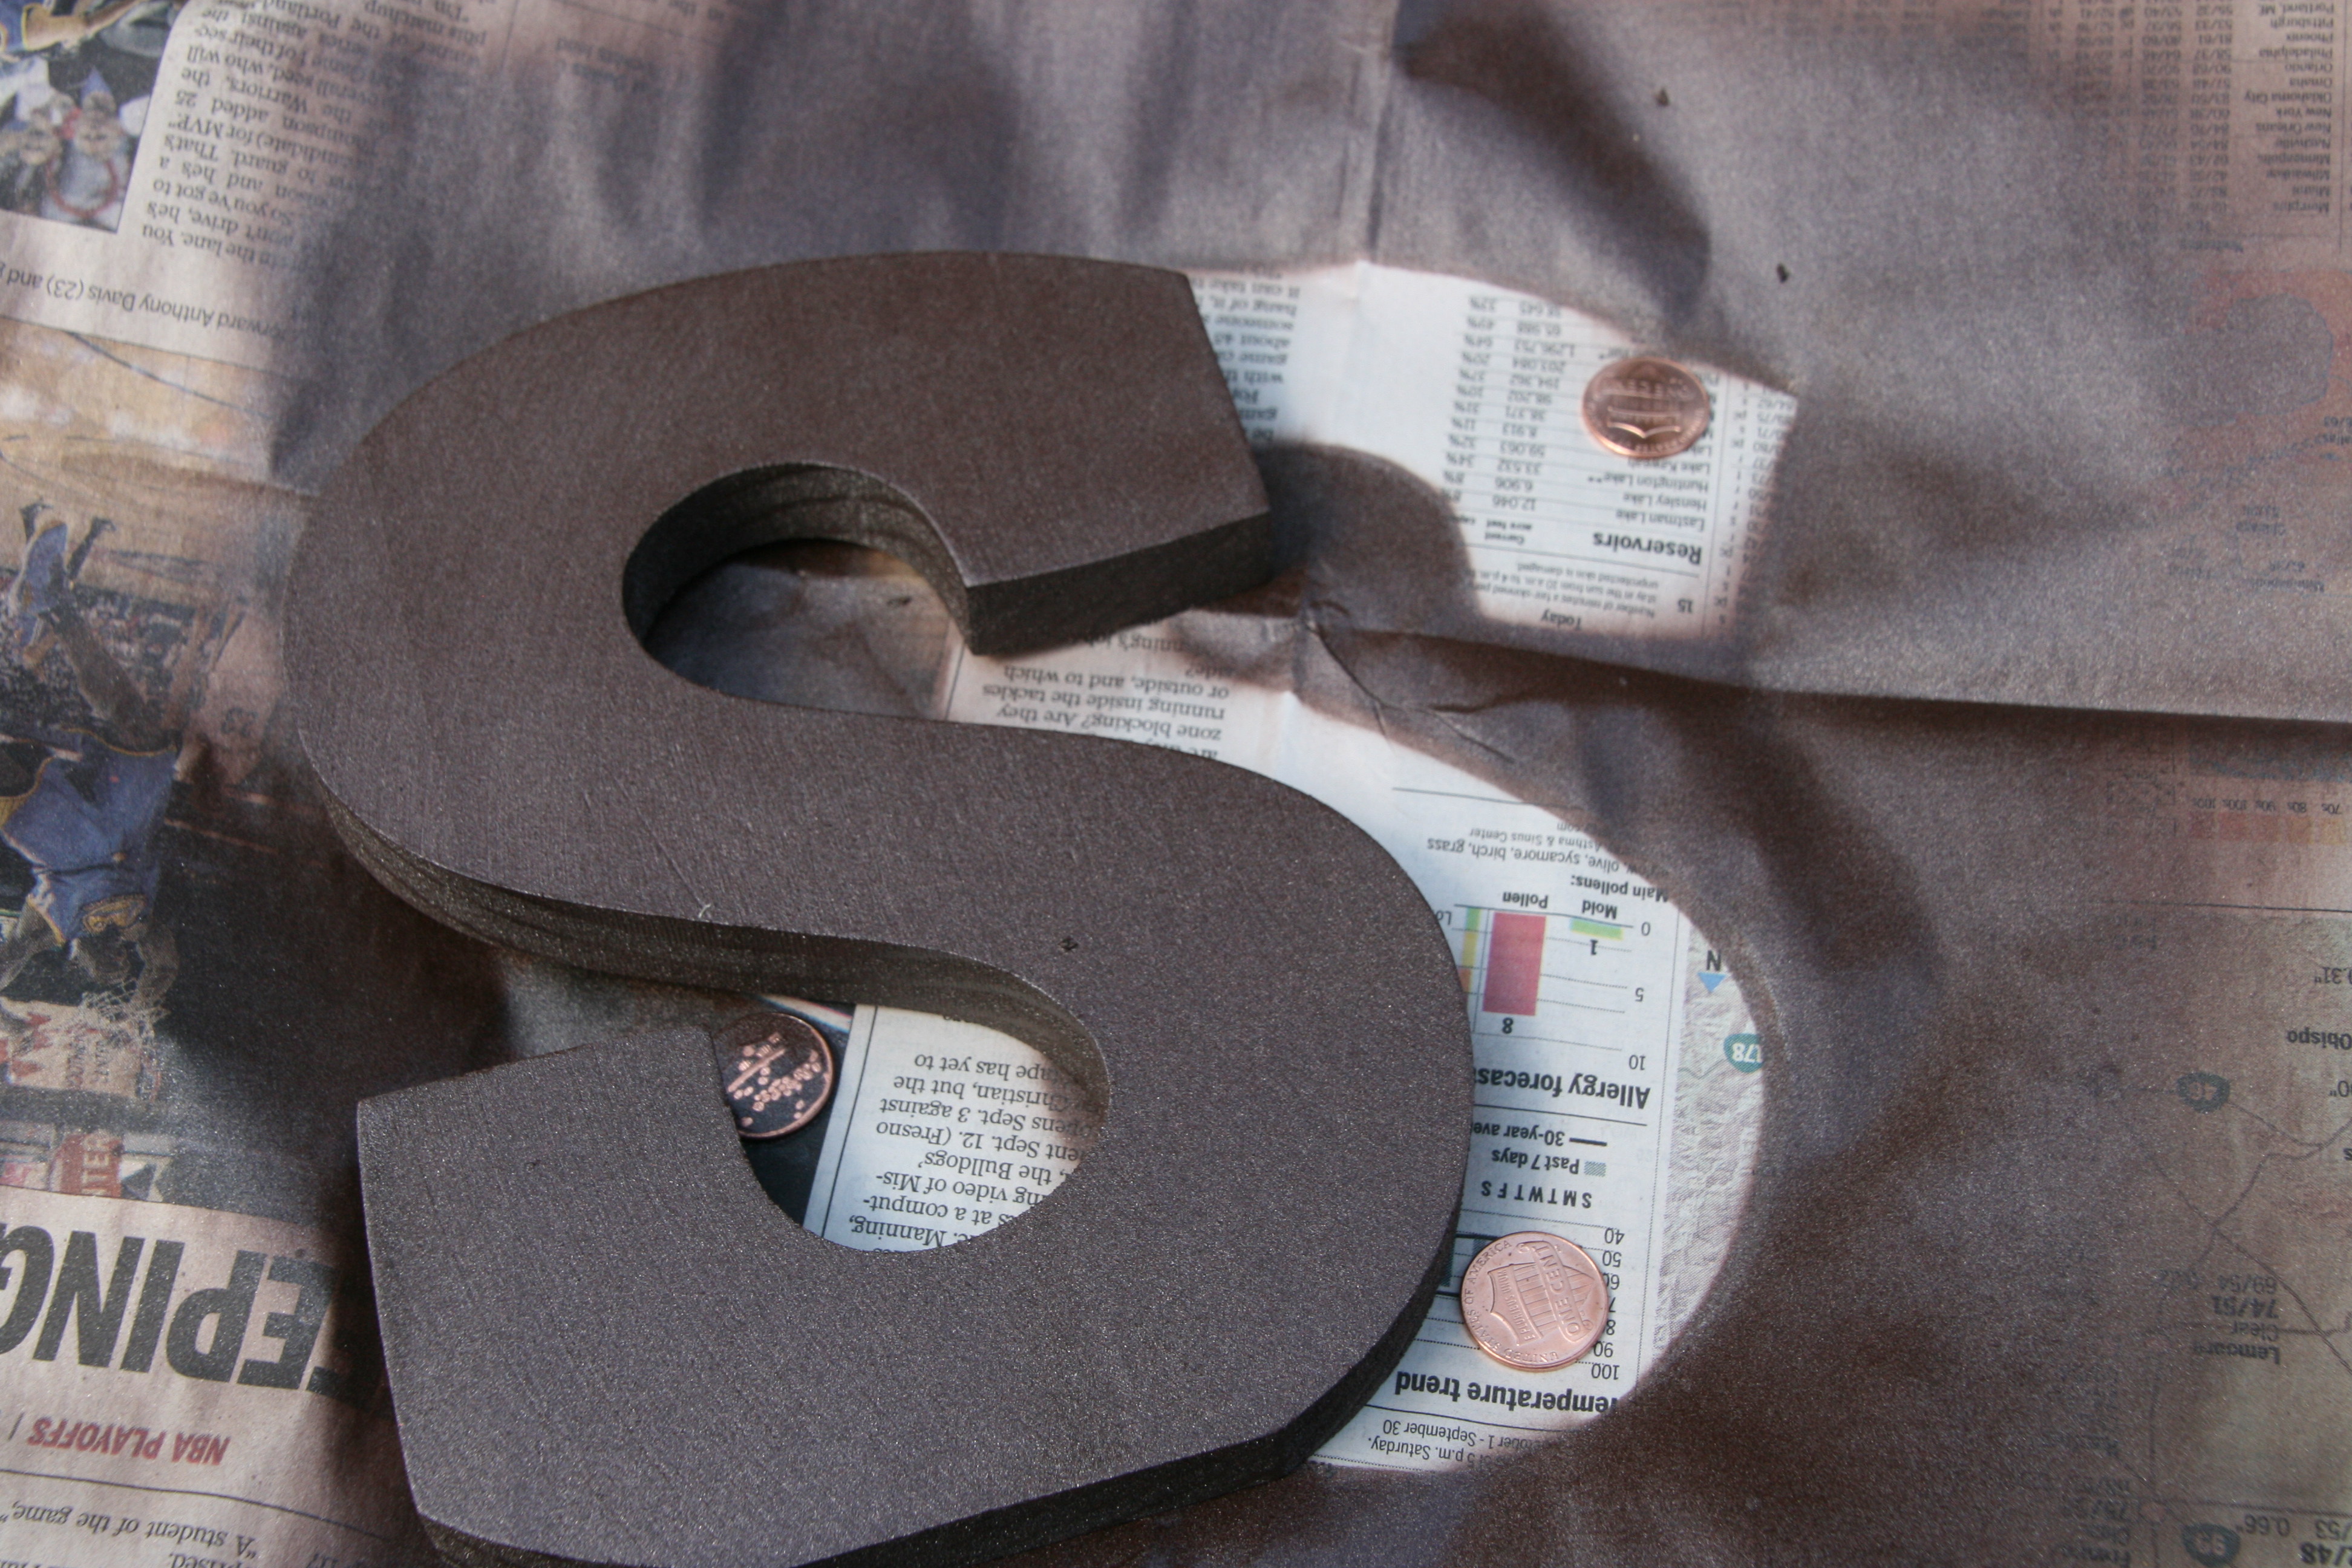
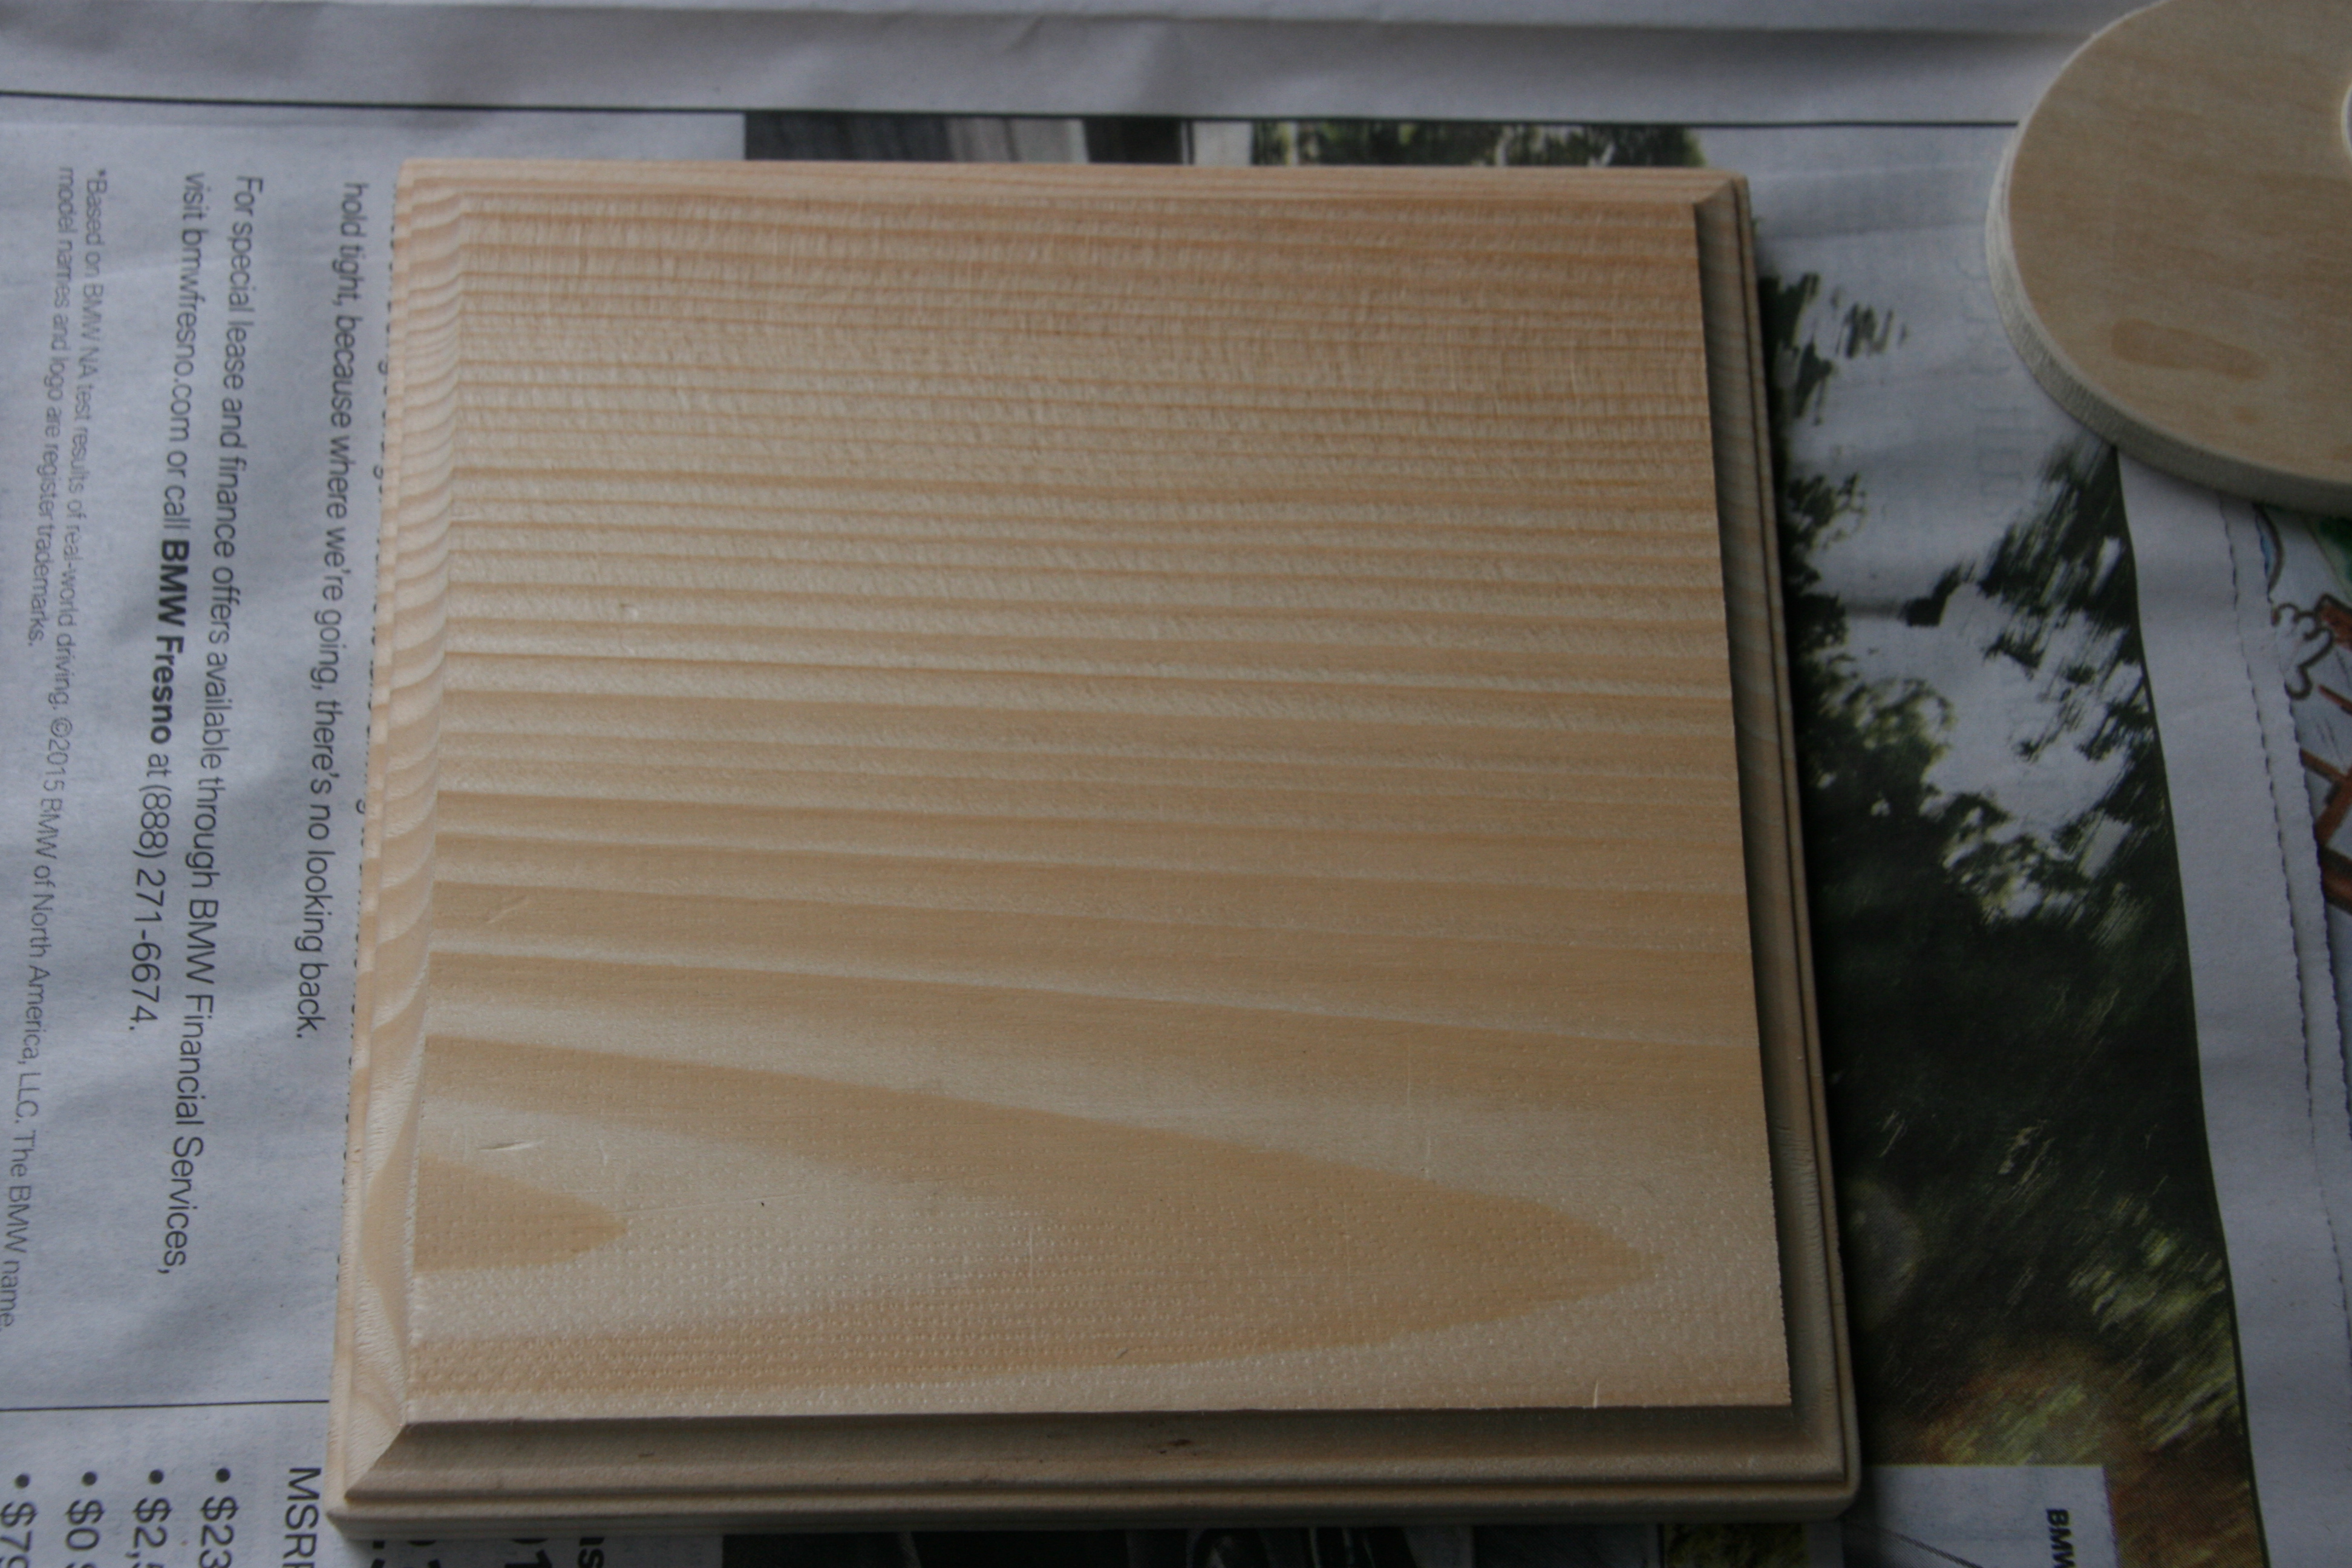
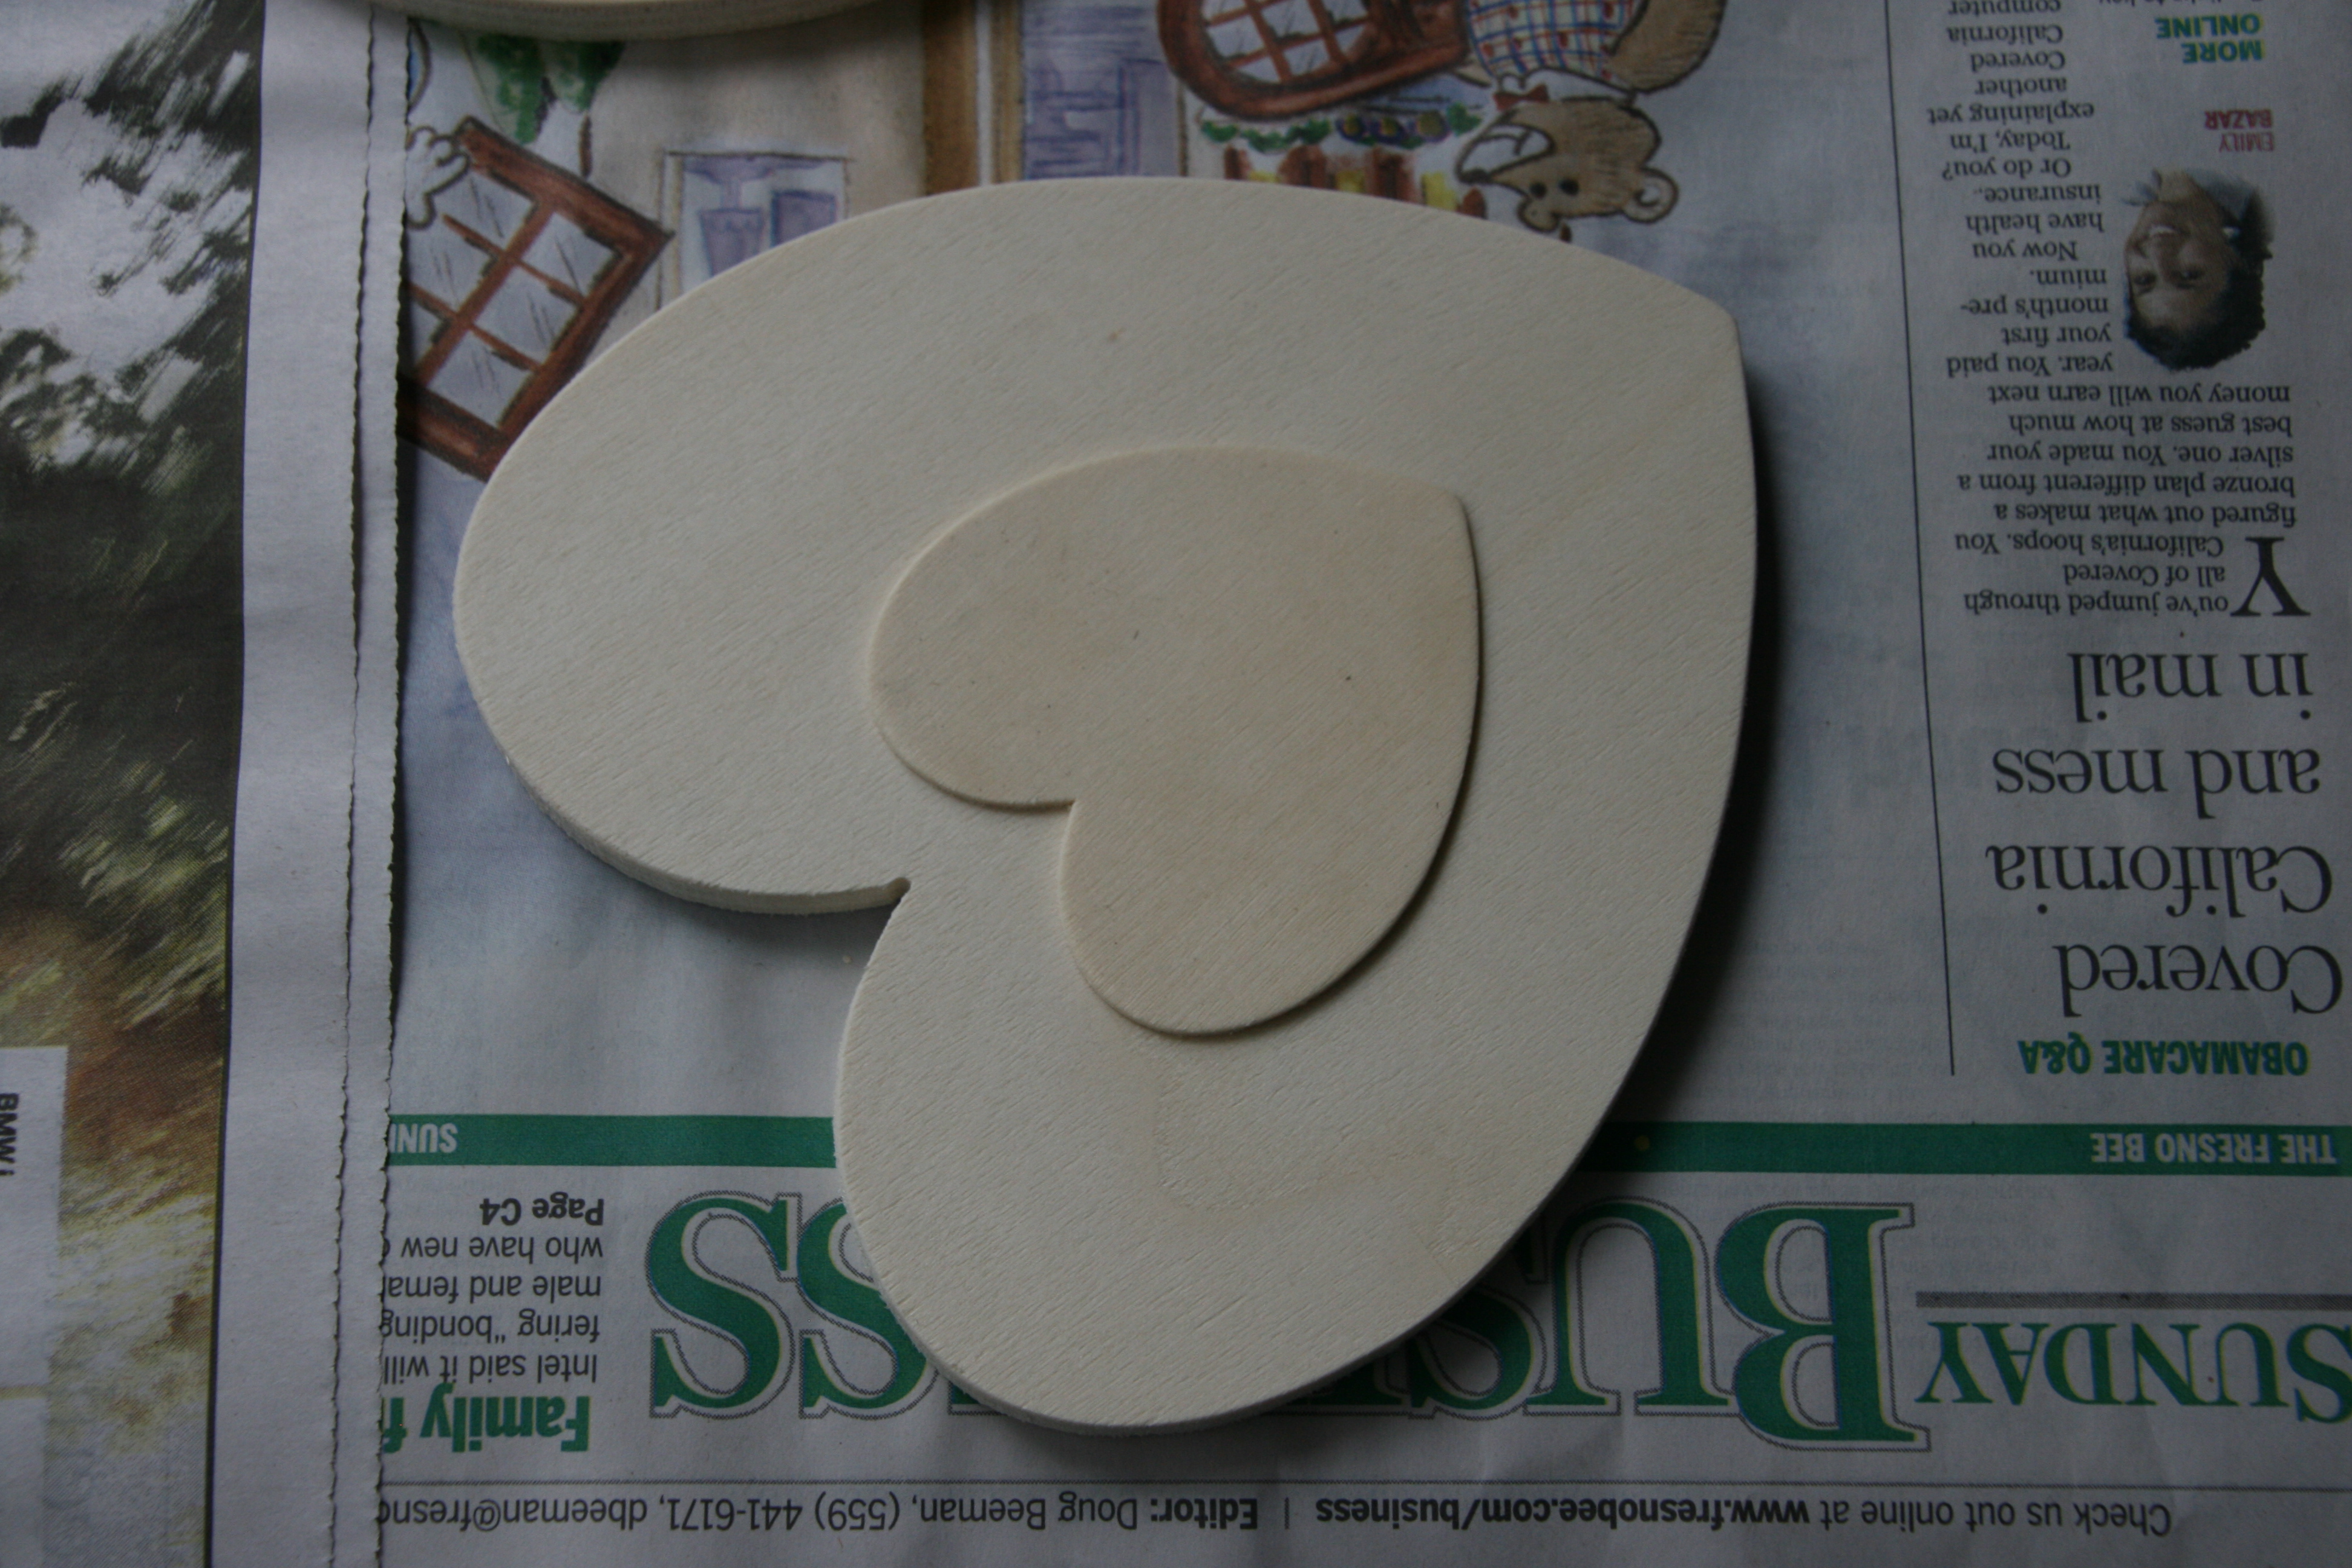
Start by painting the wood letter.  I used a metallic brown spray paint.  A tip for painting…I usually use old newspaper to catch the over spray.  To keep whatever I am painting from sticking to the newspaper, I place a few pennies under the item being painted.  It is an inexpensive way to raise the item just enough so that it doesn’t stick, and I usually have pennies at my house.

013

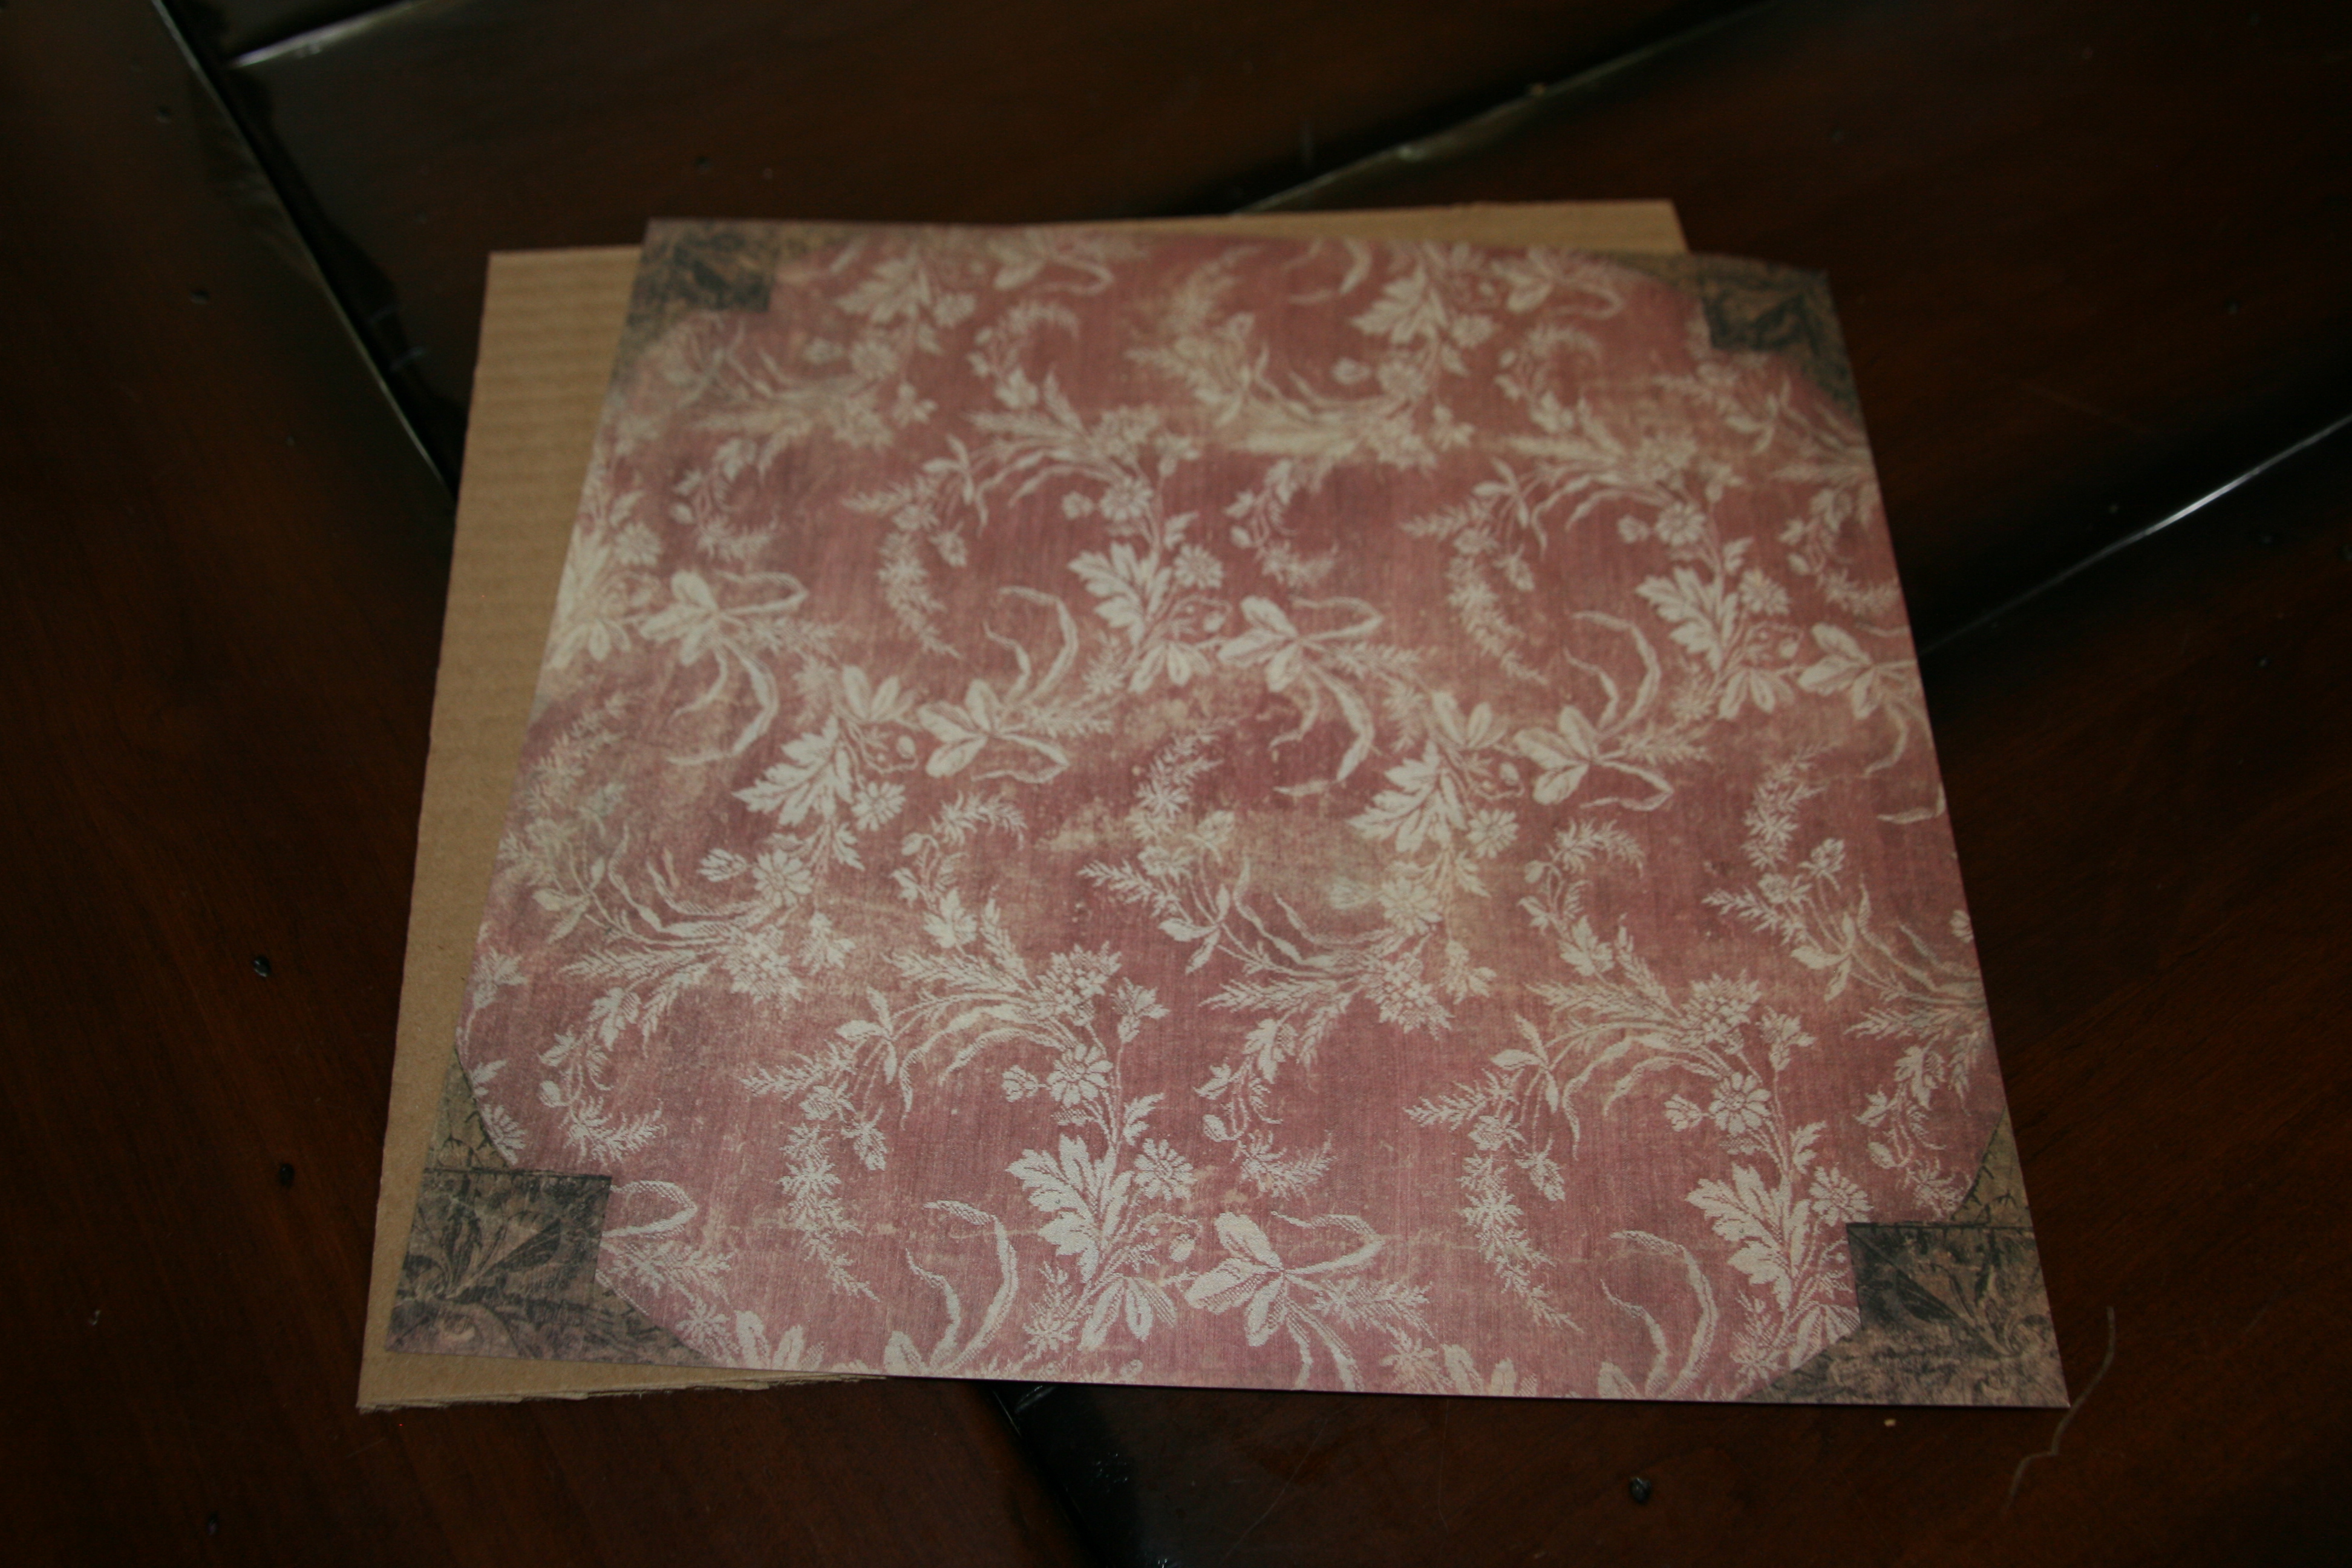
Glue a 12×12 piece of scrapbook paper to a thick piece of cardboard.  I used a quick drying Tacky Glue.

014015

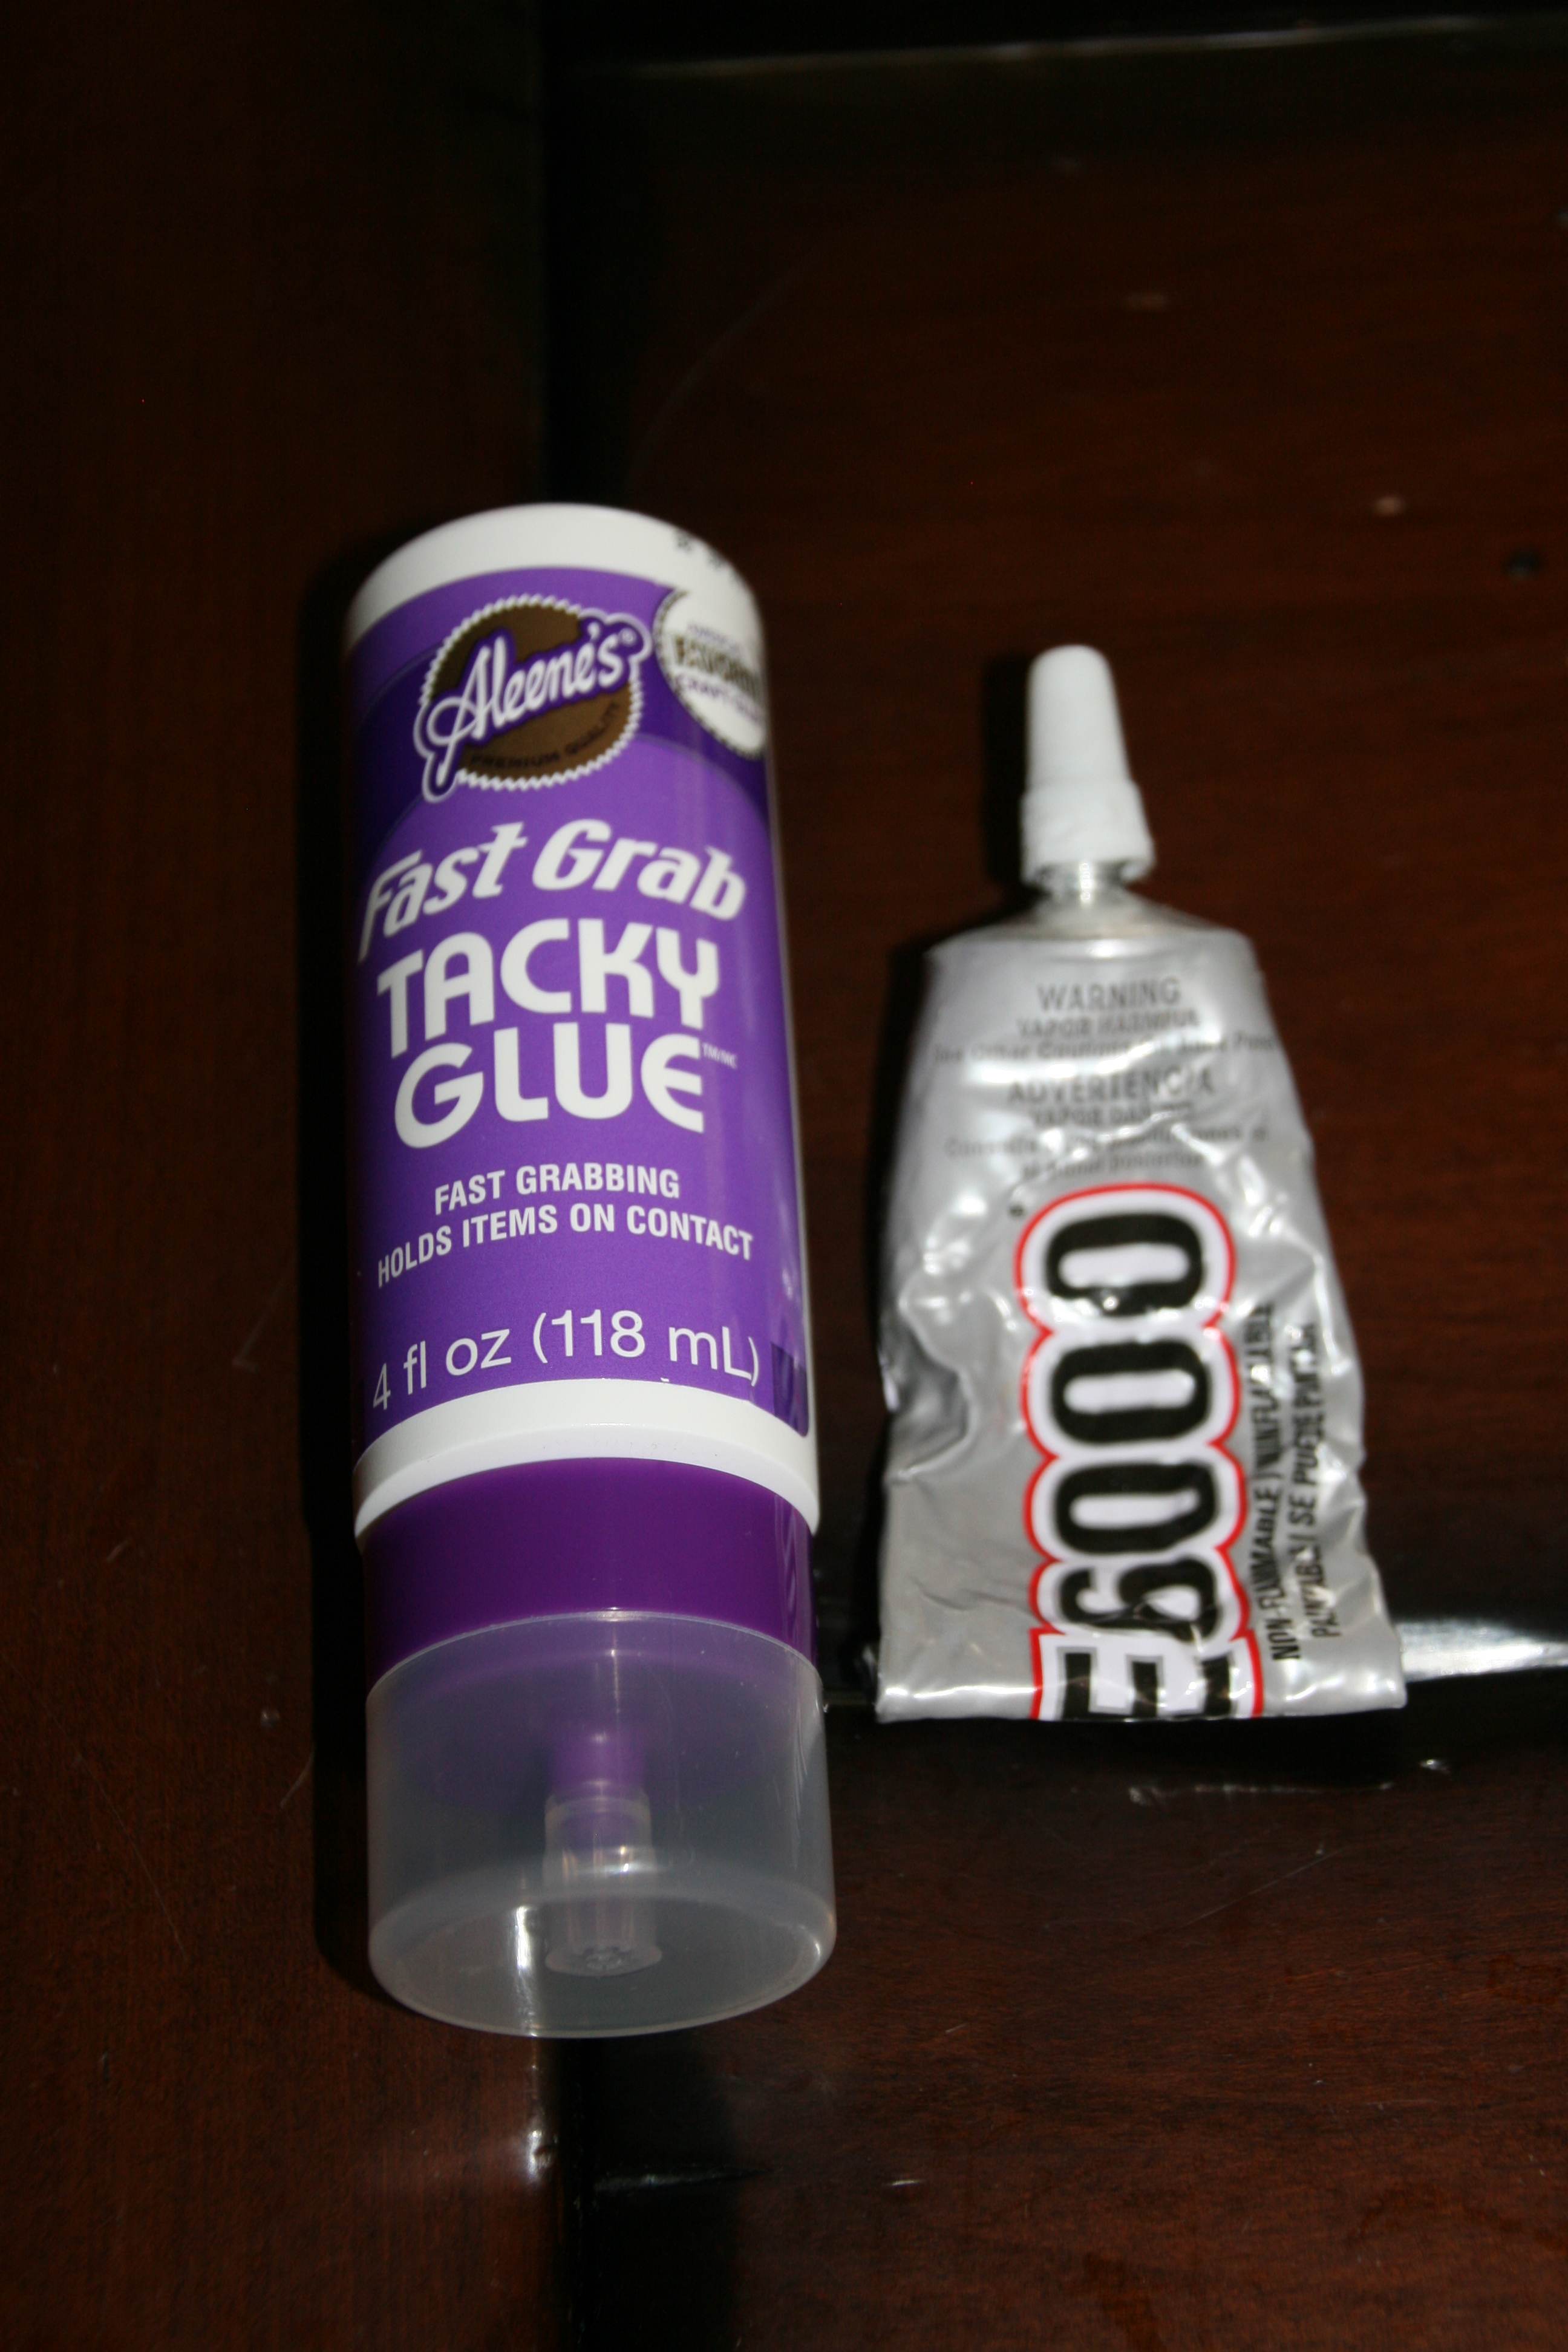
Next, glue the initial to the scrapbook paper.  For this, I used E6000 glue.  Be sure not to over glue the back of the wood initial.  If too much glue is squeezed out, it will leak out under the initial and show clumps of glue around the edges of the initial.  Be sure to allow the E6000 glue to thoroughly dry before moving on with this project.

012

011

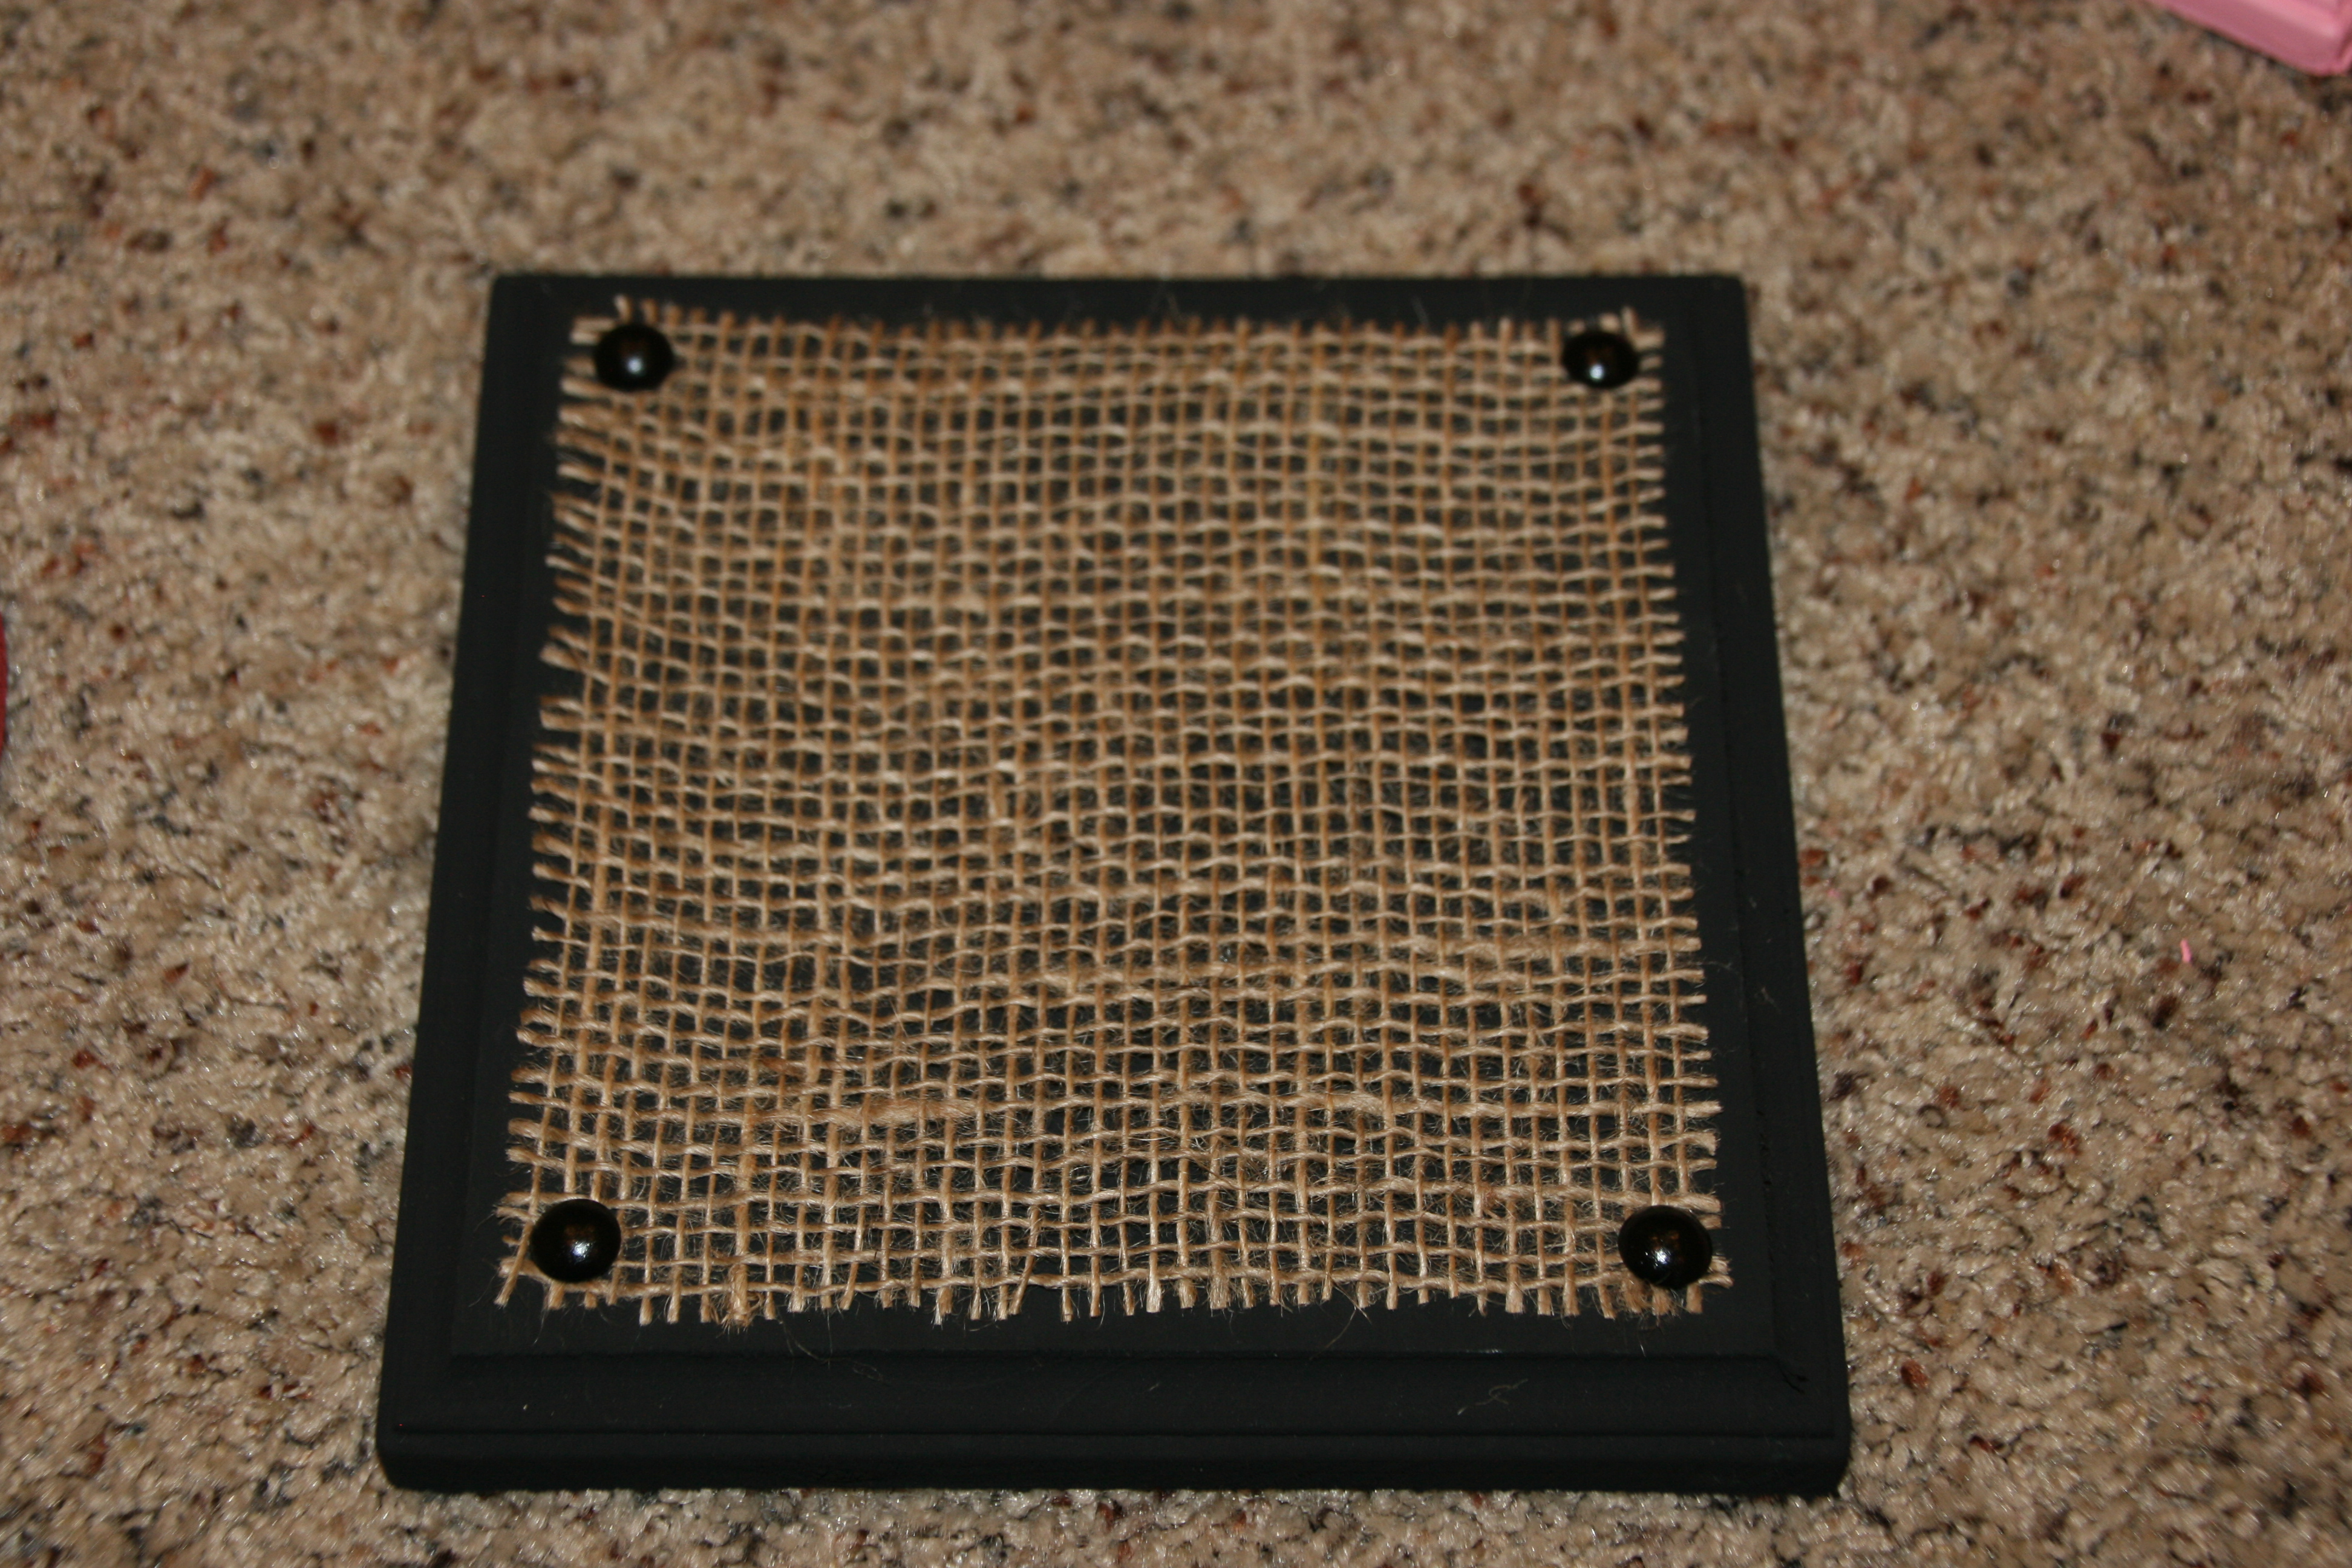
Remove the piece of glass from the frame.  You won’t be needing this, so you can save it for another fun project.  Now frame the scrapbook covered cardboard and initial.  You have created a beautiful gift for someone.

Happy framing…

“Wonder what I will come up with next”…

Wooden Heart Plaques…

065

I love creating!  After I made the wood & burlap picture clips (see my post in “Gift Ideas” from October 2014), I decided to create wood plaques using the same concept.

055056

Start with wood squares & wood heart cutouts.  I bought the squares at Hobby Lobby & the hearts at Michaels.  Paint the wood whatever color you fancy!  I used both tempera paint & wall paint (I buy samples at Lowes & Target of different paint colors, which is an inexpensive way to have several fun colors).

057058

061

Once the paint dries, attach the burlap with furniture tacks, or any tack you like.

059060

Then, glue on the painted wood hearts.  I used E6000 glue to attach these hearts.  Notice I glued the hearts with the flat side up.  I thought this looked better than the double heart side.

064063

On the red & black plaque, I added a vinyl label and wrote “love” on it with chalk markers.

065

Here is the finished product.  I think it would be fun to add a ribbon tacked to the back and hang this on a wall.

062

You can not add the burlap and furniture tacks for a more simplified version of the plaque.

Happy creating…

“Wonder what I will come up with next”…

How to swirl paint on glass jars…

068

I LOVE using jars to create fun gifts for people.  Here, I swirled paint on the outside of used jars and filled them with candy for teacher gifts.  You can use any combination of colors to create festive jars!

069

Start with Tempera paint, foam brushes and disposable plastic containers.  Pour each paint color into a separate container.

070

Cover the jar with the first color.  Preferably start with the lighter color.  You don’t need to paint on the color neatly.  It looks better if it is messy.

071

Choose the next color you want to swirl in.  Lightly add in the second color and swirl the brush.  Again, messy is better.  Try not to create a pattern of swirls.

072

Be sure to paint the bottom of the jar also.

068066

Place the jars upside down to dry.  The paint will dry matte.  If you want a shiny finish, spray with a clear gloss spray paint.  Once the paint has dried, fill the jars with treats, and give them to your favorite friend or teacher (BTW Teacher Appreciation Day is May 5th).

Happy Swirling…

“Wonder What I Will Come Up With Next”…

Marbled & swirled paint ball ornaments…

015

These marbleized paint ornaments are so beautiful, and are so easy to make!  You can make them as gifts for all of your family and friends!

Start with clear glass ball ornaments (I usually purchase mine at Michaels or Joanns), paint (I have used either craft paint or tempera paint).  Remove the top hanger from the balls.  Squirt paint into the glass ball.  Be sure to rotate the ball and stop and start squirting paint as you rotate the ball in your hand.  Squirt in as many colors as you want, but DON’T put in too much paint.  Pay attention to how much paint you have inside the ball as you are moving it around to cover the entire inside.  Once the entire inside of the ball is covered with paint, turn the ball upside down onto a small plastic cup.

014

Leave the ball upside down in the cup for a few days to allow all of the excess paint to drain out.  Then turn the ball right side up and allow the paint to finish drying.  I like to use the trays the balls come in for this drying process.

013

Once the paint is dry, put the top hanger back on the ball.  Be careful not to bend the metal.  Then hang the ball on the tree, or wrap it as a gift.

016

Happy painting…

“Wonder what I will come up with next”…

More Fancy Fabric Covered Pumpkins…

https://www.youtube.com/embed/ZC2qqAano-A“>youtube “how to” video

085

I had so much fun creating the other fabric covered fake pumpkin that I posted in October!  I decided to create a different version.  I used burlap ribbon on this one and it created a more rustic look.

086


The leaves and fruits are glued on with E6000.

087


It’s so much fun to create!  Happy Thanksgiving…

“Wonder what I will come up with next”…

Easy, personalized, aprons…

030

I created some aprons as gifts.  I started with a pre-made apron purchased at Hobby Lobby.  I added an iron on initial and a fun bow with a buckle.  A very easy gift that ANYONE can create!

010

This is a darling iron on initial that I purchased at Hobby Lobby.  Follow the iron on instructions on the package.

011

To create the buckle bow, start by threading the ribbon through the bar, as shown above.

012013

Next, loop the ribbon back under the bar on both sides, as shown above.  At this point, you can either make stitches to keep the ribbon in place, or use a quick drying fabric glue.

009029

Turn the bow over, and add a rhinestone embellishment, as shown above.

030

This will make a fun gift for all little girls that like to help their Mommy’s in the kitchen!

Happy creating…

“Wonder what I will come up with next”…

Witch hats attached to jars…

imgsvr

This is a fun gift to create for teacher gifts.  It is the same concept as the ghosts that I put on top of jars in a previous post.  I used foam & pipe cleaners to create the witch hats.  Then I glued them onto a spray painted black lid.  I filled the jar with tootsie rolls.

A very easy gift to create!

Happy Halloween…

“Wonder what I will come up with next”…

Paint can creations…

001

I published the “how to” for these back in March under “Gift Ideas”, but here is another version that can be easily created.

Start with a new paint can (these can be purchased at Home Depot).  Cover the can with fun coordinating scrapbook paper.  Add ribbon and embellishments and you are done.  On the lid I used a drawer knob.  I drilled a hole in the lid with a drill, then screwed on the knob.

002005

004

Happy canning…

“Wonder what I will come up with next”…

Glass jar lanterns

As I have stated before, I love using glass jars for many things.  I store ribbon in them, wrap them in tissue paper, and make hanging tealight lanterns with them.  The beautiful thing about glass jars is that they are free!  Simply save the food jars you have emptied.  You will be amazed how many you can save from the recycle bin, and all of the fun things you can do with them!

025

For this hanging lantern, you will need a jar (of course), zip ties, wire (I used 20 gauge from Joann’s), ribbon, glue, round tip pliers, and a tealight.

013

Start by cutting 2 pieces of wire the length you want your handle to be, with extra for the curl (approximately 12″).  Loop the wire at the top with the round pliers.  Form an arch with the wire and secure it to the jar with the zip tie.

014015

Use the round pliers to curl the ends of the wire that are hanging below the zip tie.  This will not only add cuteness, it will also prevent the wire from slipping under the zip tie.

018019

016

Cut the extra part of the zip tie.  Measure the circumference of the jar and cut the ribbon accordingly.  Be sure to leave extra for overlap.  Glue the ribbon around the jar using Tacky glue.

020

Cut a piece of a coordinating ribbon and fold over twice to create a bow.  Glue the ends and center.

021022

Glue the bow to the lantern and add a rhinestone.

023

Add the tealight, and your lantern is ready to be hung, or given as a gift.

025

Happy jarring…

“Wonder what I will come up with next”…