Scrapbook pockets

Well, it’s been  while since I have posted anything.  How many of you have a love/hate relationship with your computers?  I DO!!!  I love it when it working properly, but hate it when it is not.  That being said, I am back up and running with creativity!  Several years ago, I decided I needed pockets to store the important things for my daughter, but be able to include them in her scrapbook photo albums.  I created pockets from scrapbook paper that slip into the clear paper covers in a scrabpook.

009 010 011

I made these pockets for each month of the year.  I printed a calendar for the cooresponding month so I could easily write down major events of the month.  You know how “Mommy mush brain” happens!?!  I never thought I would forget any milestones for my daughters, yet I have forgotten many!

012 013

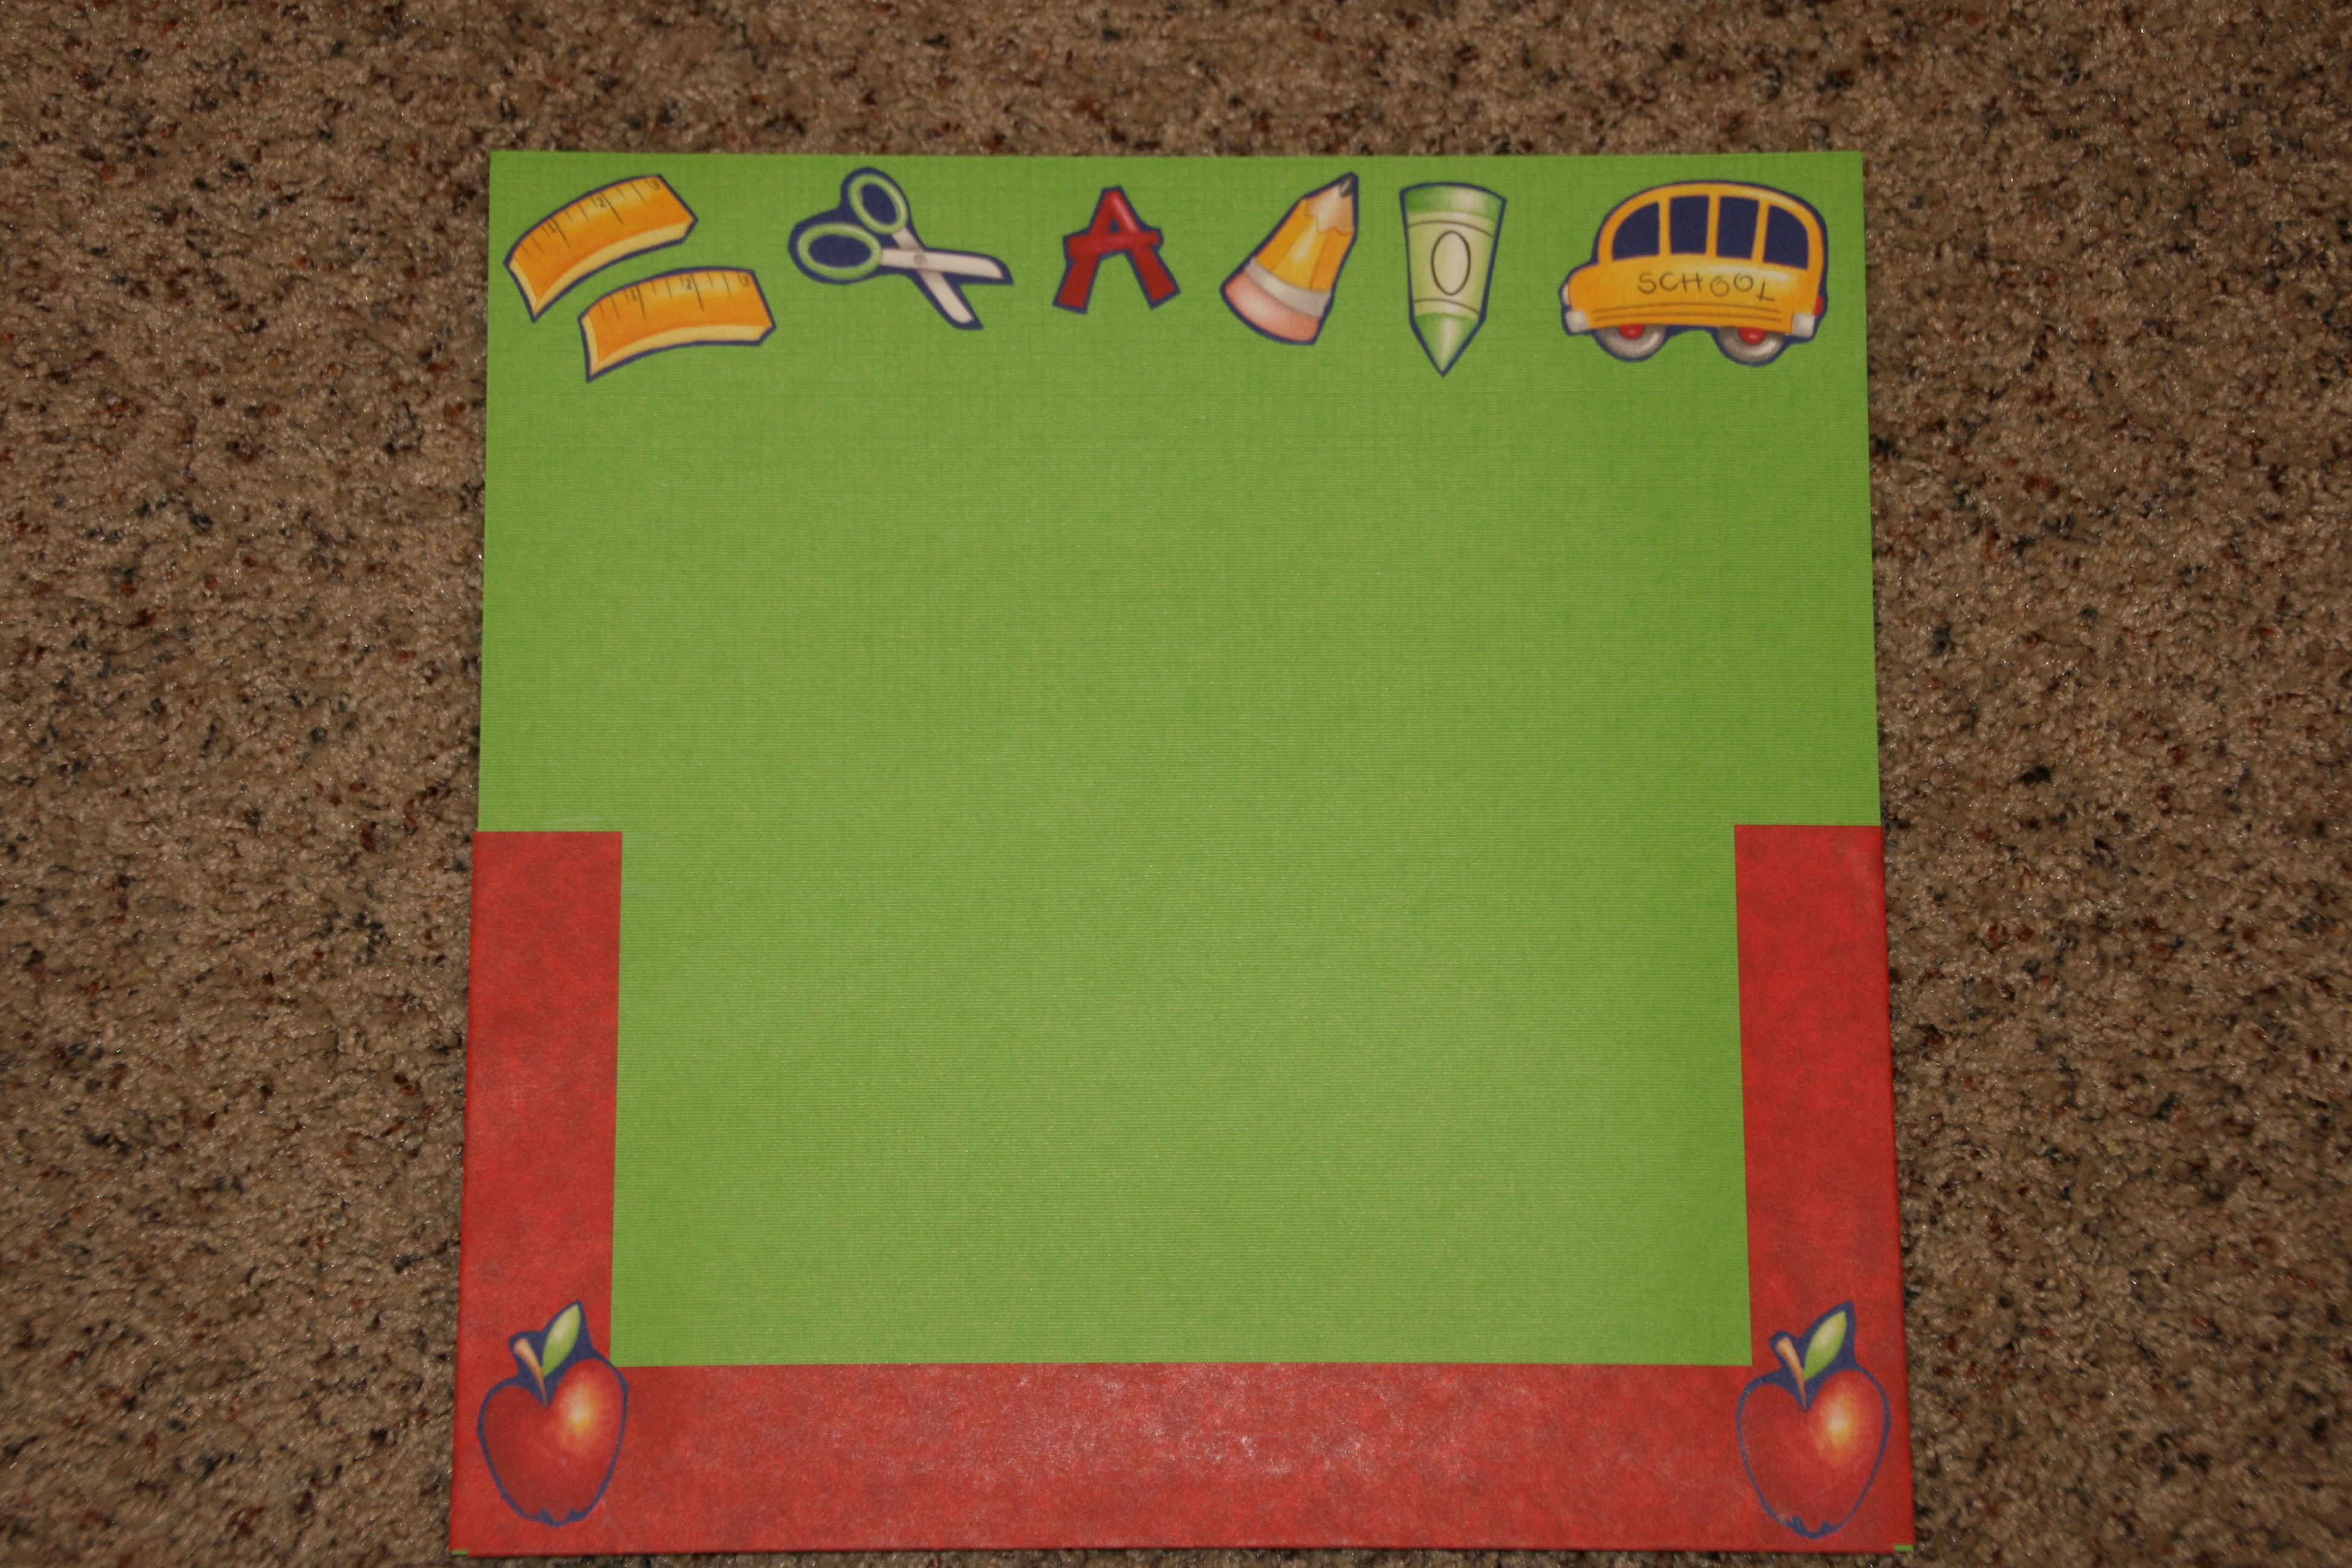
I wrapped and glued paper around the sides and bottom to create the pocket.  I used month theme paper that was appropriate for the month.  I cut out parts of the decorated paper and glued it in strategic places to create a fun pocket.  Then, I glued pictures of my daughter from the month onto the pocket.

Happy scrapbooking…

“Wonder what I will come up with next”…

Creative Personalized Photo Album covers…

Have you ever had a photo album that you wanted to create, but couldn’t find the “perfect” album to use?  OR, the “perfect” album is ridiculously priced?  I have experienced both of these situations and decided to take matters into my own hands.  I purchase basic, inexpensive albums and have used maps, house plans, and photos to cover an existing album, and make it “one of a kind”.

When my husband & I travelled to Barcelona Spain, I saved a map of the city and used it as my album cover.
I wrapped it around the entire album.
Once the map was placed where I wanted it, I taped it on the inside covers.  Then I covered the entire outside with strips of packaging tape, placed horizontally, and slightly overlapping.
This was an extra set of blue prints from construction at our house.
Again, I wrapped it around the entire outside of the album and taped it in place.
I even used the blue prints on the inside cover…
The aerial pictures on the bottom were taken during our hot air balloon ride.  I simply taped them to the album cover.  I used sky blue paper and cut out white clouds.  Very simple!
So you see, you can easily and inexpensively create your own, very personalized photo album for any occasion.
Happy travels…
“Wonder what I will come up with next”…