Using floral plastic rolls for gift wrapping…

002

Several years ago, a floral store was going out of business.  I stopped by there to see what they were selling on clearance.  I found these rolls of decorated cellophane that look like lace.  I purchased them in black, navy blue, & forest green.  I had NO IDEA what I was going to use them for, but I figured I would come up with something someday.  Well, that day has come!  I wrapped a white box with the black lace and it was gorgeous!!!

001003

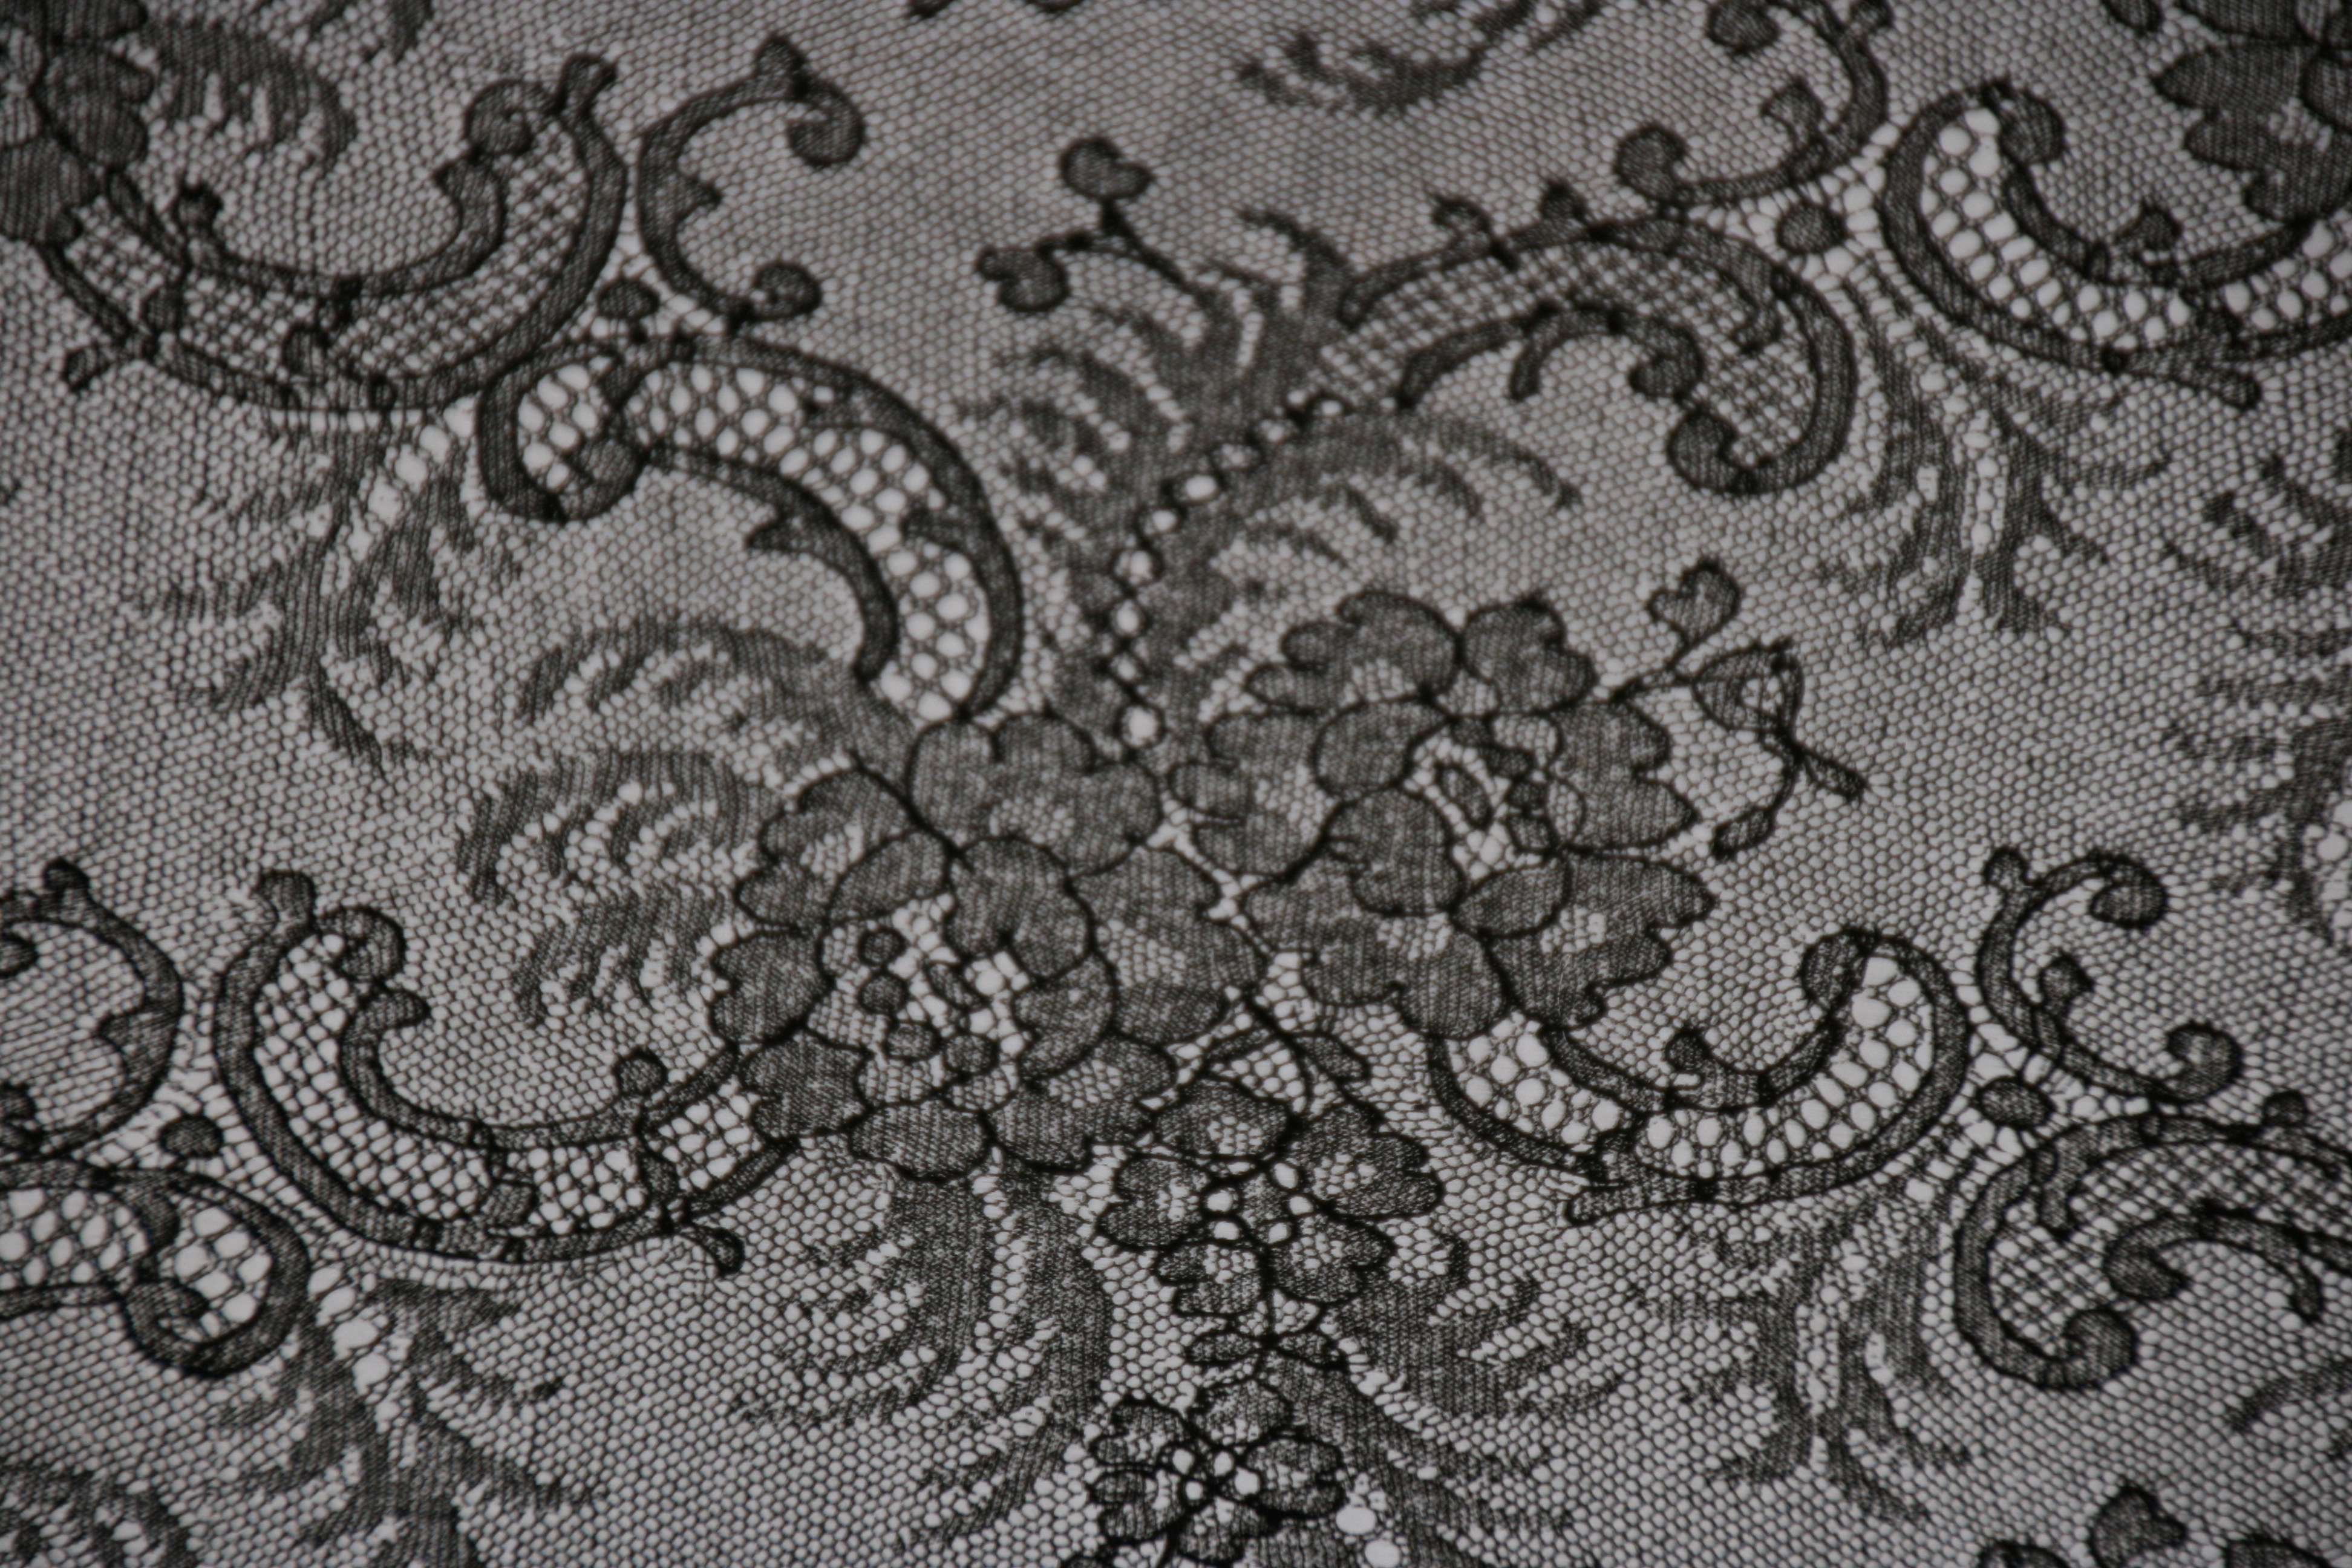
The print on the cellophane gave the gift a very elegant look!  So simple!  Better than a gift bag!!!

Happy wrapping…

“Wonder what I will come up with next”…

MORE scrapbook paper initial art…

On May 5th, I posted the “how to” for these, but I have created more since then and thought I would share.  They are so easy to make and the possibilities are endless!!!  They make GREAT gifts!  I am using them for end of the year teacher gifts!

046

Here, I used corrugated steel letters to create a last name.

001002

Both of these have similar vintage paper.

003004

Perfect for a music teacher…

005

I thought this wooden block paper was great for a preschool.

006

I used this paint paper for an art teacher.

I hope these give you more inspiration and ideas for special people in your lives.  As I mentioned before, the possibilities are absolutely endless!!!

Happy creating…

“Wonder what I will come up with next”…

SIMPLE Pudding cups…

008

It was a Saturday morning, and I realized it was my neighbors birthday.  I wanted to make something special for her, but I didn’t have a lot of time.  I ran to my pantry and stood there hoping and searching for something to JUMP out at me!  I saw a box of instant vanilla pudding and thought, “OF COURSE”, I’ll add graham cracker crumbs and strawberries, and “Wa La”…I will have the quick treat I am looking for!

004

I started with foil cupcake papers because they are more stable than regular cupcake papers.  I covered the bottom with graham cracker crumbs.

005

After the instant pudding set, I spooned in the pudding on top of the graham cracker crumbs.

006

I then sprinkled more graham cracker crumbs on top of the pudding.

007

Last, I gently placed a plump strawberry on top.  DONE!  Oh, so simple, easy, and quick!!!  Anyone can do this!!!

008

Oh, and, by the way, they were quite tasty!!!

Happy eating…

“Wonder what I will come up with next”…

Framed Initial Art…

019

A few weeks ago, I posted a similar idea using scrapbook paper as the background.  Here, I glued fabric to a cut piece of mat board and created a fantastic piece of art for a friend who LOVES all things Paris!

054

Start by painting a wood block letter.  You can either use spray paint, or brush on the paint.

013

Cut the fabric approx 2 inches larger than the piece of mat board on each side.  Spread Tacky glue on the mat board and carefully place the fabric on the glued side.  Be sure to center your fabric design and make sure that it is not sideways.  Smooth the fabric with your hands to ensure there are not any wrinkles in the fabric.  Do not use a quick dry glue…it makes it very difficult to maneuver the fabric once it touches the glue.

015

Turn the piece over and fold up the sides.  Glue the folded sides.  Make sure they are pulled snug.  After all 4 sides are glued, I added packaging tape to ensure the edges of the fabric would adhere to the mat board.

016

Remove the backing and glass from the frame.  Place the mat board into the frame, and close off the back.

019

Glue the painted letter in the center of your mat board.  I used E6000 glue for this.  Let dry, wrap, and give to a friend!  This is a very easy way to personalize a gift for someone special!

Happy framing…

“Wonder what I will come up with next”…