Spring Treats…

20190407_101358

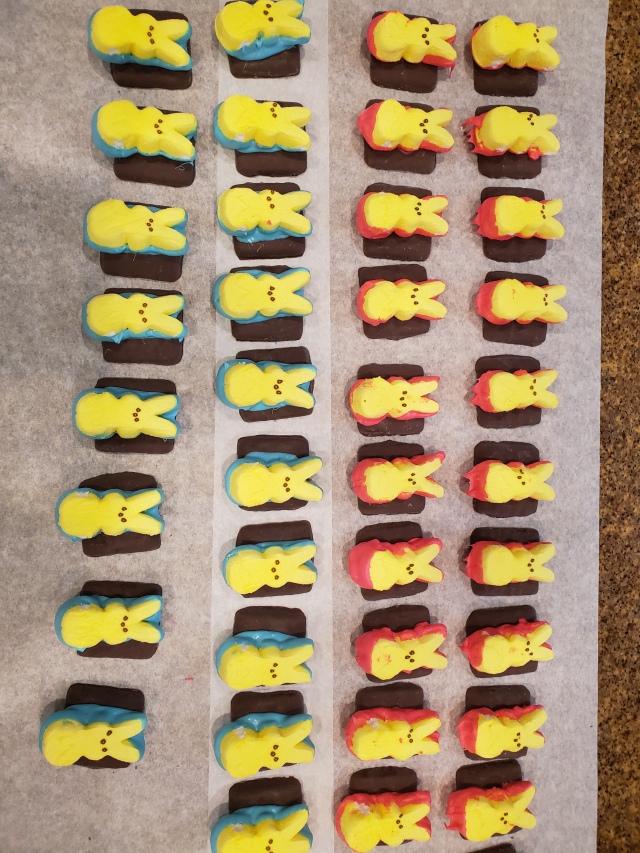
Spring has sprung and I was looking for a fun treat for my daughter’s class.  I came up with the idea to chocolate dip Peeps bunnies and attach them to a Smores Girl Scout cookie.  They turned out adorable!

20190407_095632

The items you will need are:

Wilton Candy Melts, Peeps Bunnies, Smores Girl Scout Cookies (Graham Crackers would work also), & parchment paper.

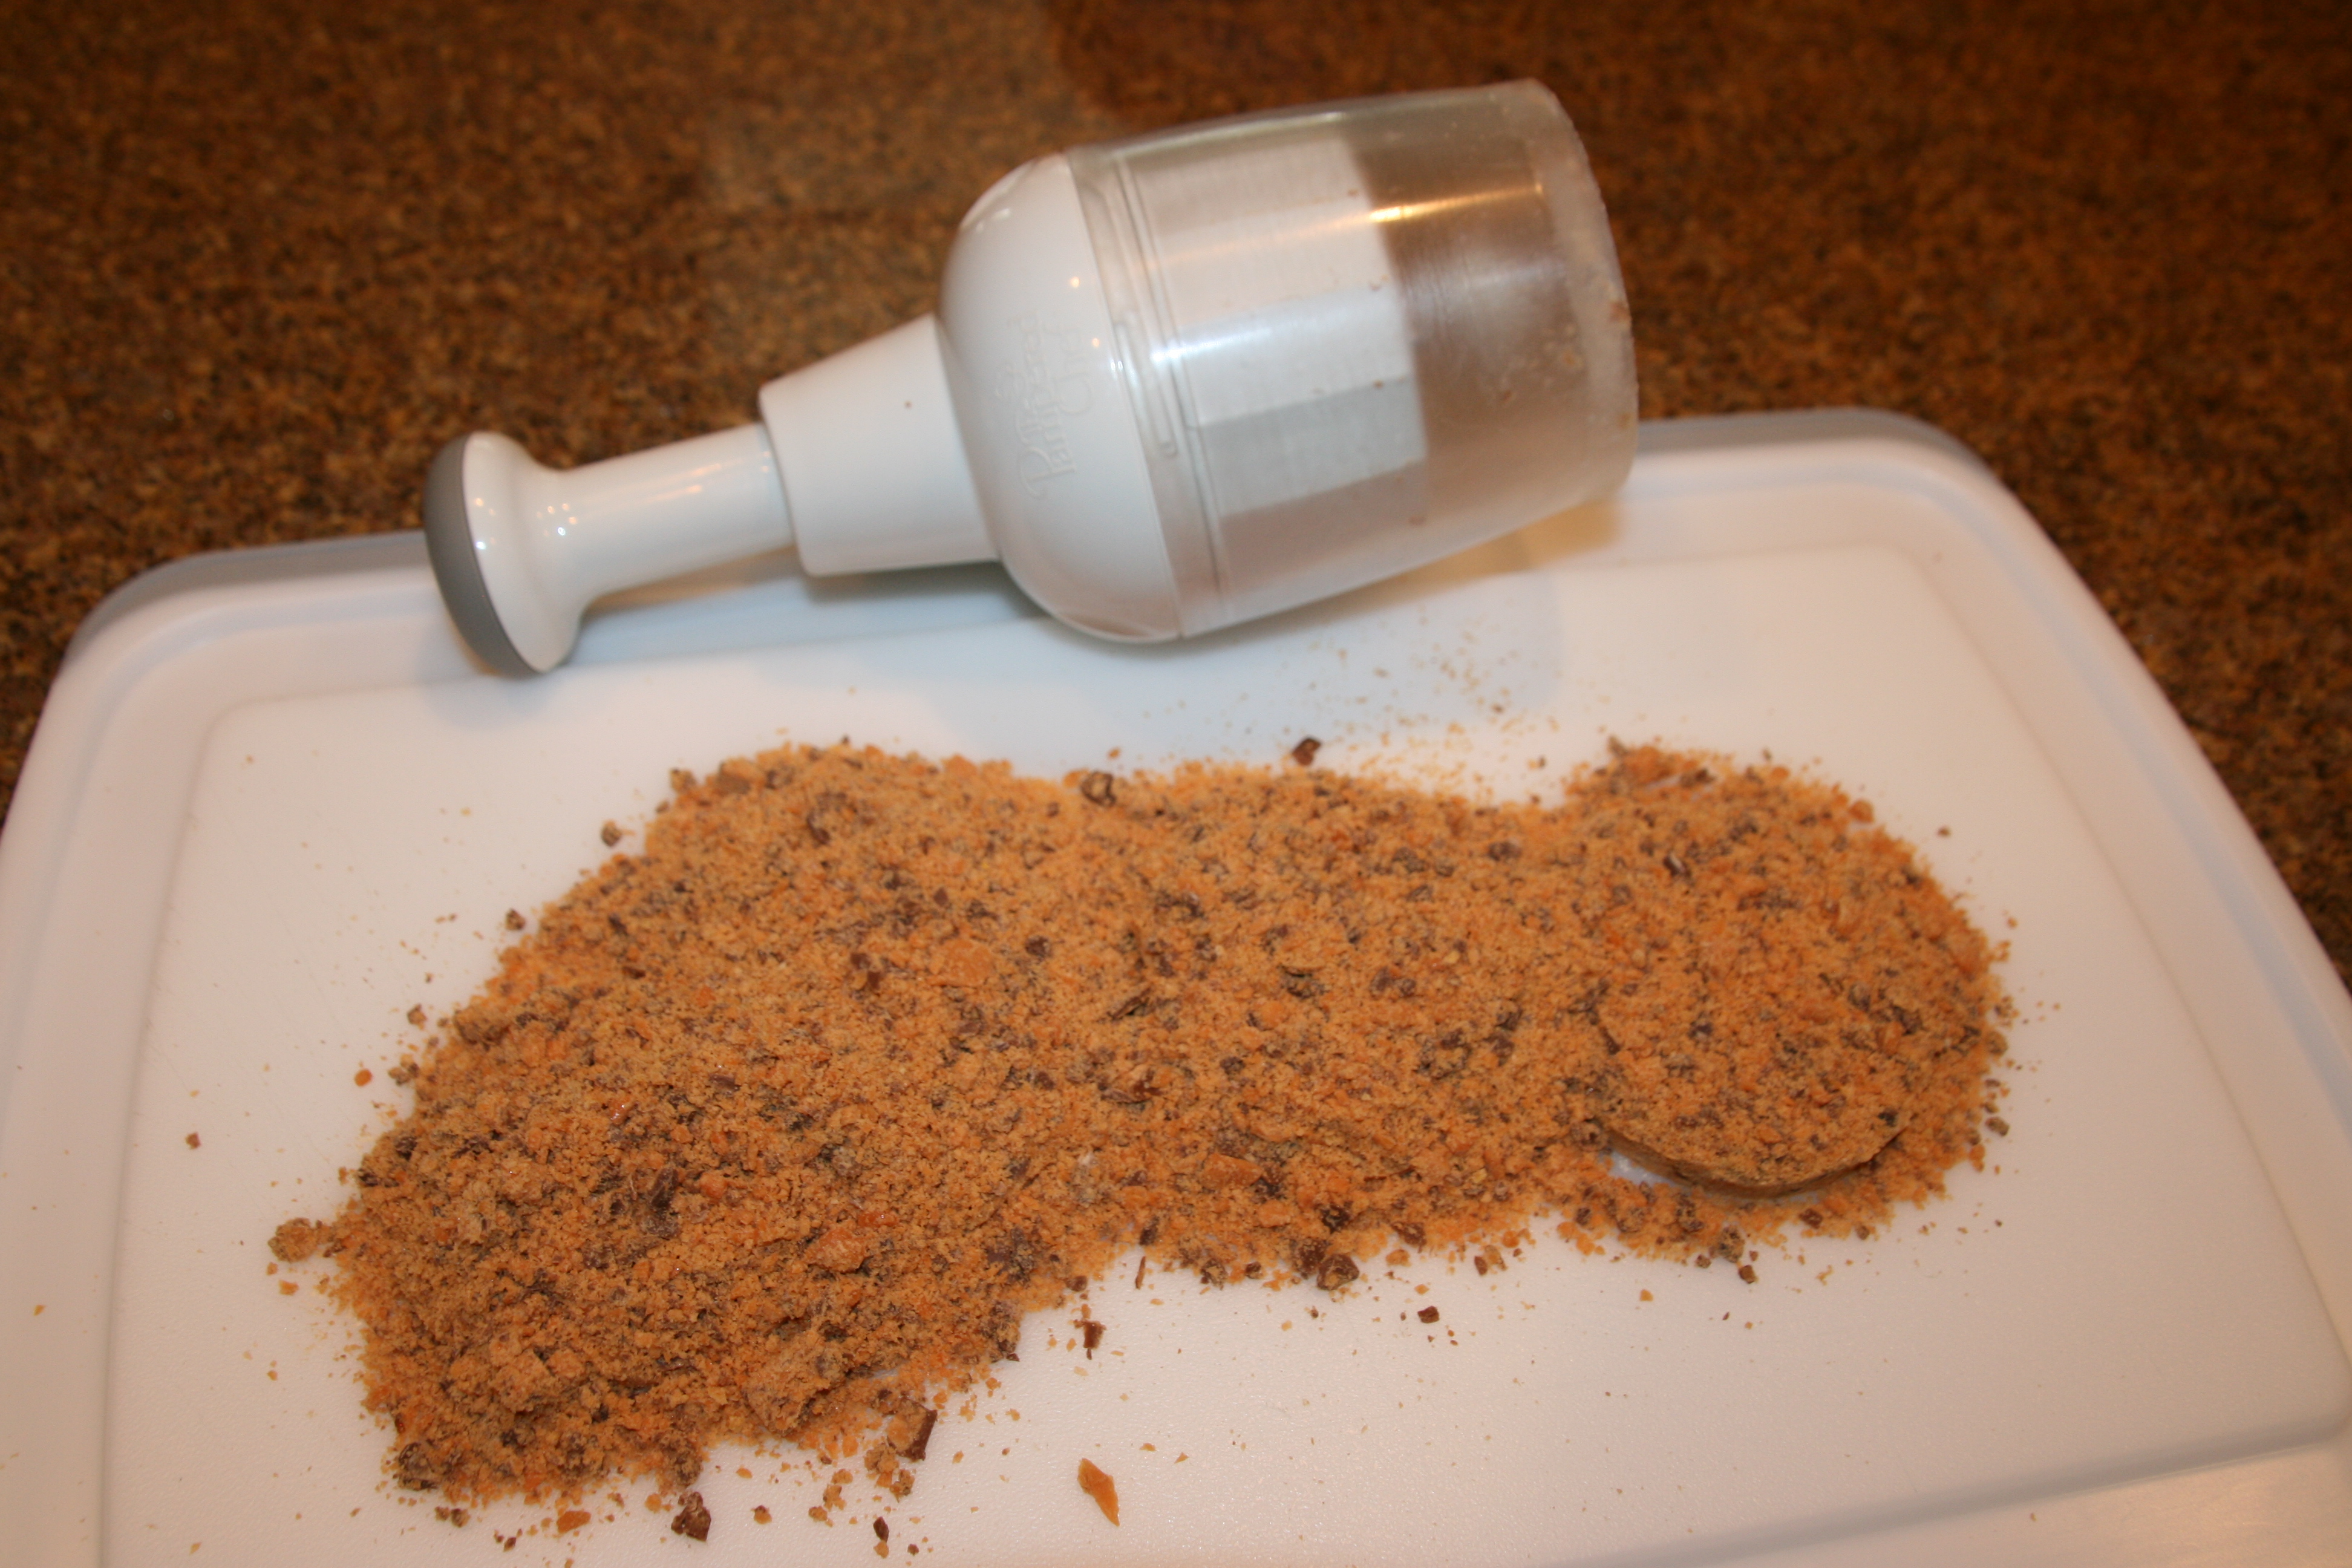
Start by melting the chocolate by following the directions on the bag.  Next, dip the Peeps Bunny about half way in to the chocolate and press it onto the cookie.  Let set and enjoy!

20190407_101408

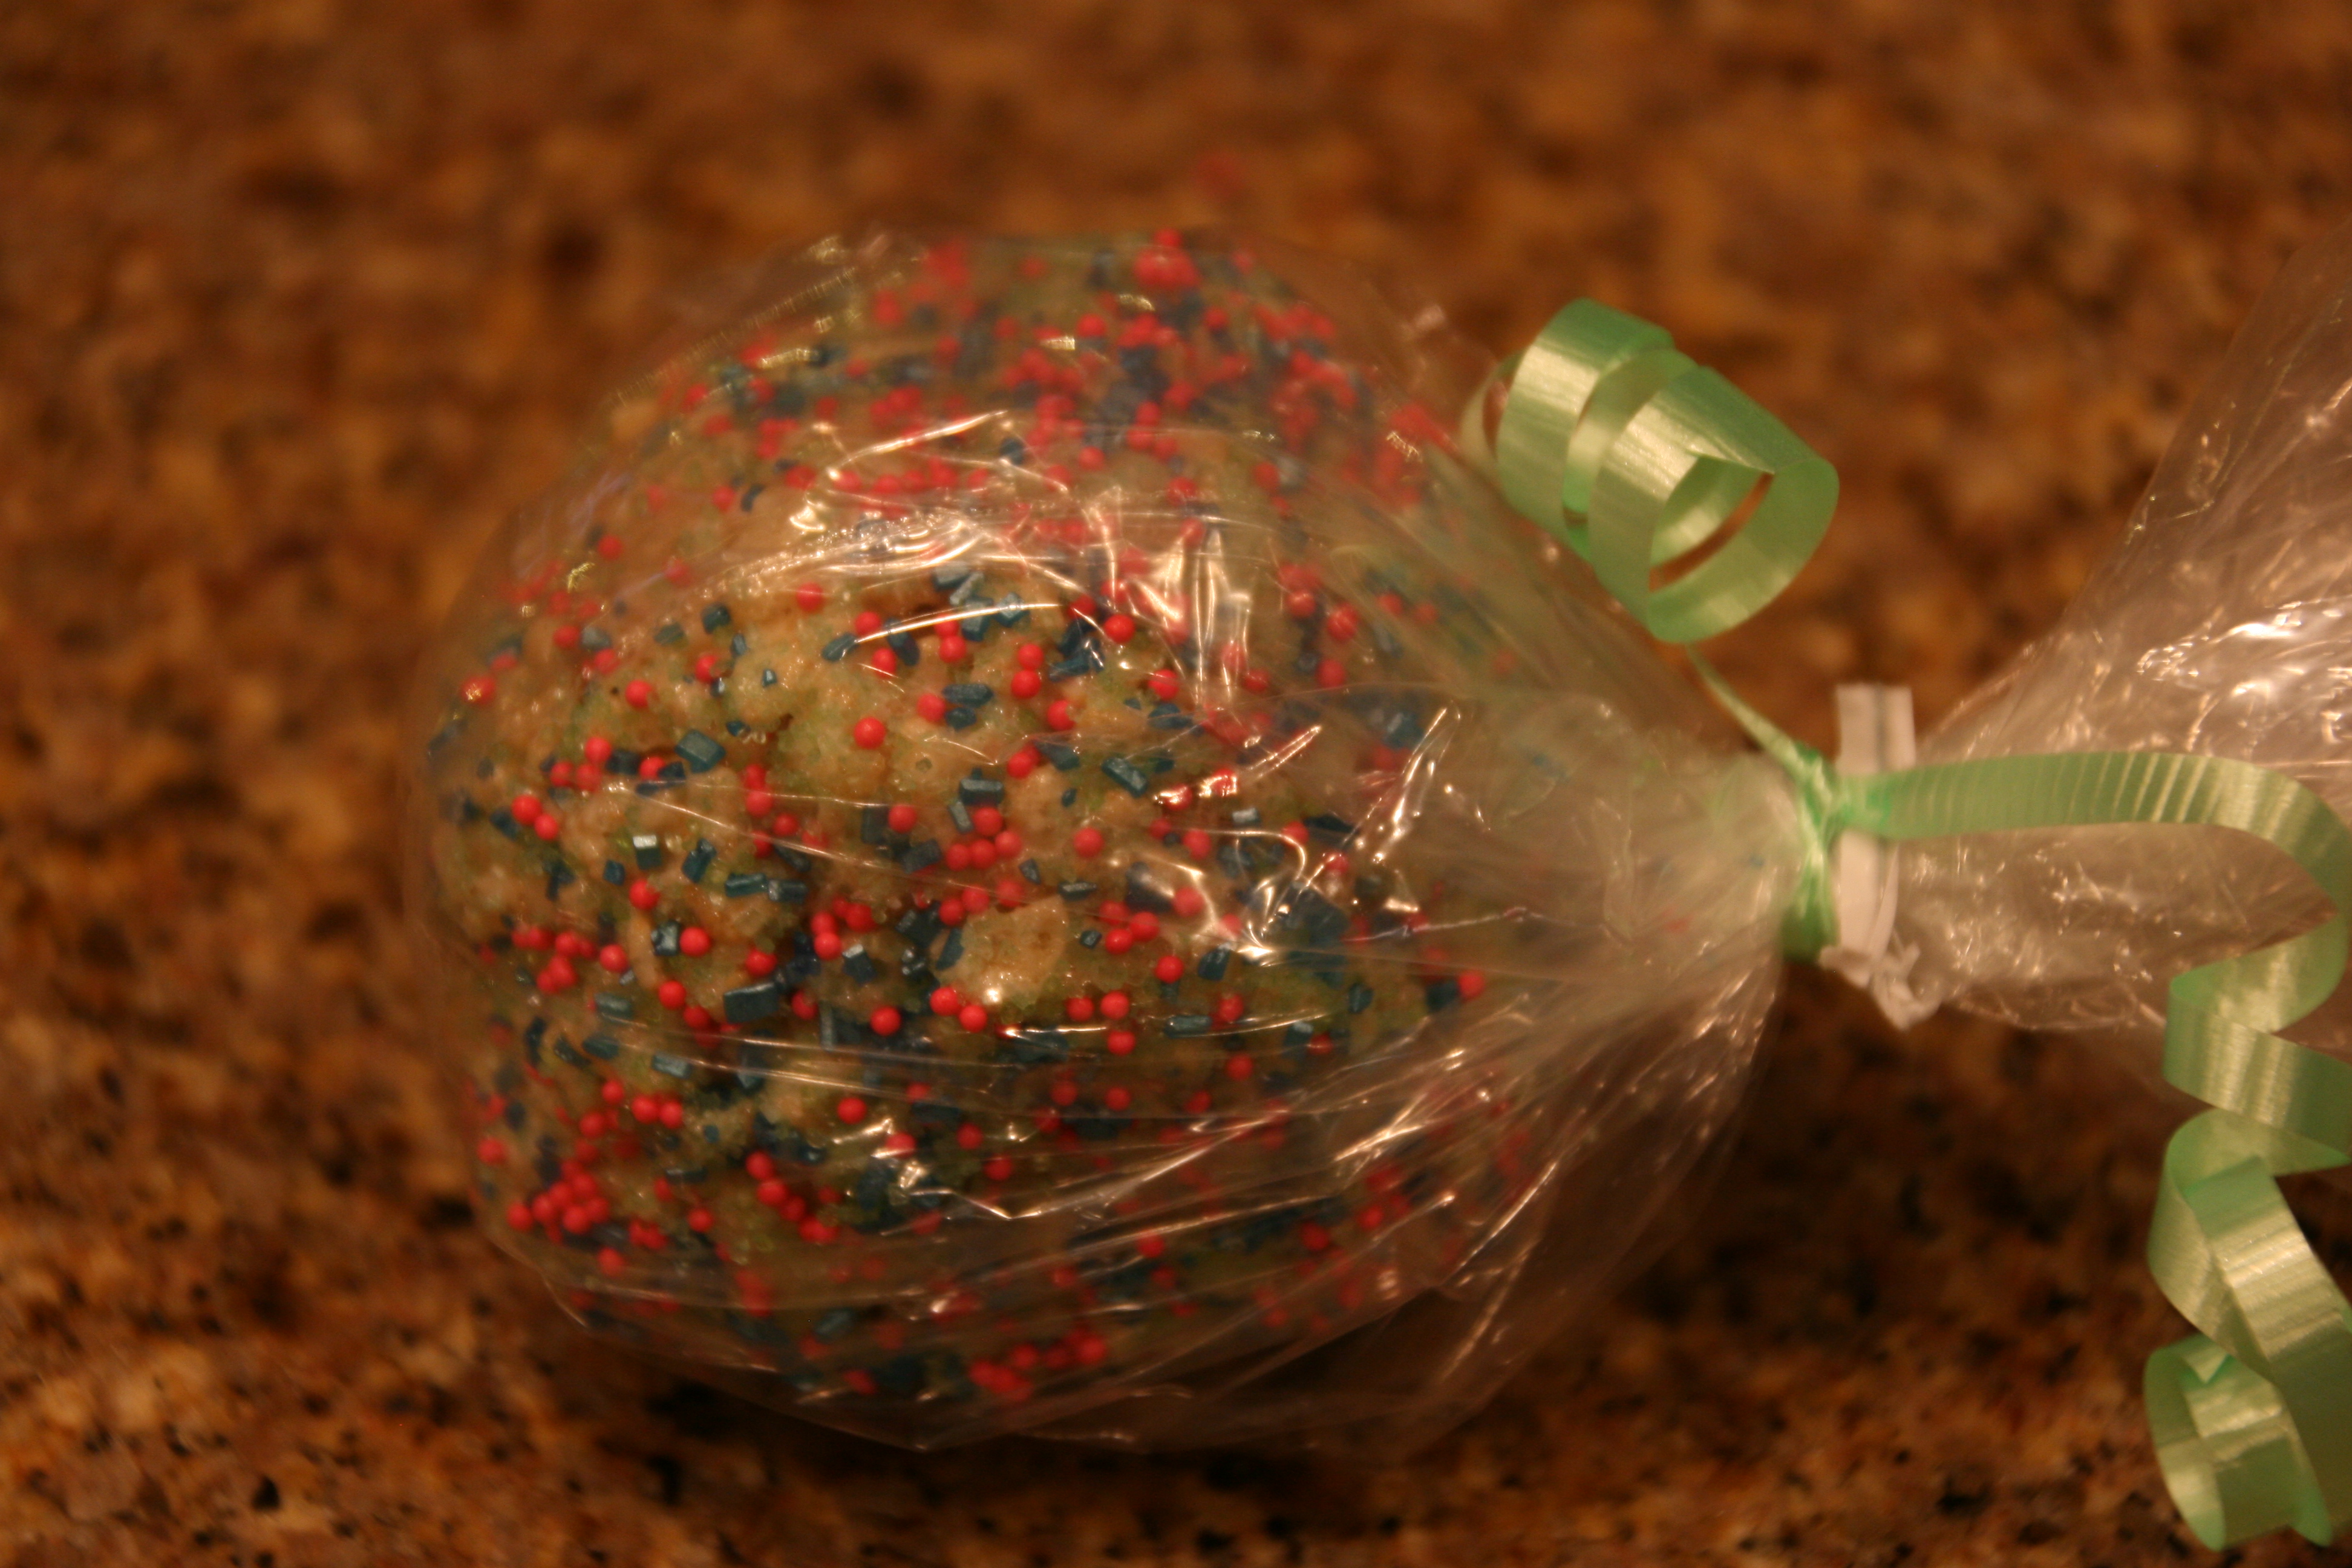
To get them ready to hand out to the class, I wrapped each one in a fold top sandwich bag and tied a spring ribbon around it.  The students LOVED them!

Happy Dipping!

“Wonder what I will come up with next”…

Gymnastics Birthday Party

053

Birthday parties are one of my favorite things to plan!!!  I think that I get more excited about them than my daughters.  This party was a gymnastics themed party held at a facility where the girls could take a gymnastics class.  I created a backdrop using a plastic table cloth taped to the wall.  Streamers & balloons with drop stars gave it the perfect touch.  I created the pennant banners with triangle shaped cardstock, ribbon and large letter stickers

Party favors included medals and water bottles.  I purchased both at The Dollar Tree.  The medals had red, white, & blue ribbons, which I switched out for the theme colors.  I used triangle shaped paper and glued on a printed gymnastics pose, stars and ribbon for the water bottle tags.

039

On the tables, I created these simple centerpieces.  I folded a 12×12 piece of scrapbook paper to create a 5 sided box and covered a styrofoam cube.  I downloaded from the internet pictures of gymnastics poses and attached them to cardstock and skewers.  A few scattered stars and medal candy for the finishing touches.

Cupcakes adorned with trophies I purchased at The Dollar Tree turned out so cute!  I topped the trophies with large marshmellows, gel & sixlets.  They were almost too cute to eat!

053

The decorations were simple but very festive.  The girls had a great time.  I can’t wait for the next birthday party to plan!

Happy birthday!

“Wonder what I will come up with next”…

Chocolate Dipped Spoons

When it’s cold outside, I’m in the mood for hot chocolate!  Some prefer coffee.  Either way, a fun treat to add to your warm beverages are chocolate dipped plastic spoons.  For the holidays this past year, I dipped spoons and added sprinkles, crushed peppermint, and mini marshmellows.  I coupled the spoons with Keurig cups and created some awesome gift baskets for special people in my life.

012

These spoons only have sprinkles, but you get the idea.  I used the Wilton melting chocolates.  Immediately after dipping approximately 6 spoons, I added the sprinkles, marshmellows, or peppermint.  Then I continued dipping.  I let them dry on parchment paper for several hours.

014

Since the “little” things are so important when creating gifts for people, I individually wrapped each spoon in a fold top sandwich bag.  I used bakers twine to tie it off and included a fun sign that read “Enjoy” or “Yum” to each spoon.  I propped the spoons up in a box that I wrapped with wrapping paper, and added a bow.  For some of the gifts, I propped up the spoons in the basket with the Keurig cups.  The spoons were a HIT!!!

012

Happy dipping…

“Wonder what I will come up with next”…

Halloween Treats…

I apologize that I am getting this to you after all of the Halloween celebrations have finished, but you can save the ideas for next year.

179180

Halloween “Grave Yard” cupcakes

I used Wilton “cookies and cream” sprinkles to create the “dirt”, gummy worms, and skull & bones candy I found at the 99cent store.

182184

Halloween “Bloody Eyeball” cupcakes

I used skull eyeball gumballs that I purchased at Walmart and red icing.  I heated up the icing so it would run as I dripped it onto the cupcakes.

187185

Halloween “Jack-O-Lantern” cookies

Once the cookies were baked and cooled, I used Wilton black gel to create the faces.

Happy baking…

“Wonder what I will come up with next”…

SIMPLE Pudding cups…

008

It was a Saturday morning, and I realized it was my neighbors birthday.  I wanted to make something special for her, but I didn’t have a lot of time.  I ran to my pantry and stood there hoping and searching for something to JUMP out at me!  I saw a box of instant vanilla pudding and thought, “OF COURSE”, I’ll add graham cracker crumbs and strawberries, and “Wa La”…I will have the quick treat I am looking for!

004

I started with foil cupcake papers because they are more stable than regular cupcake papers.  I covered the bottom with graham cracker crumbs.

005

After the instant pudding set, I spooned in the pudding on top of the graham cracker crumbs.

006

I then sprinkled more graham cracker crumbs on top of the pudding.

007

Last, I gently placed a plump strawberry on top.  DONE!  Oh, so simple, easy, and quick!!!  Anyone can do this!!!

008

Oh, and, by the way, they were quite tasty!!!

Happy eating…

“Wonder what I will come up with next”…

Luau Birthday Party cupcakes…

021022

If you saw my previous post on Luau Birthday Party Invitations, then you know how I created these fun Hula Girls!  To turn them into picks for cupcakes, simply tape a bamboo skewer, cut in half,  to the back of the Hula Girl.

105104

So simple and so festive!!!

023

Of course, the birthday girl needed candles!  In an effort to not light a Hula Girl on fire, I refrained from putting a Hula Girl on the cupcake with candles.  Instead, I added flamingo, palm tree, and pineapple candles that I found at the 99cent store.

022021

I used store bought frosting, green candy rocks, green sprinkles, and edible flowers to decorate the cupcake before adding the Hula Girl pick.

Happy eating…

“Wonder what I will come up with next”…

Rice Krispie ball “Lollipops”…

012

I love to make fun tasty treats that are creatively displayed.  I made Rice Krispie treats and formed them into balls, added a skewer, wrapped them in a clear plastic bag, tied a ribbon to create a “Lollipop”.

Start by making Rice Krispie treats by following the recipe on the cereal box.  After the ingredients have been melted and stirred, form the treats into balls instead of placing in a pan.  Be sure to grease your hands with a non stick spray, such as Pam.  Once the balls are formed,  roll the balls in a bowl filled with different sprinkles.  Don’t let the balls sit for too long before rolling them in the sprinkles, or the sprinkles won’t stick to the marshmellows.  Place the balls on parchment paper to set.  Next, use a bbq wood skewer and pierce the point into the ball.  Place the ball into a clear plastic bag and tie a ribbon.

009010

Place the skewer into a styrofoam cube (I get these at the Dollar Tree), and you have a Rice Krispie “Lollypop”.  If you want to display several at a time, purchase a flat rectangle of styrofoam (I get these at Michaels) and pierce the skewers into it.  Believe it or not, the Lollipops will stand up and not tip over.

012

Happy Lollipops…

“Wonder what I will come up with next”…

Butterfinger topped brownies…

015

Once you try these brownies, you won’t want traditional brownies ever again!  These brownies are so tasty, they were mentioned on the local news by a TV reporter that had tried them.  If you don’t believe me, go to the store and start baking!  They will ignite your taste buds!!!

I came up with the idea to top brownies with Butterfingers because Butterfingers are my husbands favorite candy.  His birthday was approaching and I wanted to make him some thing extra special.  I had already played with adding pecans and topping brownies with caramel, so I was ripe for a new baking adventure.  I was so pleased with the results, I have been making these brownies ever since.

006

Start by mixing a box of brownie mix as the instructions state.  Put the brownie mix in your pan.  Crush 2 large Butterfinger candy bars until they are powder.  I use my Pampered Chef chopper for this task and it works great!

007

Once the Butterfingers are powder, spread them evenly over the brownie mix in the pan.

008 009

Bake by following the instructions on the brownie mix box.  Do not over cook them.

010

What you will get is a crispy top on the brownies.  They are so delightful and yummy!

015

Happy eating…

“Wonder what I will come up with next”…

How to use the skins of mashed potatoes for a potato skin appetizer

014

I don’t know about you, but, I am not a big fan of peeling potatoes.  I was given the assignment of making mashed potatoes for Thanksgiving dinner and thought, “Oh man!  I will have to peel ALL of those potatoes.  What a waste of time!  AND the skins hold all of the nutrients.”  I came up with a much better idea, AND created an appetizer in the process.  I boiled the potatoes with the skins on.  When they were done, I cut them in half and gently scooped out the centers for the mashed potatoes.  I placed the skin pieces on a cookie sheet, added toppings, and baked them to create a potato skin casserole.  They weren’t as pretty as traditional potato skins, but they sure were tasty!

011012

I made guacamole and had sour cream as sides with the potato skin casserole.  BOTH dishes, mashed potatoes and potato skin casserole were a hit!

014

Happy eating…

“Wonder what I will come up with next”…

“Grave Yard” cupcakes…

035046

Who doesn’t LOVE a festive cupcake?!?!  I made these cupcakes for my kids classes.  They are sure to be a hit on Halloween!

032

Start by writing “RIP” on the smooth side of the orange slice candies with black decorating gel.  Let the gel dry over night.

031

Bake the cupcakes and frost them with chocolate frosting.  Place the orange slice candy on the cupcake and add the sprinkles so that it looks like dirt from a fresh grave.  Add bones & skull candies on top of the dirt sprinkles.

033

To make the “Grave Yard” cupcake platter, start with a large lid from a box.  Cover the lid with aluminum foil.  Make the back side of the foil taller.  This will keep the glitter, etc from the backdrop trees from dropping onto the cupcakes.

038043

I bought the tree branch picks at the 99cent store.  I taped them to the side & bottom of the lid.

041042

I added a strand of black mesh around the outside of the lid and tied it in a knot in front.

045

Add the cupcakes to the lid and you are ready to display your “Grave Yard”.

046

Happy Halloween…

“Wonder what I will come up with next”…