Luau Party Gifts…

008009

If you have been reading my last several posts, then you know that I had a LUAU birthday party for my daughter.  OF COURSE, I have to wrap the gifts to match the theme of the party!!!  I used hibiscus flowers, blue ribbon, and palm tree scrapbook paper on these gifts.

013

On this gift, I wrapped the package with green streamers and glued Hula Girl pictures onto the box.  I topped it with a purple hibiscus flower.

012

On this gift, I created the #6 with hibiscus flower stickers because this was my daughter’s 6th birthday.  I wrapped the box with yellow, blue & green ribbon and topped it with a yellow hibiscus.

Happy wrapping…

“Wonder what I will come up with next”…

Luau Birthday Party Decor…

015

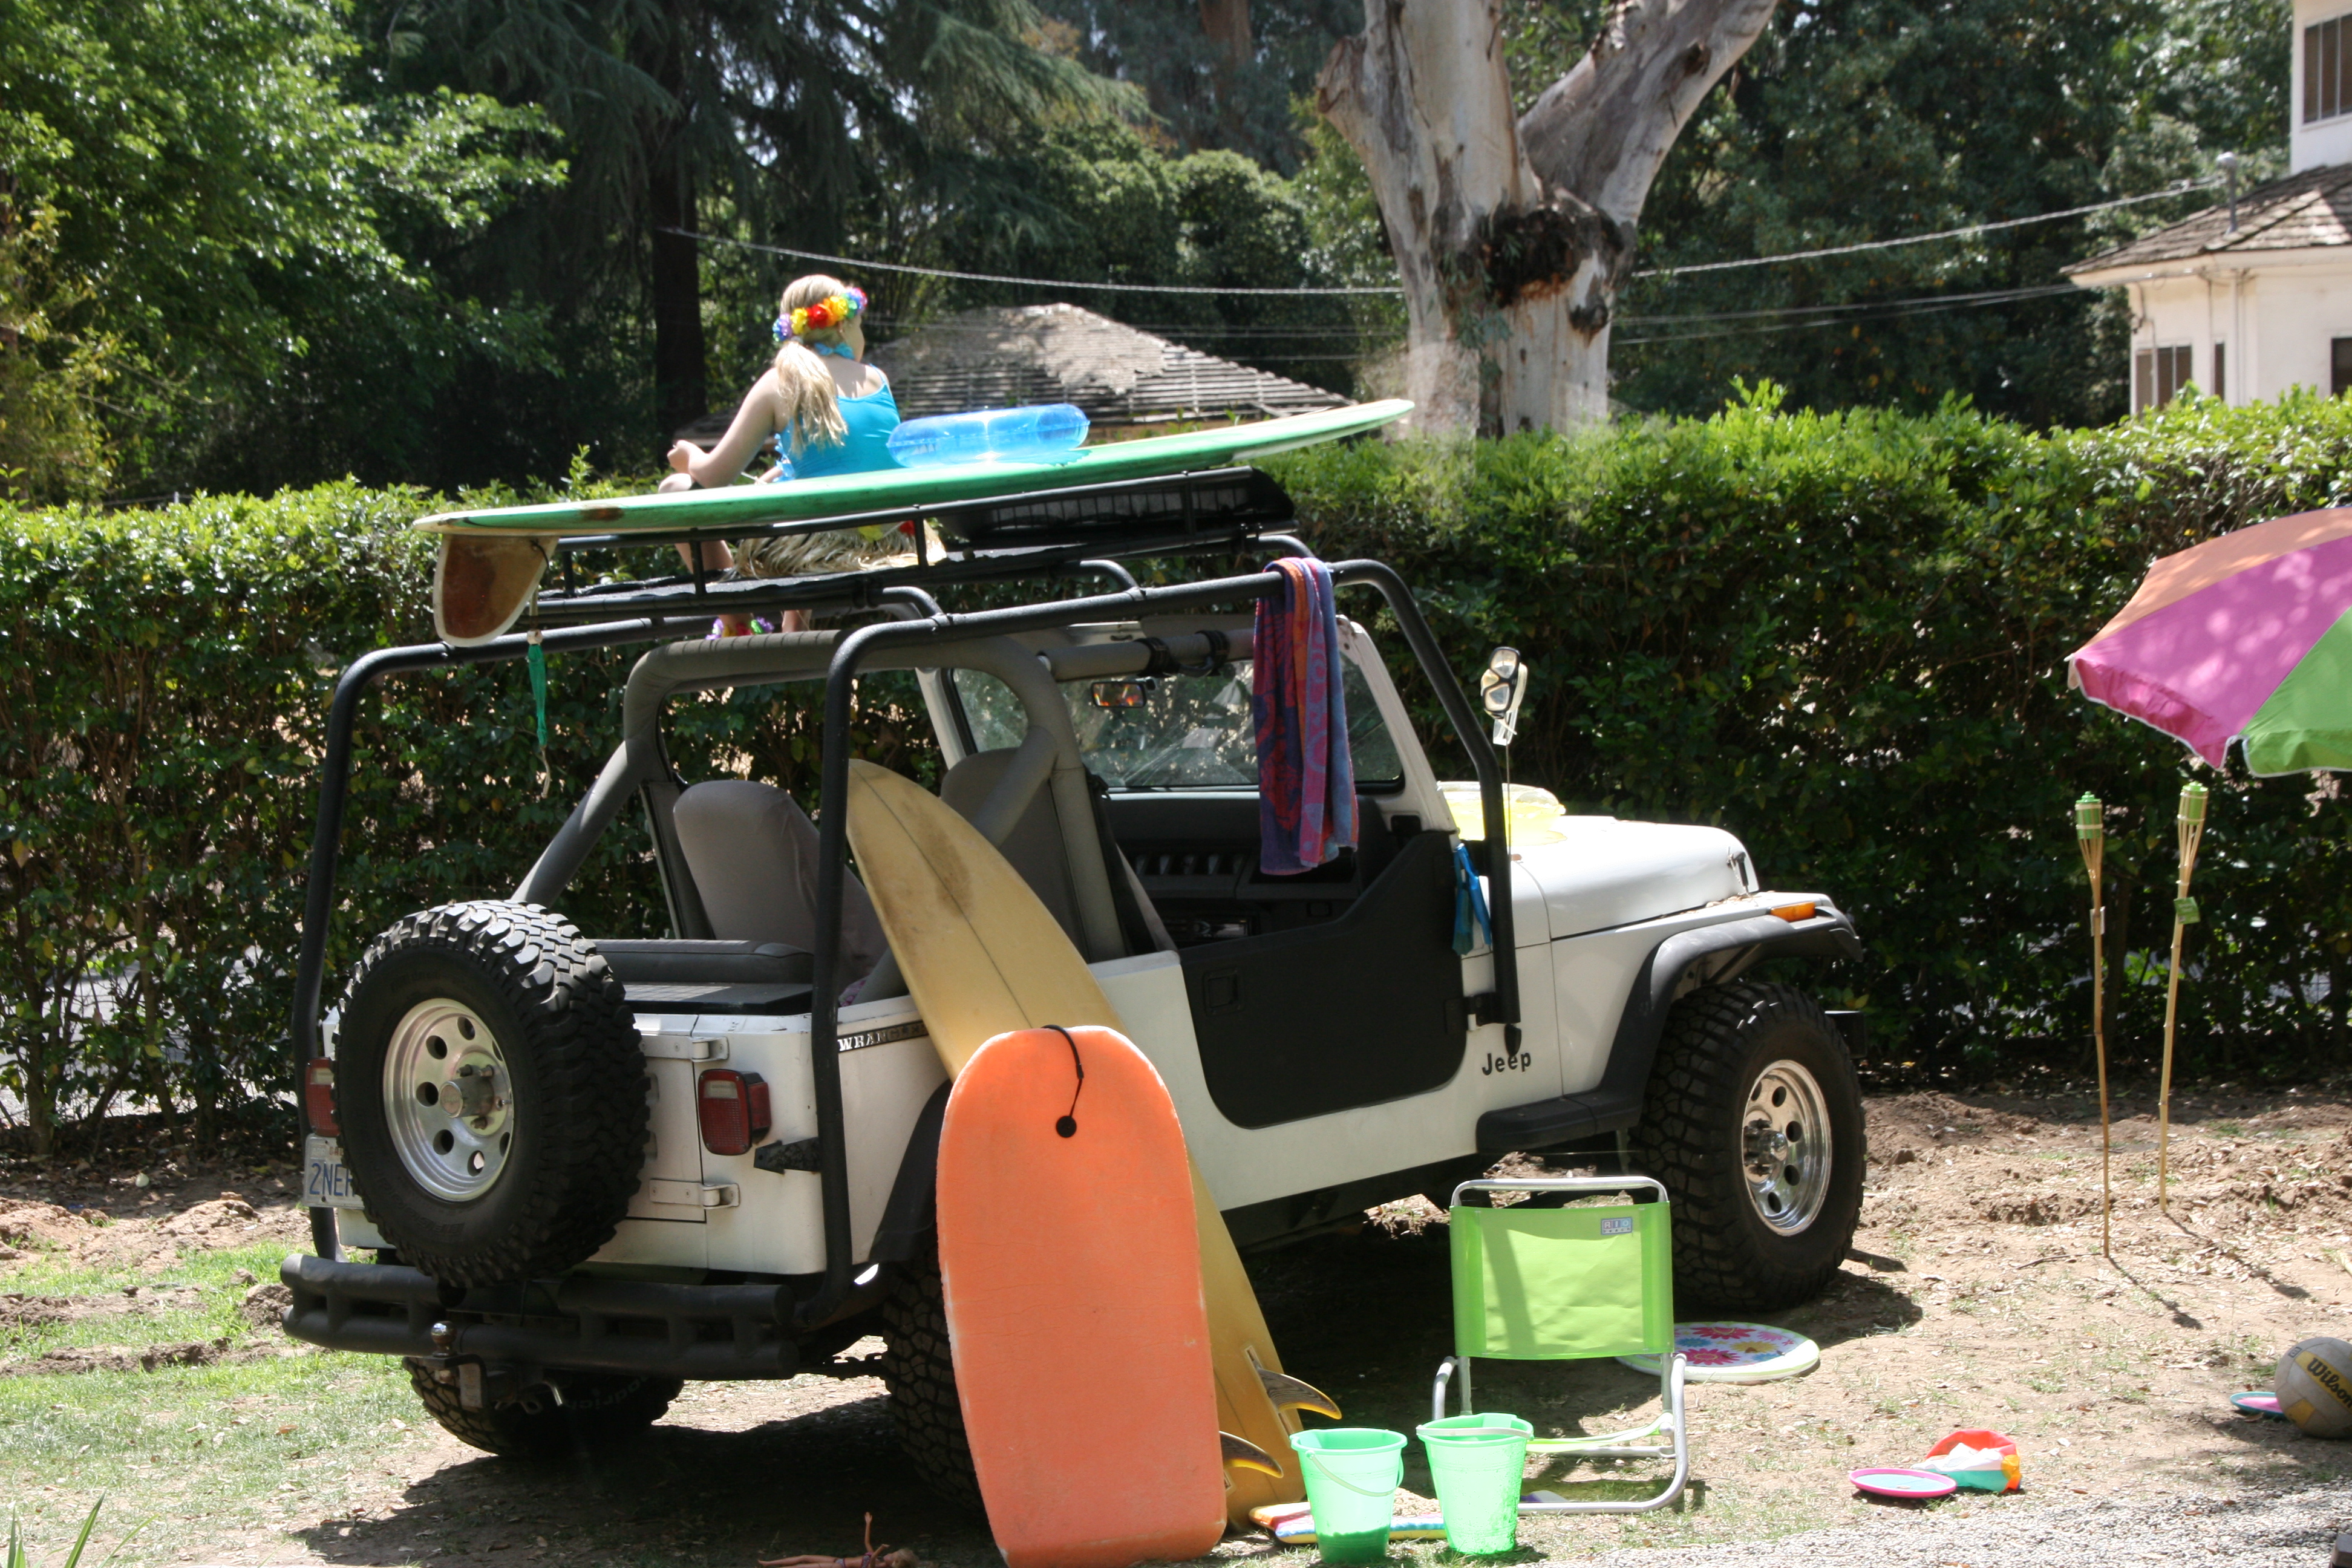
When I host a party, I GO BIG!!!  I have a ridiculous amount of fun planning and decorating for a party.  It is like a drug for me!!!  My husband gets into the fun also.  For our daughters LUAU birthday party, he parked his jeep in our front yard and decorated it with surf boards, boogie board, beach chairs, buckets, umbrella, tiki torches, and more.  This is the first thing that the guests saw as they arrived to the party.  Talk about a grand entrance!!!

033028

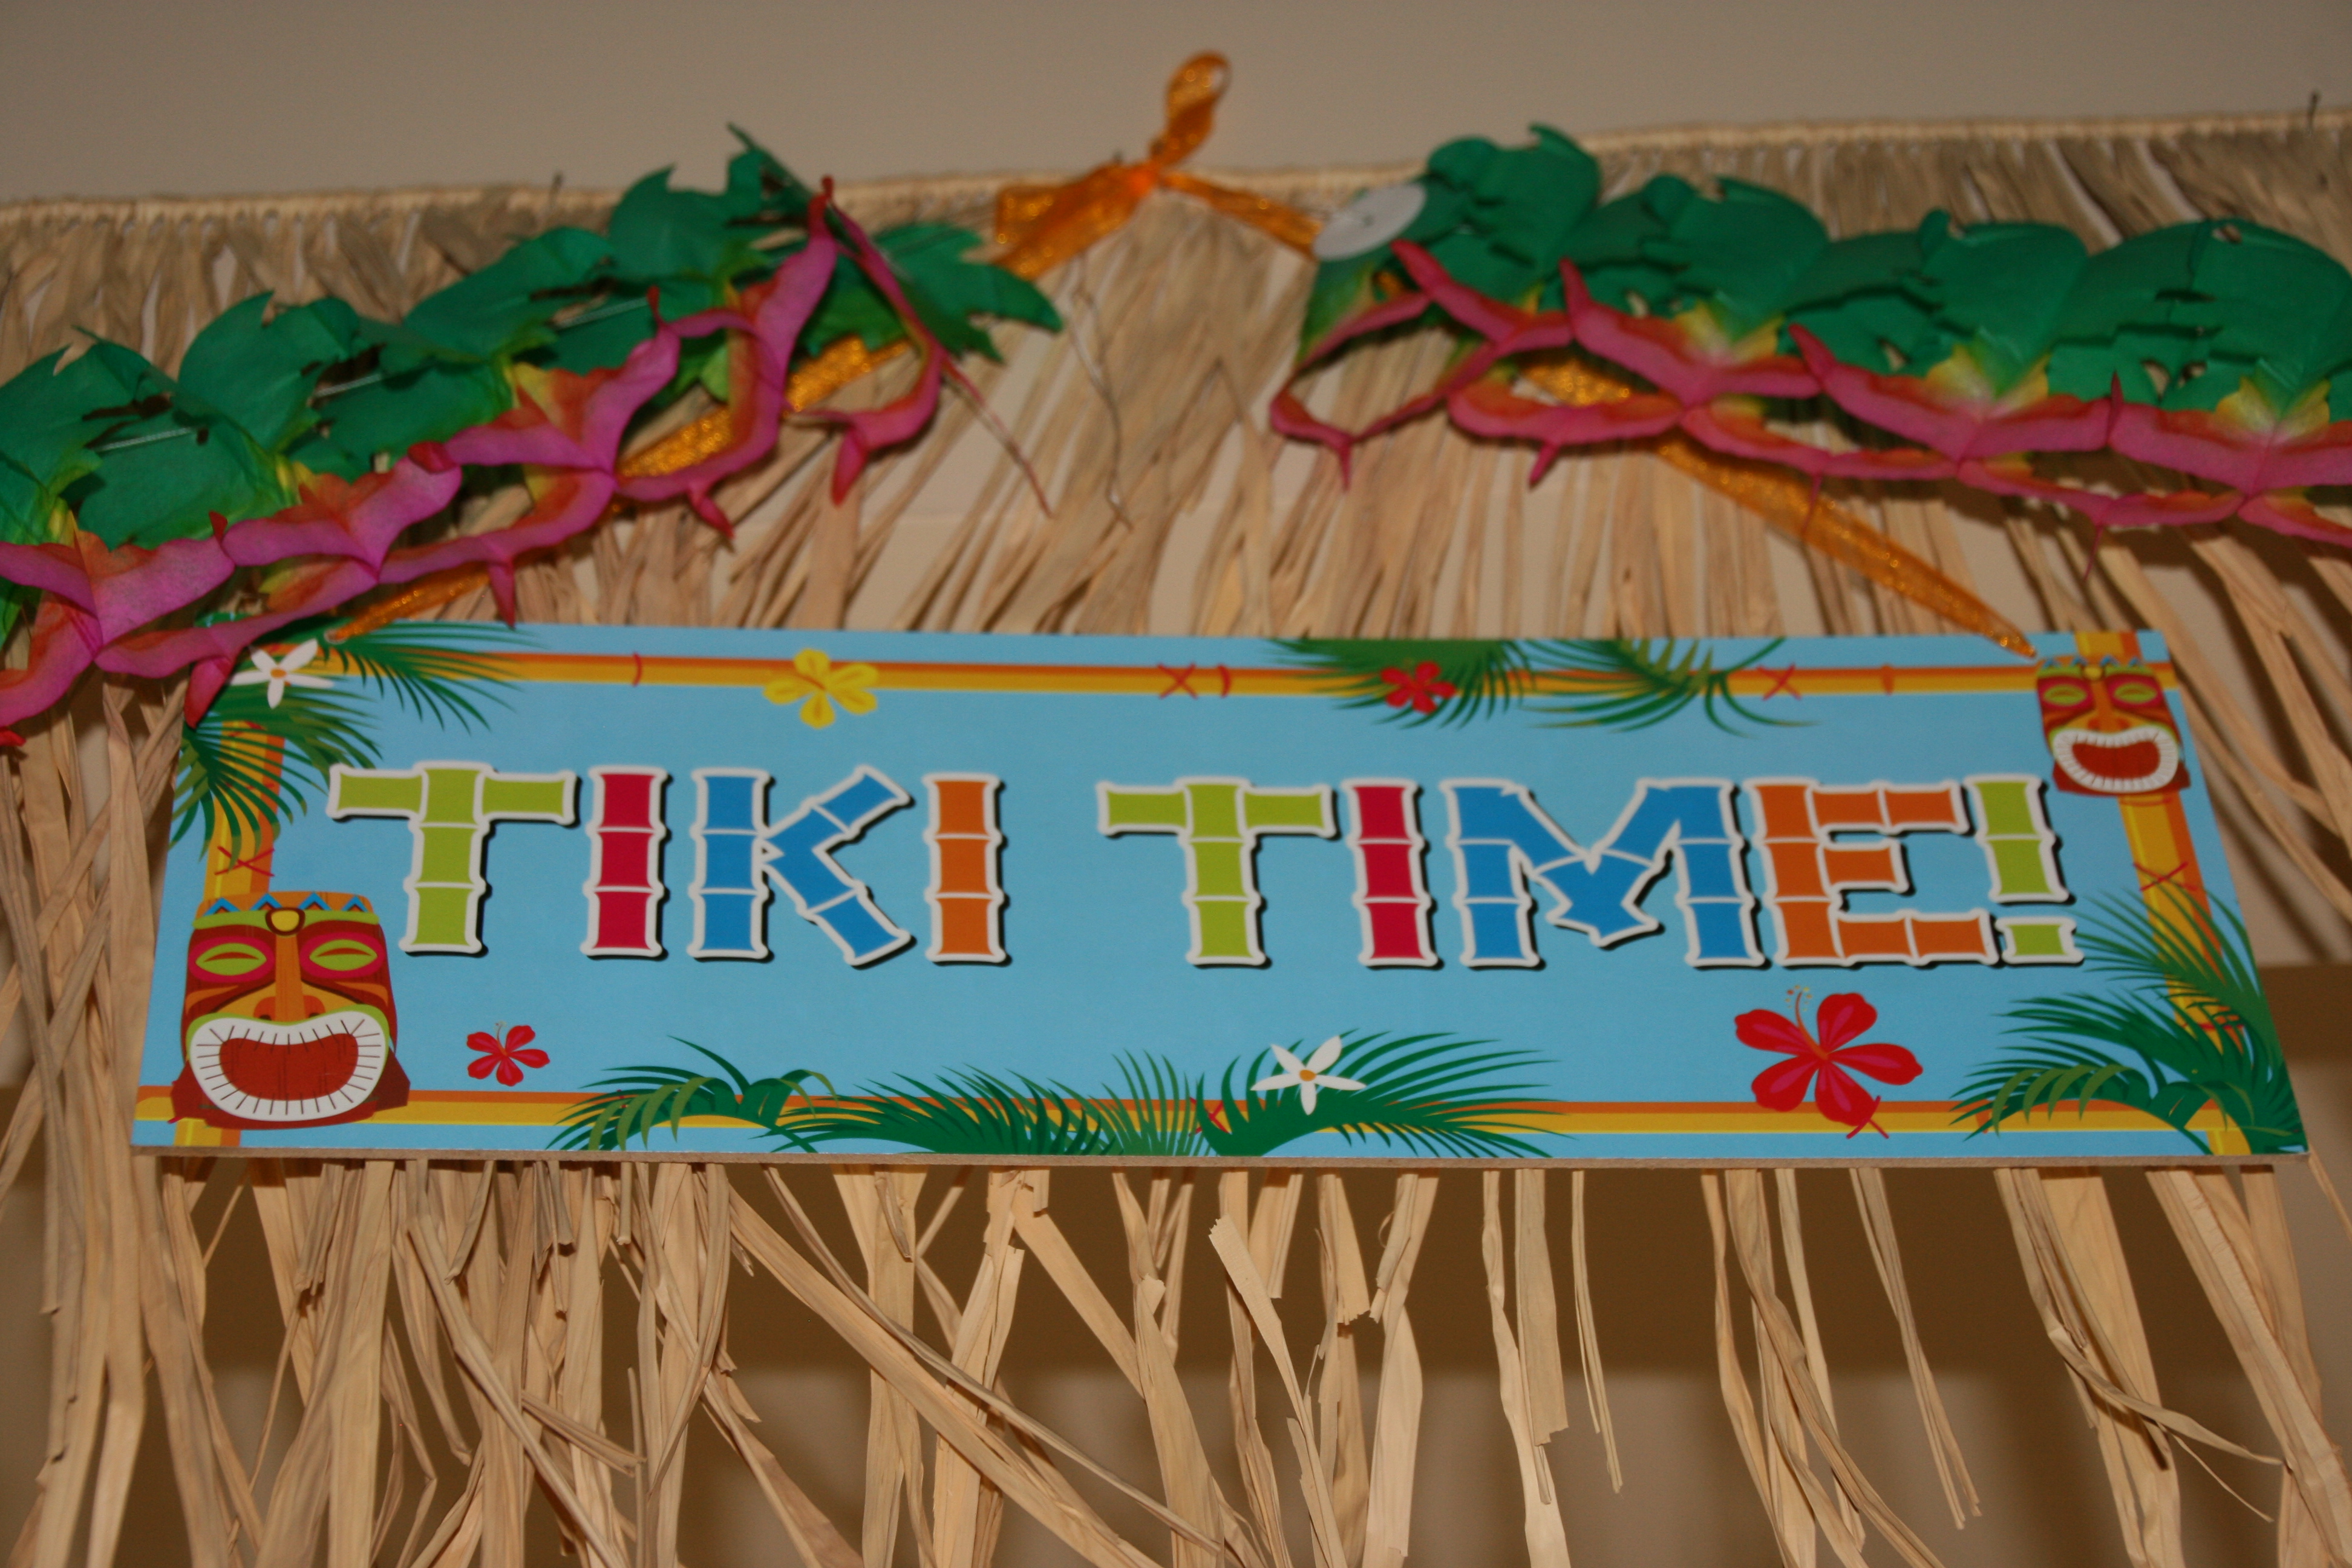
As the guests arrived, they were greeted with raffia table skirts hanging from the ceiling with colorful lanterns and palm trees, as well as flowers.  All guests received a grass skirt, lei, and flower clip as they entered the “Tiki Hut”.

036038

037

024025

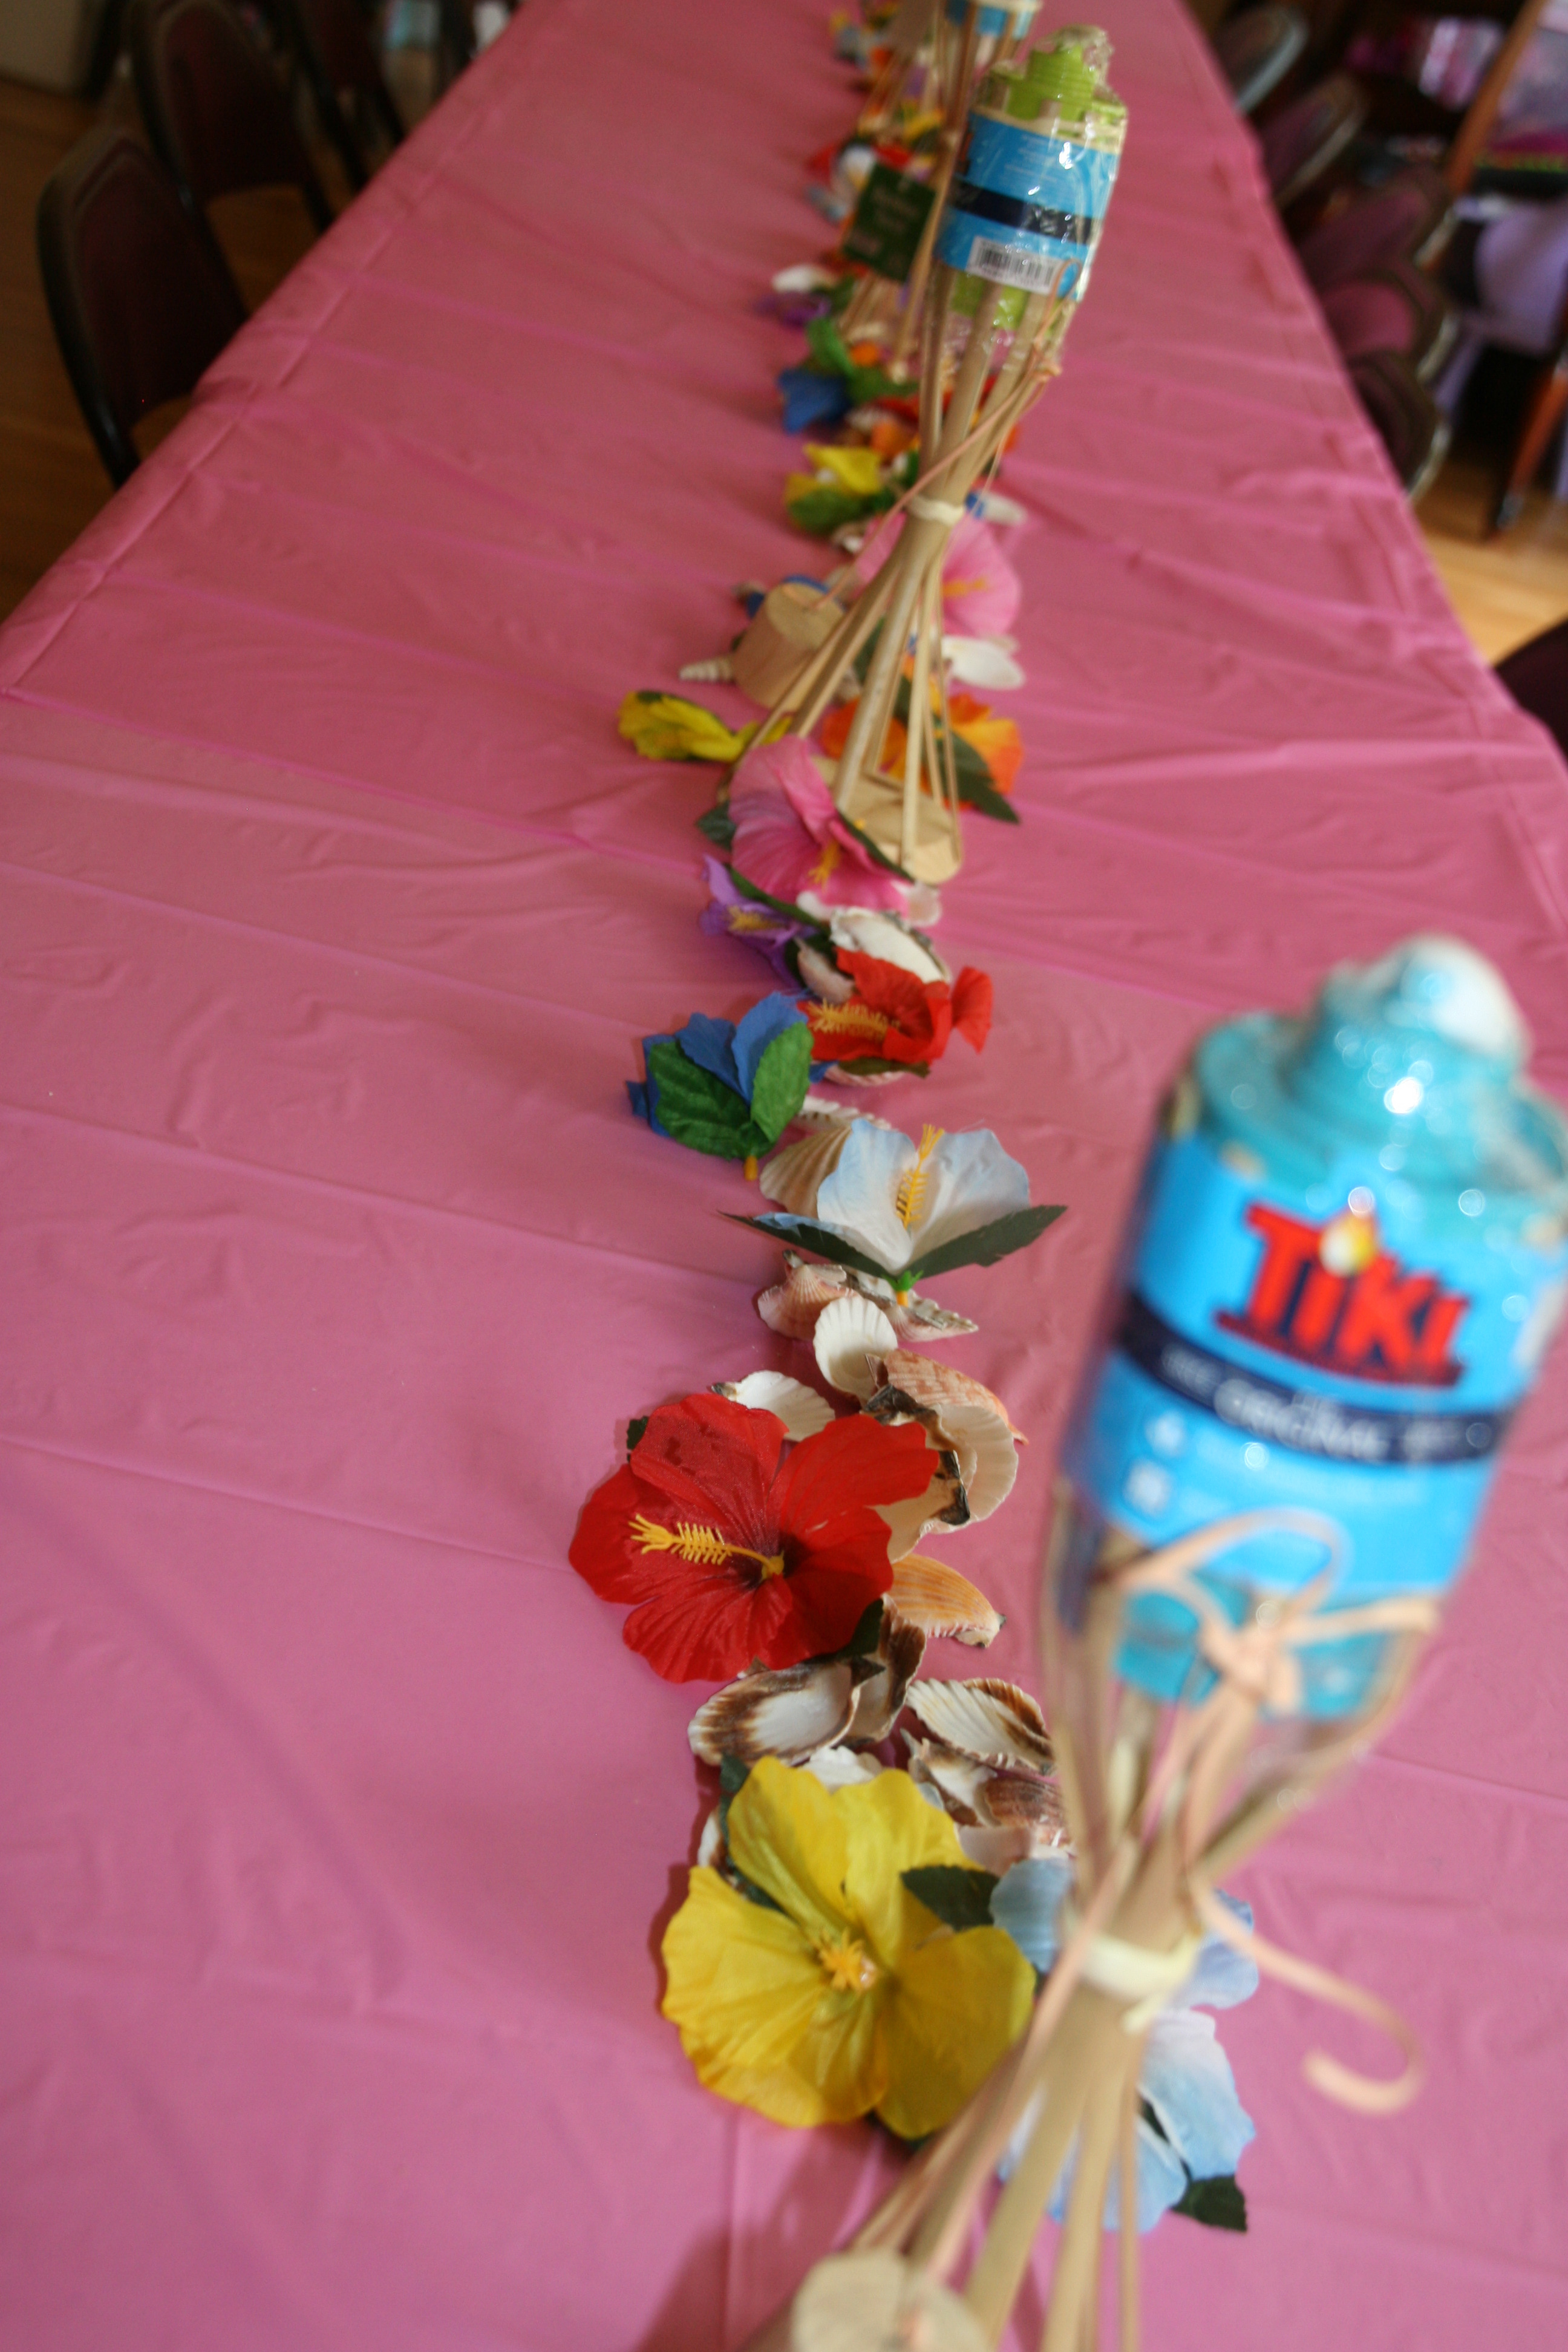
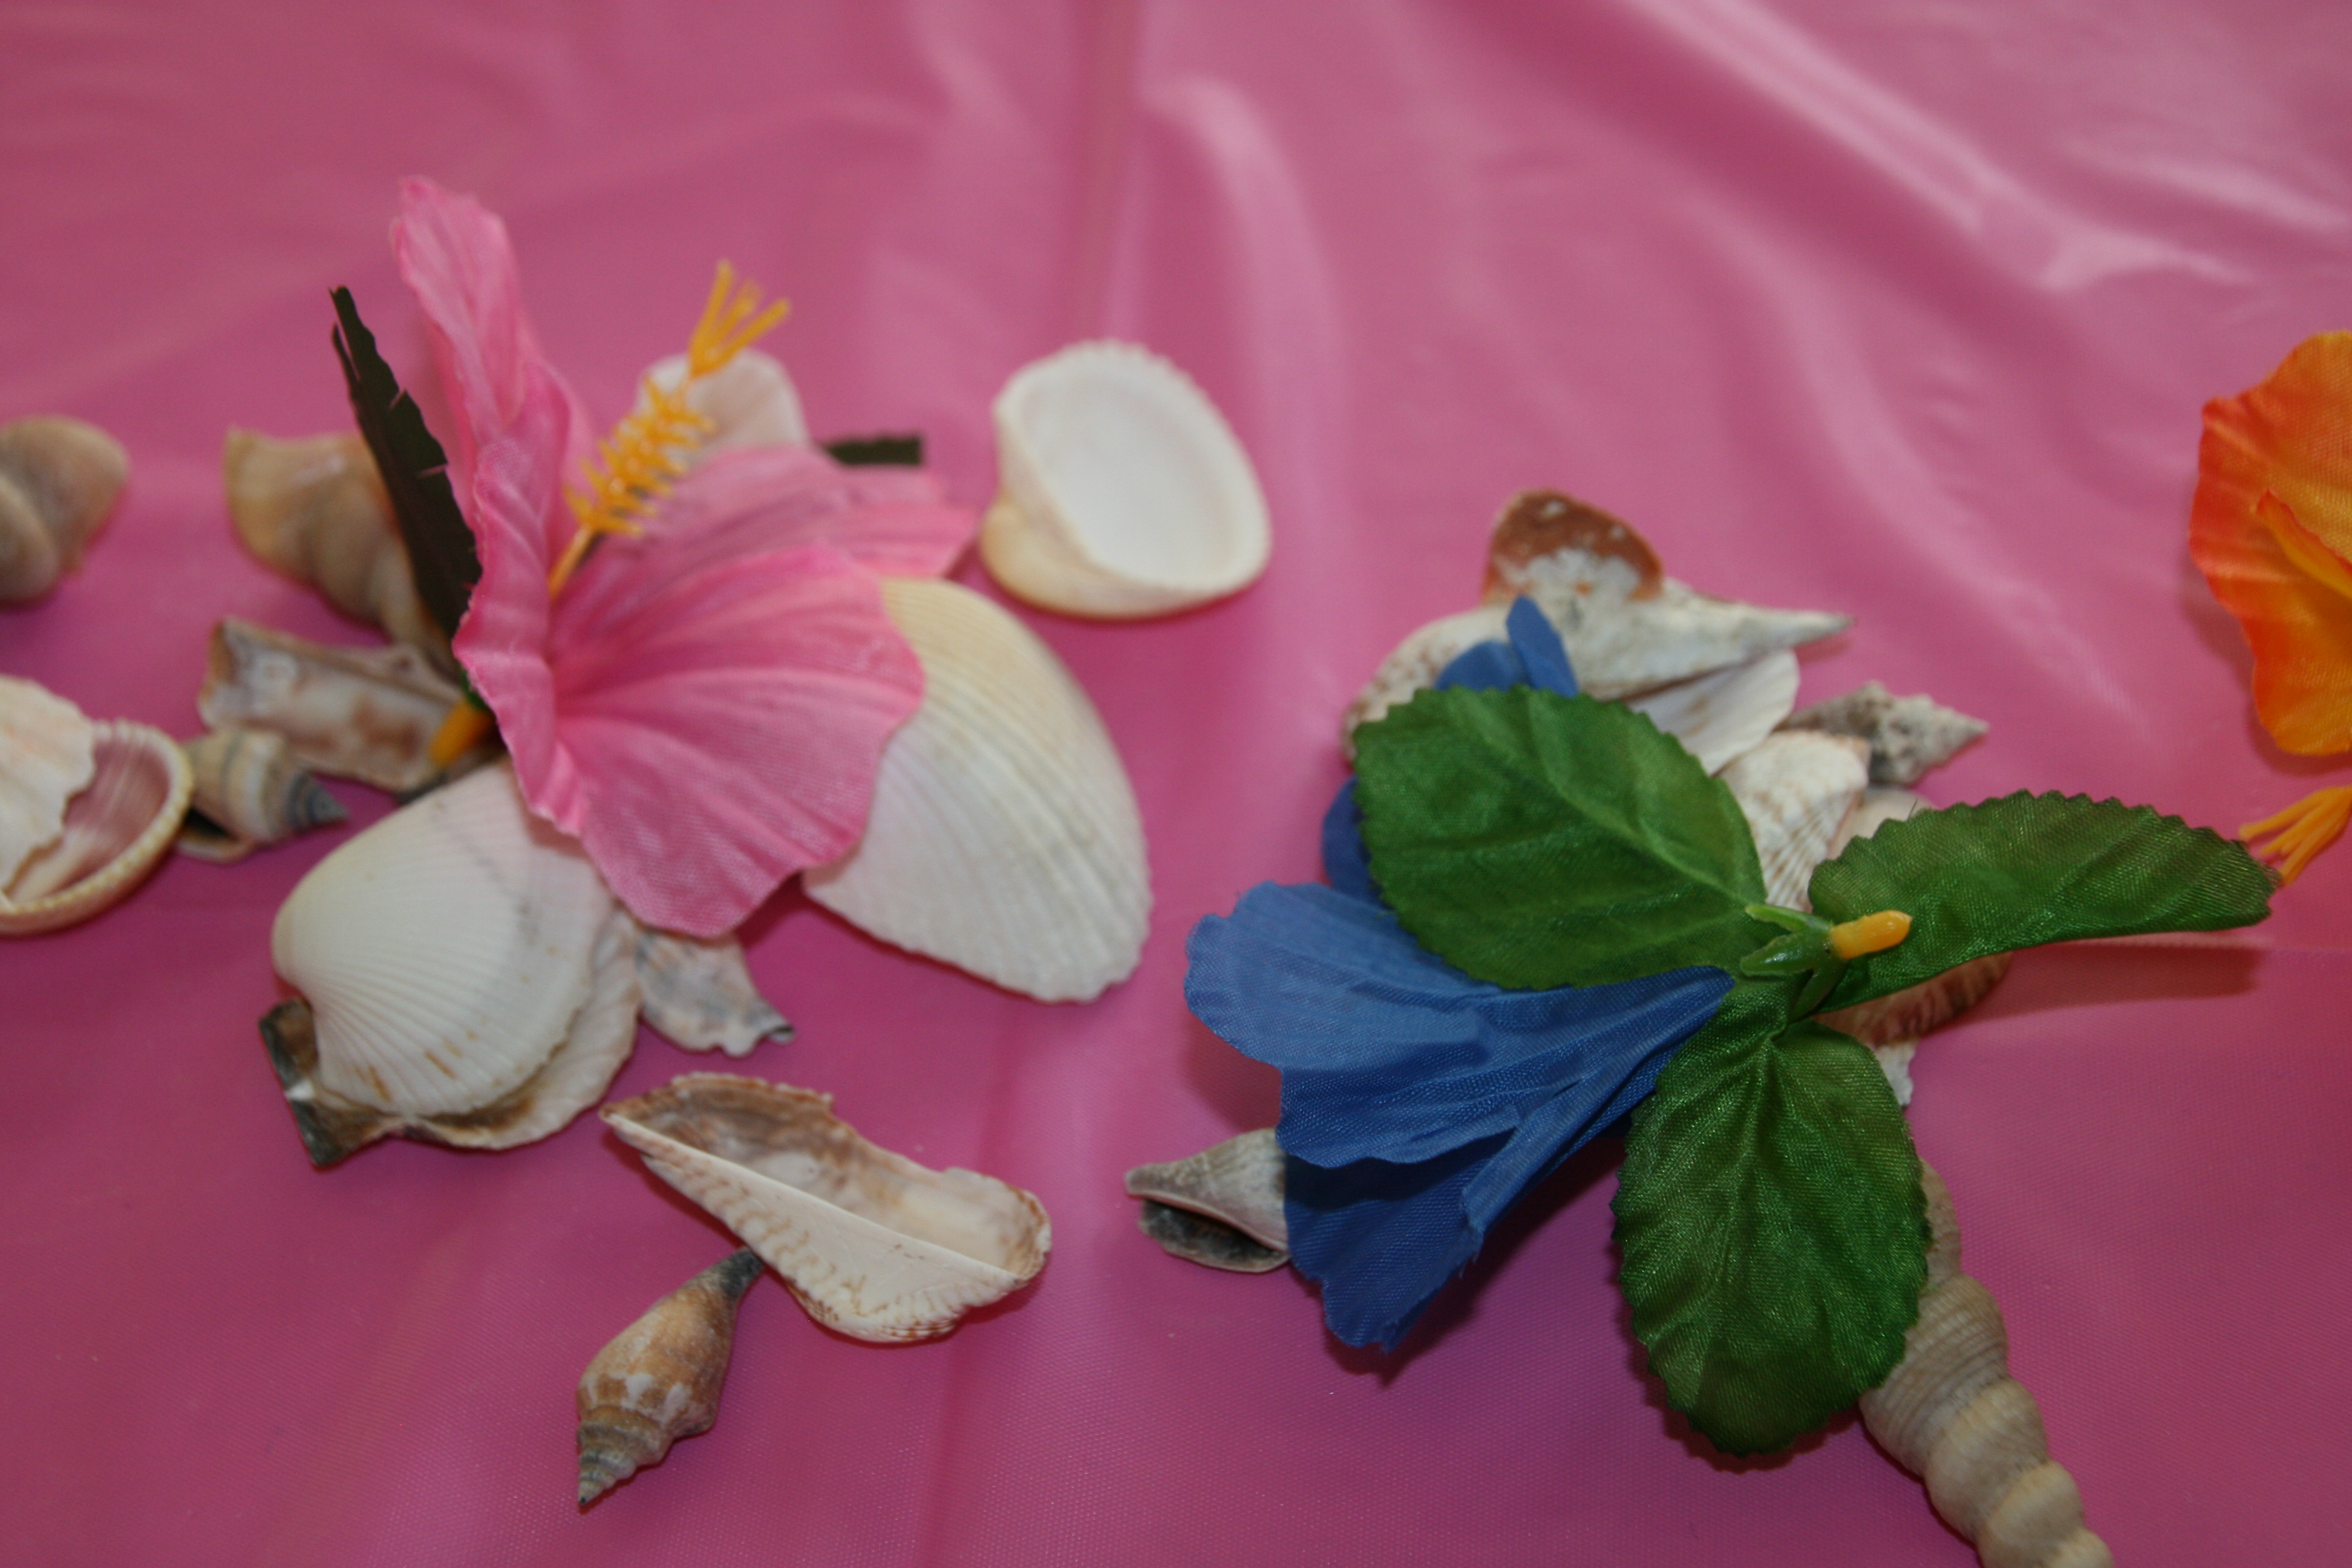
On the table, I scattered hibiscus flowers and shells.  I also added table top tiki torches.

035

019020

The food table had buckets filled with clean cat litter and bright spiral candle sticks.  I also scattered hibiscus flowers.

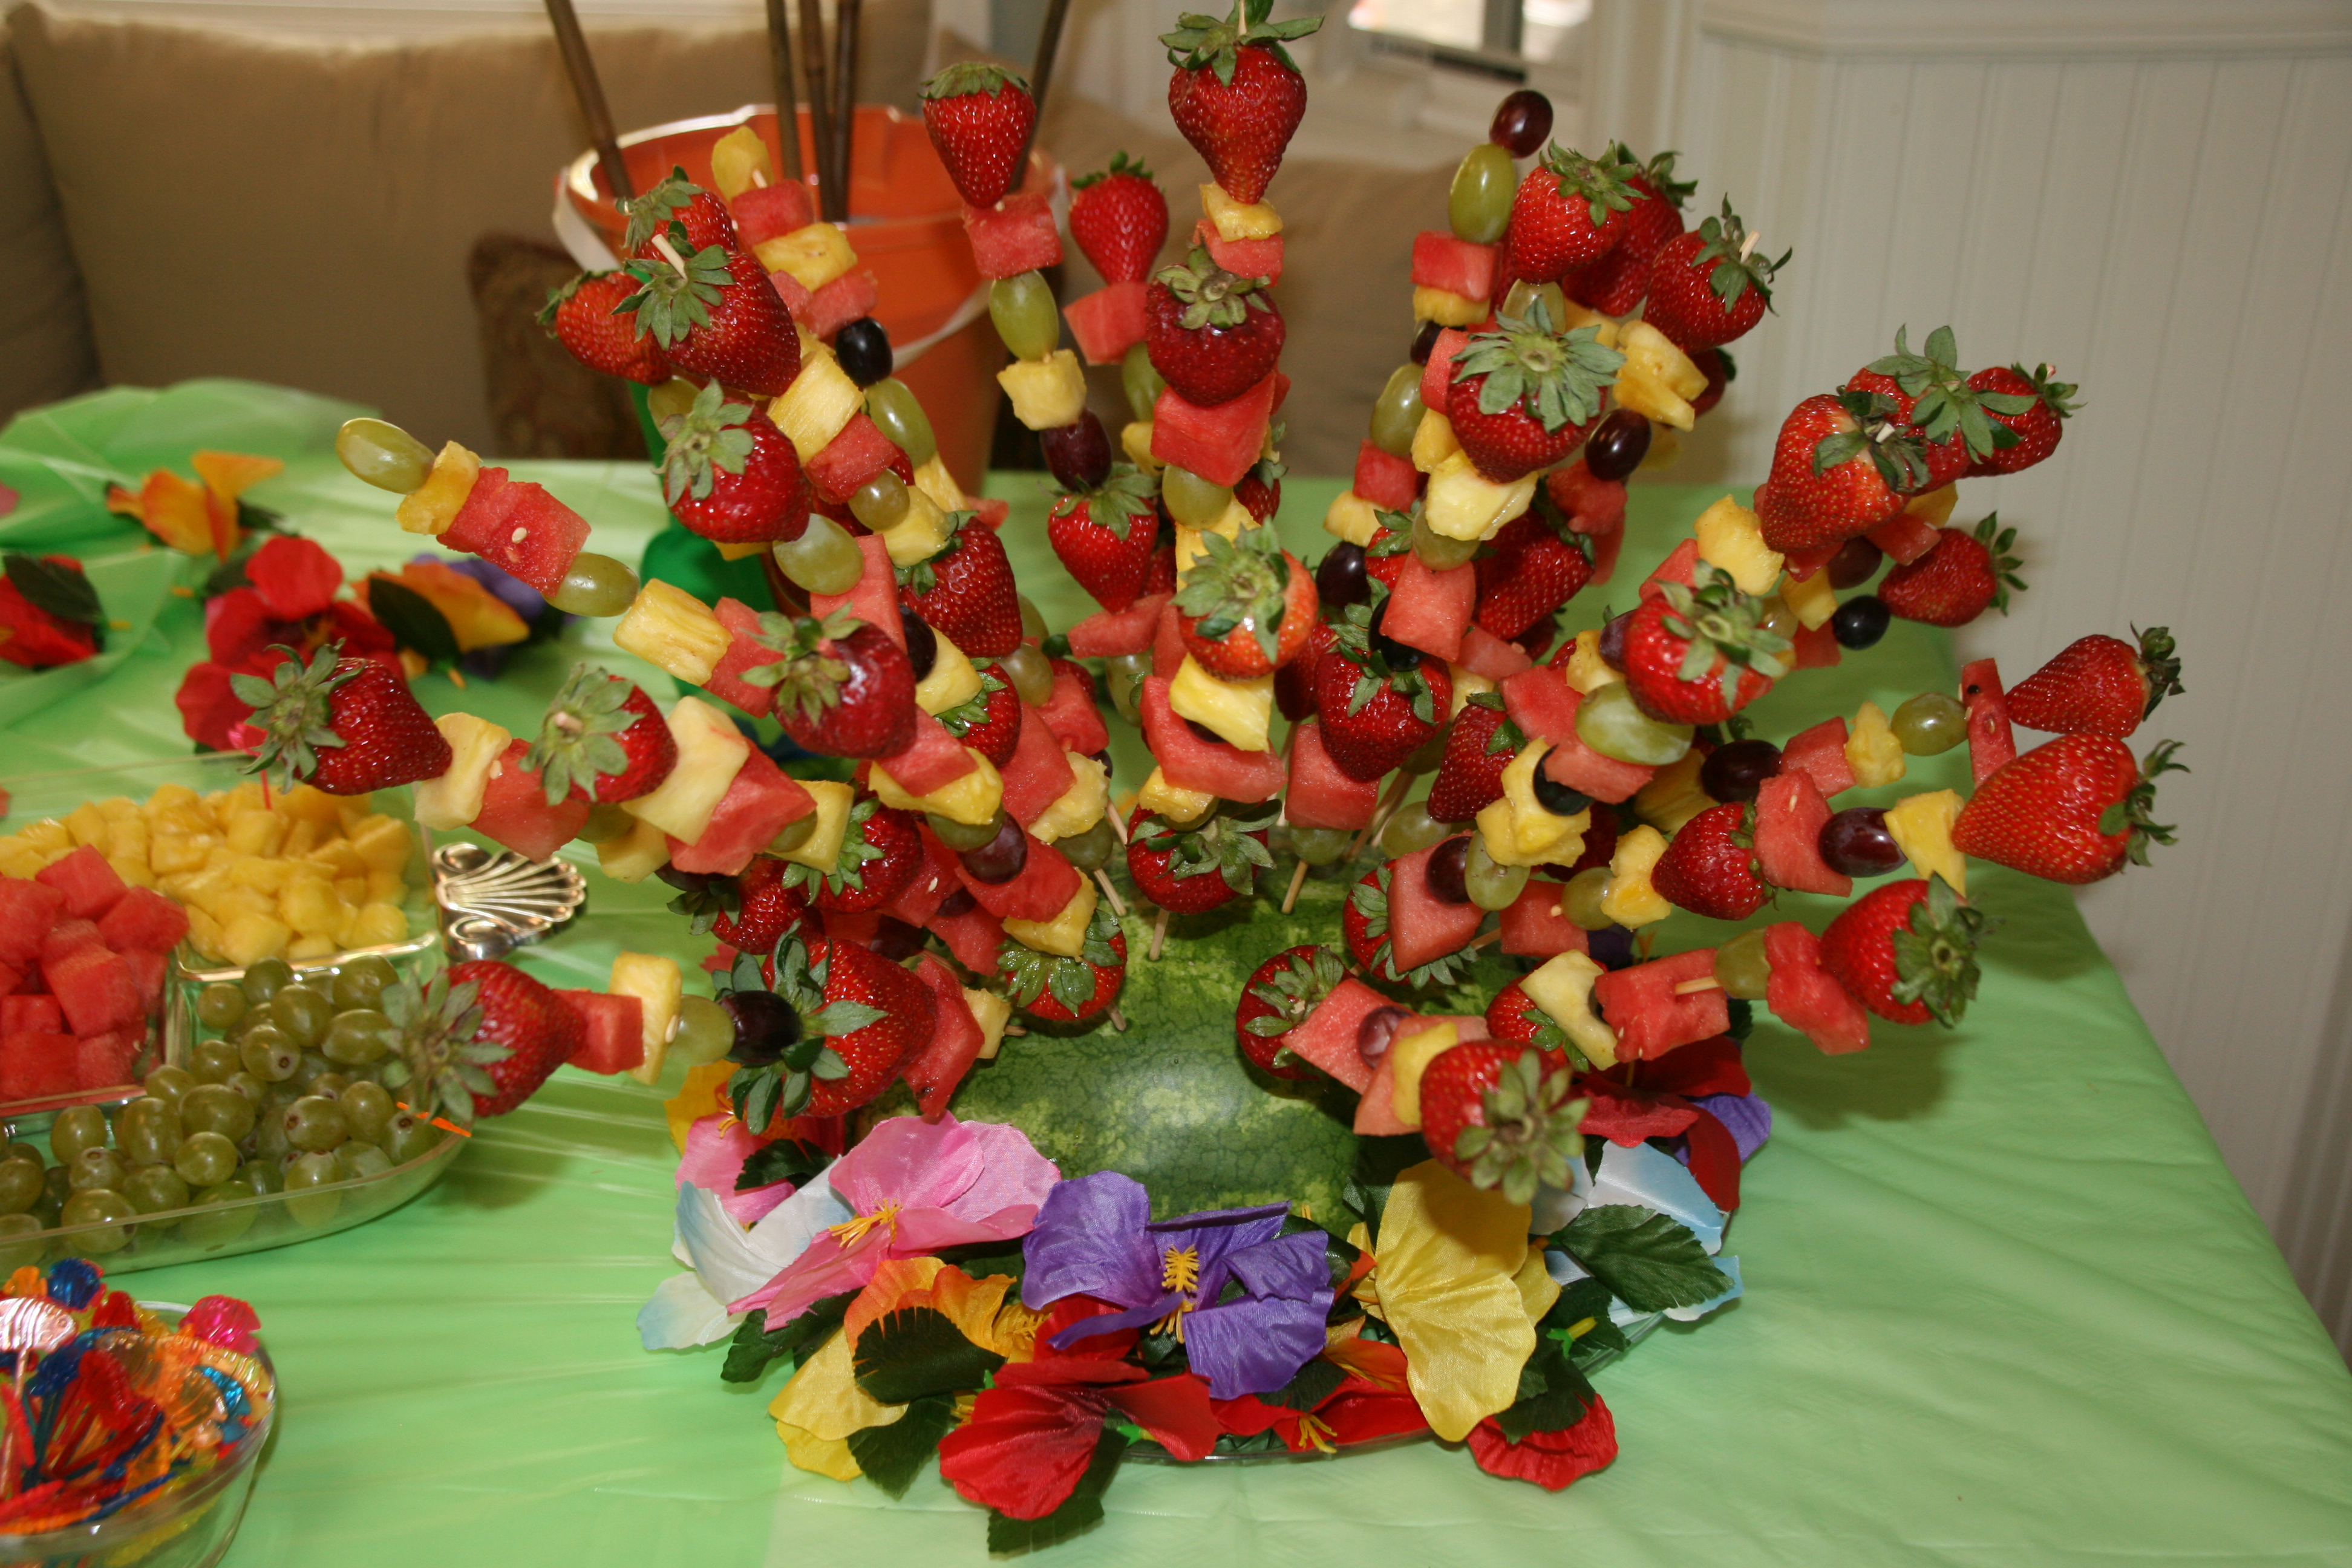
To keep with the theme, we had Hawaiian King rolls with lunchmeat and cheese.  I made fruit skewers and stuck them into half of a watermelon.  I made smoothies for the kids and my husband made blue Hawaiian drinks for the adults.

027026

I created a photo booth area in front of the fireplace.  The kids had props and sunglasses they could put on for the pictures.  they had a blast posing for the pictures!

147148

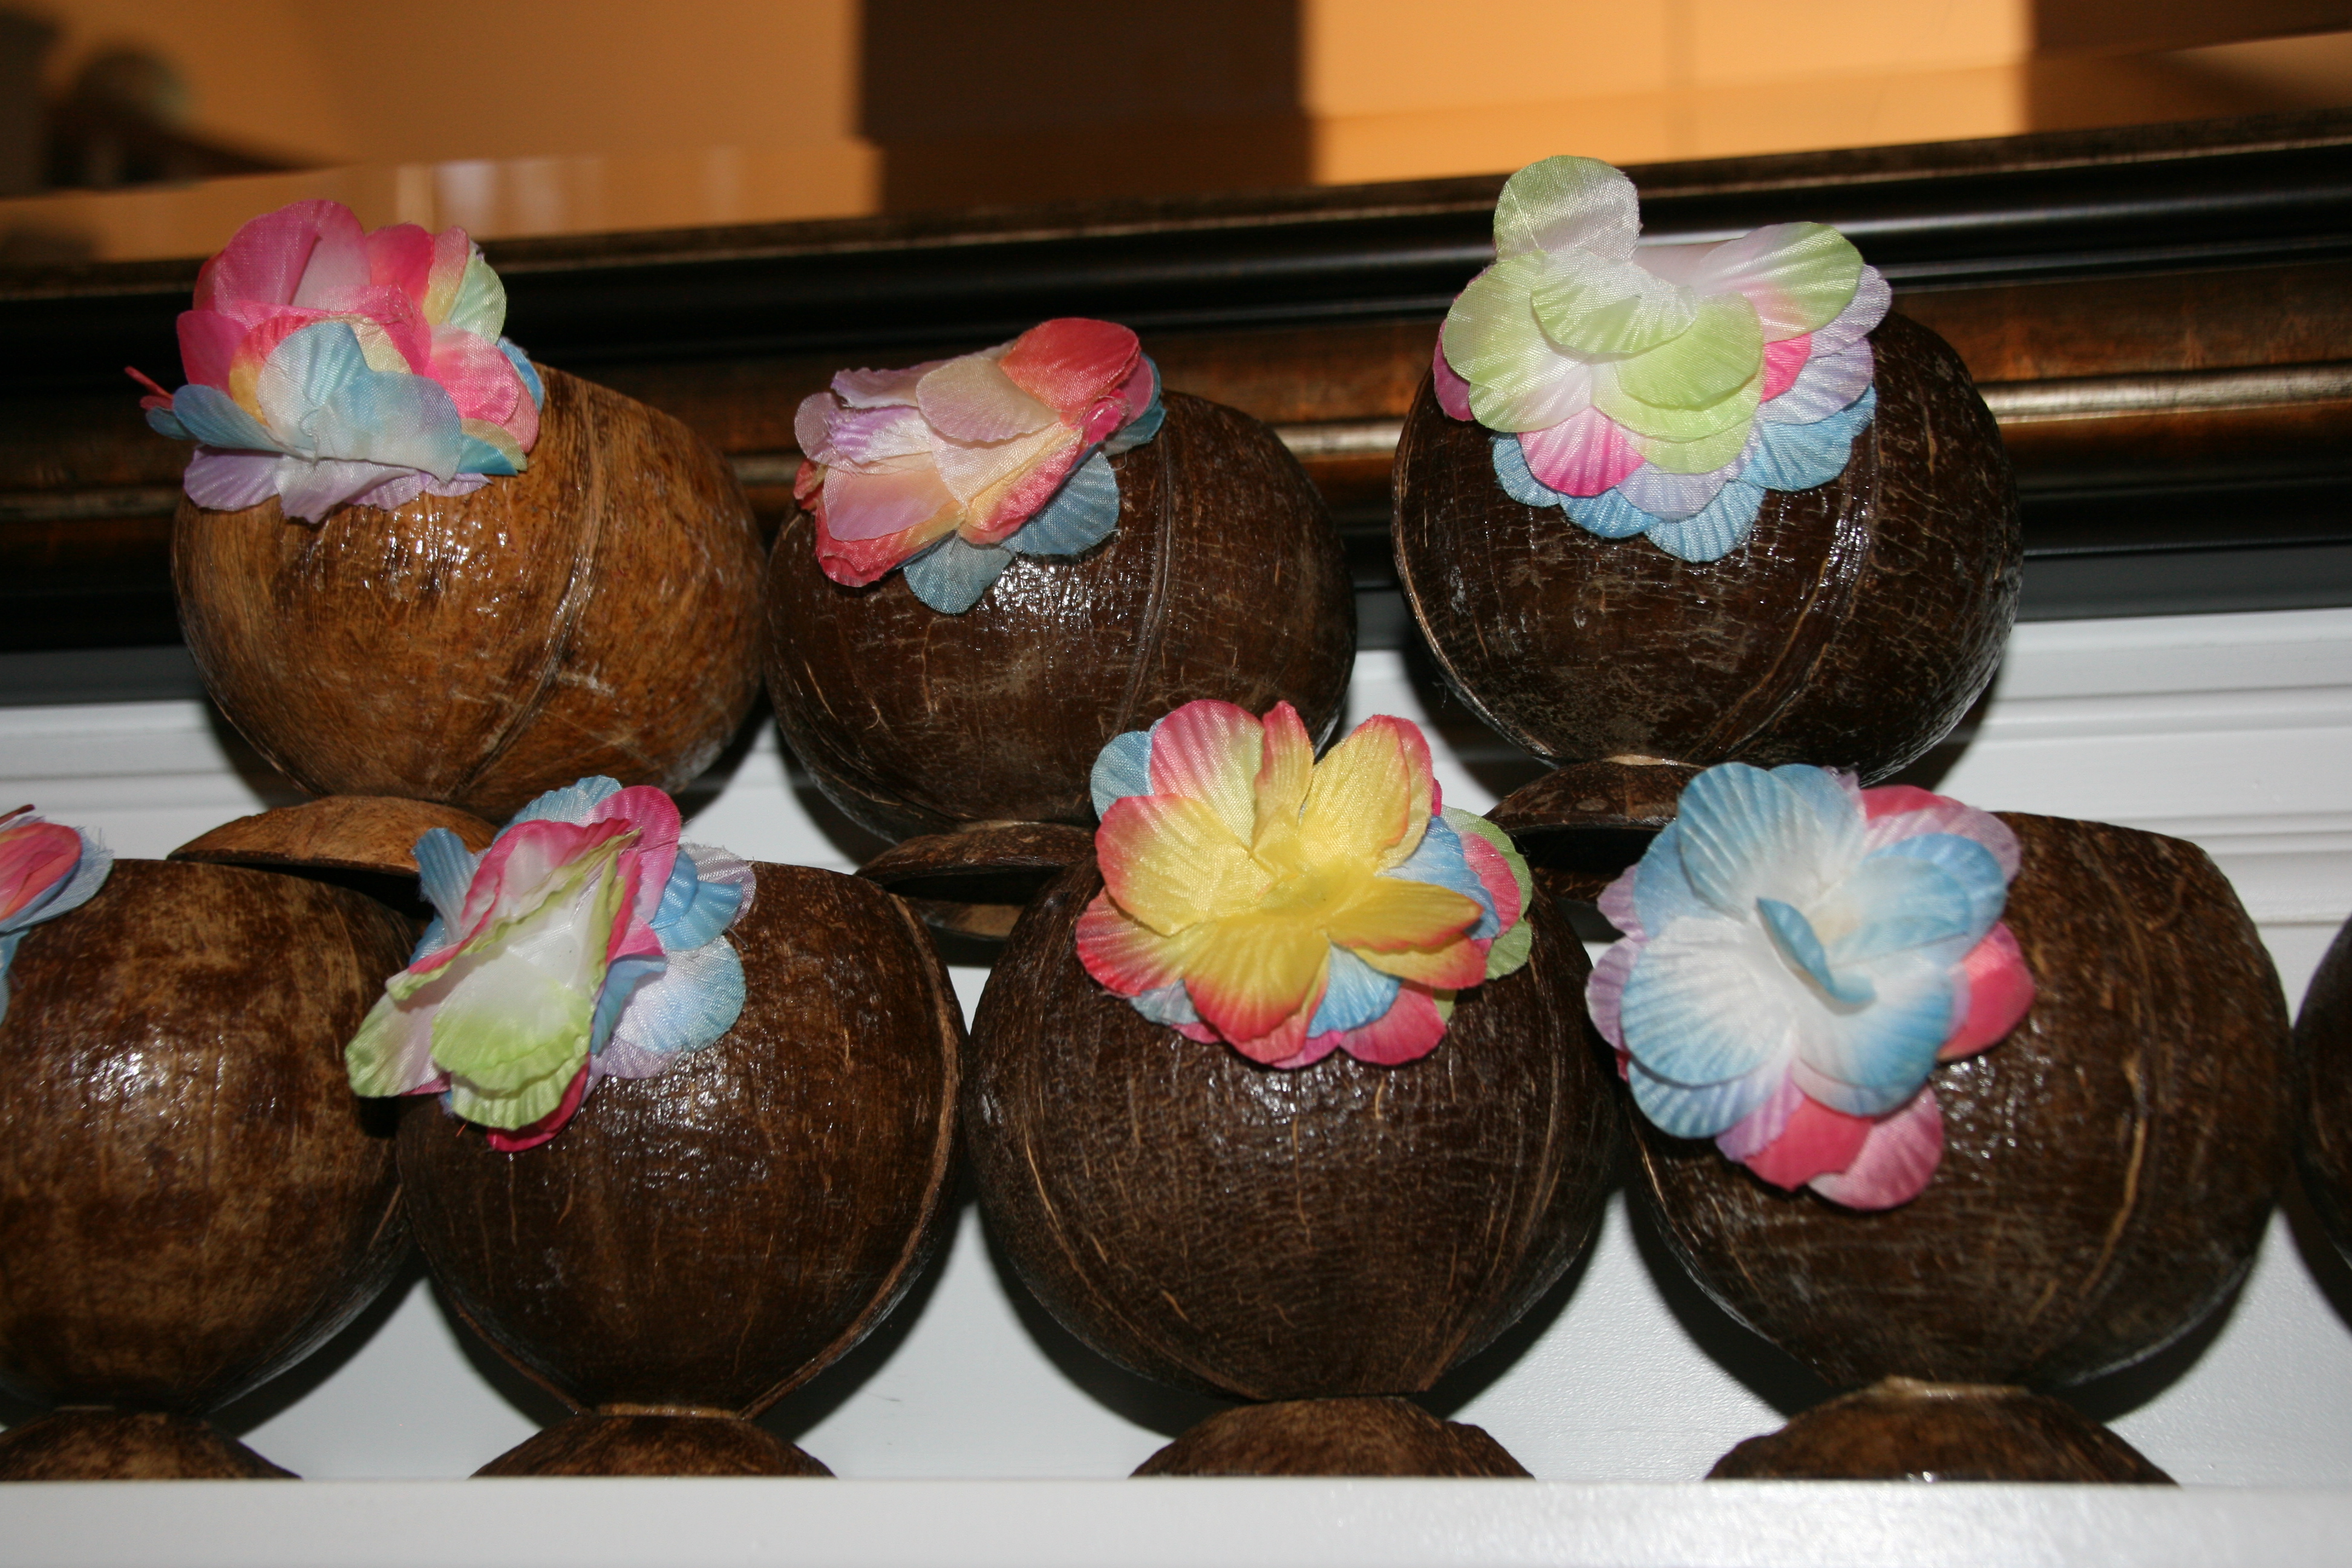
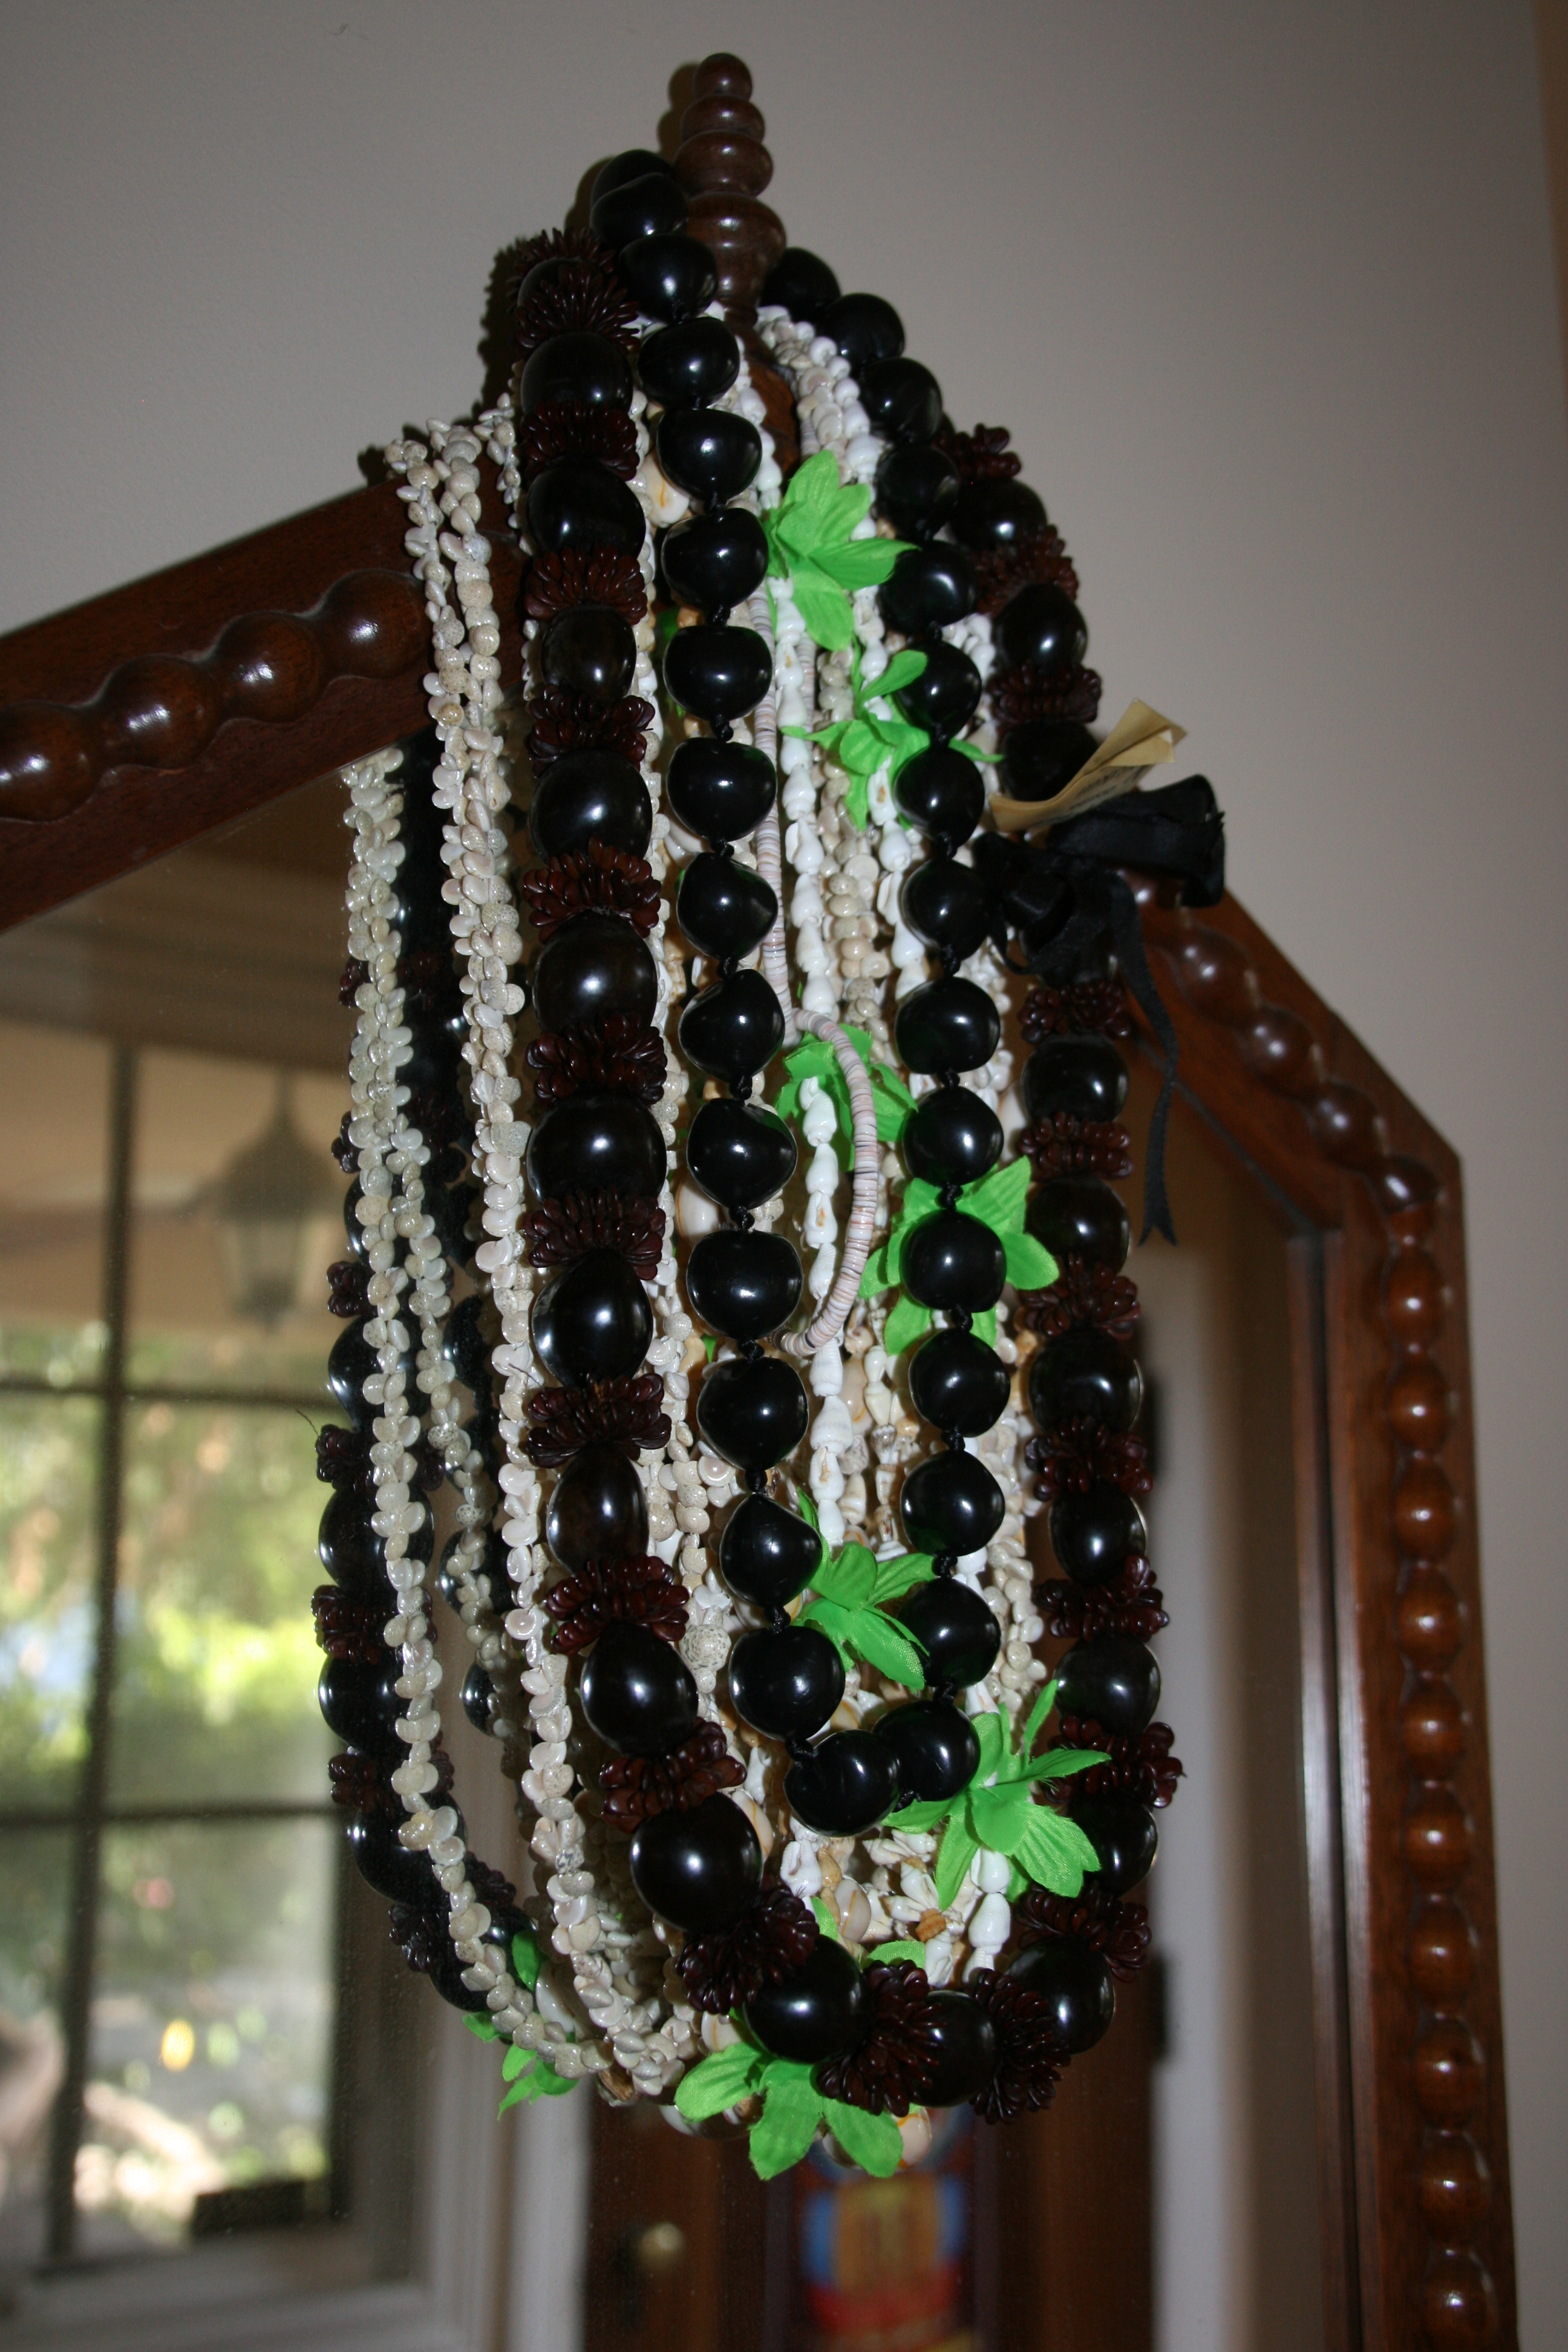
I stacked coconut cups on the mantle and hung beads from a mirror for added decor.

149

030144

145146

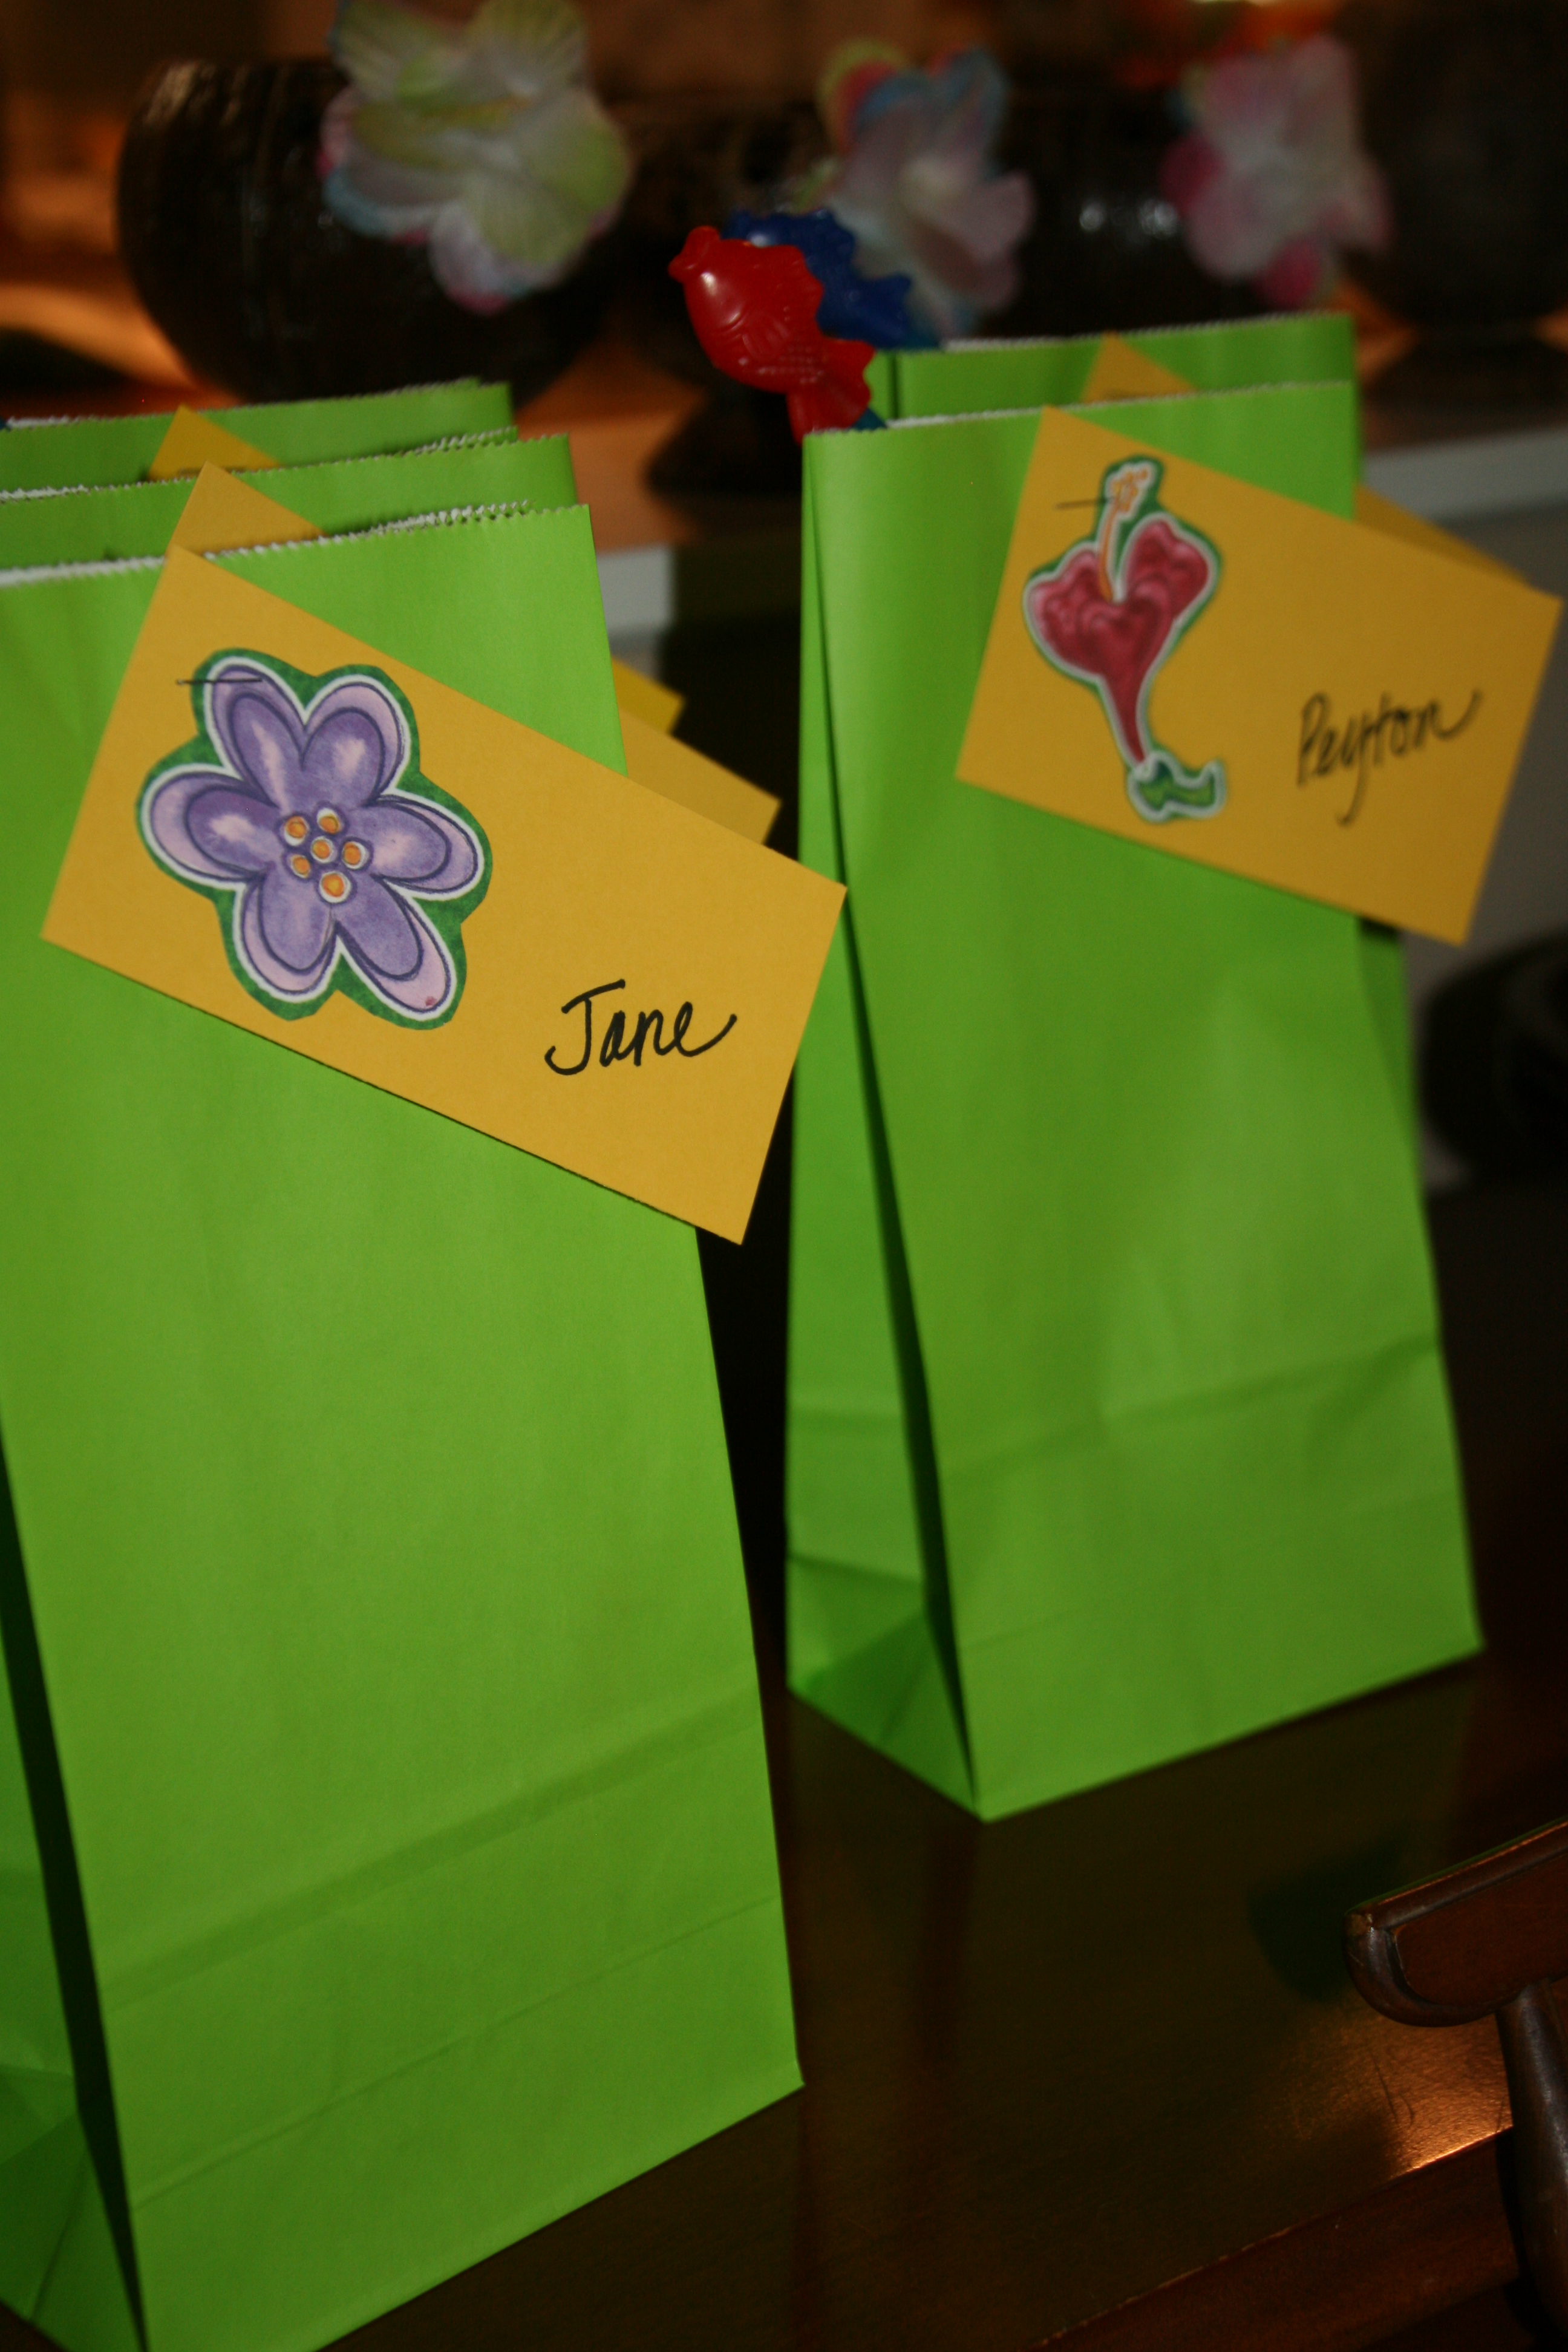
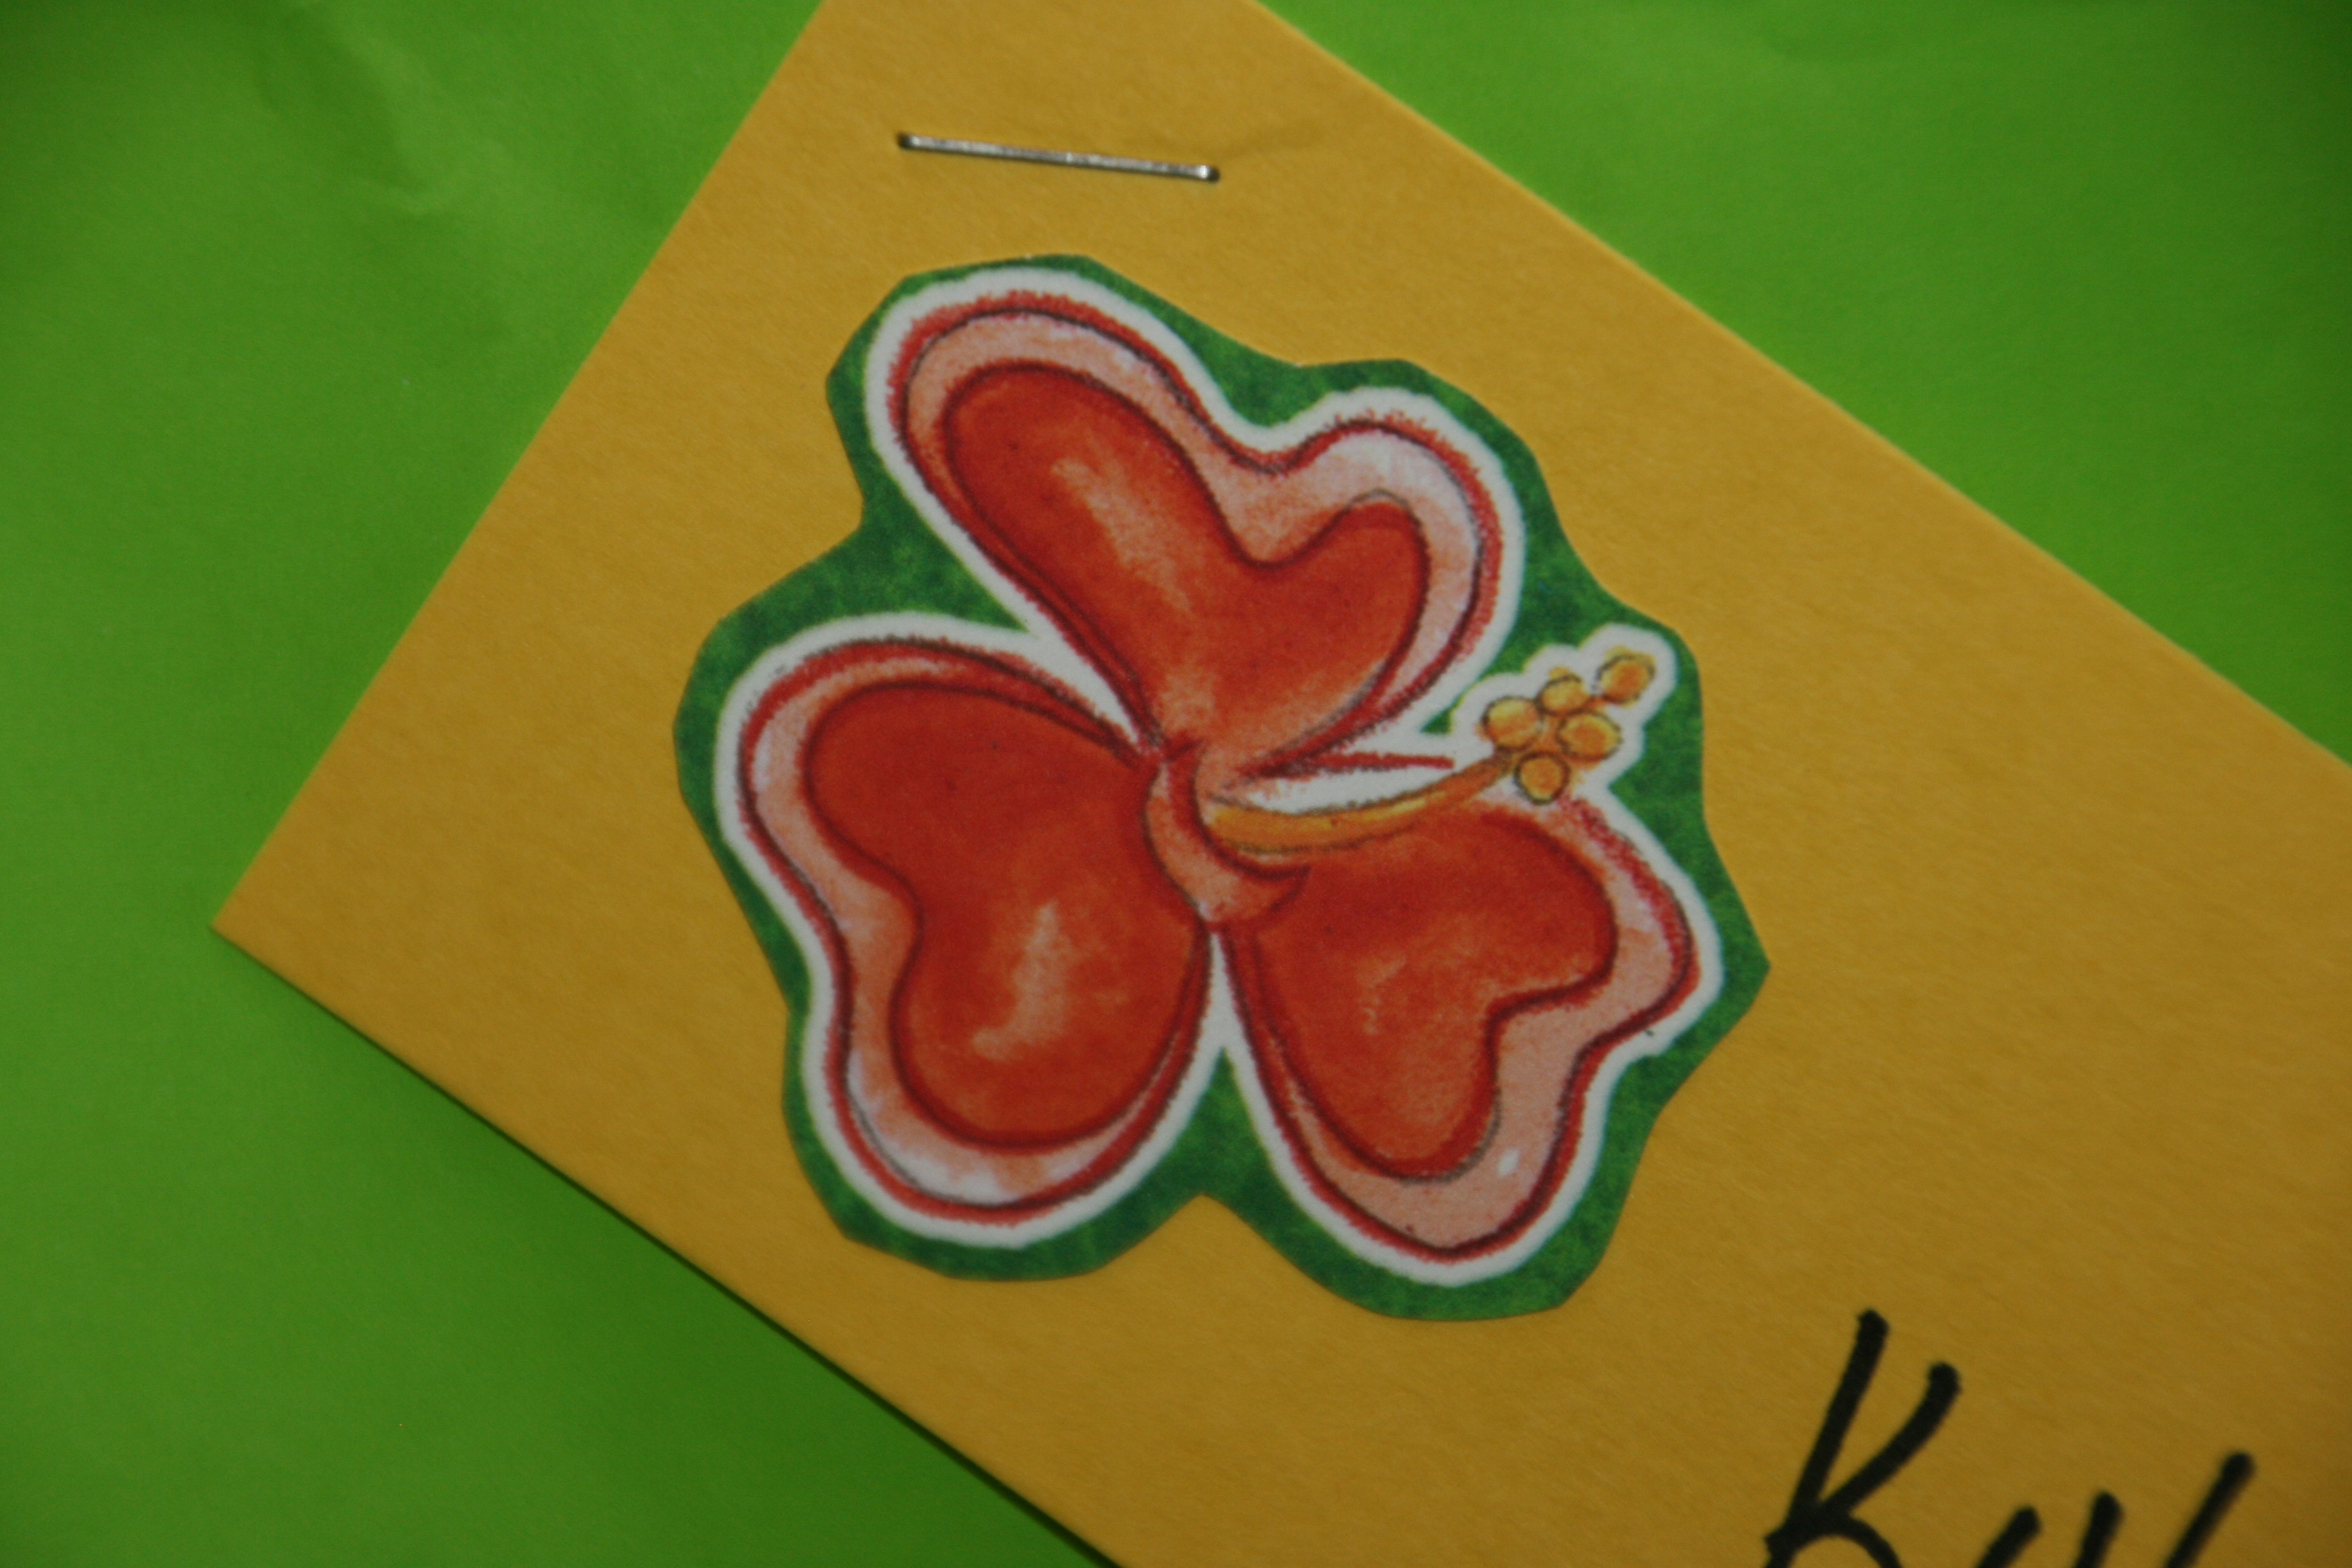
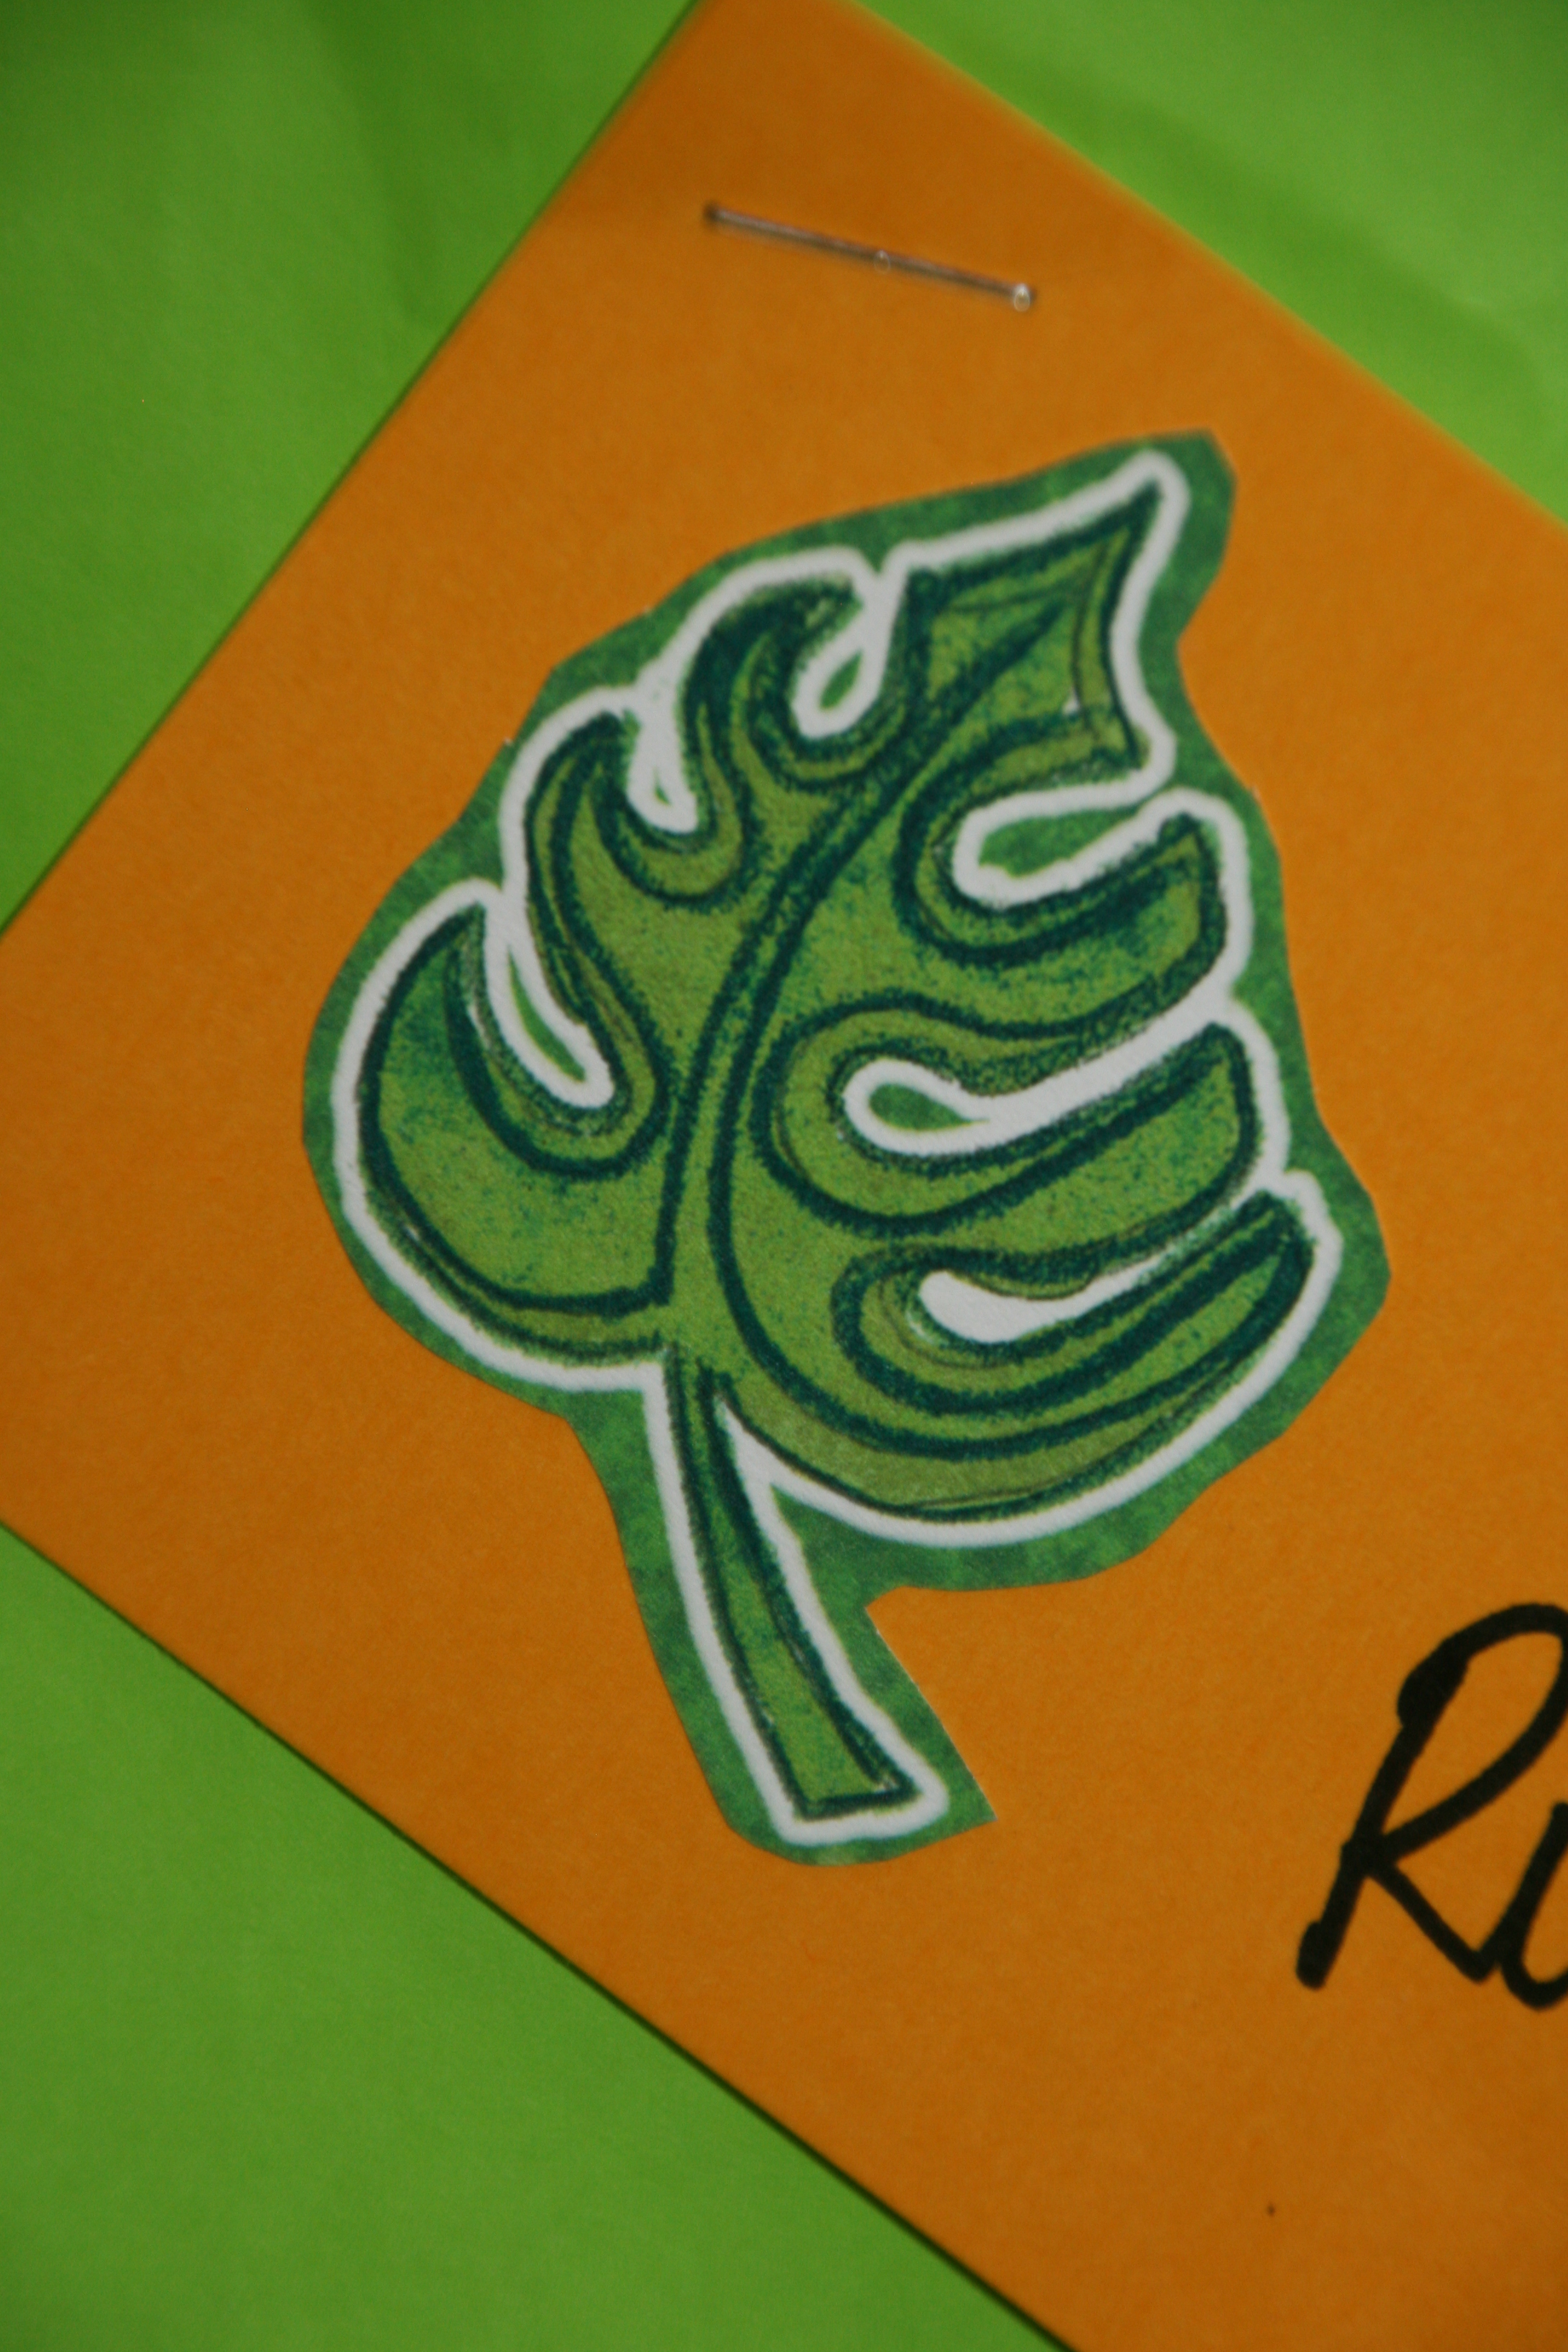
As the guests departed, they received a goody bag filled with treats, including a gift card to Jamba Juice and a fish straw.  I created name tags by cutting out hibiscus flowers from scrapbook paper and glued them onto yellow tags.  I then stapled the tags to the bags.  Very festive!

As Hawaiian music played in the background, the guests ate, played and had fun.

Happy birthday planning…

“Wonder what I will come up with next”…

Luau Birthday Party cupcakes…

021022

If you saw my previous post on Luau Birthday Party Invitations, then you know how I created these fun Hula Girls!  To turn them into picks for cupcakes, simply tape a bamboo skewer, cut in half,  to the back of the Hula Girl.

105104

So simple and so festive!!!

023

Of course, the birthday girl needed candles!  In an effort to not light a Hula Girl on fire, I refrained from putting a Hula Girl on the cupcake with candles.  Instead, I added flamingo, palm tree, and pineapple candles that I found at the 99cent store.

022021

I used store bought frosting, green candy rocks, green sprinkles, and edible flowers to decorate the cupcake before adding the Hula Girl pick.

Happy eating…

“Wonder what I will come up with next”…

Luau Birthday Party Invites…

040

My daughter wanted to have a Luau for her birthday.  Oh what fun!!!  I think that I had more fun and was more excited than she was as I planned this party!

042043

I wanted to create fun invitations.  I bought these Hula Girl centerpieces at Party City and cut off the skirt.

044

I then made color copies onto white cardstock and cut out each Hula Girl.

045046

I used green streamers to make each girl a skirt and taped it to the cardstock cut out.  I cut strips vertically into the streamers to add to the skirt effect.  I then attached the Hula Girl to the invitation with double sided thick tape for a 3-D effect.

041

I typed and printed the party details on a coordinating purple paper and glued it next to the Hula Girl.

040

So simple and easy, yet so fun and festive!

Happy Inviting…

“Wonder what I will come up with next”…

Wooden Heart Plaques…

065

I love creating!  After I made the wood & burlap picture clips (see my post in “Gift Ideas” from October 2014), I decided to create wood plaques using the same concept.

055056

Start with wood squares & wood heart cutouts.  I bought the squares at Hobby Lobby & the hearts at Michaels.  Paint the wood whatever color you fancy!  I used both tempera paint & wall paint (I buy samples at Lowes & Target of different paint colors, which is an inexpensive way to have several fun colors).

057058

061

Once the paint dries, attach the burlap with furniture tacks, or any tack you like.

059060

Then, glue on the painted wood hearts.  I used E6000 glue to attach these hearts.  Notice I glued the hearts with the flat side up.  I thought this looked better than the double heart side.

064063

On the red & black plaque, I added a vinyl label and wrote “love” on it with chalk markers.

065

Here is the finished product.  I think it would be fun to add a ribbon tacked to the back and hang this on a wall.

062

You can not add the burlap and furniture tacks for a more simplified version of the plaque.

Happy creating…

“Wonder what I will come up with next”…

Decor ideas for a 50th anniversary party…

025

50 years of marriage is quite an accomplishment!  After a Google inquiry, I learned that only 6% of marriages last 50 years!  We recently celebrated my In-Laws 50th wedding anniversary by hosting an afternoon open house gathering.  I created a festive environment filled with framed pictures from their wedding.  I purchased the frames at The Dollar Tree!!!

021020

I used glass blocks as risers and white tulle to fancy up the “shrine” of pictures on the counter.  I used their original wedding book for guests to sign in and framed a poem about “A Golden Anniversary” that was found in my Grandmother’s poem book.

018017

I placed green tulle down the center of the tables, with vases full of fresh flowers.

024023

Using boxes that I covered with a white table cloth, I created risers on the food table.  I covered the lifted area with silver tulle, and put a vase full of flowers and pictures on top.

019

Lastly, I hung white tissue paper balls over the dessert counter.  Simple, yet elegant.

025

I hope you get the chance to celebrate a loved ones 50th wedding anniversary!  Be sure to impress upon them how special the accomplishment is!!!

Happy celebrating…

“Wonder what I will come up with next”…

Animal print gift wrapping…

005

If you have been following my blog, you know how much I LOVE GIFT WRAPPING!!!!  I have been known to use the phrase,

“Just Say No to Gift Bags”!!!

Here, I used 2 different coordinating animal print papers, with a solid blue.  By stacking the gifts, you can create a very dramatic effect.  The receiver will feel extra special receiving this gift!

006

I used 3 shades of tulle for the bow: blue, white, and black.  See my “Tulle tally awesome bows” post from Feb 2014 on step by step instructions on creating a tulle bow.

007

Happy wrapping…

“Wonder what I will come up with next”…

How to swirl paint on glass jars…

068

I LOVE using jars to create fun gifts for people.  Here, I swirled paint on the outside of used jars and filled them with candy for teacher gifts.  You can use any combination of colors to create festive jars!

069

Start with Tempera paint, foam brushes and disposable plastic containers.  Pour each paint color into a separate container.

070

Cover the jar with the first color.  Preferably start with the lighter color.  You don’t need to paint on the color neatly.  It looks better if it is messy.

071

Choose the next color you want to swirl in.  Lightly add in the second color and swirl the brush.  Again, messy is better.  Try not to create a pattern of swirls.

072

Be sure to paint the bottom of the jar also.

068066

Place the jars upside down to dry.  The paint will dry matte.  If you want a shiny finish, spray with a clear gloss spray paint.  Once the paint has dried, fill the jars with treats, and give them to your favorite friend or teacher (BTW Teacher Appreciation Day is May 5th).

Happy Swirling…

“Wonder What I Will Come Up With Next”…