“Royal Ball” birthday party

The year my daughter turned 3, she wanted to have a “Royal Ball” princess birthday party.  OF COURSE, I was totally excited about planning this “Gala” event!!!  I sent out invitations inviting all princesses & princes to wear their best royal attire, and started thinking of all the grand ways I could decorate for the party.

IMG_3440IMG_3444

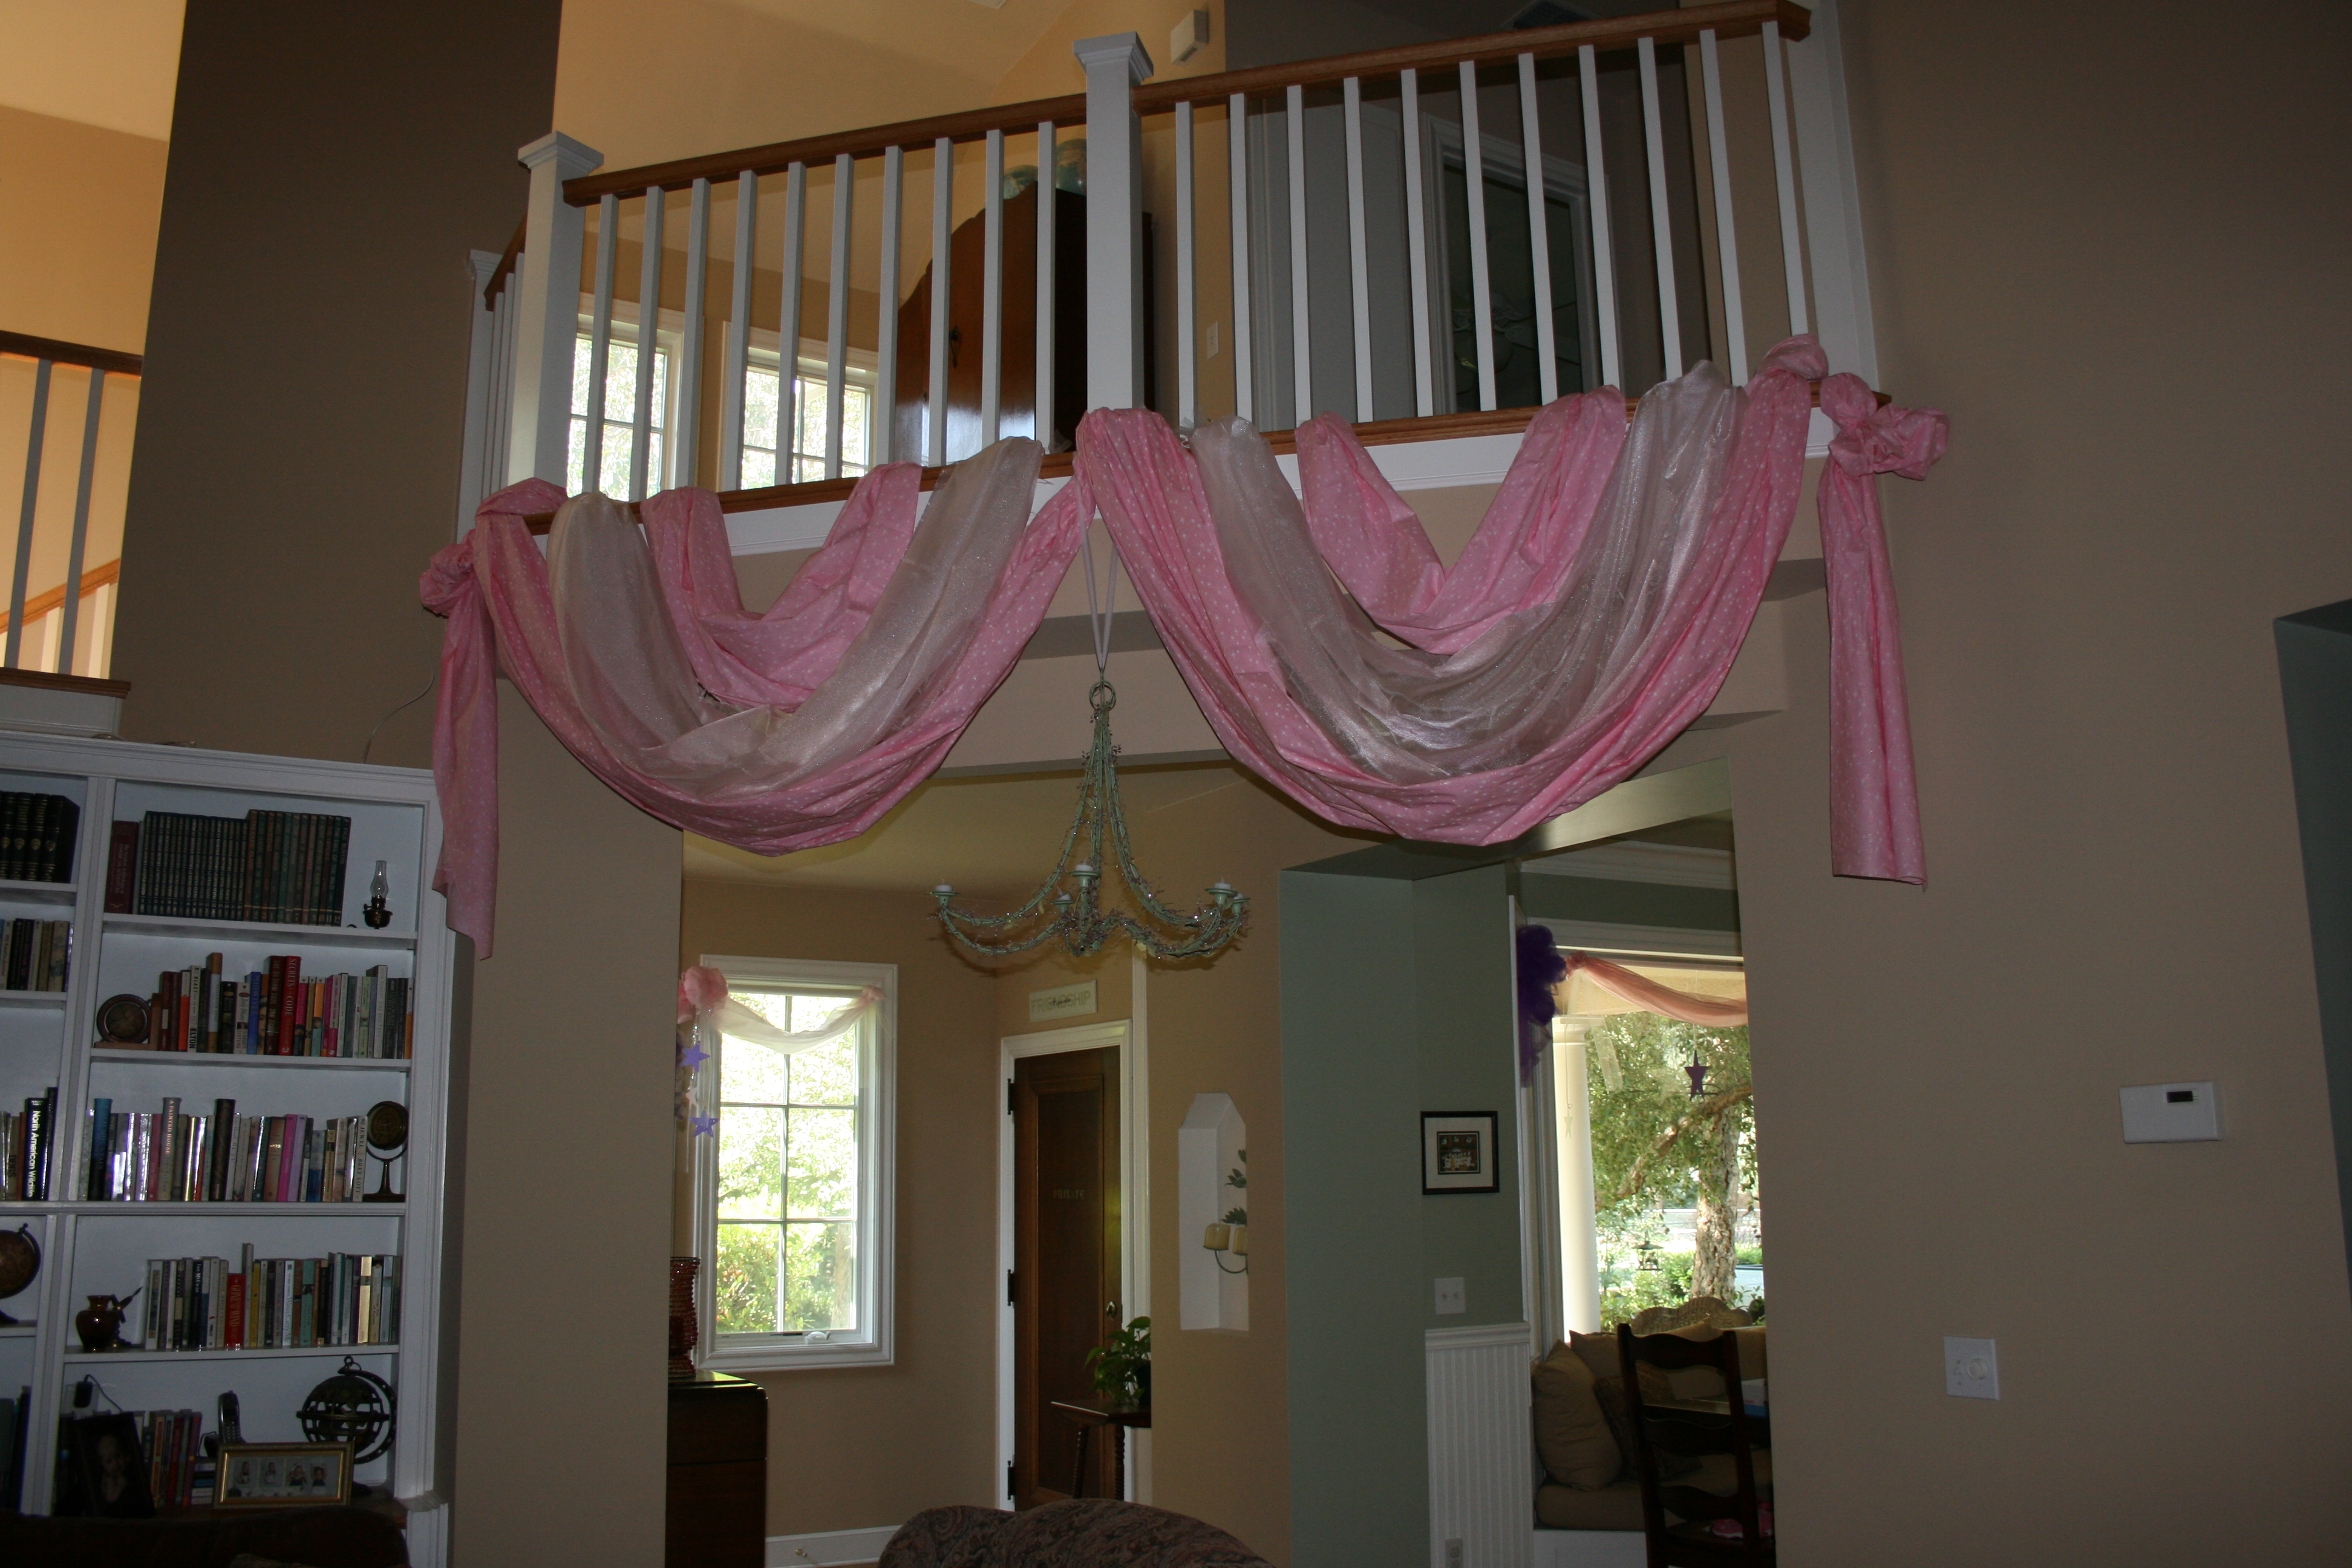
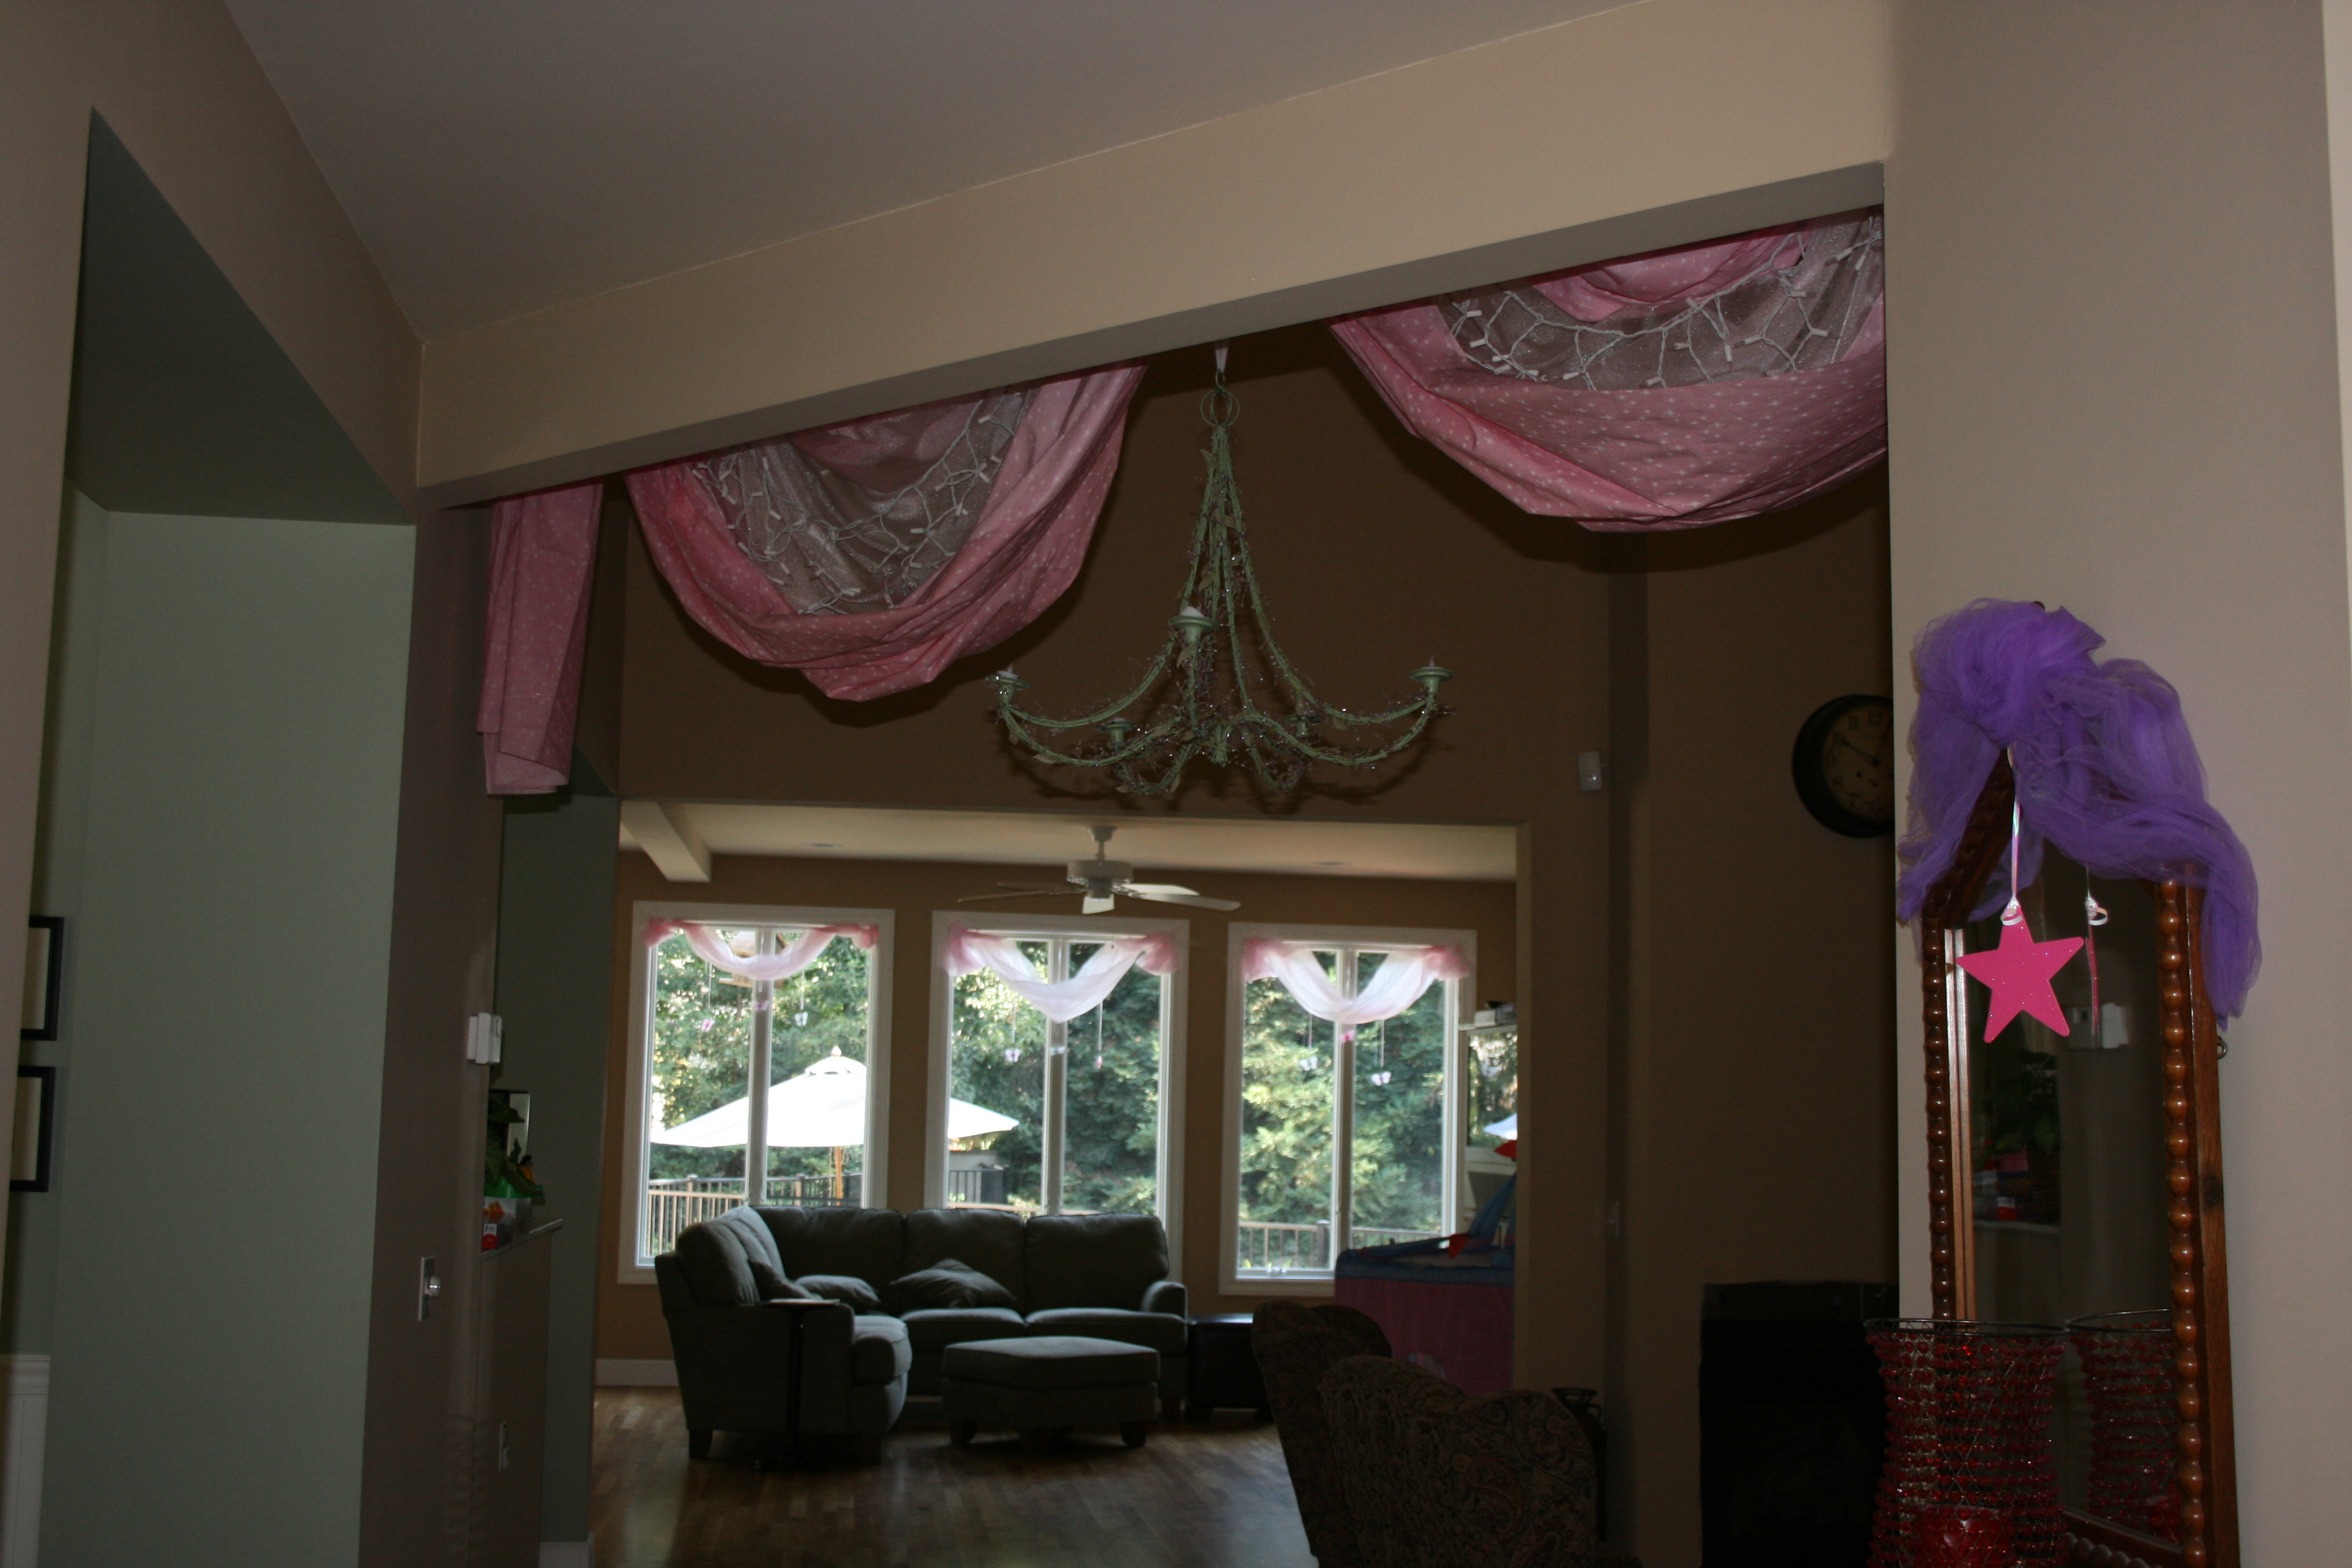
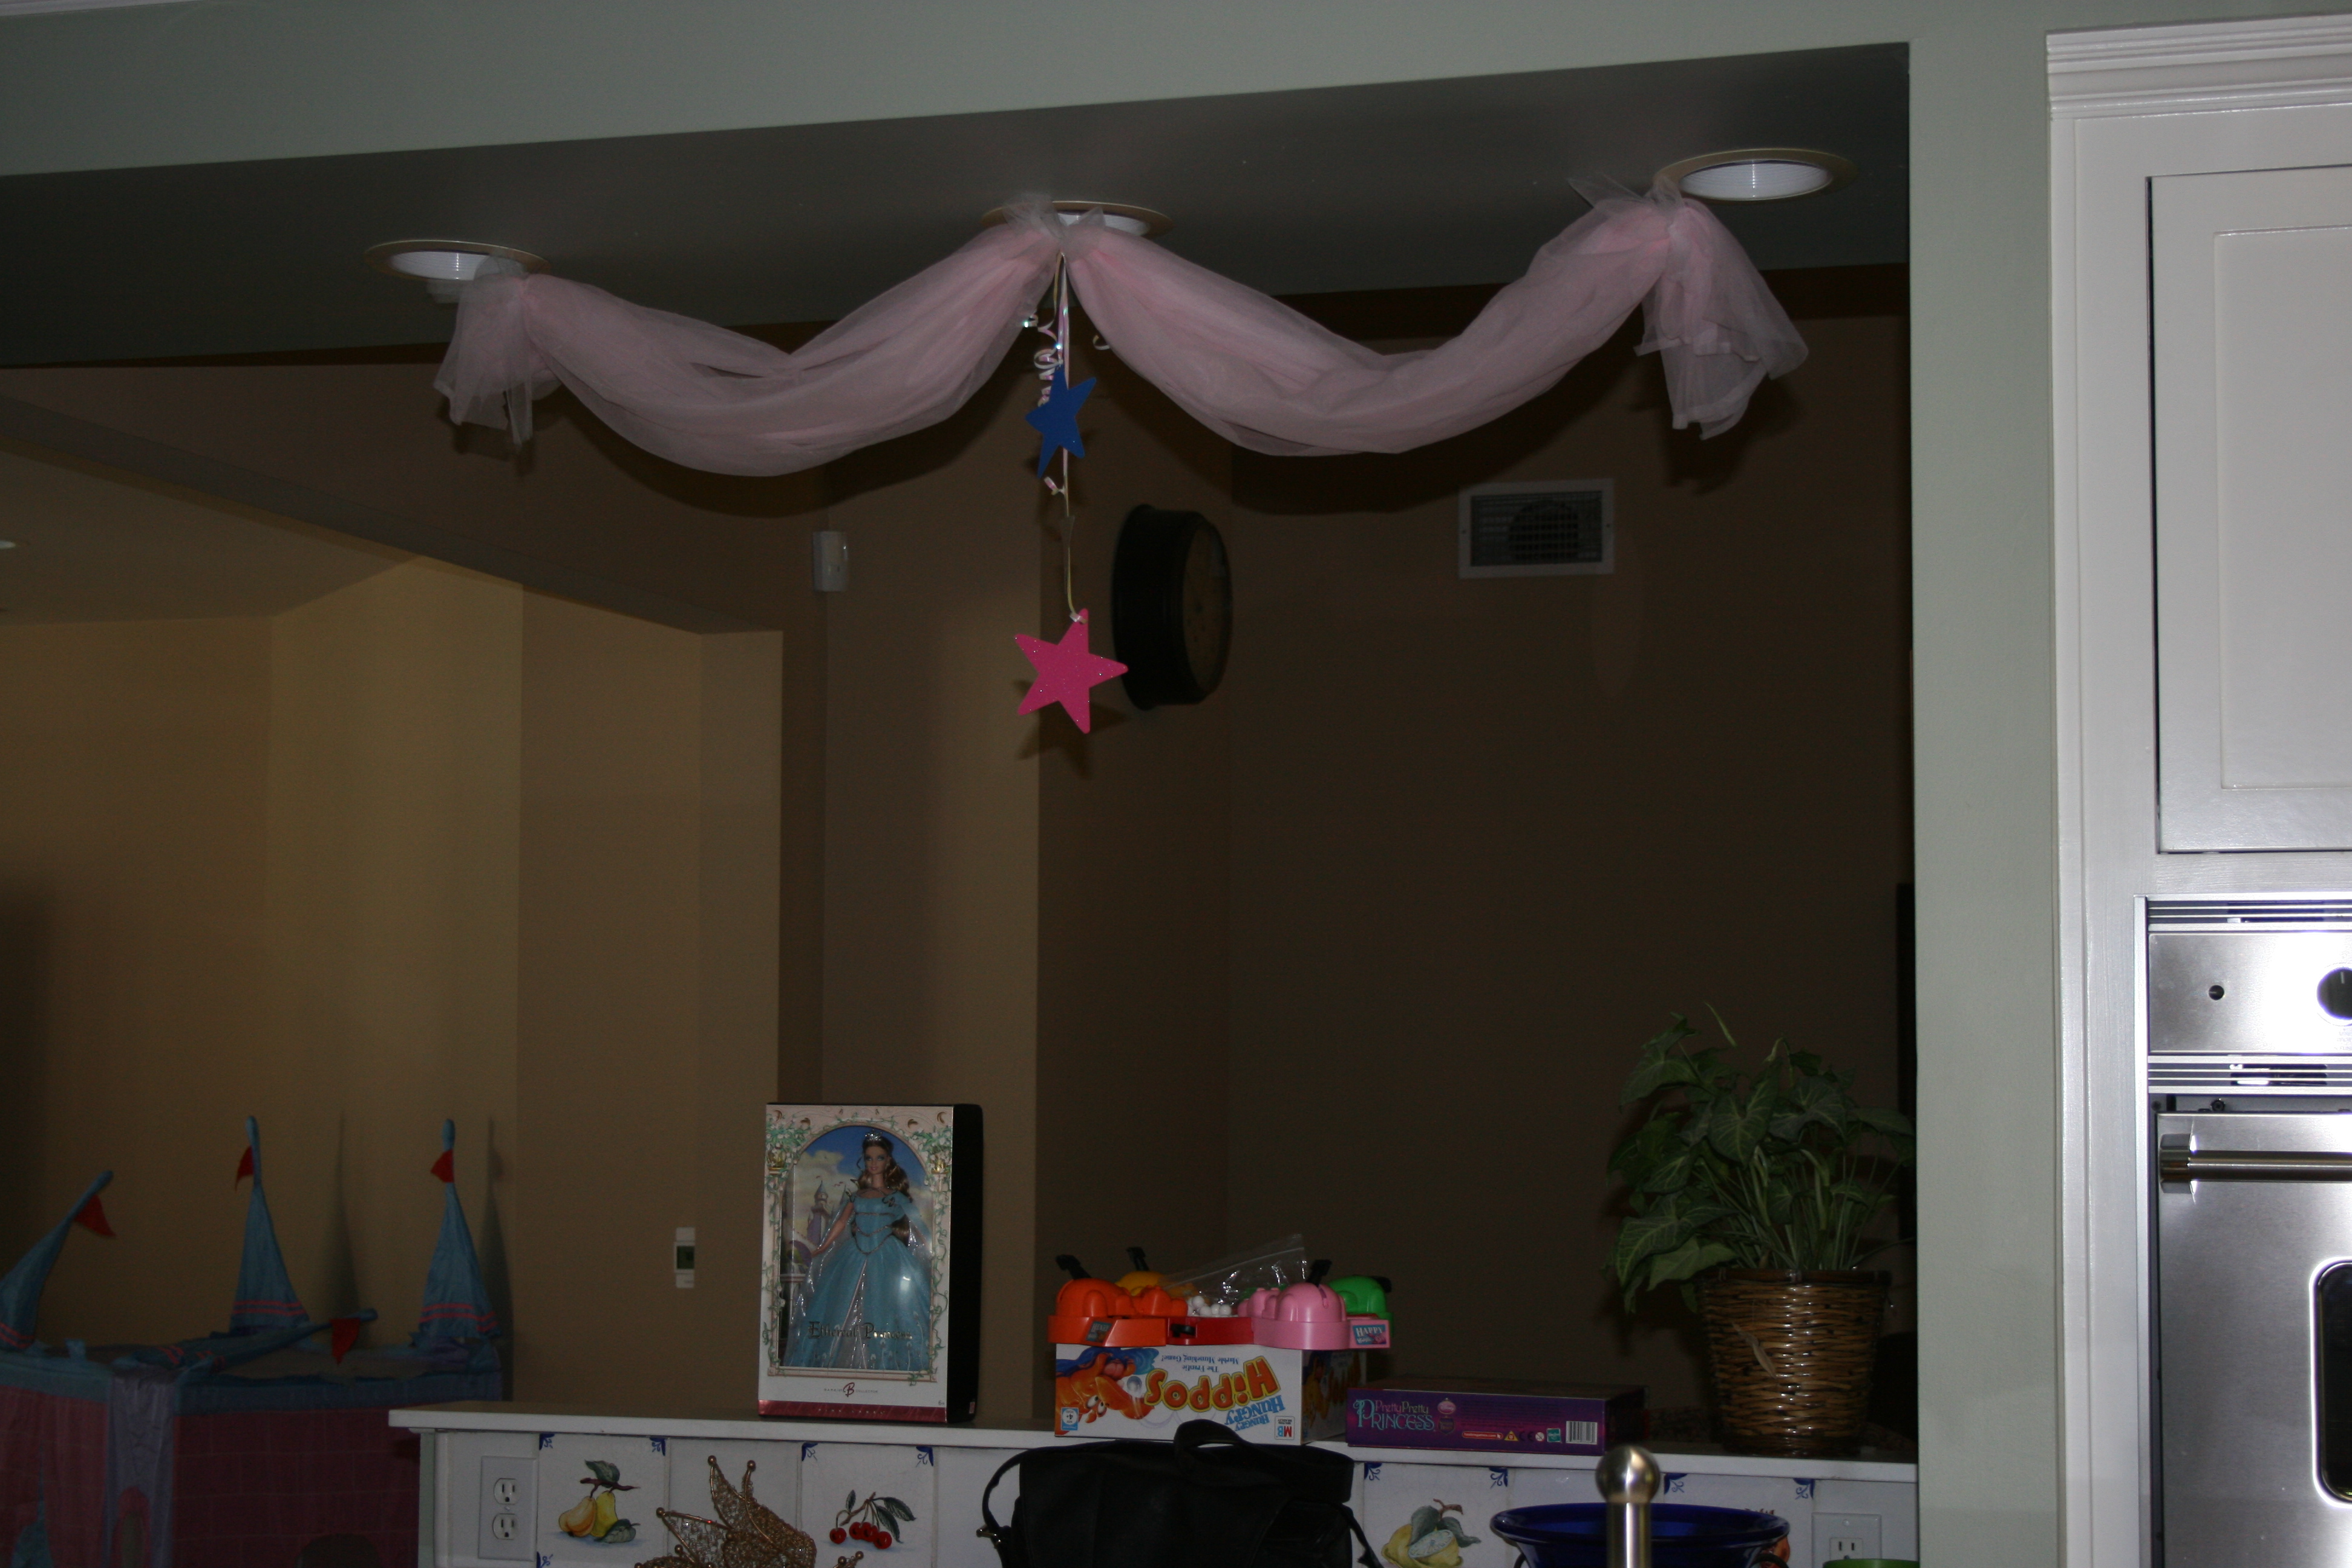
I started by draping pink sparkle fabric and pink tulle from the landing.  I added white Christmas lights behind the pink tulle and hung a sage green candle chandelier.  This made a “Grand” entrance to the “Royal Ball”.

IMG_3441IMG_3442

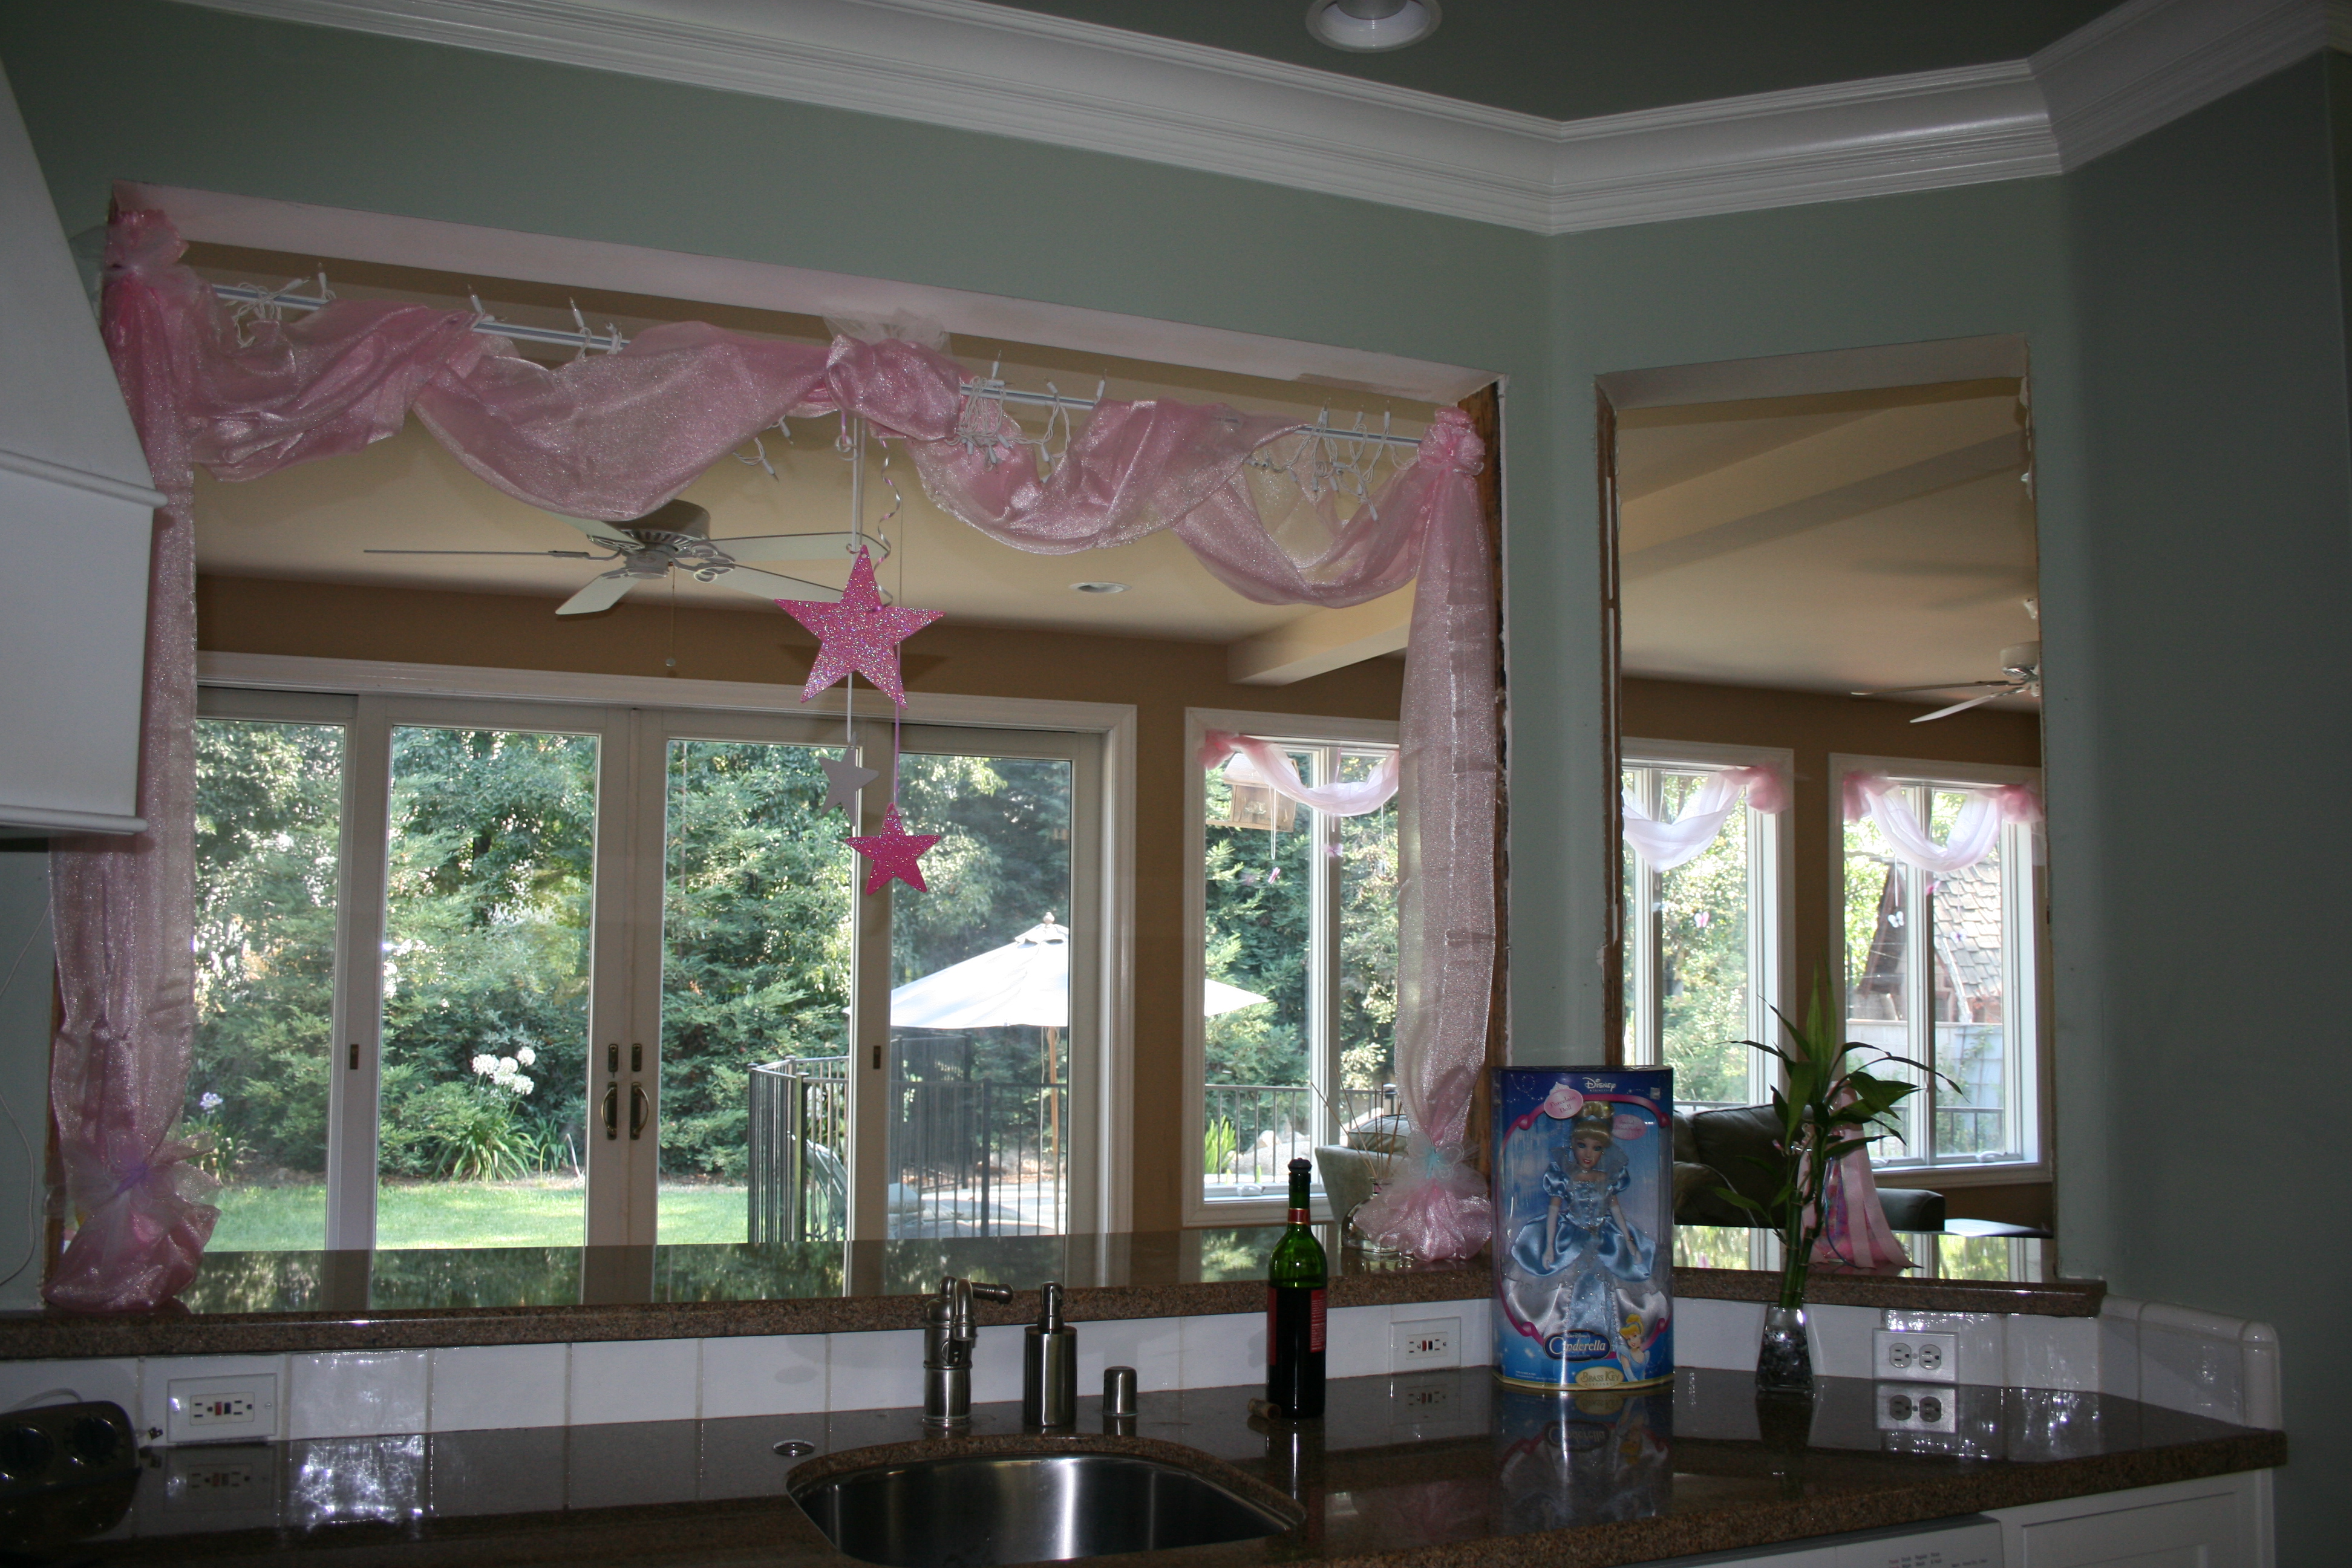
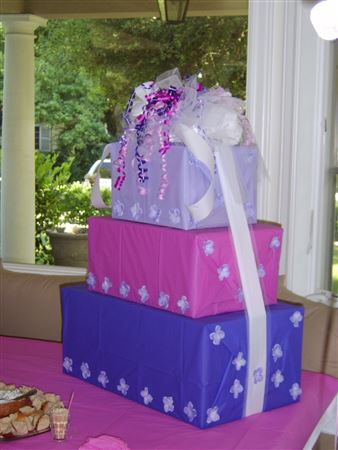
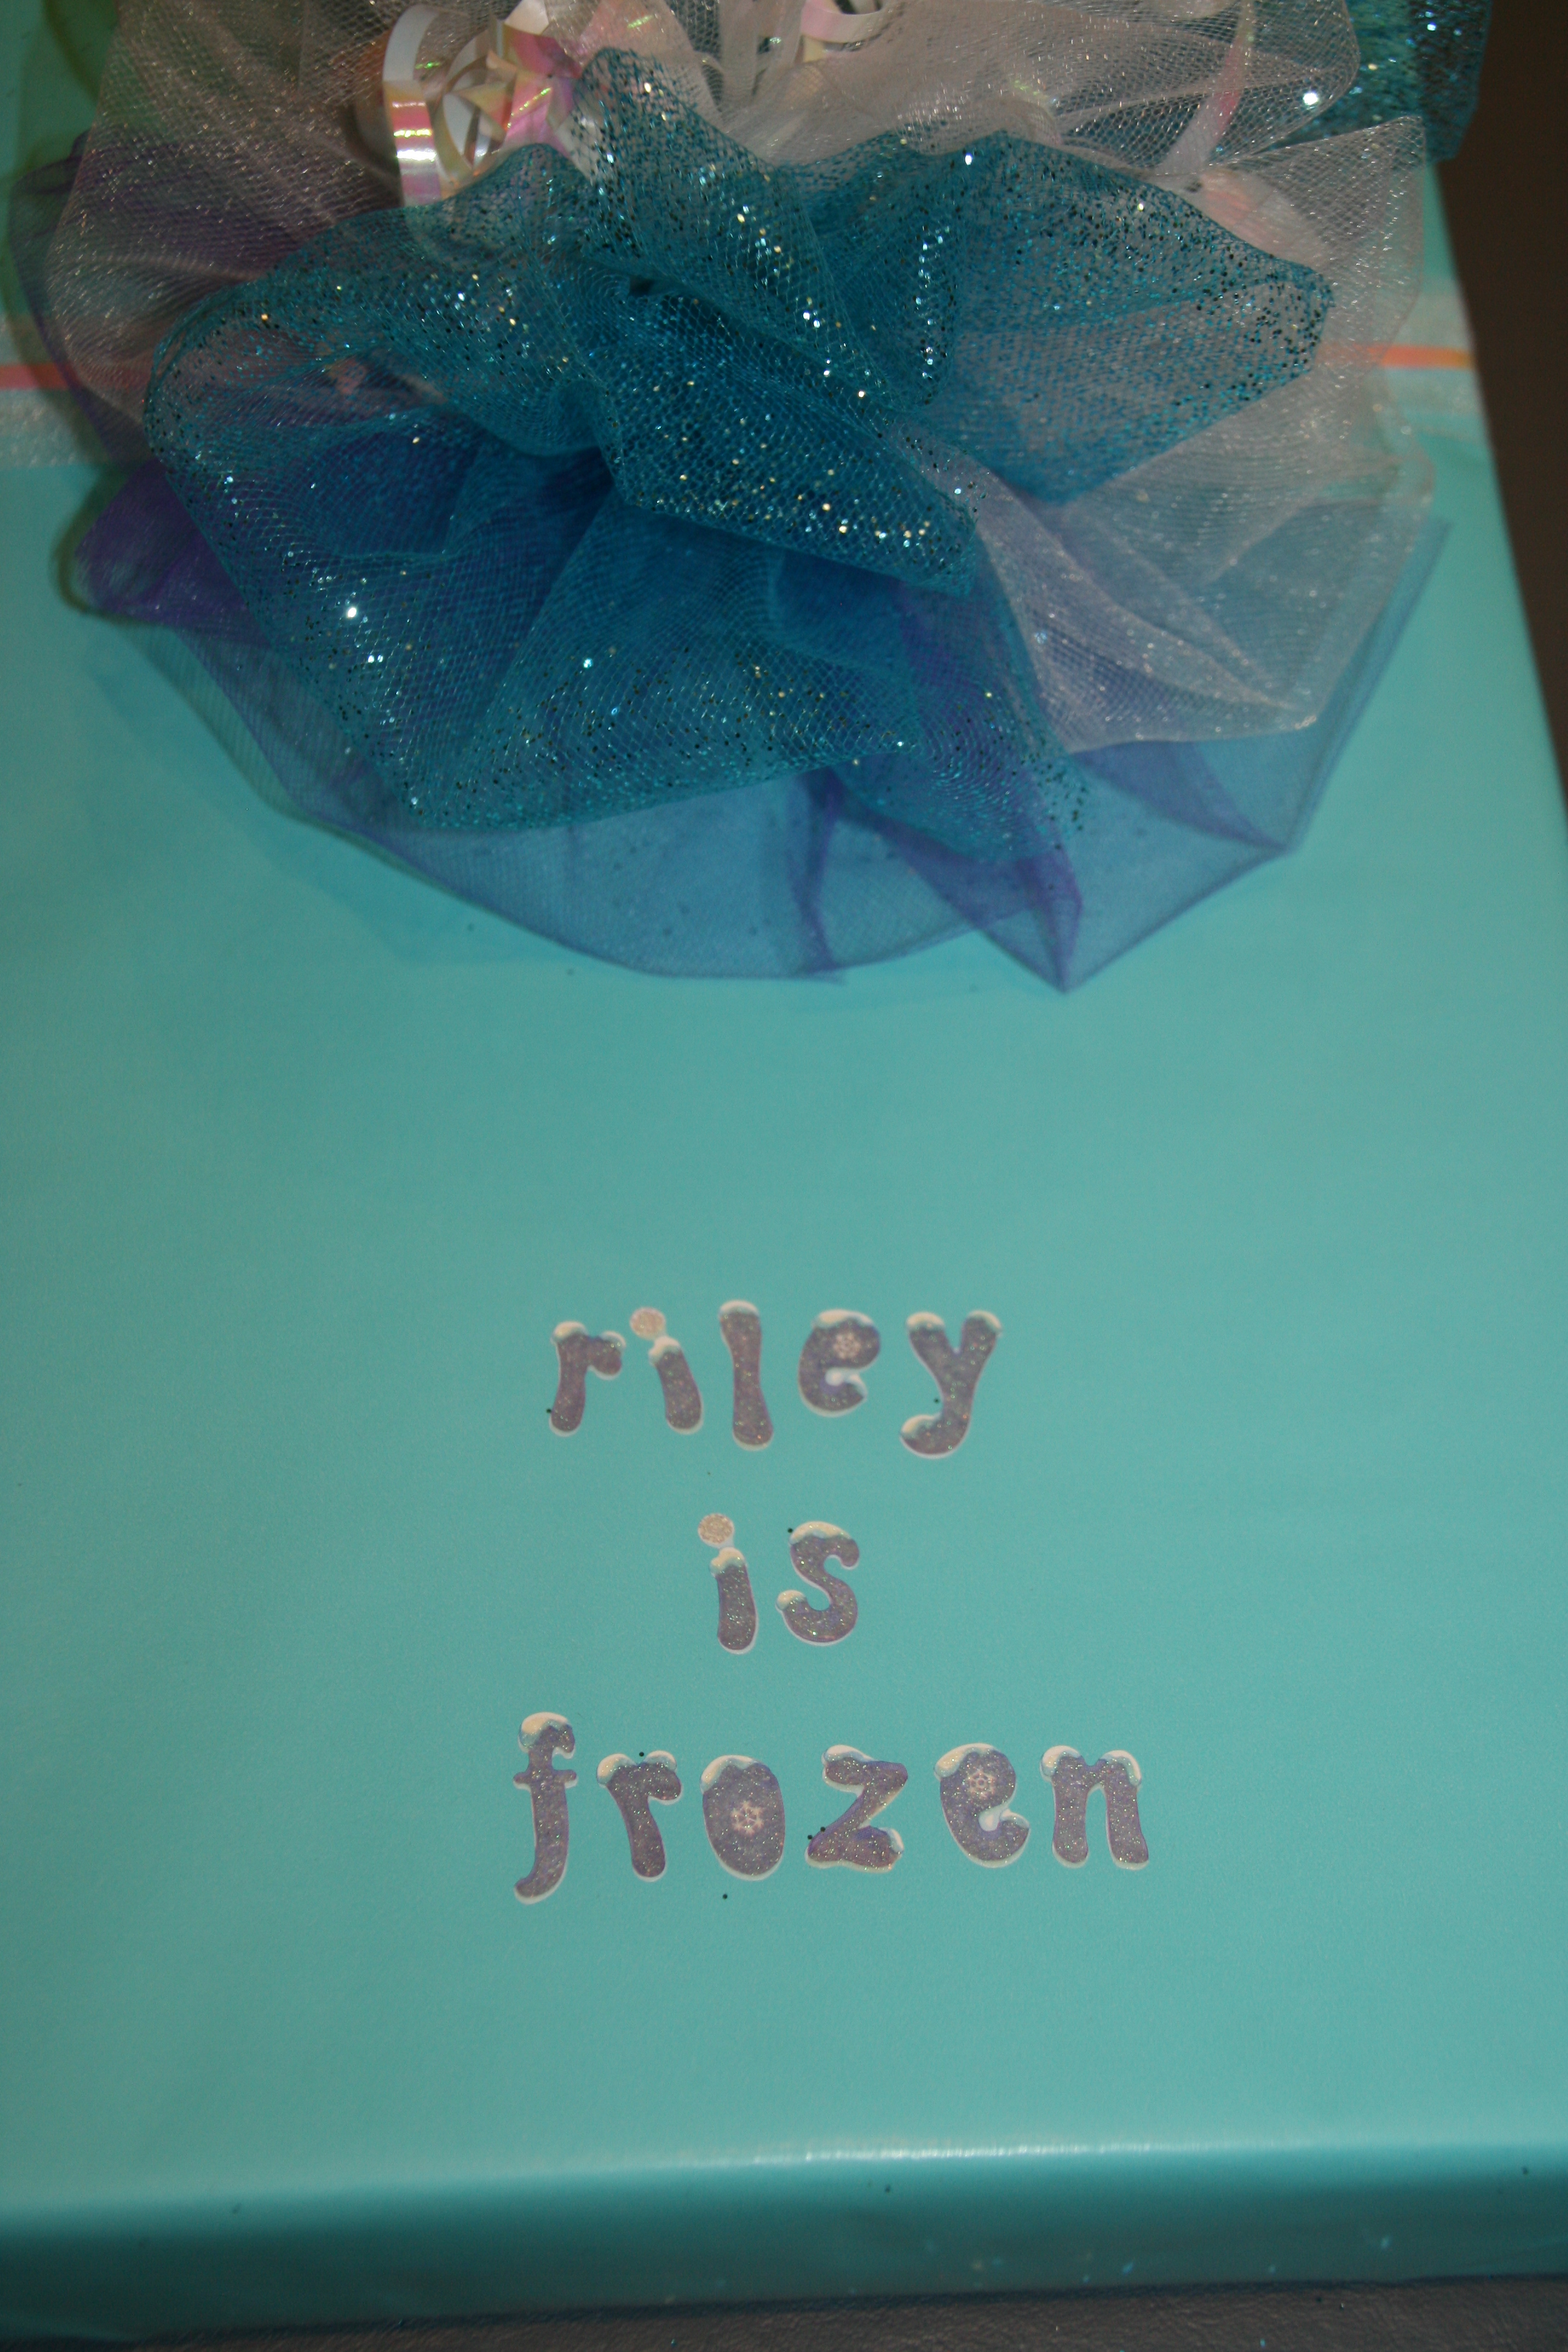
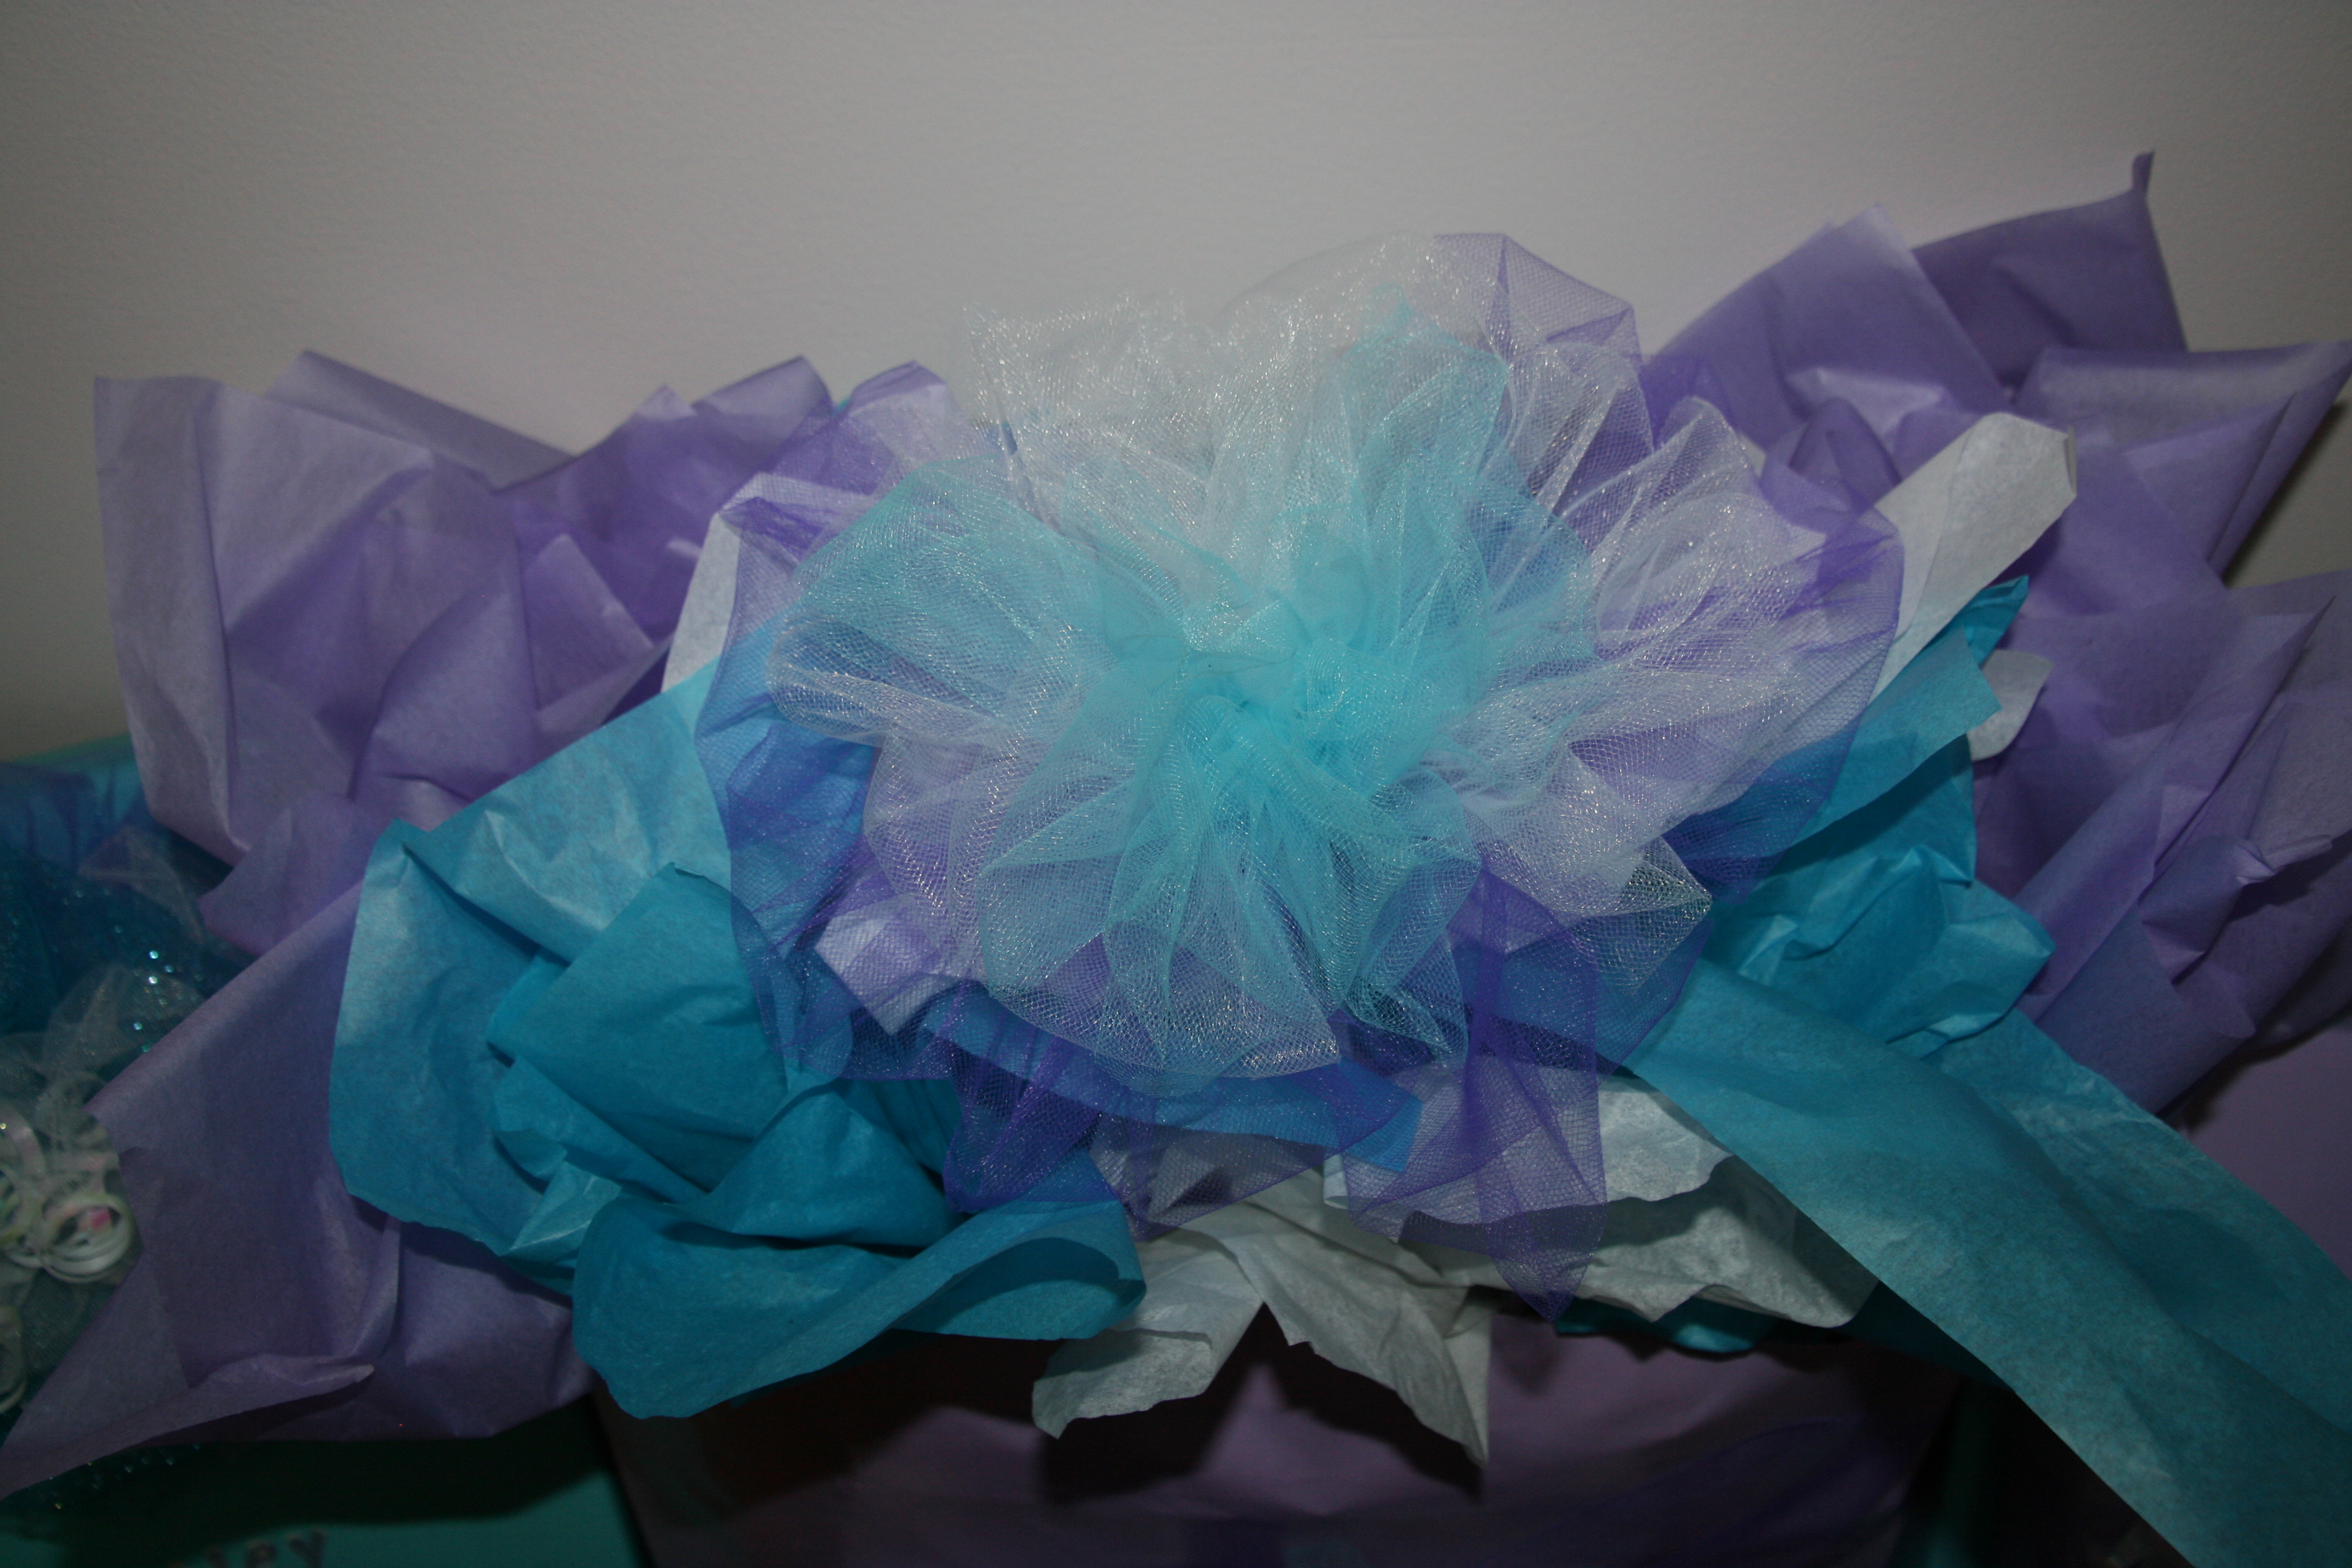
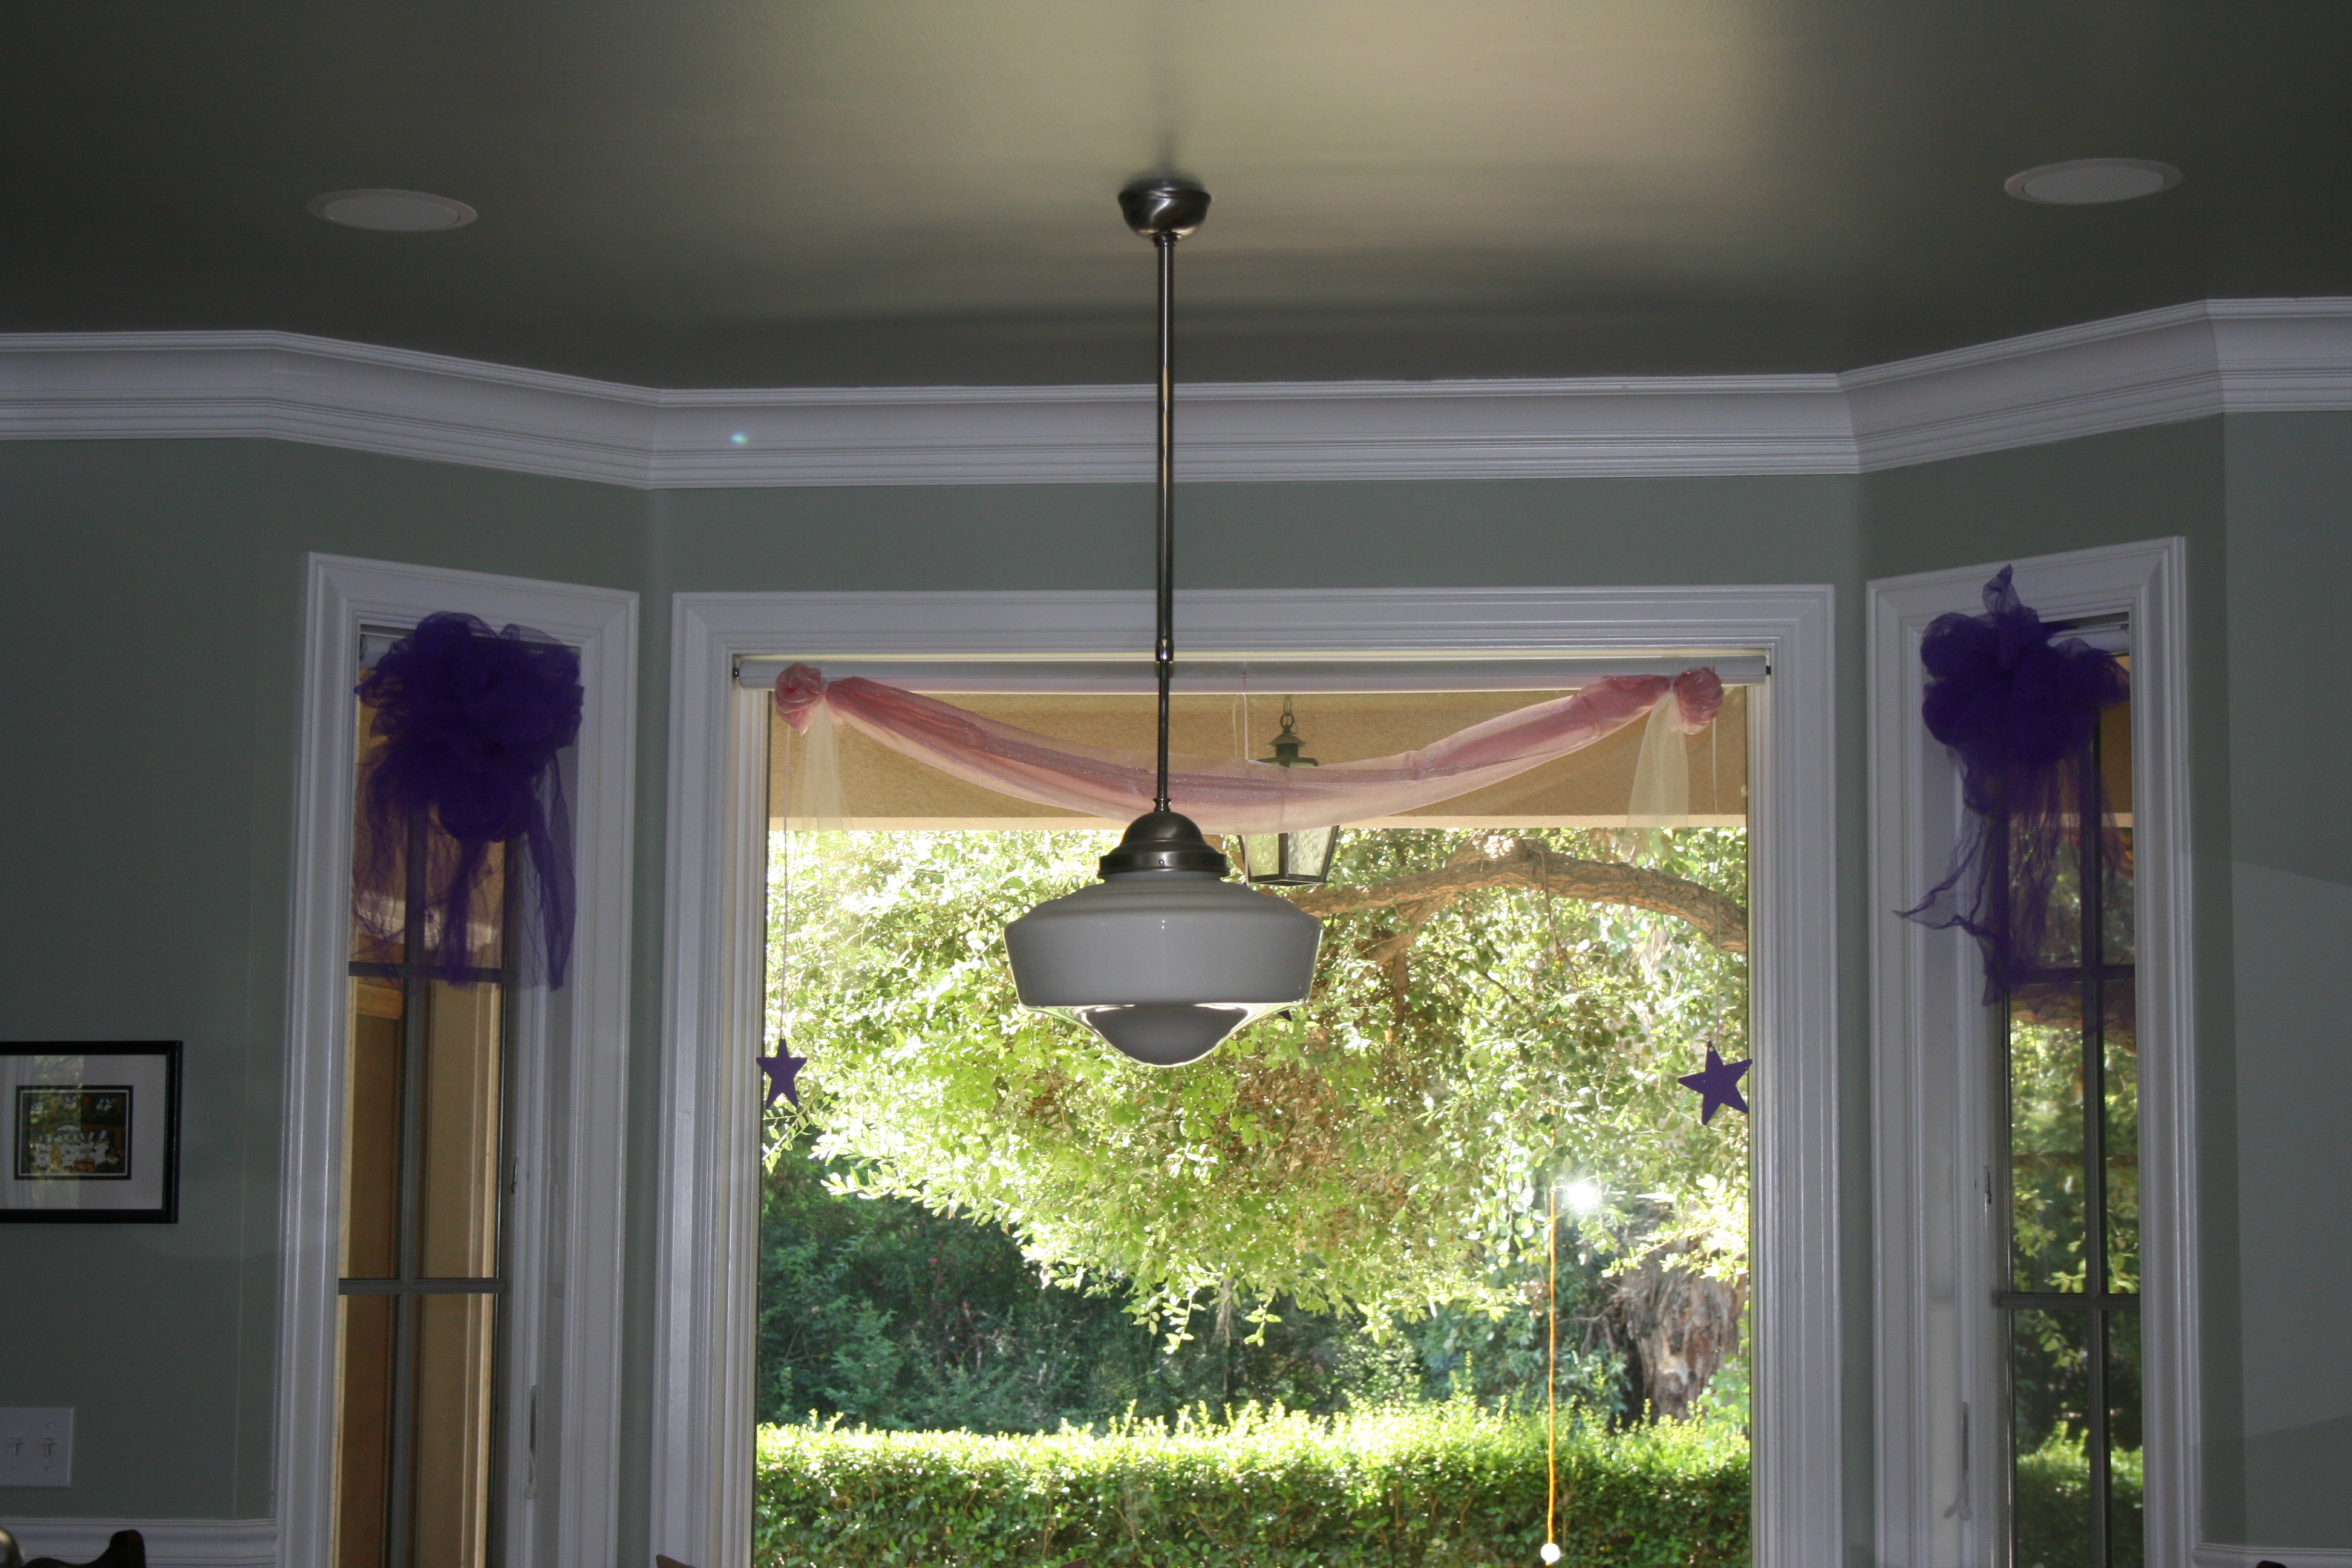
I hung pink & purple tulle anywhere and everywhere to accent, with hanging pink, purple, & blue sparkle paper stars.

IMG_3445 IMG_3443

  I made cupcakes in an ice cream cone shaped silicon pan.  I turned the cupcakes upside down and frosted them to look like “turrets” on a castle. I even included a flag on a toothpick as a topper…sorry, no pictures.  We ate them all before I could get the pictures taken. Ha-Ha-Ha!

It was simple to create the special atmosphere.  Anyone could do it!

Happy royalty…

“Wonder what I will come up with next”…

Girls “Garden” bedroom…

I don’t know about you, but in my house we have to keep everything “fair” amongst the girls.  The “fair perception” from their young minds is so important, so that no one is feeling slighted.  In the spirit of “fairness”, I had to create not one, BUT TWO uniquely decorated and fun bedrooms.  For this daughter, I chose a “Garden” theme.  Very similar to my other daughters room, yet just enough different.

I created a tree using a tree branch that fell from a neighbors tree.  Believe me…when I told my husband what my plans were with the fallen branch, he thought I had “LOST MY MIND!!!”  I have a tendency to “rope” him into my crazy ideas!  I created the tree similarly to the other post I made about my other daughters “Garden” room.  Once the branch was securely bolted to the wall, my husband drilled holes and I wood glued in the smaller branches to create the tree shape.  I then hot glued on each leaf.  It was a tedious task, but worth the effort.  I even included a bird nest in the tree.

018

I mounted wisteria to a beam in the room that hangs lower than the ceiling.  It created a fun effect!

020  019022

I stapled white picket fence from Home Depot and fake flowers from The Dollar Tree and Walmart to the wall.  I used an air compressor & pneumatic nail gun for the stapling.  I added green ivy crawling up the trim and across the baseboard.

028

…and topped off the room with a personalization.

I painted wood letters from Michaels Crafts and nailed them to the wall.

Happy decorating…

“Wonder what I will come up with next”…

Girls “forest” bedroom…

When my daughters were toddlers, I wanted to create fun, unique rooms for them that they wouldn’t outgrow quickly.  I thought, if I am going to put all of this effort into a room décor, I don’t want to have to change it in 2-3 years.  I decided on a “Forest” & owl theme for one of my girls.

014013

I created a willow tree and a cherry blossom tree.  For the willow tree, I started with a branch from a live tree and bolted it to the wall.  I then drilled holes and inserted smaller branches to create the tree shape.  I used wood glue to keep the branches in place.  I then attached plastic willow pieces that I bought at Michaels crafts with wire to the ends of each branch.  For the cherry blossom tree, I started with a branch from a live tree.  I created the branches similarly to the willow tree.  I found cherry blossom picks at The Dollar Tree and hot glued the blossoms to the branches.

017

016 015

I stapled wood colored picket fence from Home Depot to the wall using an air compressor & pneumatic staple gun.  I stapled greenery I bought at Michaels crafts and numerous different fake flowers purchased at The Dollar Tree to the walls.

A forest was created.  I chose an owl theme quilt from Target that has trees to finish the room.

Happy Decorating…

“Wonder what I will come up with next”…

Under the ocean kids bathroom

If your kids are like mine, they associate with all of the kids movies and characters that are popular.  They want “character” theme bedrooms, parties, etc.  I accommodated my daughters love of mermaids and swimming with an “Under the Ocean” theme bathroom.

001009

I started with a reef wall decal that I found online.

008011010

I bought additional wall decals and paint that has sand in it to create the bottom of the ocean.

005012 007

I couldn’t find any mermaid wall decals, so I made my own.  I took a mermaid book and had color copies made at Office Max.  I then cut them out and used a spray adhesive to attach them to the walls.

002 003006

Of course the décor needed nets filled with starfish and shells, and glass bouys hanging from the ceiling.  I found the styrofoam chain during Halloween.  It was from a shackle and I bought it on clearance, then made an anchor to match.  I used a Styrofoam disc, drew & cut the anchor.  Bought 4 colors of paint that matched with the chain & sponge painted the colors onto the Styrofoam.  The anchor looks old & rusty.

004

I decided that the bathroom needed jelly fish hanging from the ceiling, so I bought plastic bowls & glued iridescent tissue & basket filler inside.  I hung them with clear thread & paper clips from the vent.  Too cute!

Happy decorating…

“Wonder what I will come up with next”…

How to “Bling” plastic cup lids…

I have become a HUGE fan of insulated cups.  They are great because they keep your drink cold, AND they don’t sweat and make a big puddle.  I found insulated cups in numerous colors at both The Dollar Tree & The 99cent store.  I thought, WHAT A GREAT GIFT IDEA!!!  I filled my cart with cups and went bead shopping.

imgsvrCASD4HI9

The cups are extremely easy to “bling”.  The supplies you need are: cups (of course), beads, rhinestones, E6000 glue, & disposable paint brushes.  Make sure to get differing sizes of beads, including small “seed” beads.  The “seed” beads fill in the tiny spaces nicely.

001002

Start by putting some glue on the lid of the cup.  Use only enough to cover about 1/3 of the lid.  The glue is thick, so use a paint brush to gently spread it around.  Be sure to cover the entire area you are working in.  Start adhering the beads by placing them in the glue.  Use large and medium size beads first.  Fill in the spaces with “seed” beads.

003004

Work your way around until the entire lid is covered.  Let dry for several days.  The glue smell is strong, so you may want to keep the cups in the garage or outside while they are drying.

006008

What an awesome and easy gift to create!  Your recipients will absolutely LOVE them!  The E6000 glue is water proof.  Some of my friends have even put their cups in the dishwasher, but I would recommend hand washing them.

imgsvrCASD4HI9

Happy beading…

“Wonder what I will come up with next”…

Using wrapped boxes as party decorations

When my daughter turned 1, I wanted to have simple but colorful decorations at her birthday party.  I wrapped boxes in plastic table cloths and added bows.  I used silk flowers with straight pins to add some fanciness to the boxes.  The boxes sat on the table with all of the food.  They added great color to the table and made a nice photo back drop, as well.

untitledimgsvrCAL7FPX3

I used another wrapped box as the stand for the cupcake display.  Notice the simple tulle bow…

1

Happy decorating…

“Wonder what I will come up with next”…

Coordinating wrapping for multiple packages

When I have multiple gifts to give to the same person, I like to coordinate the wrapping, but not make them identical.  This keeps it interesting and makes a gorgeous presentation before the gifts are opened.

023

Start with the first packages.  Here I chose to use both tulle & curling ribbon and different colors of paper.

005006007

Make the tulle bow using multiple colors (see my post “Tulle”tally awesome bows for tulle bow how to).

008010

Once the tulle is tied onto the package, curl the curling ribbon and tie it on top of the tulle.

013

Fluff & separate the tulle.  Add stickers, if desired.

014015

Package #2 has tulle in the colors of the first packages wrapping paper, with white paper.

016019

Package #3 is similar to package #1, but only 1 layer.

021022

In this situation, I chose to use a gift bag, even though I am not a big fan of them.  The gift was an odd shape and larger than any boxes that I had.  I used tissue paper in the same colors of the wrapping paper and made a fluffy tulle bow to tie on top.

023

Quite a presentation when it is all put together.  Gorgeous coordinating!

Happy wrapping…

“Wonder what I will come up with next”…

Using strawberry baskets to make an Easter basket

Have you ever finished a basket of yummy sweet strawberries and decided to keep the basket for future use?  I do this ALL of the time!  I have given used strawberry baskets to many teachers for their classes to create Easter baskets.  It is a fun way to “up cycle”.

033

Start with extra fluffy pipe cleaners, colorful ribbon, and the baskets

021022023

Thread the ribbon through the basket and tie a bow.  Add a second layer of ribbon, if desired.

024025

Push the pipe cleaner through the end of the basket, using the center opening.  Repeat on the other side.

026028030

If you want to make the bows on the ends of the basket, thread the ribbon through the front and back of the basket, leaving extra ribbon on each end.  Then tie a bow on each end.

031032

Add the pipe cleaner and the basket is complete.  Add Easter grass and a large filled plastic egg.  VERY cute!

033

Happy basket making…

“Wonder what I will come up with next”…

Storing ribbon in a tray

Once you fall in love with ribbon, as I have, you will have more than you know what to do with.  It needs to be visible and easily accessible or it will be forgotten about.  I bought these green plastic trays at The Dollar Tree, 3 per set, and they work great for storing small spools of ribbon that are frequently being used.

035034037

The ribbon can either be left resting over the edge, or pulled through the holes in the tray.  Either way, it is easy to unspool as you are working with it.

Happy ribbon…

“Wonder what I will come up with next”…

BIG fluffy wire ribbon bows

I LOVE LOVE LOVE wire ribbon!!!  It is so versatile and easy to use.  One of my favorite bows to make is a BIG fluffy, loopy bow.

019

I chose colorful wrapping paper with a solid bright pink.  Wrap the gifts and stack them.  Be sure to tape the underside of the packages with double sided tape so they stay in place.

007008

The patterned paper has green, orange & yellow, but I chose to use the green ribbon.  Start with a loop, then another loop on the other side.  Be sure your loops are the same size or the bow will look lopsided.

009010

Continue to loop the ribbon back and forth.  Since this ribbon is the same on both sides, there is no need to twist the ribbon.  Keep looping until there are numerous loops in your hand.  The final loop will be positioned in your hand to create a circle.  This is where the bow is tied onto the package.

013

See the circle now that the bow is tied onto the package.

014015

Start with the center loop and use your fingers to open and separate each loop.  Pull the loops to each side and the middle as you separate each of them.

016017

Don’t forget to finish the bow by cutting the edge of the ribbon.

020

The gift is now ready to be given.  A very impressive bow that will make the recipient feel special.

019

Happy looping…

“Wonder what I will come up with next”…