“Flaking” Your Friends & Neighbors…

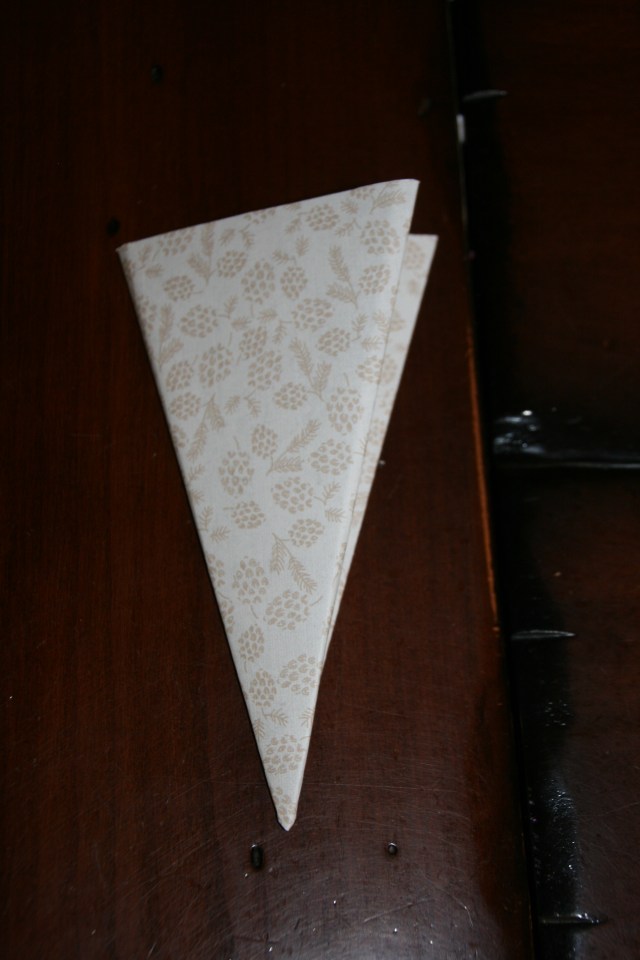
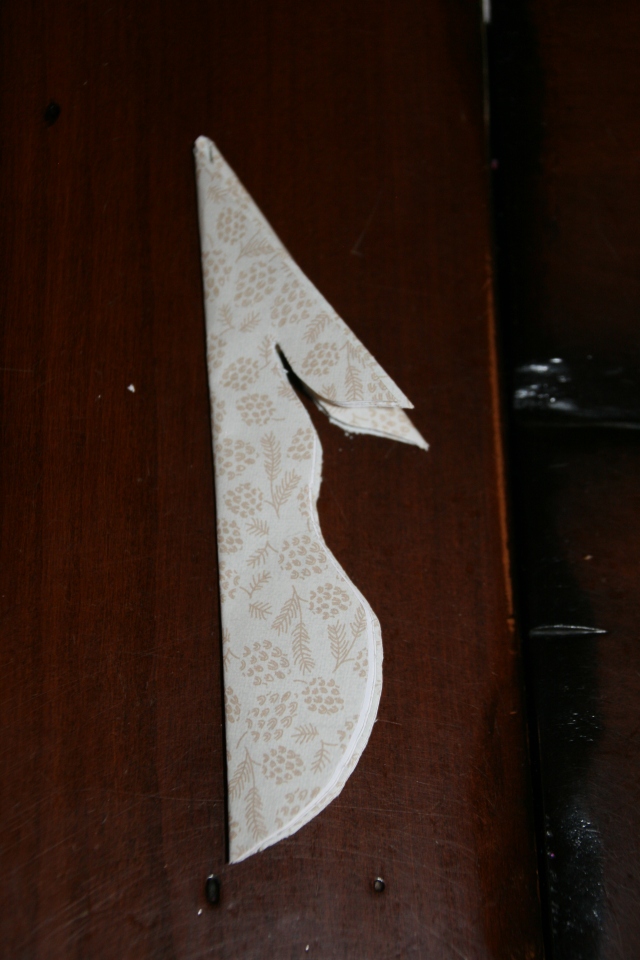
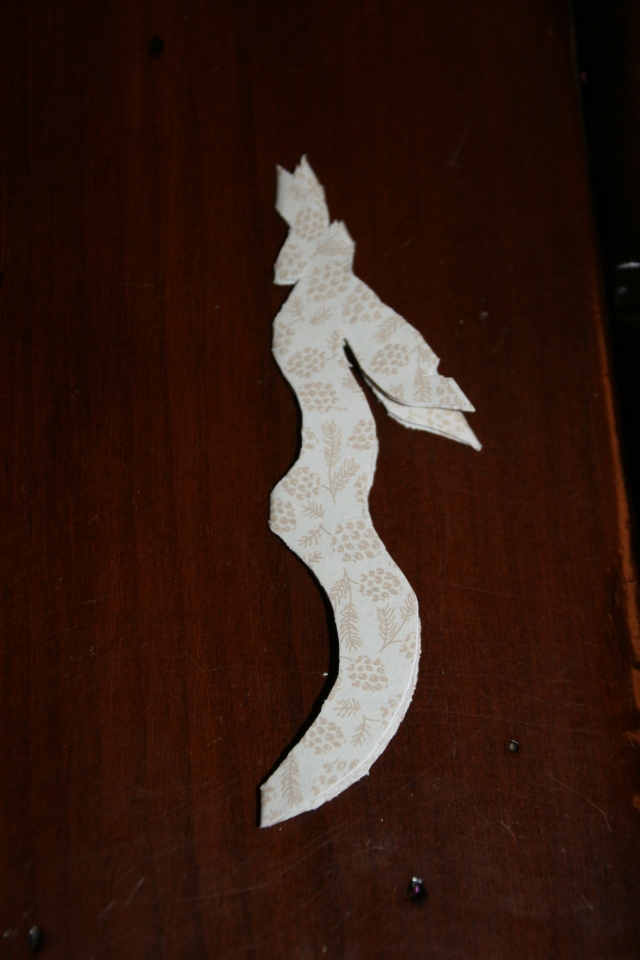
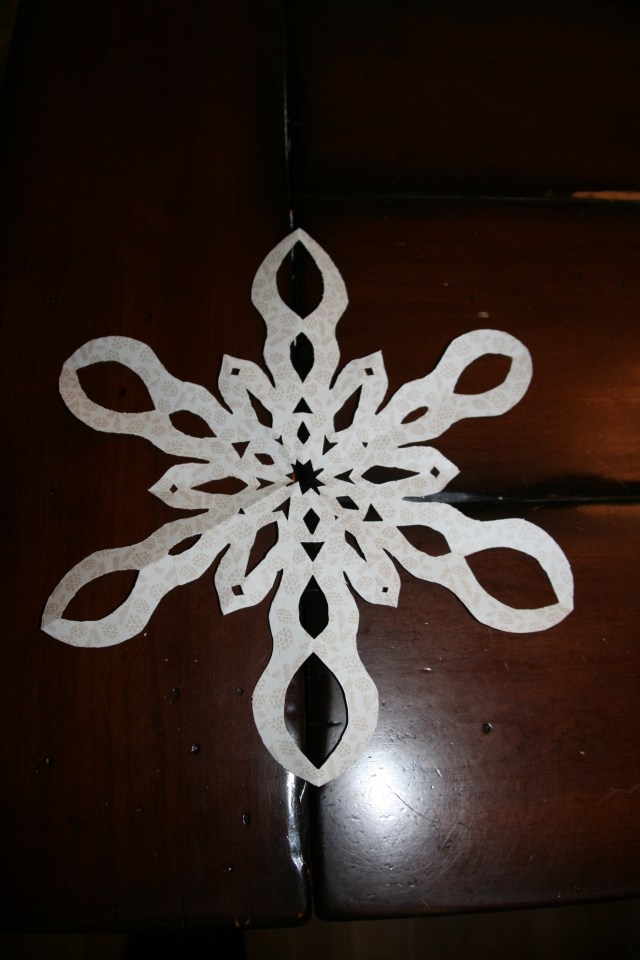
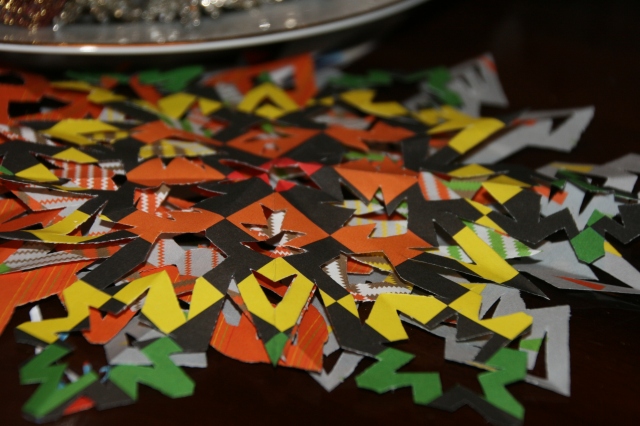
If you saw my last blog post, you read that my entire family made snowflakes on Christmas Eve this year.  Grandparents, Aunts, Uncles, Cousins, adults and kids included!  We were having so much fun sitting around the table cutting out our amazing creations.  There was even some friendly competition involved, and a little teasing for the “not so creative” snowflakes.  As I was enjoying the moment, I paused to really take it all in!  I mean, SERIOUSLY!  How many families sit around the dining table cutting out snowflakes and laughing on Christmas Eve?!?!  It was an ALL FUN AND NO STRESS, good time at my house!  I looked at the mound of paper snowflakes that was accumulating on the table and thought, “What in the world am I going to do with ALL THESE SNOWFLAKES???”  I don’t want to toss them in the garbage…no way!  They are to cool for that!  Then it hit me:

We can go “FLAKE” my neighbors!!!!

img_8830

…and that’s exactly what we did!  We bundled up in our warm coats and tried to be as stealth as we could, putting snowflakes in 3 of my neighbors yards.  We hung them in the trees, on their cars, and even dropped them on the lawn and walk ways.  We left a note on the front porch that said:

“You’ve been FLAKED”

It was a Christmas Eve to remember!  My neighbors woke up to a Christmas morning surprise from my family!  Snowflakes in their yard…in California!

“Wonder what I will come up with next”…

Simple 6 Point Snowflakes…

Making snowflakes is a fun craft for the entire family!  This year on Christmas Eve, my entire family got involved in the fun.

All you need is square paper and scissors, and you can create the most magnificent snowflakes.  I will show you how to make snowflakes with 6 points.

Start with a square piece of paper.  Here I used 12×12 scrapbook paper.  Fold the paper in half, corner to corner, as shown in the middle picture above, creating a triangle.  Then fold the triangle in half.

Hold your triangle with the main fold on the left, main point facing down and the top of the triangle the straight edge.  Fold from the bottom point, one third of the triangle towards the center (see picture #1 above).  You will have two thirds of the triangle folded over itself at this point.  Next, fold the remaining third, coming from the right side, over the fold you just made (see picture in the center above).  Flip the paper over and notice the area on top where there is a straight edge of paper with points sticking out from it.  It has the appearance of “fries” sticking out of a triangle shaped fry box. (See the last picture above)

img_8875

Cut the paper across the straight edge of the paper so you cut off the “fries”.

img_8876

Now comes the fun part!!  In order to have dimension in your snowflake, you want the main folded area to remain longer and cut a shorter side where the open folds are.  See picture above.  This will become the main shape of your snowflake.

img_8877

Now you will cut areas out to create the “holes” in the snowflake.  Be sure not to cut the entire folded area on either side.  If you do, your snowflake will fall apart.  See the picture above.  See the picture below to view the above cut opened up.

img_8878

This is what the final snowflake looks like.

Here are the pictures shown again, but side by side, so you can compare the cut paper before and after.

Above is a 2nd snowflake with more narrow points.

This gives you an idea of what two different snowflakes will look like.

Have fun cutting!  See my next blog post for some fun and creative ideas on what to do with all of your snowflakes!

“Wonder what I will come up with next”…

How to create different heights on your table display…

051-5

Whenever we have a large party, it is always a challenge to fit all of the food on the table.  I usually create different levels using boxes, which allows me to optimize the table space.

img_20161203_125756328_hdr

I first cover the table with a table cloth.  Then, I set up boxes to create the heights that I want.  Make sure to use sturdy boxes so they don’t cave in when you place platters full of food on them.

img_20161203_130356894

Cover the boxes with another table cloth that is the same as the flat table cloth.  Tuck under the edges and smooth it out onto the tops of the boxes.

Your table is ready for food!

051-5

Happy Celebrating!

“Wonder what I will come up with next”…