Painted Jars With Initials & Knobs

Happy Valentine’s Day!

imgsvr (1)

I love re-purposing jars!  I am constantly washing them & scraping off the labels.  Once I save up enough, I start dreaming of a creative way to use them.  Usually I am creating some sort of gift for the teachers & friends in my life.

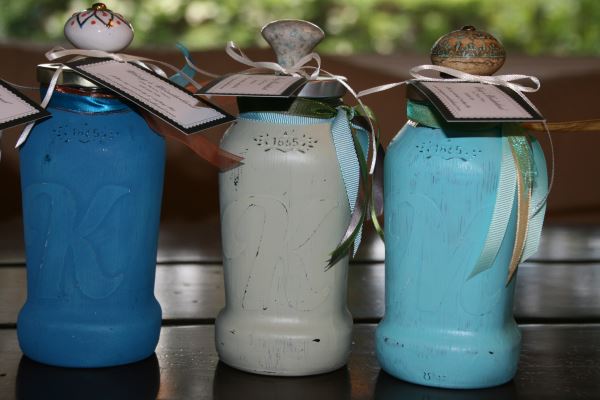
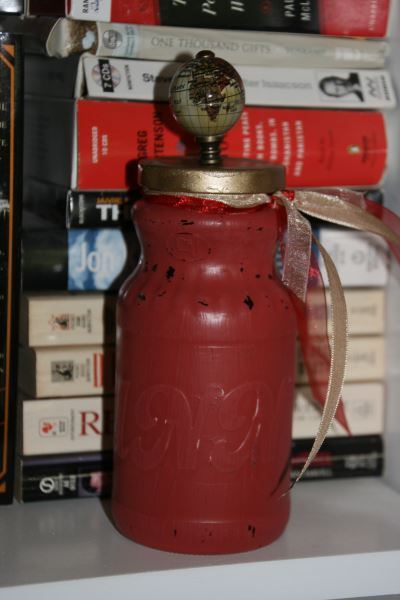
For this craft, I painted jars and added fun knobs.  These look great as home decor.  They can bring a unique element to a book case, or be used to store something.  I have cotton balls stored in a jar in the bathroom.

imgsvr (4)

Since I made these with the intention of gift giving, I decided to personalize them.  Prior to painting, I attached a sticker with the person’s initial.  I purchased the initial stickers at Hobby Lobby.  This gave each jar a little extra dimension.  After the paint dried, I “roughed” them up with a light sand paper.  This helped the initial become more prominent.

imgsvr (2)

In order to attach the fun knobs, I needed to drill holes in the lids.  I started by painting the lids colors that looked good with the paint color.  I kept it simple and painted lids black, white, silver, & gold.  After the paint dried, I used a drill to create the holes.

Once the holes were drilled, I attached the knobs.  I found fun inexpensive knobs at TJ Maxx, Home Goods, Hobby Lobby, & Lowes.

imgsvr (3)

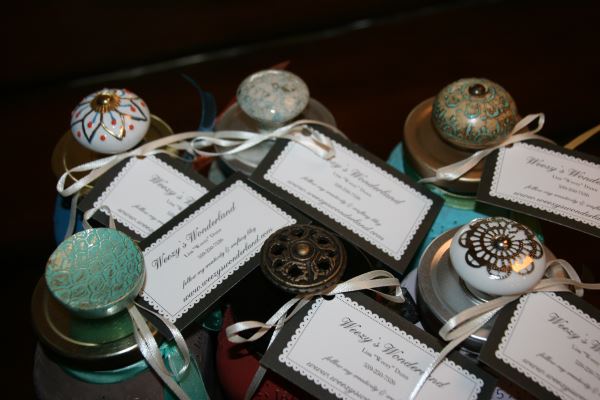
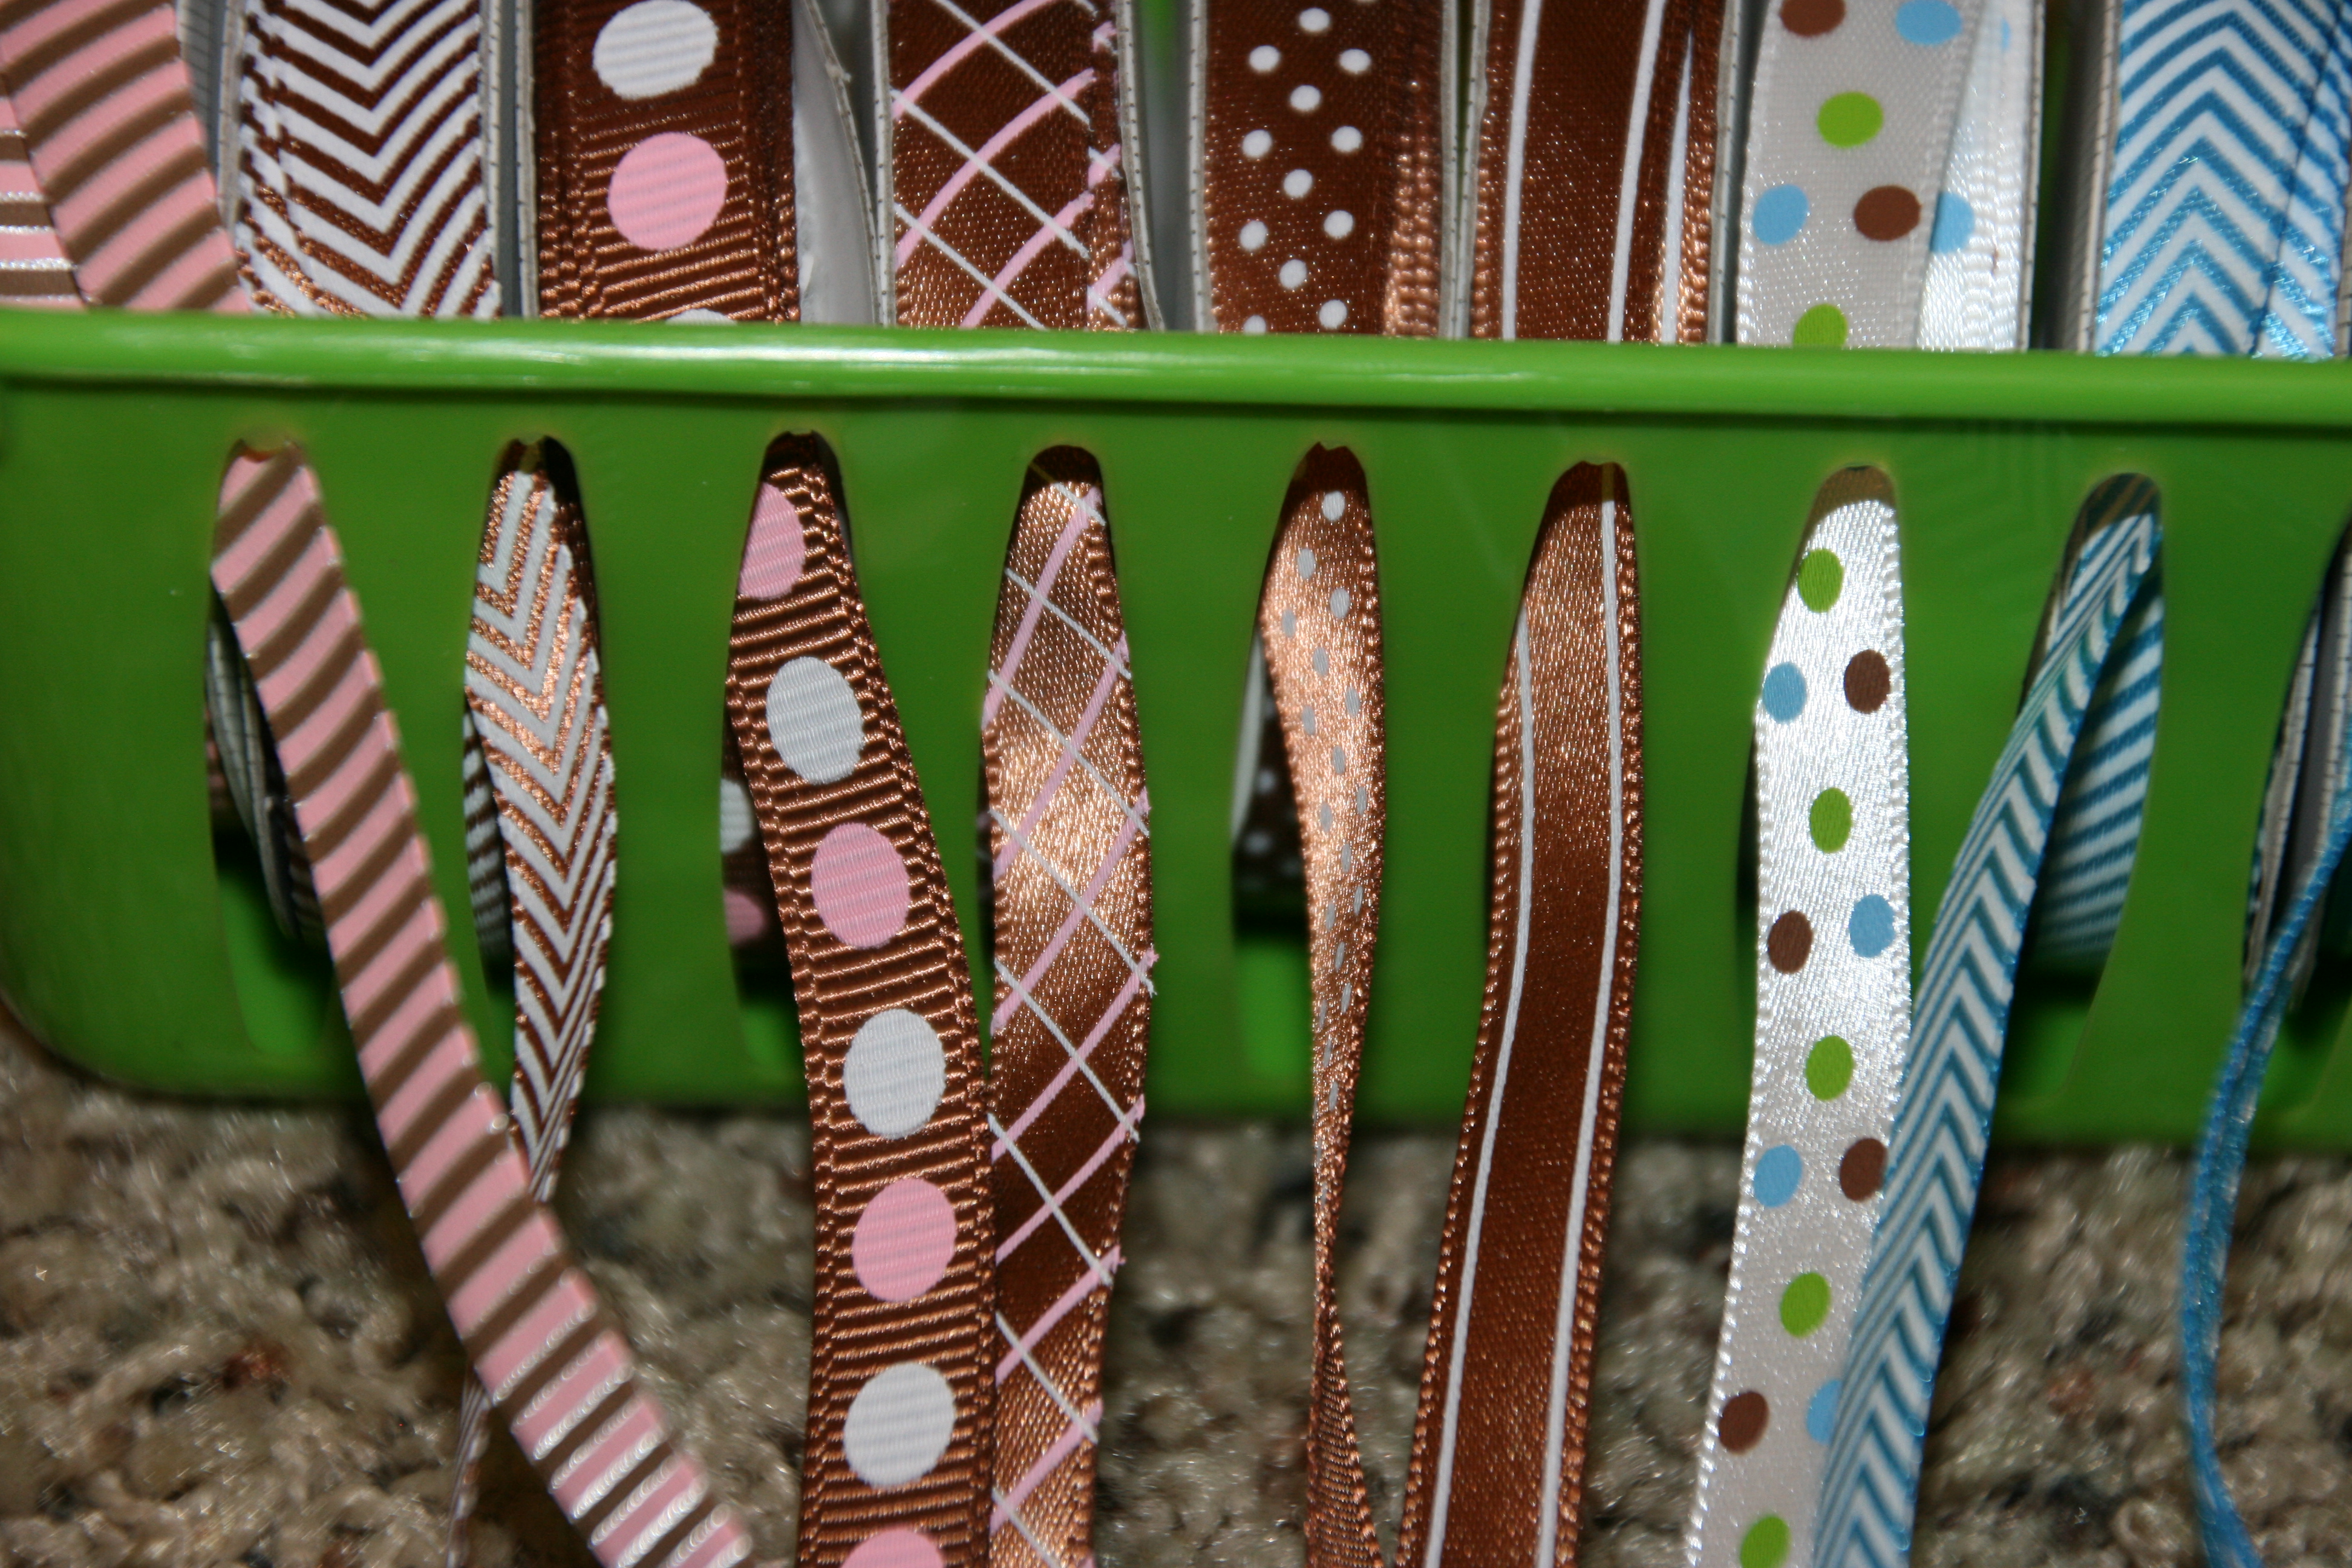
I tied coordinating colored ribbon around the rim, just because it looked cute.

These jars were so fun to create & people enjoyed receiving them.  They especially liked that they were personalized.

Happy creating!

“Wonder what I will come up with next”…

How to create different heights on your table display…

051-5

Whenever we have a large party, it is always a challenge to fit all of the food on the table.  I usually create different levels using boxes, which allows me to optimize the table space.

img_20161203_125756328_hdr

I first cover the table with a table cloth.  Then, I set up boxes to create the heights that I want.  Make sure to use sturdy boxes so they don’t cave in when you place platters full of food on them.

img_20161203_130356894

Cover the boxes with another table cloth that is the same as the flat table cloth.  Tuck under the edges and smooth it out onto the tops of the boxes.

Your table is ready for food!

051-5

Happy Celebrating!

“Wonder what I will come up with next”…

Simple Necklace Storage

If you are like me, you have more necklaces than days in the month!  I love jewelry, yet I have struggled over the years to remember what pieces of jewelry I own.  I found these “Command” hangers and fell in love!!!

089

I hung several hangers behind my bedroom door.  I can now easily see all of my necklaces and I can hide them when the door is open.

Happy shopping for more necklaces!

“Wonder what I will come up with next”…

Holiday Gift Spreadsheet. It’s time to start shopping!!!

November is here and it’s time to get SERIOUS about holiday shopping!

How many of you are saying to yourself…”This girl is CRAZY!  It’s ONLY the 1st of November!”  Well, yes, I am crazy, but crazy can be a GOOD thing!  I have attached a spreadsheet that I use to keep track of the gifts I need to buy and the gifts I have already purchased.  If you start NOW…you will enjoy the holiday season SOOOOOOOO much more!!!  I usually start my holiday shopping in August or September.  This allows me to spend less money per month on gifts, spreading the cost out.  I rarely use credit cards to purchase gifts, so I am not left with the post holiday bills to pay.  Starting early also takes the stress off of the buying process.  I aim to be finished shopping by Thanksgiving.  I usually don’t make that goal, but I am usually darn close.  I am not usually out shopping during the craziest weeks in December.  AND…if I am out shopping, it is because I WANT to be shopping, not because I HAVE to be shopping.

On the spreadsheet, there is a column for “Who” the gift recipient is, “Budget” amount, “Spent” amount, and “Gifts”.  In the “Gifts” area, I use the space for gift ideas, and what I have purchased.  I color code the lettering depending on where in the buying process I am.  For instance, “black” letters are for ideas, “blue” letters are for purchased items, and “red” letters are for gifts I have already distributed.  This allows you to keep a very close watch on all of your gift movement.

I dare you to try it “my way” and hope you have a VERY MERRY HOLIDAY SEASON!!!  I ALWAYS DO!!

Happy Shopping…

“Wonder what I will come up with next”…

holiday shopping list

How to store baking sprinkles & supplies…

001

My last post was about storing cupcake papers.  Well, if you are going to bake cupcakes, you NEED sprinkles to decorate them.  Again, I am addicted to sprinkles and decorating items.  The plastic jars have a tendency to fall over and do not stack well.  I solved this problem by storing them in a tray from the Dollar Tree.  This makes them easily accessible and they  store neatly on a shelf in my pantry.

Happy decorating…

“Wonder what I will come up with next”…

How to store cupcake papers…

002 004

I don’t know about you, but I am addicted to all of the fun cupcake papers that are available these days.  Gone were the days of white, yellow, light pink, and soft blue papers!!!  Not only do we have tons of standard size papers available, but we have access to MINI cupcake papers also!  It’s so exciting!  The problem with all of these cupcake papers is How To Store Them!

I store them in plastic trays that I purchased at the Dollar Tree.  Once I open a package of papers, if there are still some left, I wrap them in fold top sandwich bags, then line them in the trays.  This keeps them clean, and organized so they won’t get smashed.

Happy baking…

“Wonder what I will come up with next”…

Storing ribbon in a tray

Once you fall in love with ribbon, as I have, you will have more than you know what to do with.  It needs to be visible and easily accessible or it will be forgotten about.  I bought these green plastic trays at The Dollar Tree, 3 per set, and they work great for storing small spools of ribbon that are frequently being used.

035034037

The ribbon can either be left resting over the edge, or pulled through the holes in the tray.  Either way, it is easy to unspool as you are working with it.

Happy ribbon…

“Wonder what I will come up with next”…

Storing rolls of wrapping paper

Since I have professed my love of wrapped gifts and not gift bags, I, of course, have more rolls of wrapping paper than I know what to do with.  Storing all of the rolls in a way that is easy to access and see what you have is key!  I use tall boxes and store the rolls upright.

I even store smaller rolls inside larger rolls…
I have a separate box for Christmas paper…
Rolls of printed paper are separate from solids…
It’s not fancy, but it is very practical and works well.
Happy wrapping…
“Wonder what I will come up with next”…

Re-purpose glass jars…

Glass jars can be used for so many fun things.  I save all kinds of glass jars.  I have jars coming out my ears…well not literally, but I do have quite a collection.  I have baby food jars, pickle jars, jelly jars, sauce jars, pepper jars…well you get the point.  I have used them for numerous projects.  My latest project was converting them to button & ribbon spool storage containers.

All I did was soak off the labels.  Be sure to scrape them good to remove all of the glue.  I then spray painted the lids, top & bottom, with Silver spray paint.  I filled them with the goods and displayed them on a shelf in my craft room.  They are fun to look at and easy to access.

Happy jar filling…

“Wonder what I will come up with next”…

Storing rolls of wired ribbon…

Happy Monday, January 13, 2014.  Can you believe that January is already half gone?  WOW!  My mind is buzzing with all of the things that I want to share on this blog…now finding the time will be the trick!

Here are my thoughts for the day.  Have you ever wondered how to store all of your spools of wired ribbon so that you can easily see what you have as well as access the one you want with out making an ENORMOUS mess?  I used to have stacks of ribbon, and of course, the one I wanted was on the bottom of the stack.  Or I would forget what I had.  Here is my solution…

An empty dresser drawer will hold many spools that you can see and access with ease.  Happy wrapping…