Gift Tags from Cards…

img_20190105_152044884

A couple of weeks ago, I posted about repurposing used Christmas cards.  You can also do this with birthday, anniversary, thank you, or any kind of card you have received.  Here I show a Dr. Seuss birthday card that I created a gift tag from.

Supplies needed: used cards, cardstock, paper cutter, glue stick, hole punch, & thin ribbon.

Cut the cardstock slightly larger than the card, glue them together, punch a hole in the corner, and tie it onto a gift.  It’s that simple!

img_20190105_152054359-1.jpg

Be sure to coordinate the wrapping paper and ribbon with the gift tag, for the optimal effect.

Happy cutting.

“Wonder what I will come up with next”…

Creating Gift Tags From Christmas Cards…

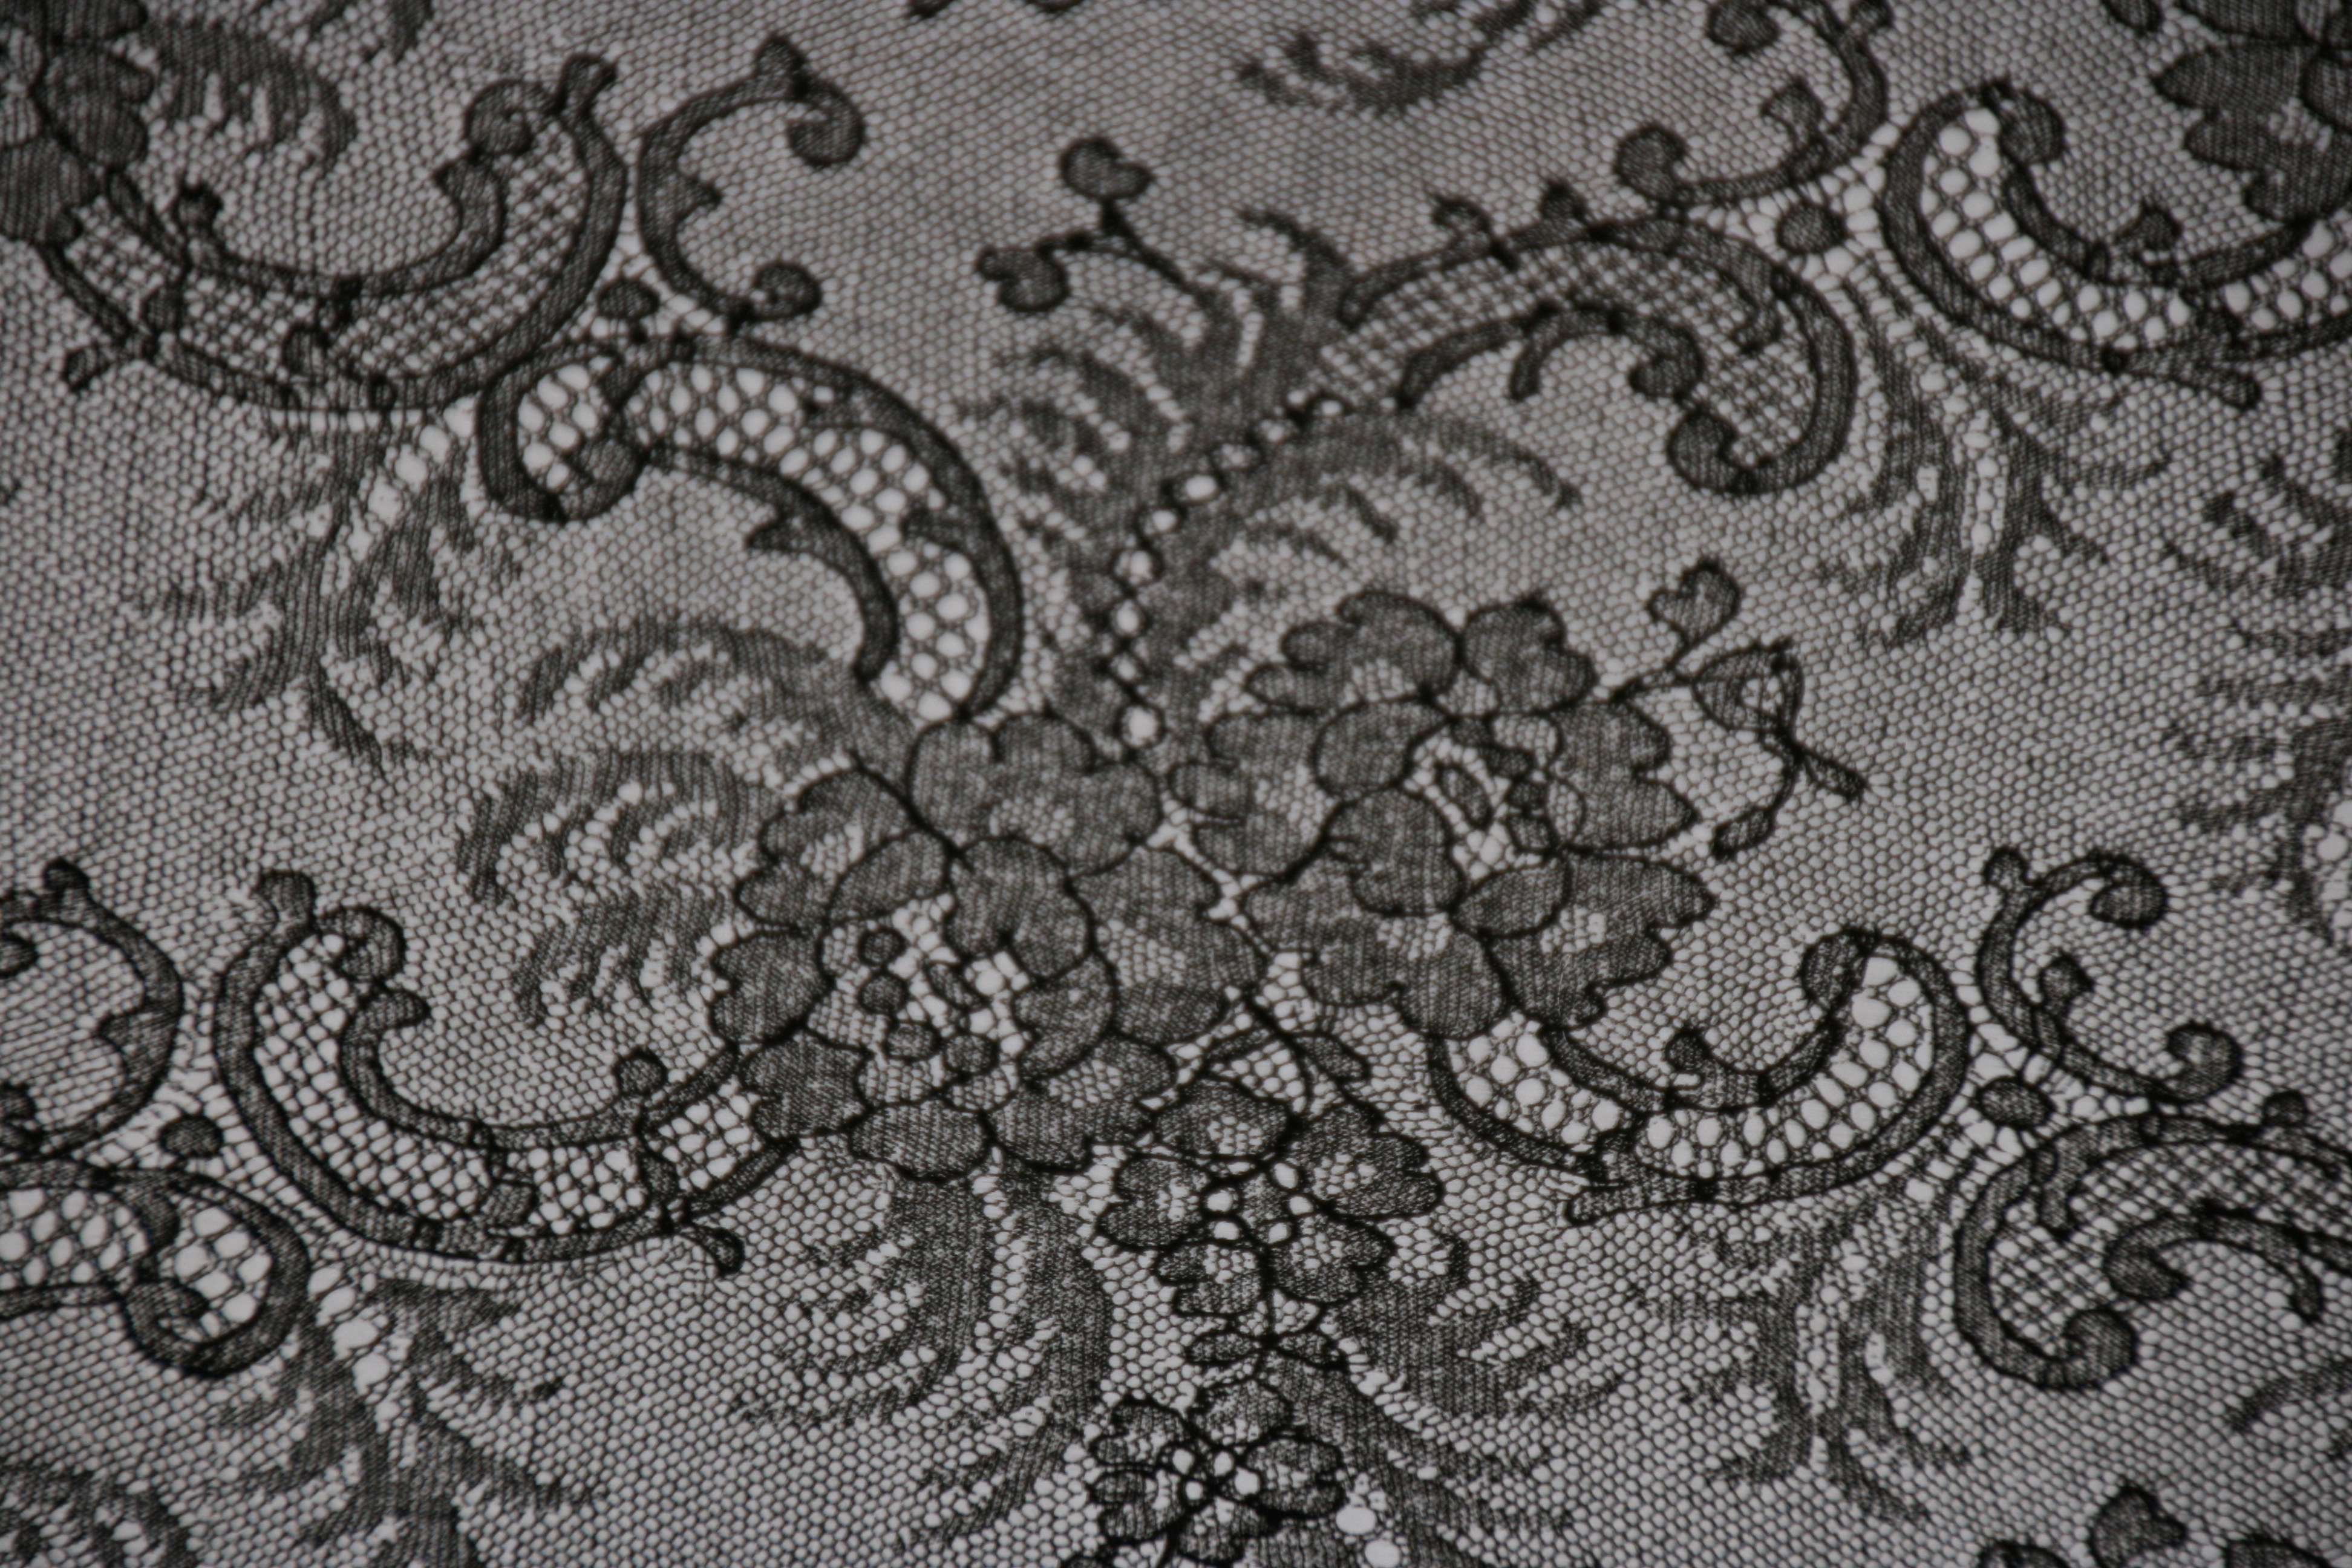
Have you ever wondered what you should do with all of the GORGEOUS Christmas cards that you receive?  A few years ago, I decided to save them for a future use.  This year I decided to repurpose them as gift tags.  It’s a simple way to recycle something beautiful.

The items you will need: Used Christmas cards, colorful cardstock, paper cutter, glue stick, hole punch, twine or thin ribbon, embellishments, such as rhinestones, and your imagination!

IMG_20181226_203243116

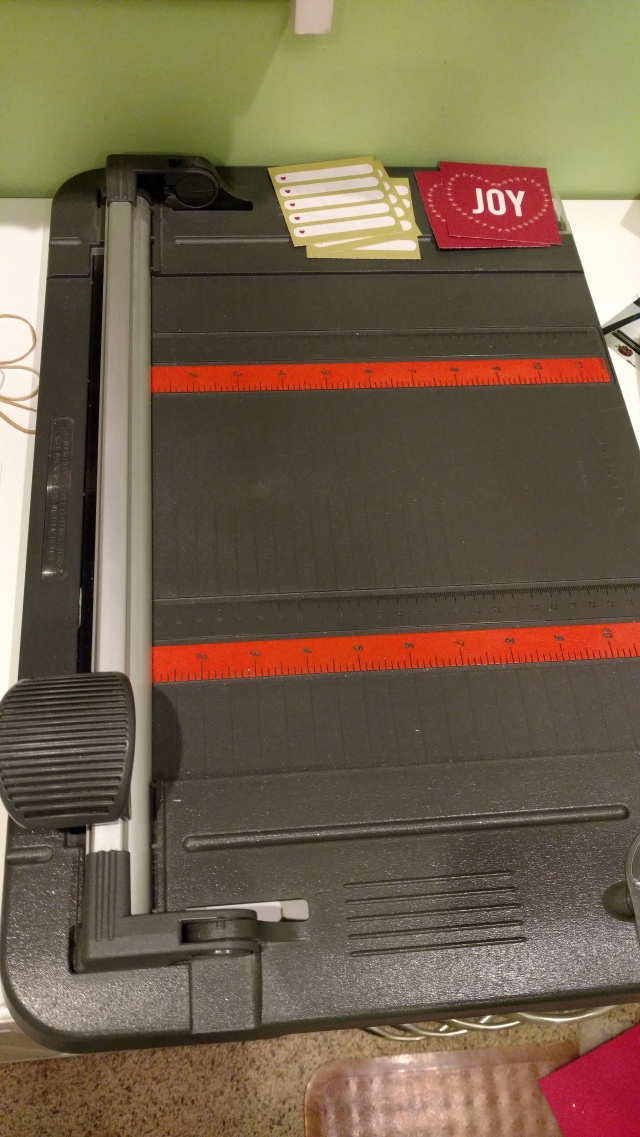
This is my favorite paper cutter!  I’ve had it for years and it works great!

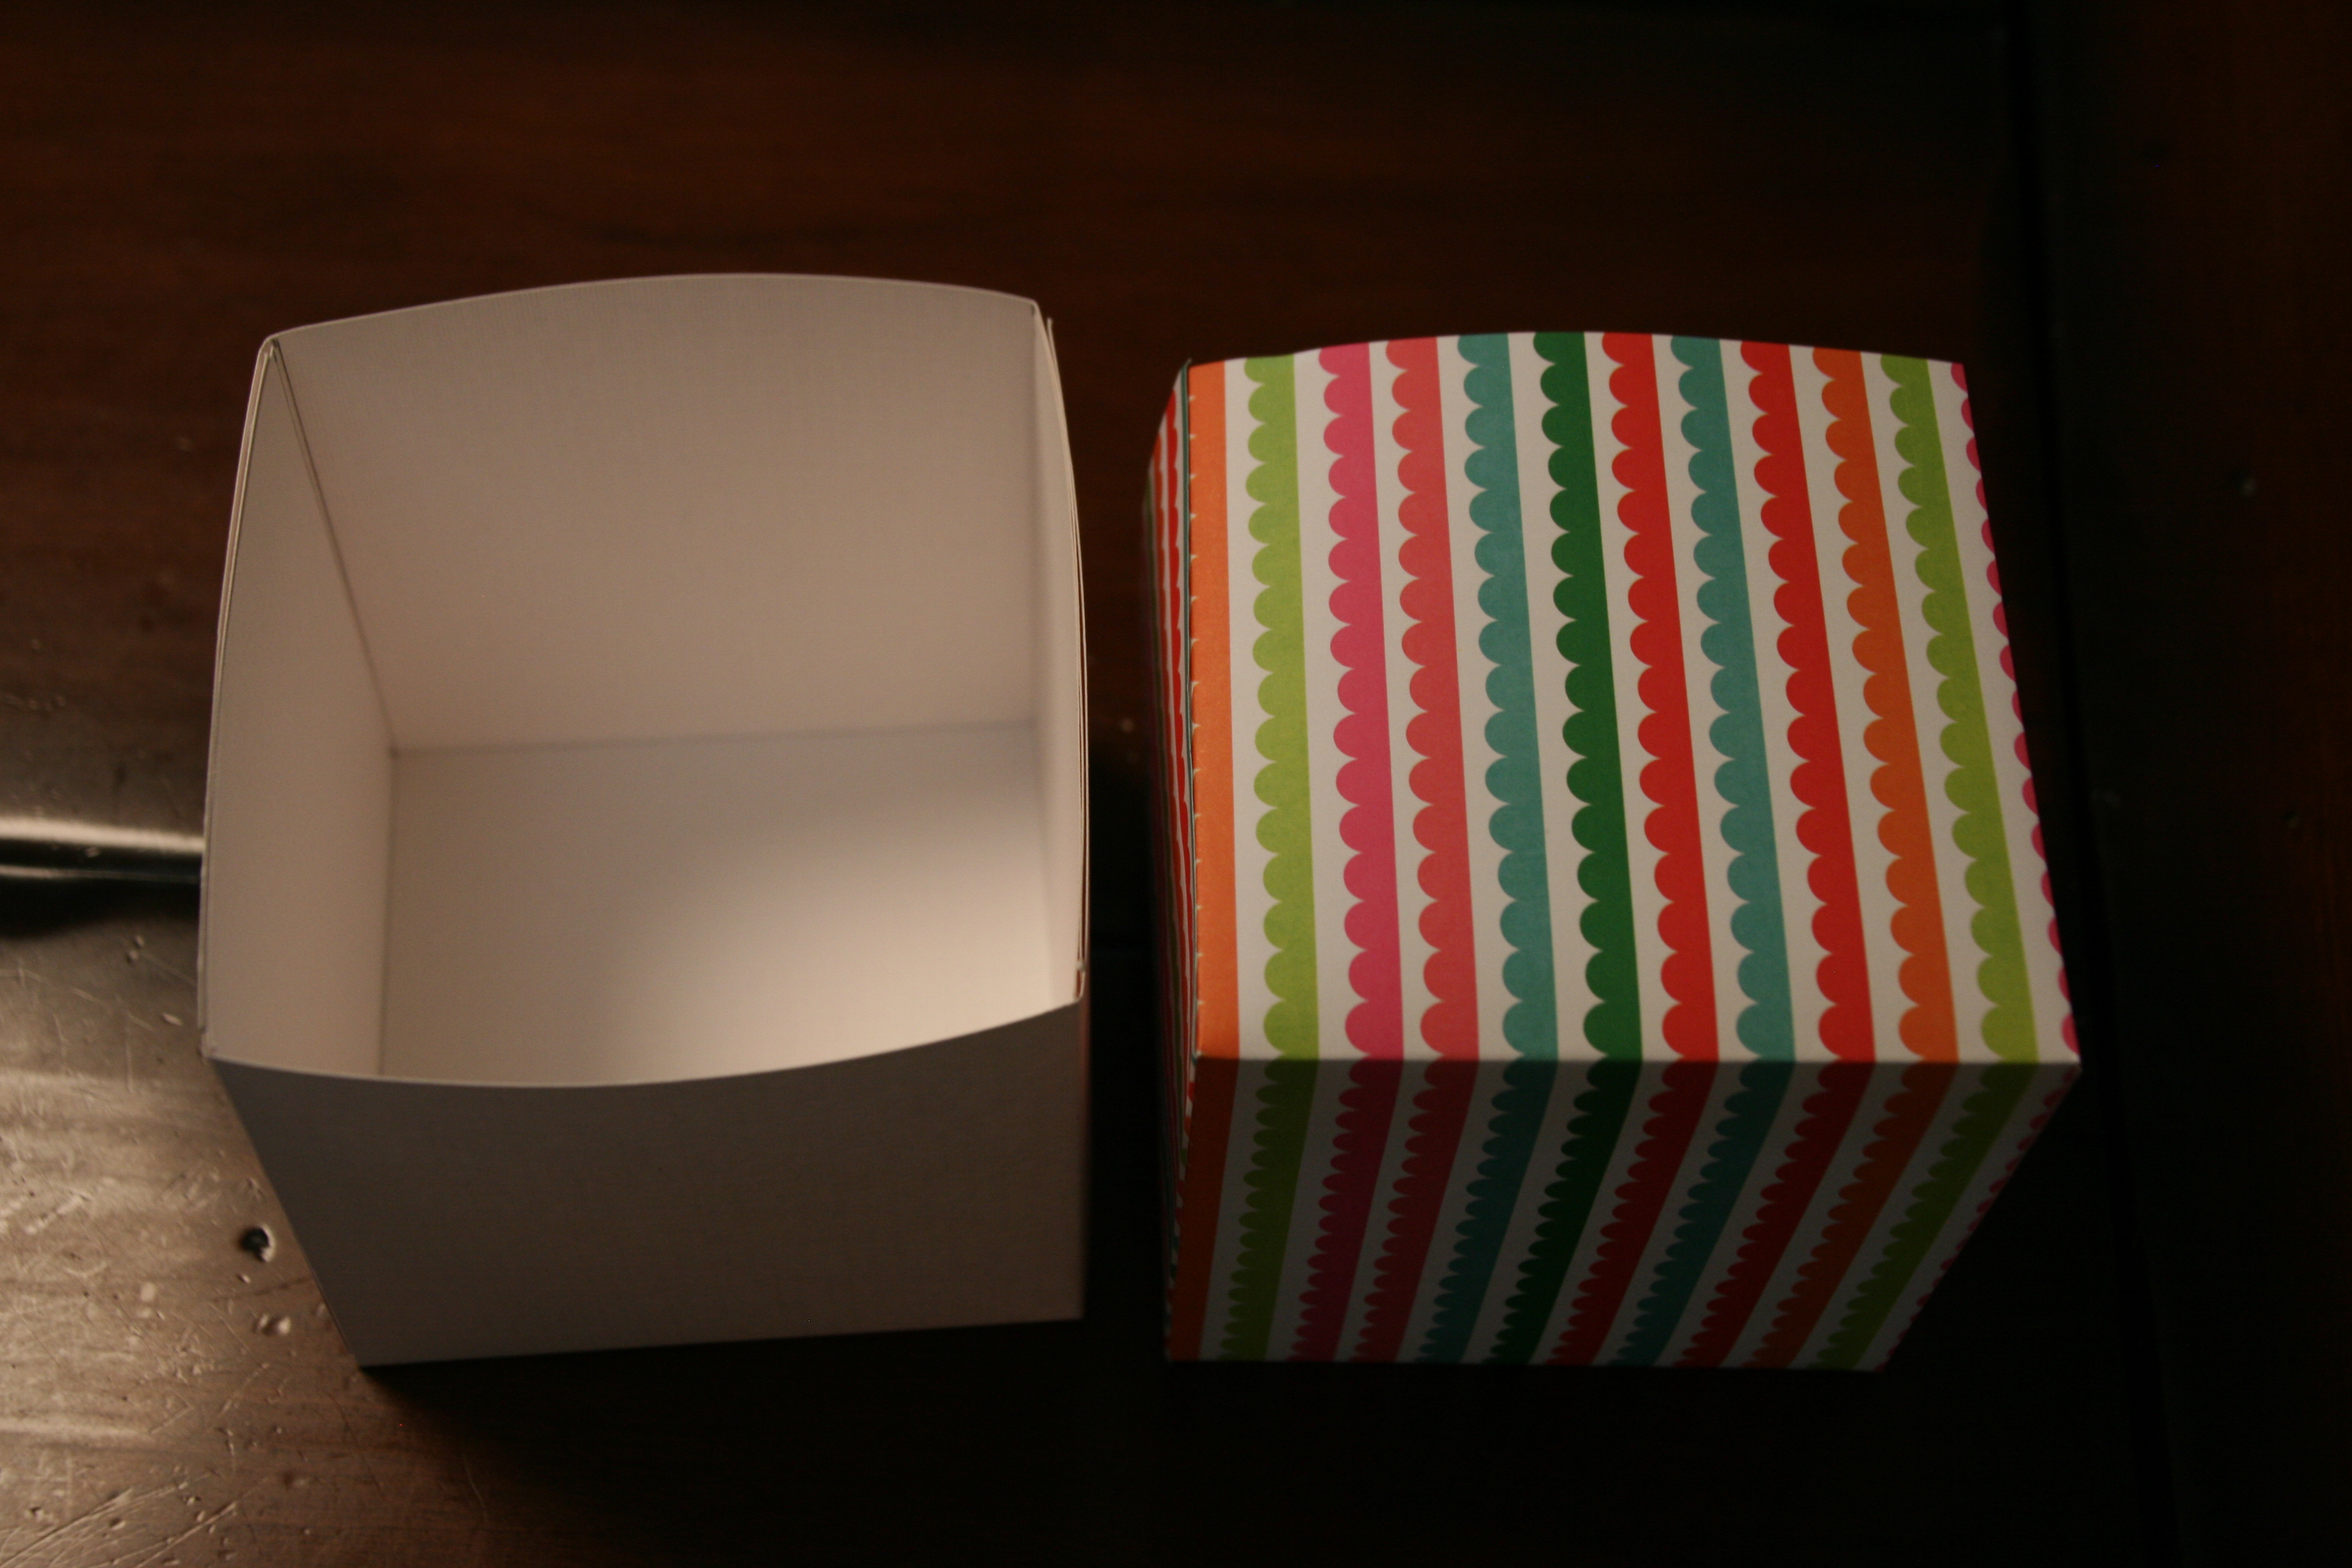
I use colorful cardstock quite frequently and I always save the scraps.

To create gift tags, start by cutting the image on the card you would like to save.  Next, cut a piece of cardstock in a coordinating color.  Be sure to cut the cardstock slightly larger than the image, which will leave a “color” border.  Use a glue stick to attach the image to the cardstock.  Embellish with rhinestones, if appropriate.  Punch a hole in the corner, or center it on the gift tag.  Place a ribbon or piece of twine through the hole and you have created a gift tag!

I haven’t punched the holes and added the ribbon with these, but you can see how fun they are.  If you don’t have used Christmas cards, you can also use festive scrapbook paper for the image.

Happy cutting!

“Wonder what I will come up with next”…

Simple Baby Shower Decorations…

My oh my, how I love planning parties!  I will gladly plan a party any day!  My manager is pregnant and we decided to have a simple baby shower for her at our district meeting.  Of course, I volunteered to be in charge of it!  BIG SURPRISE, I know!  Since we were gathering for a meeting, not a baby shower, I needed to keep it VERY simple.

img_20161206_095540937

Since my manager doesn’t know what she is having, I needed it keep it neutral colors.  I created 2 “clothes lines” out of lime green tulle and hung some sleepers, diapers, stuffed animal and booties from them.  I also created paper “blocks” that spelled out “baby”.  I used command hooks to tie the tulle to so I didn’t leave holes in the conference room walls.

img_20161206_095436216

img_20161206_095549595

I used lime green, dark grey and white card stock to create the “blocks”.  I cut the lime green paper 6×6″, dark grey 5×5″, and the white 4×4″, then glued them together with a glue stick.  I added lime green adhesive letters and adhesive rows of lime green plastic beading that I purchased at Hobby Lobby.

img_20161206_095729861

I filled a few newborn size diapers with snacks and tied a lime green tulle bow around them.  I placed these on the center of the conference table.

img_20161206_095749724

I placed 12×12″ lime green and dark grey cardstock under a cupcake stand for color.  This had a nice effect when you looked at the cupcake display.  I wrapped her gift in coordinating colors, as well.  Although it was simple, it was very cute.  She was surprised when she entered the conference room.

Welcome baby, very soon!

“Wonder what I will come up with next”…

“Out of This World” Basket Decorations

If you have a child in school, you can appreciate the amount of work that goes into planning the school carnival.  I usually assist in different ways, one of which is wrapping the classroom silent auction baskets.  Since I LOVE wrapping any gift, this is a fun event for me.  The theme this year at one of my daughters school was

“Just Imagine a Galaxy Far, Far Away”

I had fun using planets to make the baskets festive.  Perfect timing with the new Star Wars movie!

139

If you saw my blog post on how to create amazing gift baskets, then you know how to assemble the items into the basket.

To create the look that the planets are in the air, I used black & dark blue pipe cleaners and taped them to the back of the planet & star die cuts.  I then tied the bottom of the pipe cleaner onto the basket with curling ribbon.

Creating these gift baskets was an “Out of this world” experience!

Happy creating…

“Wonder what I will come up with next”…

How to Create an AMAZING Gift Basket

Have you ever wondered how people create the most amazing gift baskets?  They look professional, yet were done by an amateur.  I will show you how simple the process is and then you can create AMAZING gift baskets too!

054

Start with a basket and a magazine that you no longer want.  You don’t want to use newspaper because the ink will rub off onto your hands.  Wad up magazine pages until you fill the majority of the basket.  This will become your base.

055

Next, you will place the items in the basket, on top of the wadded up magazine.  Place taller items in the back.  Stagger the items so you can visually see each of them.

Now you will put in the basket filler.  Only put it where you can see the wadded up magazine.  Push the filler down into the basket and slightly under the items.  This will save you from using more filler than you need.

I have found that using celophane bags is so much easier than using celophane rolls.  I usually purchase bags at the Dollar Tree.  You can get a set of 2 for…you guessed it…$1.00!  Place your basket in the celophane bag.  Be sure to center in at the bottom.  Pull up on the bag tightly until all of the slack is gone.  Use a twist tie or a piece of thin ribbon  to tie a knot at the top.  Tie on your gift tag and you are ready to attach an amazing bow!

060

Congratulations!  You can now make amazing gift baskets!  Have fun!

“Wonder what I will come up with next”…

Using floral plastic rolls for gift wrapping…

002

Several years ago, a floral store was going out of business.  I stopped by there to see what they were selling on clearance.  I found these rolls of decorated cellophane that look like lace.  I purchased them in black, navy blue, & forest green.  I had NO IDEA what I was going to use them for, but I figured I would come up with something someday.  Well, that day has come!  I wrapped a white box with the black lace and it was gorgeous!!!

001003

The print on the cellophane gave the gift a very elegant look!  So simple!  Better than a gift bag!!!

Happy wrapping…

“Wonder what I will come up with next”…

Luau Party Gifts…

008009

If you have been reading my last several posts, then you know that I had a LUAU birthday party for my daughter.  OF COURSE, I have to wrap the gifts to match the theme of the party!!!  I used hibiscus flowers, blue ribbon, and palm tree scrapbook paper on these gifts.

013

On this gift, I wrapped the package with green streamers and glued Hula Girl pictures onto the box.  I topped it with a purple hibiscus flower.

012

On this gift, I created the #6 with hibiscus flower stickers because this was my daughter’s 6th birthday.  I wrapped the box with yellow, blue & green ribbon and topped it with a yellow hibiscus.

Happy wrapping…

“Wonder what I will come up with next”…

Animal print gift wrapping…

005

If you have been following my blog, you know how much I LOVE GIFT WRAPPING!!!!  I have been known to use the phrase,

“Just Say No to Gift Bags”!!!

Here, I used 2 different coordinating animal print papers, with a solid blue.  By stacking the gifts, you can create a very dramatic effect.  The receiver will feel extra special receiving this gift!

006

I used 3 shades of tulle for the bow: blue, white, and black.  See my “Tulle tally awesome bows” post from Feb 2014 on step by step instructions on creating a tulle bow.

007

Happy wrapping…

“Wonder what I will come up with next”…

Scrapbook Paper Boxes…

008

OMG!!!  These are so fun to make!  You can make them in many sizes with 12×12 scrapbook paper!

001

Start by measuring and drawing lines on the back side of the scrapbook paper.  Here, I created a 4×4 cube box, so I drew lines at the 4″ marks.  Then fold the paper on all of the lines you have drawn.

002

Cut on the folds on 2 sides of the paper as shown above.

003

Raise the paper at the folds, and over lap the flaps that were created with the cuts.  Use a glue stick to secure the flaps.

004

Repeat the process on the other side of the paper.

005

You have now created one side of the box.  Repeat the entire process with a second piece of paper to form the entire box.  I prefer to use Cardstock for the bottom, and decorative scrapbook paper for the top.  The cardstock makes the box more stiff.

006007

Gently put the lid onto the bottom and you have a 4×4″cube box.

008

Happy boxing…

“Wonder what I will come up with next”…

Raising a table to use for wrapping…

001 002

If you have been following my blog for a while, I have made one thing VERY clear…I LOVE gift wrapping!  I can get lost in a place of complete euphoria while I am wrapping a gift for someone.  I have a silly saying, “Just say NO to gift bags!”  Given all of my love of gift wrapping, the holiday time can definitely give my back a workout.  Bending over a gift on a table that is too low is torture!  And to do it over and over during this time of year is unbearable, even for someone who loves wrapping gifts as much as I do.  Given all of this, my husband came up with a solution!  He cut pieces of PVC pipe just the right length to raise my table so I don’t have to bend over while wrapping gifts.  OMG!!!  This has solved all of my back aches, and I wanted to share the genius solution with you!.  Simply cut the PVC pipe the appropriate length and slip the legs of the table into the holes of the PVC pipe.  You will be amazed how simple this is and how much your back with be thanking you!

Happy wrapping…

“Wonder what I will come up with next”…