Gift Wrapping with stickers

As I have professed previously, I am a HUGE fan of wrapping presents, putting BIG pretty bows and stickers on them.  I love to use letter stickers and spell out the recipients name.

006

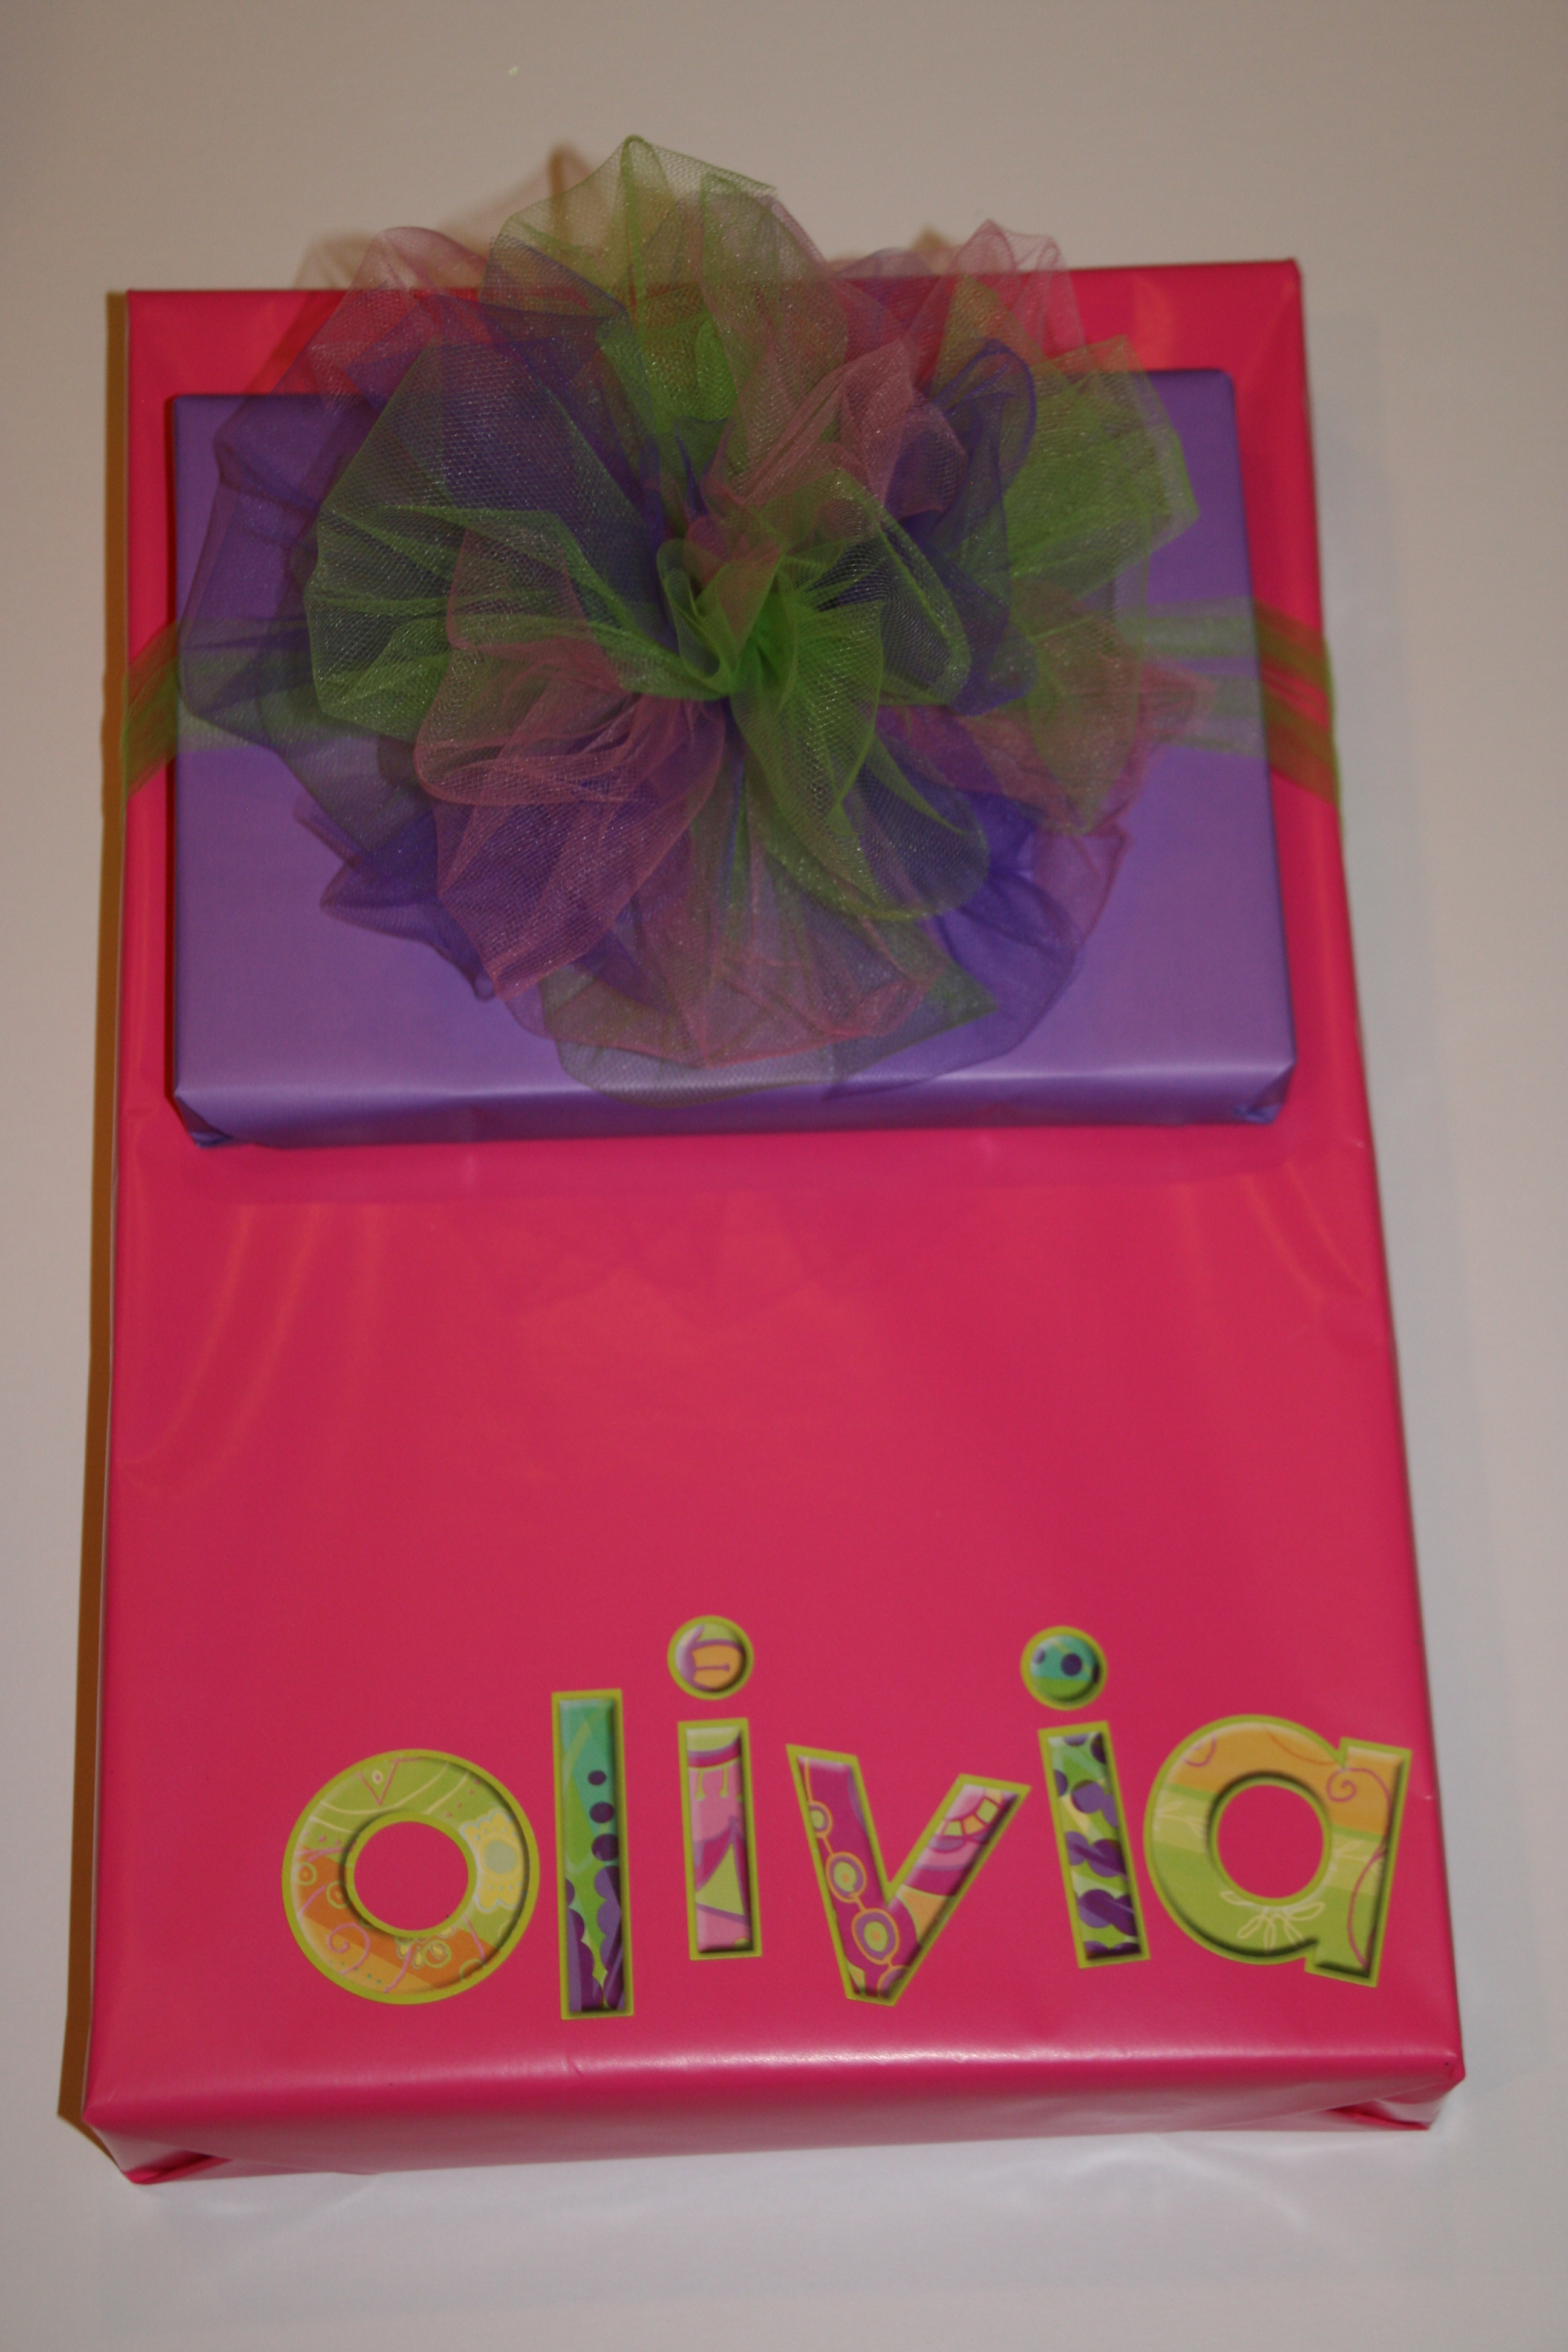
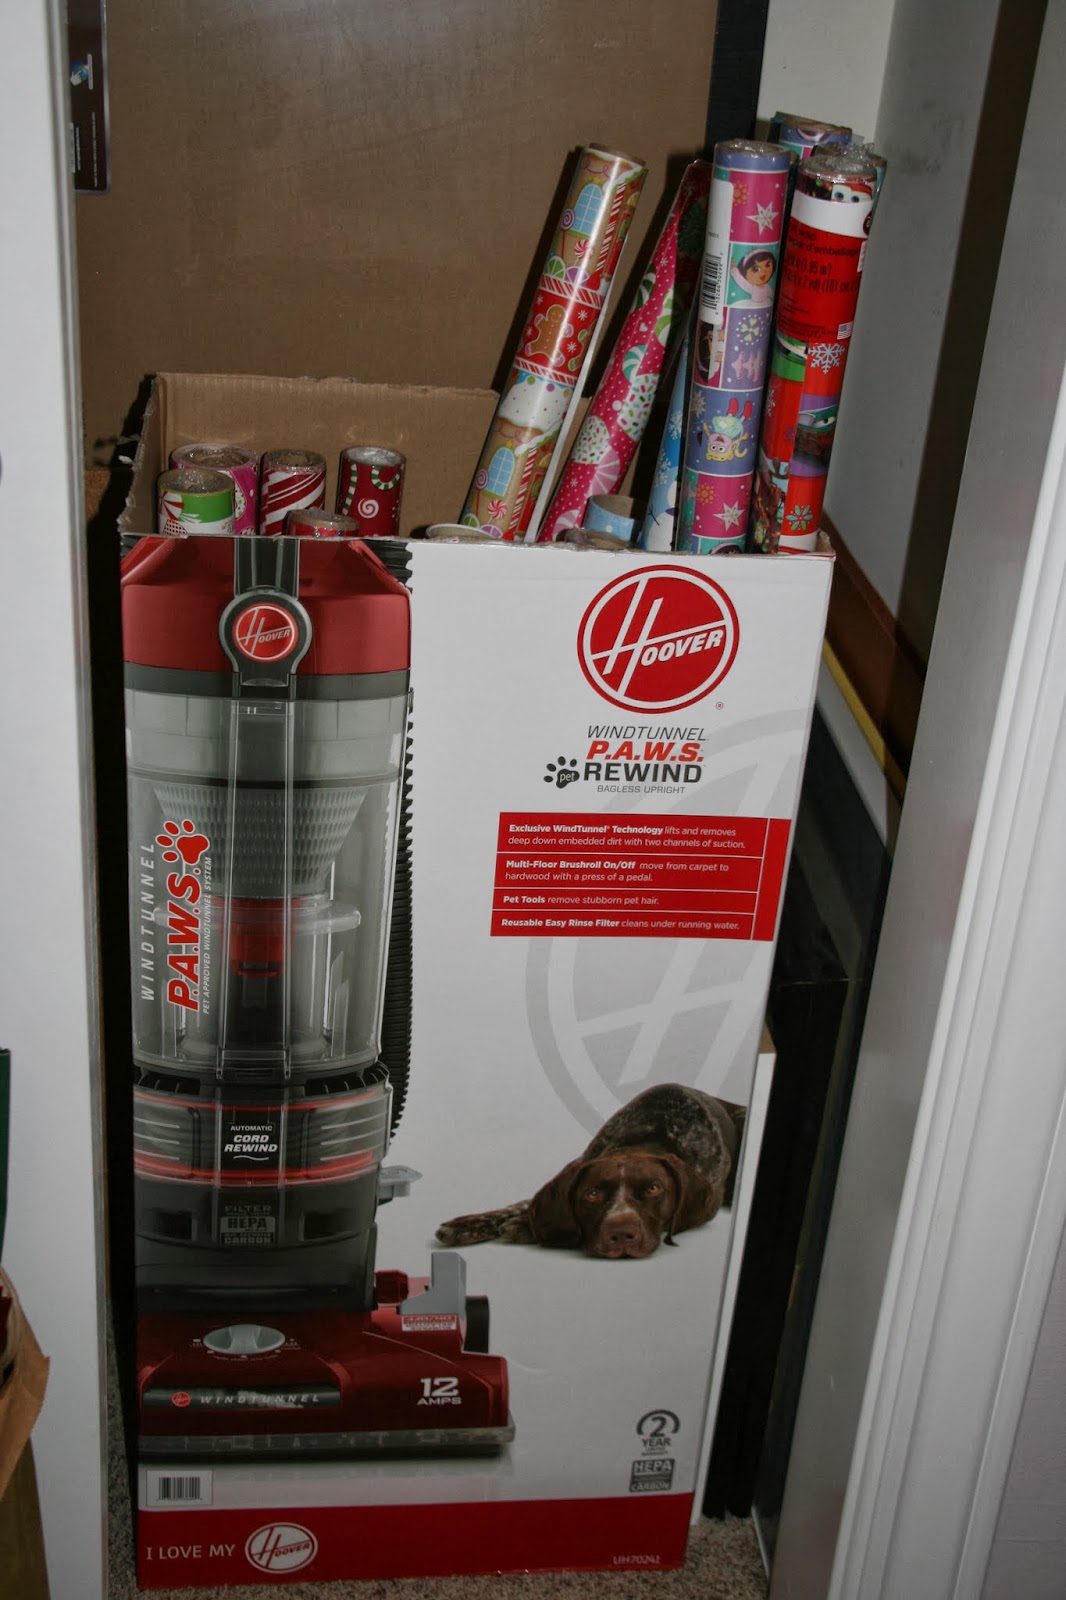
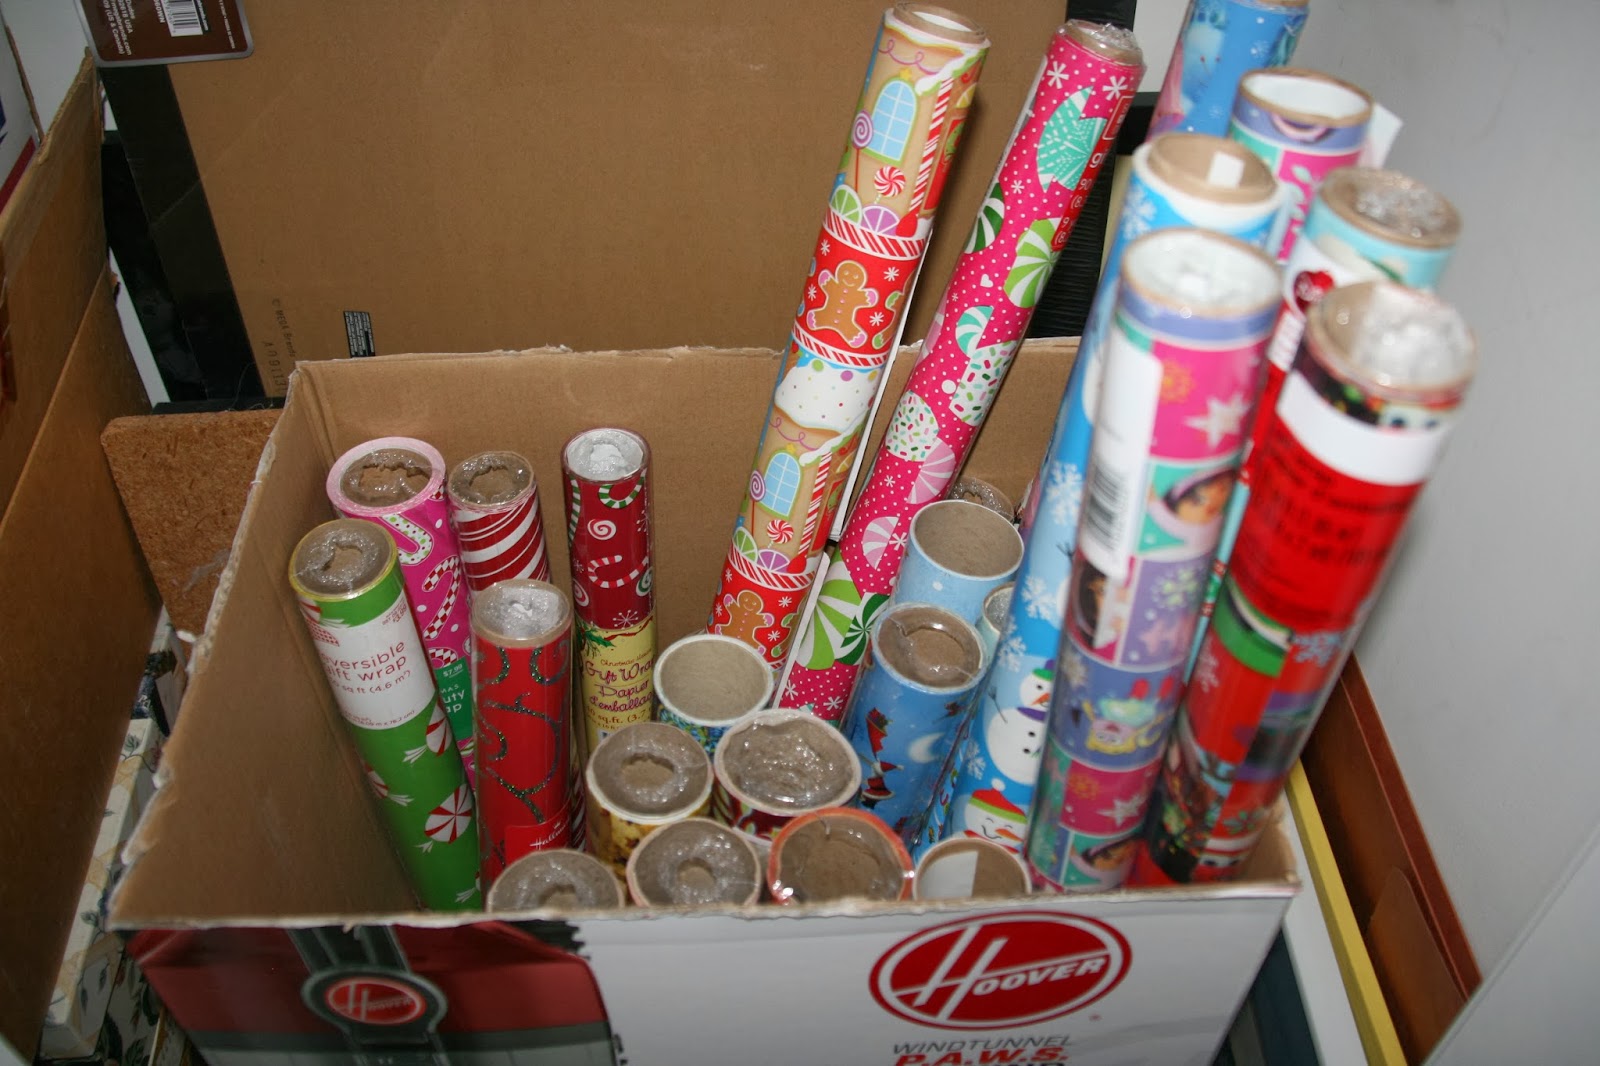
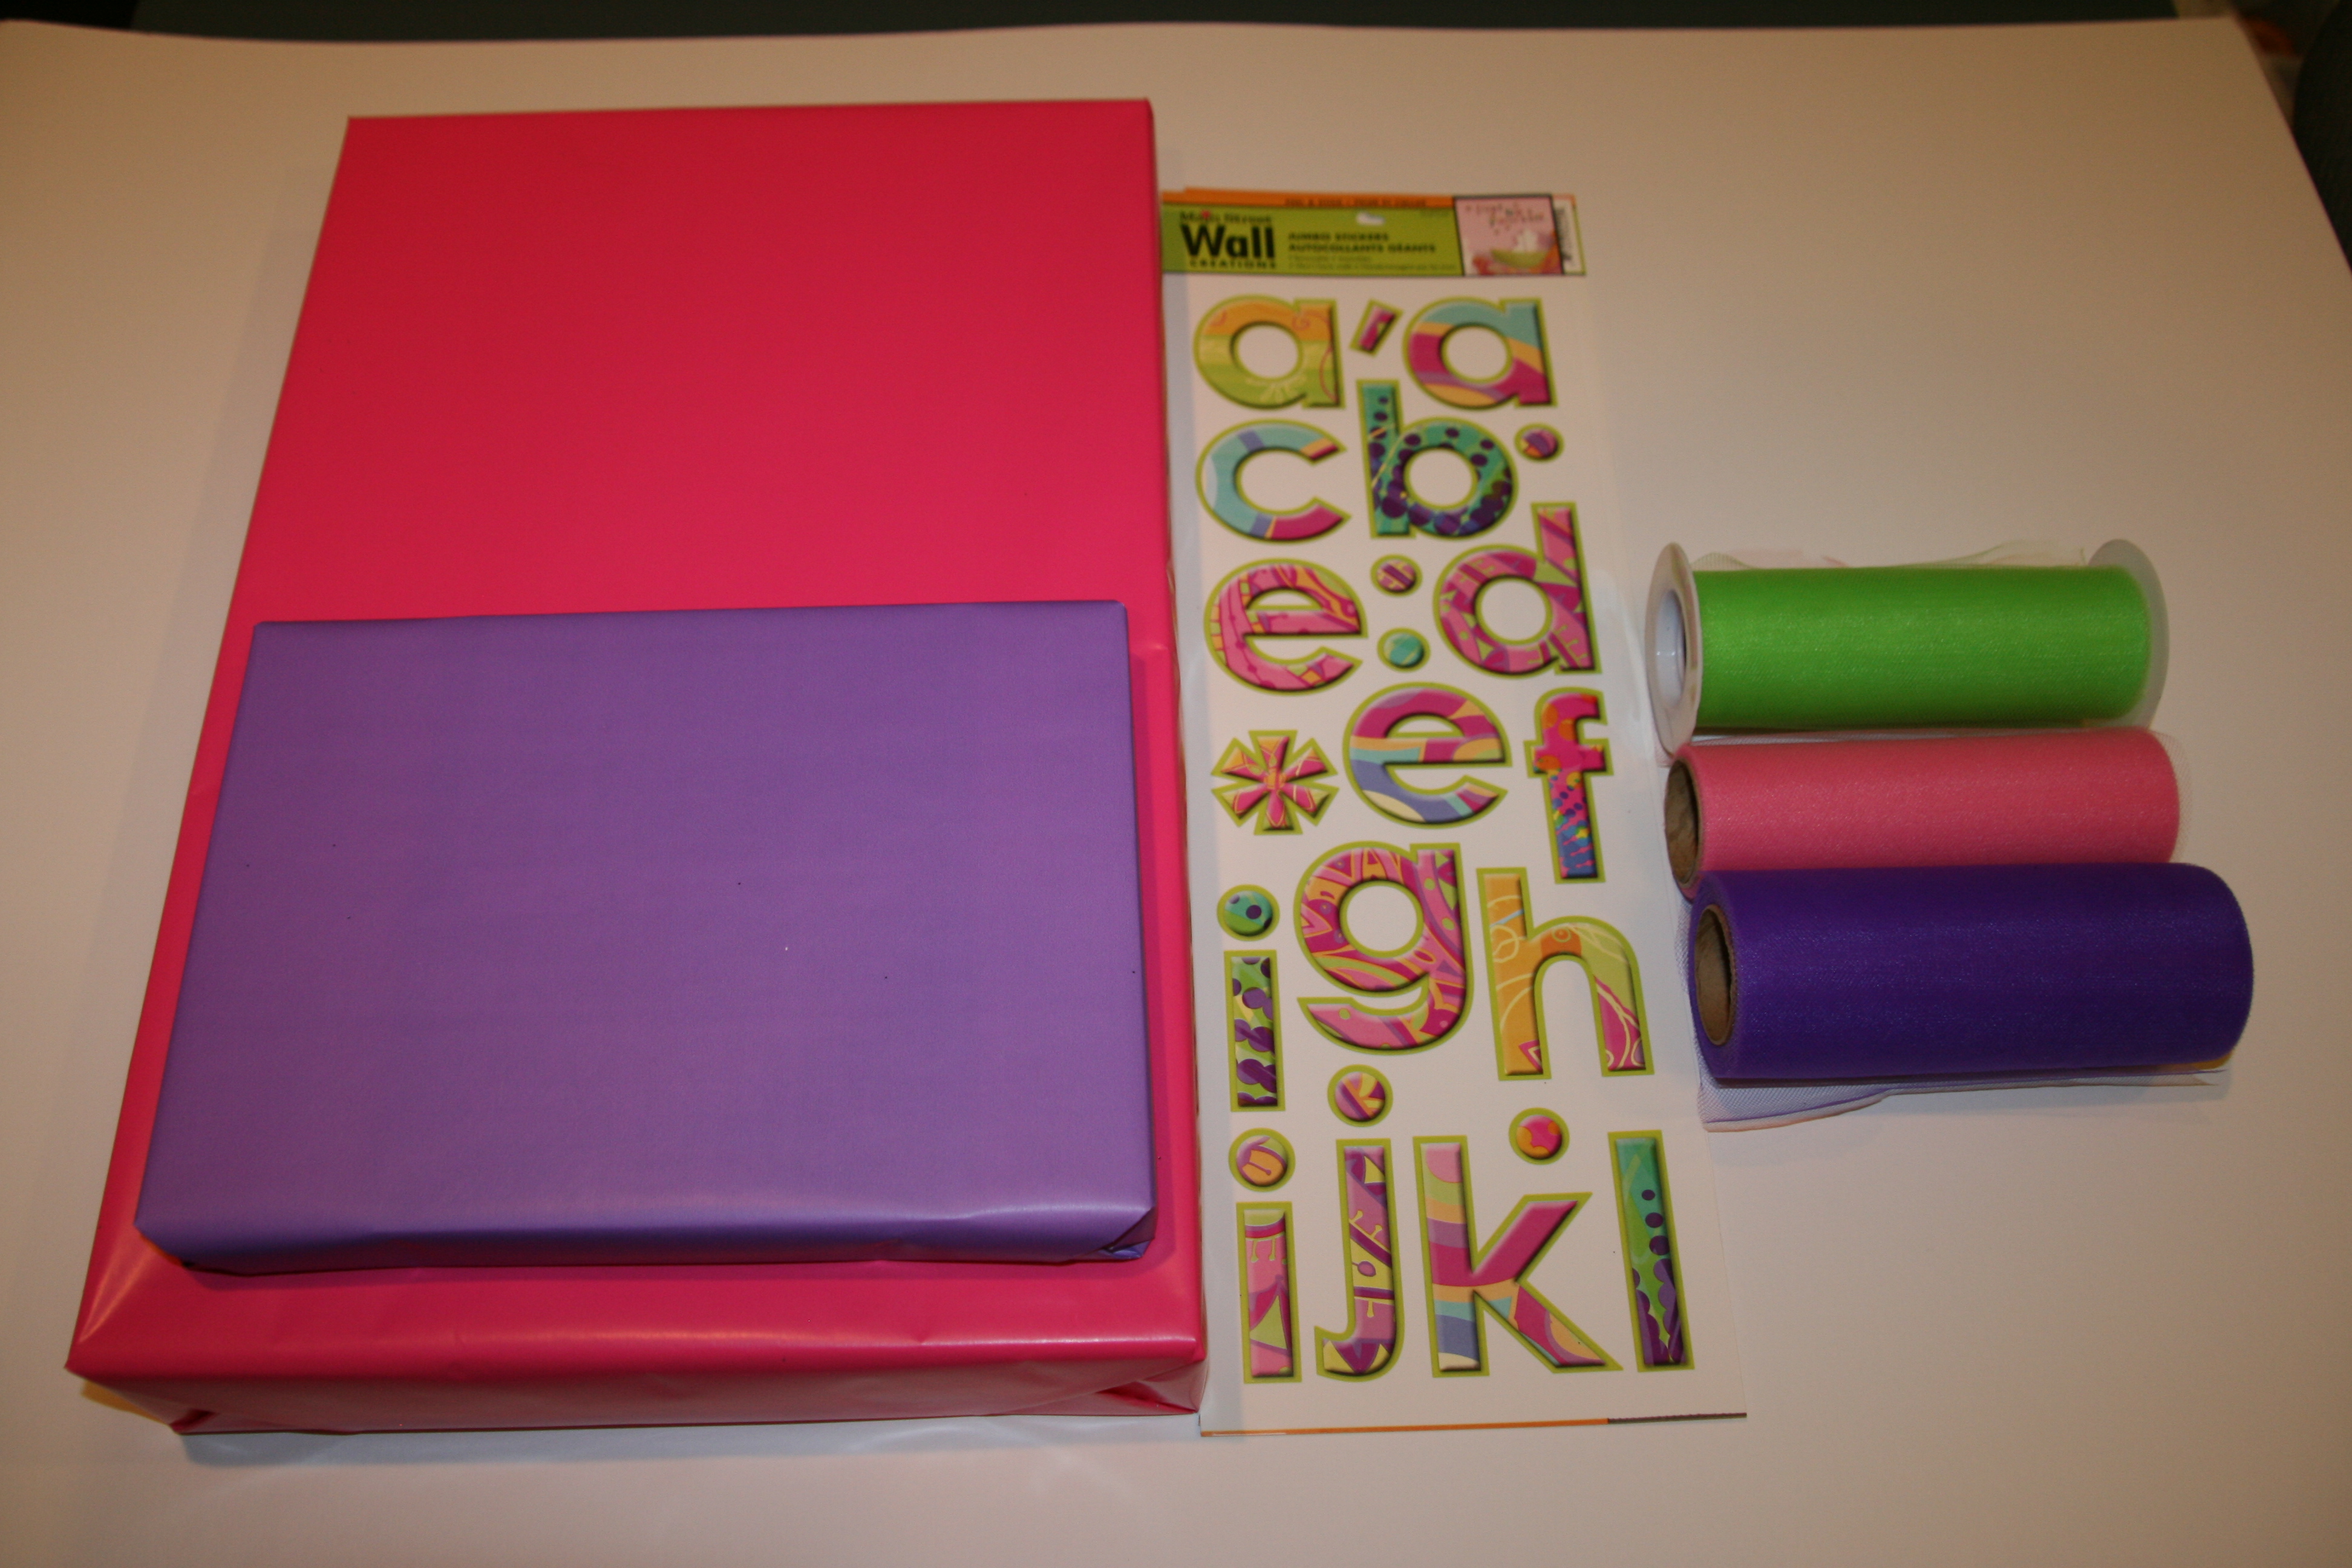
The supplies needed are solid wrapping paper in coordinating colors, stickers and colorful tulle colors that match the stickers & paper.

002

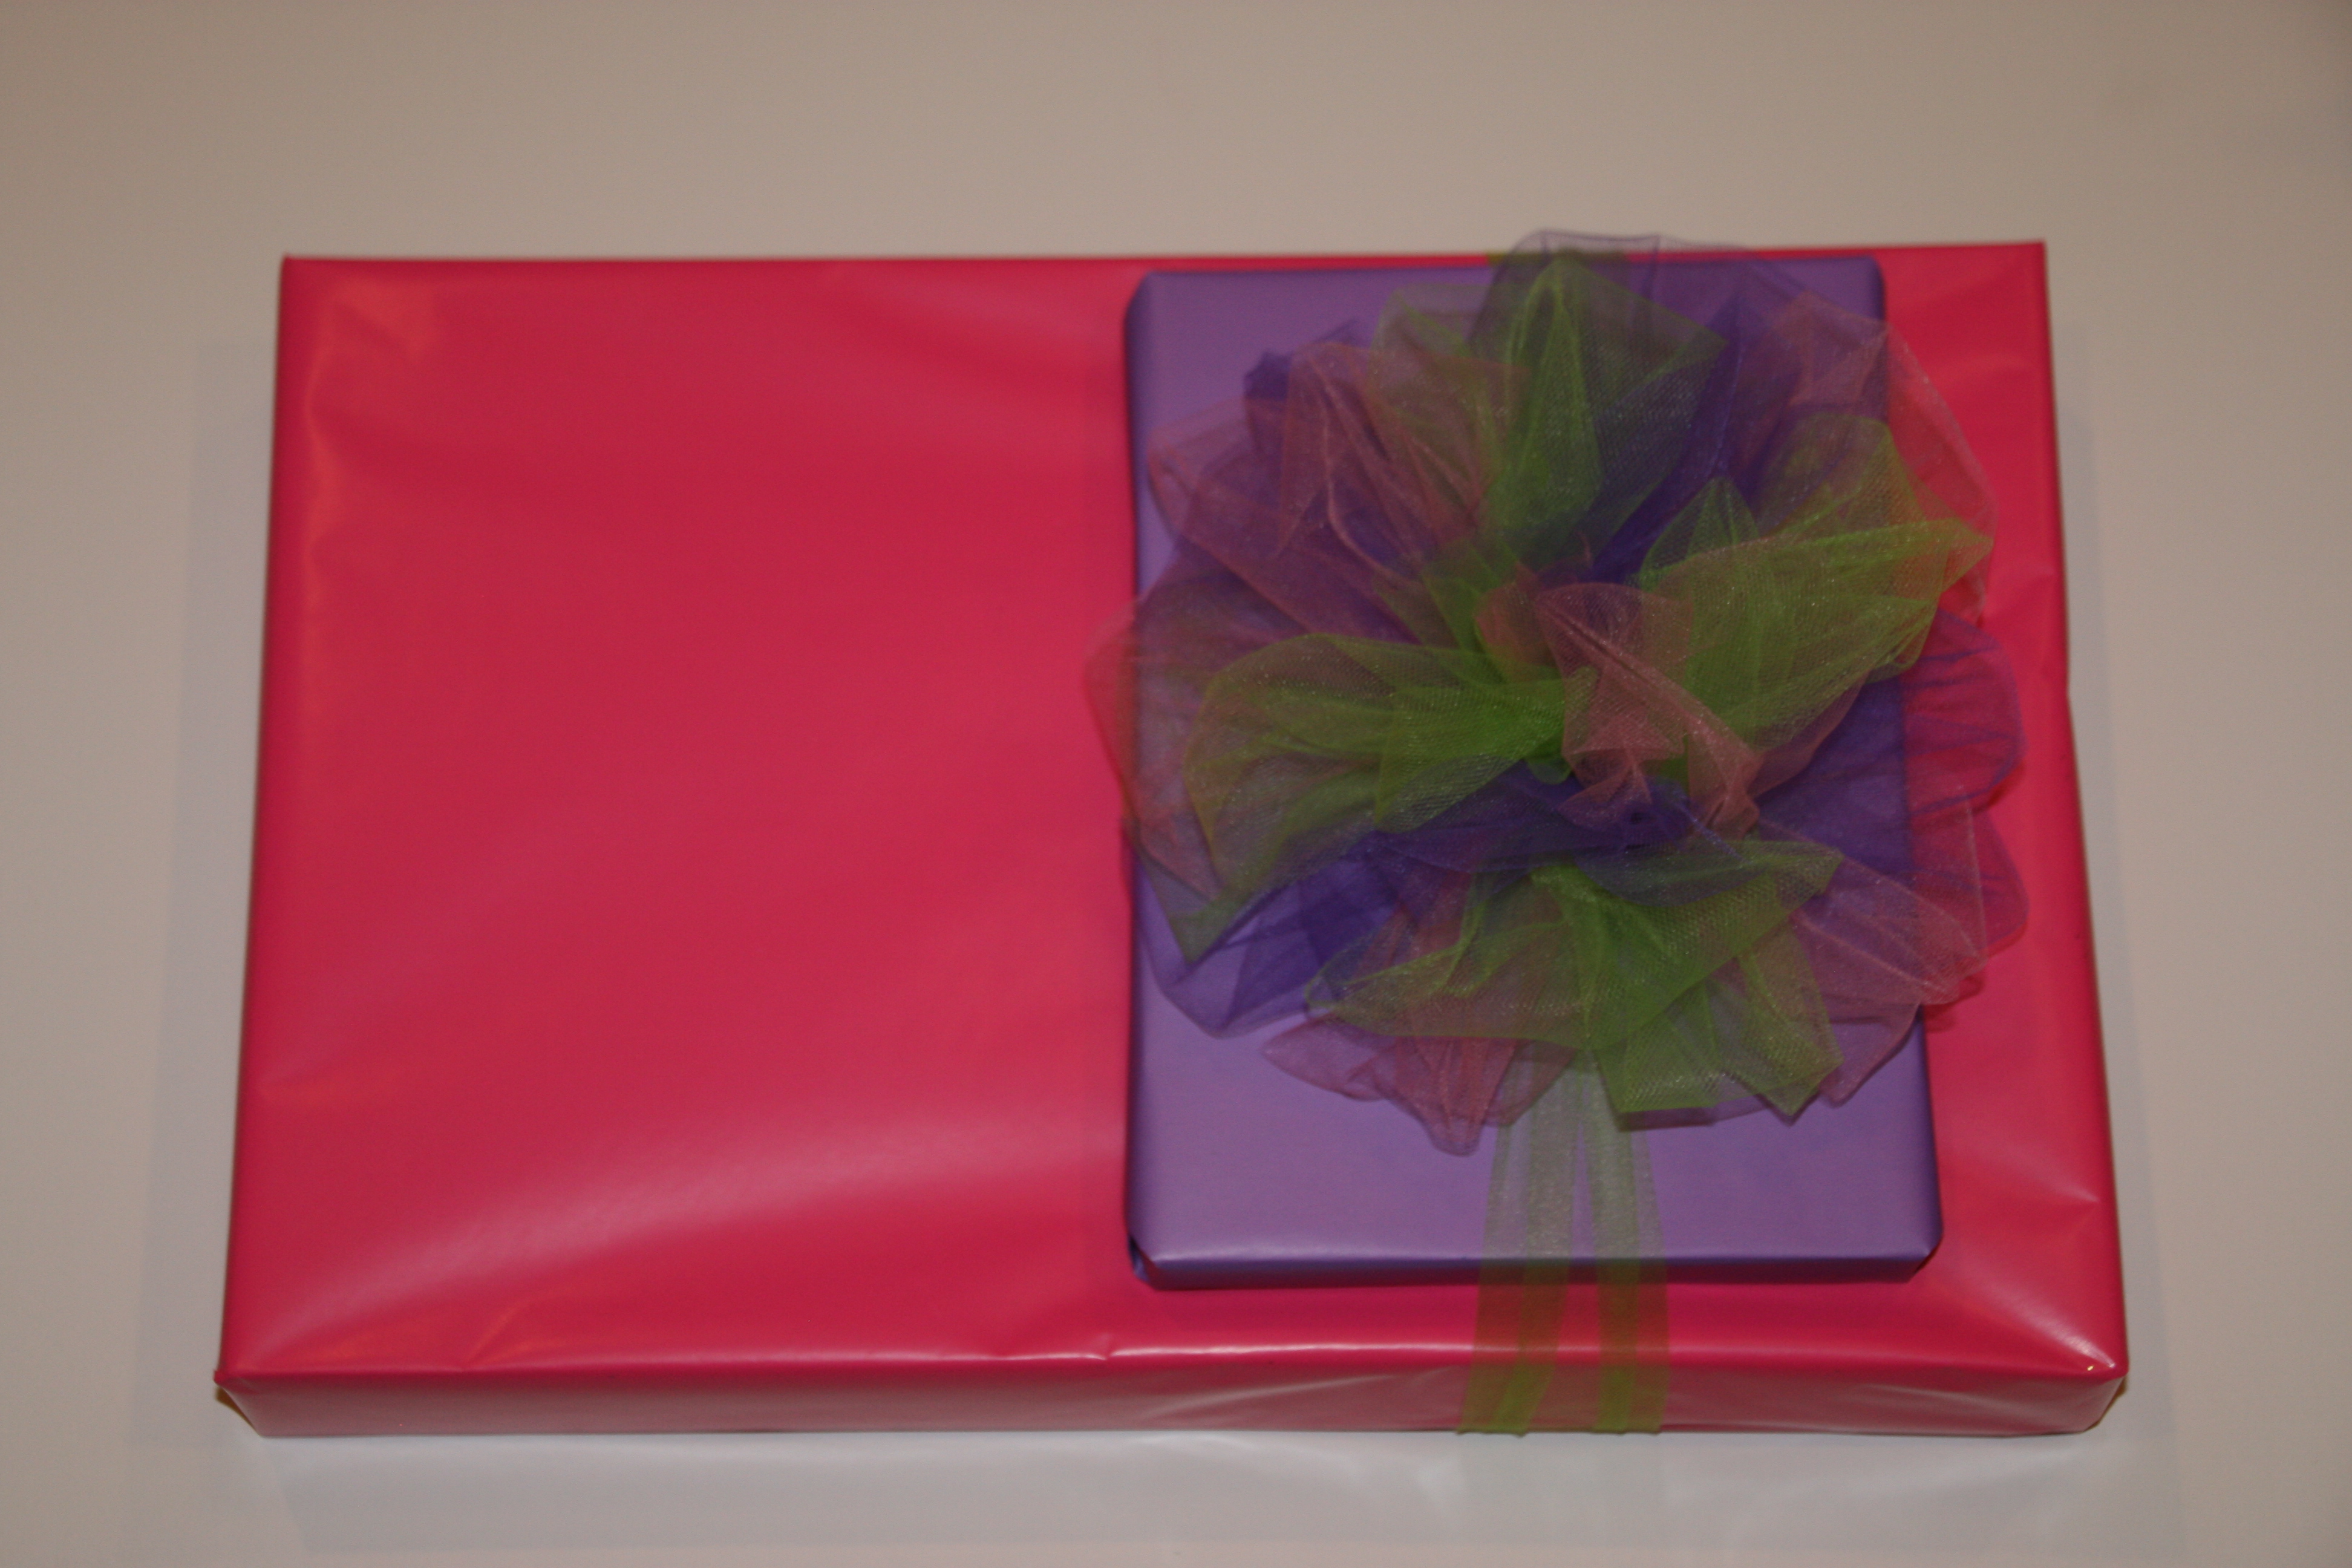
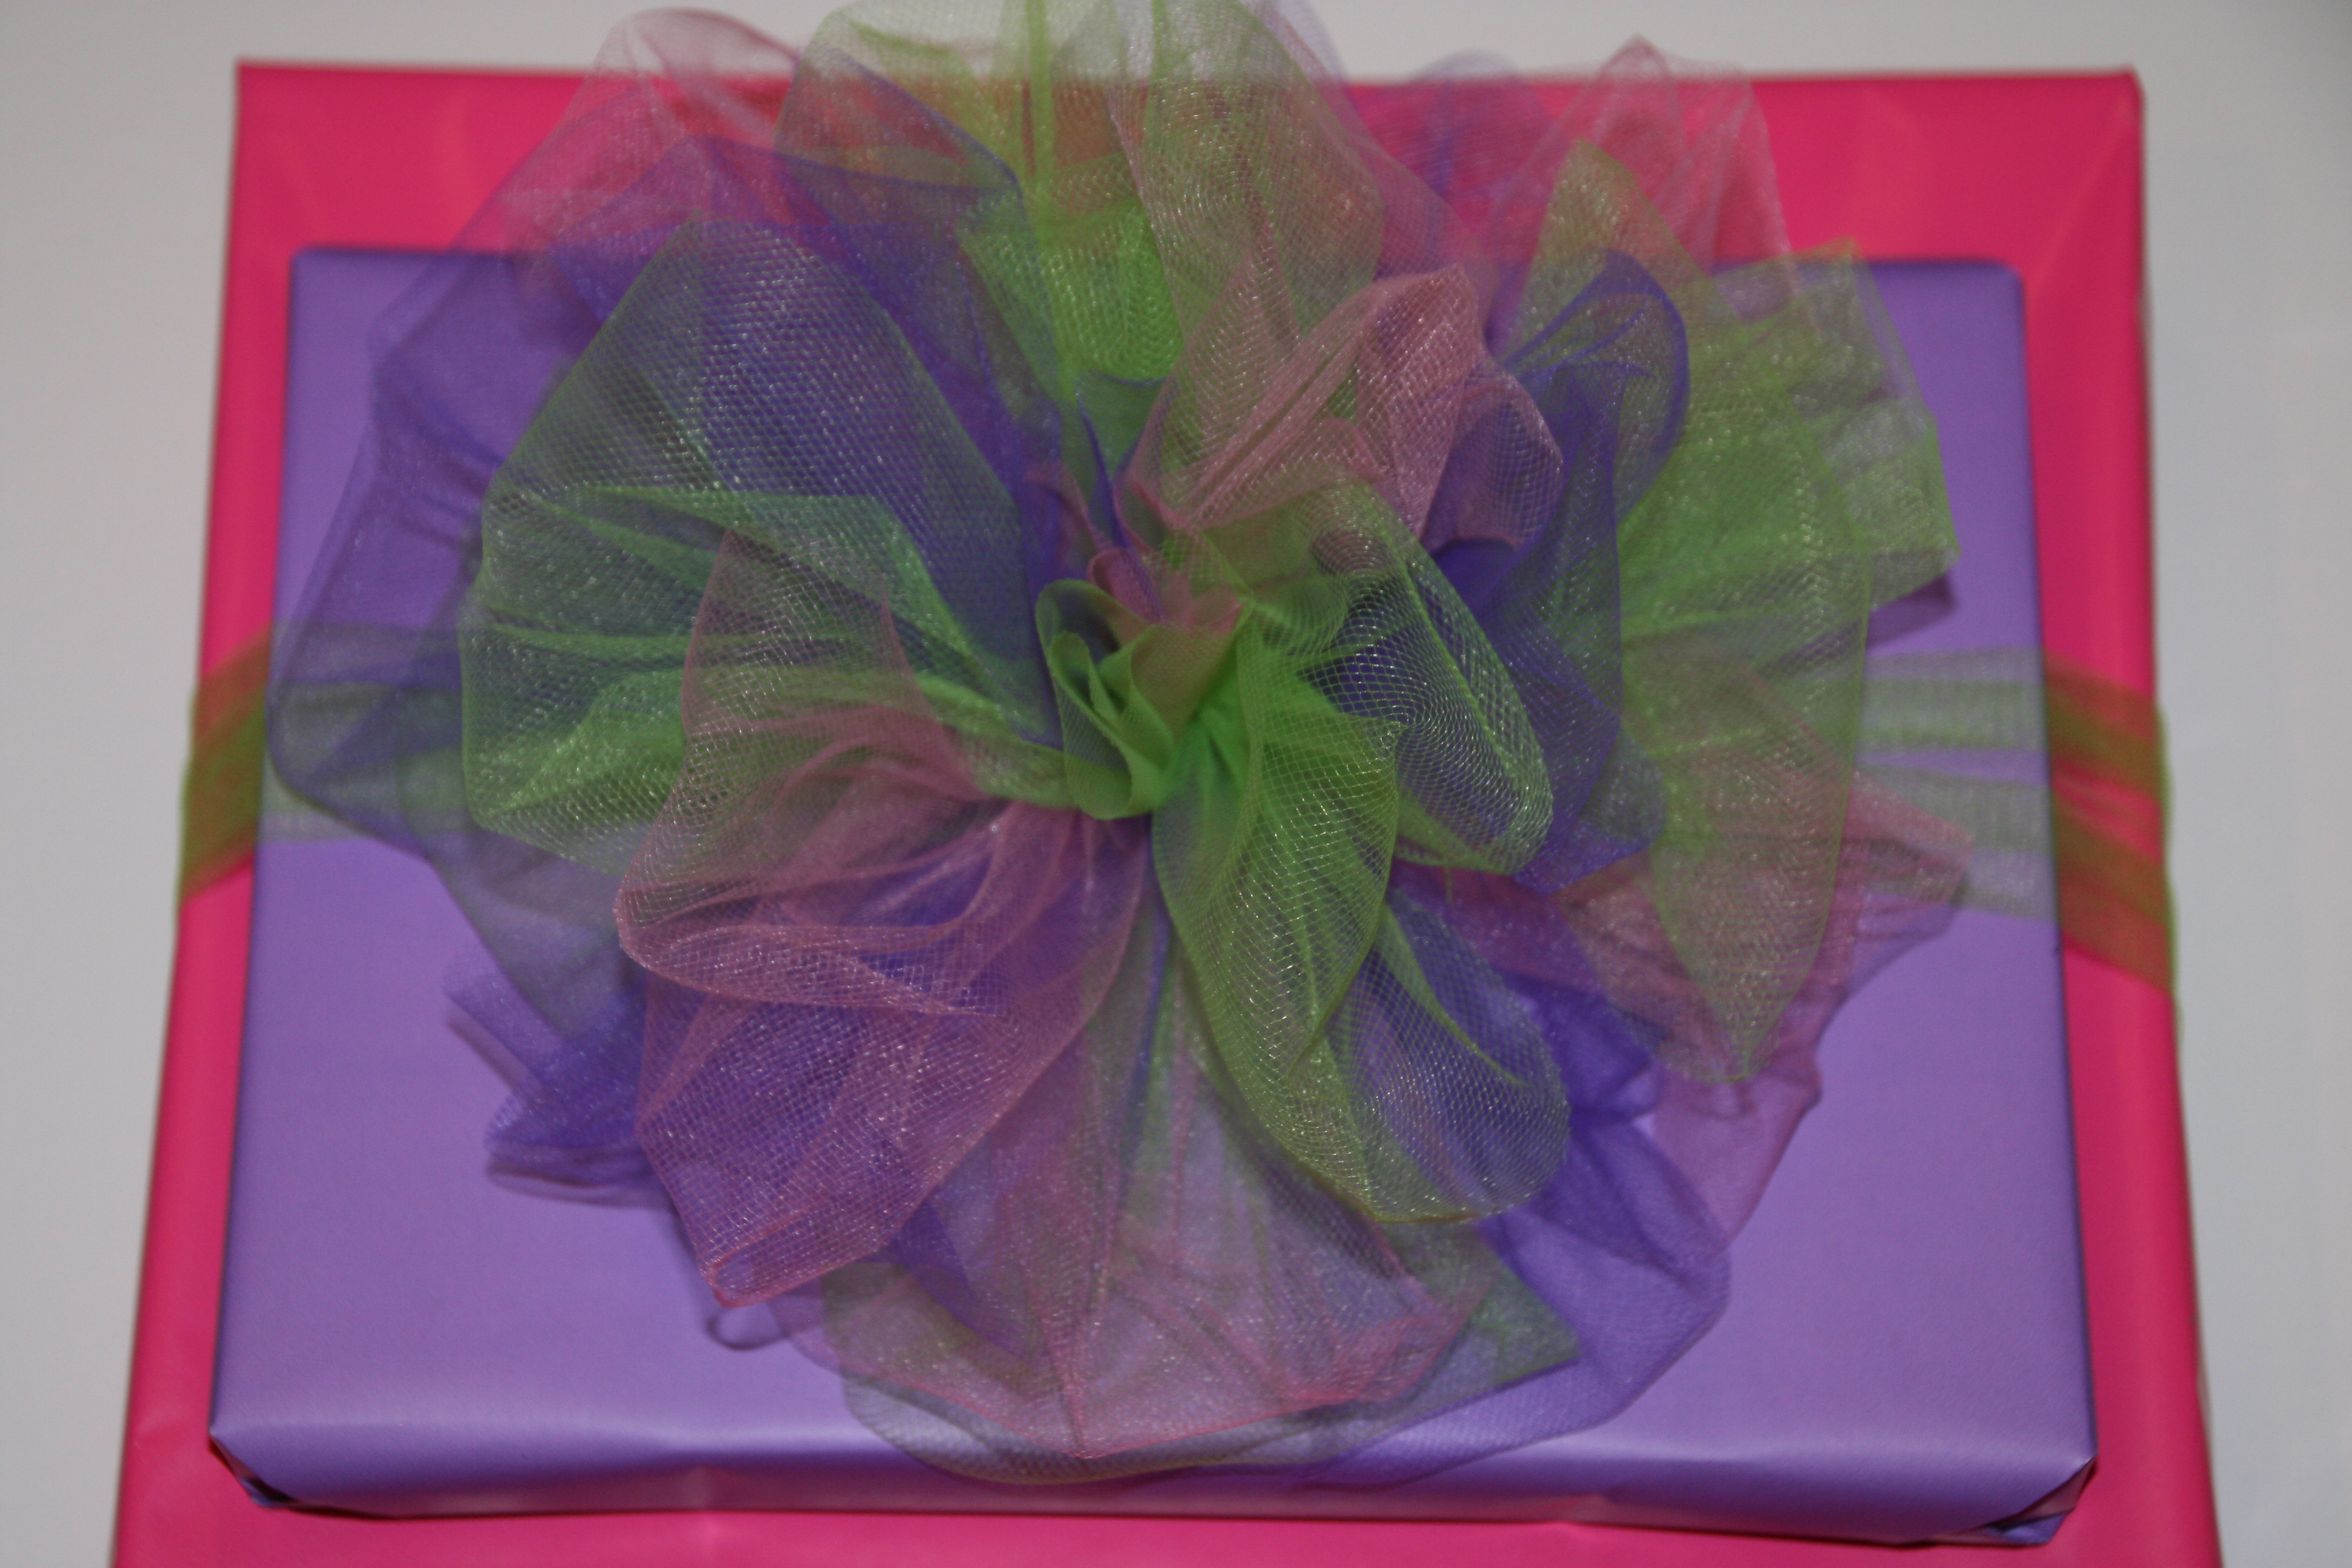
Once the tulle bow is made, tie it onto the package and separate and fluff the tulle. (see my “tulle”tally awesome bows post for tulle bow how to)

003005

Add stickers spelling the recipients name.  I bought these at The Dollar Tree.  They are big and very colorful.

006

Happy wrapping…

“Wonder what I will come up with next”…

How to chocolate dip pretzel rods

Who loves the combination of salty & sweet?  I certainly do!  One of my favorite things to make are chocolate dipped pretzel rods.  I love giving them as gifts as much as I love eating them!  They are so quick & easy to make and people of all ages love them!

017

I start with a cutting board covered in parchment paper.  I melt the chocolate per the instructions on the bag.  Be careful not to over microwave the chocolate or it will get hard.

018019

I slide the chocolate to the edge of the bowl and twist the rod in it multiple times.  Then shake off the excess and place on the parchment paper.

021

I typically dip 5-6 rods, then add sprinkles before dipping more.  If you wait too long, the sprinkles won’t stick as well.

023028

Let the pretzels dry, approximately 1 hour.

You will know they are ready when you lift them off the paper, gently pulling to unstick them, and there is no chocolate residue on the paper.

030033

Once the pretzels are ready, you can place them on a platter, or wrap individual bags for gifts.  OF COURSE, you can eat them also! YUM!

050

Happy dipping…

“Wonder what I will come up with next”…

Simple easy fleece scarves…

Winter is upon us and it is chilly outside (unless you live in California where it feels like Spring).  An easy thing to make and give as a gift, or keep for yourself, are fleece scarves.  No sewing skills required!  You can purchase fleece at any fabric store.  I use my coupons at Joann’s and get a great deal, or wait until fleece is 40-50% off.  1 yard makes approx. 6 scarves, assuming the cut is straight.  I lay out the fleece, measure 7 inches wide using a yard stick.  Cut the fleece, preferably in a straight line, from end to end of the bolt, not where the fleece was cut at the store.  Then cut fringe on the end.  It’s that simple!  Quick, easy, inexpensive, and toasty warm!

001 002

Adults & kids both love them!

Happy cutting…

“Wonder what I will come up with next”…

Valentine’s Day card ideas…

Valentine’s Day is a day about love, not just between couples, but between family also.  Grandparents, especially, love getting handmade personal cards from their Grandkids.  What a better way to document your kids love & growth then by making cards with their hand & feet prints.  I like to use a purple stamp pad, safe for kids, and make numerous hand and feet prints on white paper.  I then make color copies onto white, lavender, or pink paper.  I typically cut out the prints and place them where I want on each card.  I type a message and attach it with a glue stick.  Very simple & inexpensive to create, yet PRICELESS!!!

036

Notice how the hands create a heart shape in the middle, making an “I Love You” message.

038

A fun play on words with “2 feet of love”…

039

This card is folded.  The hand print on the outside is the start of “blowing a kiss”…

040

My girls love putting on my lipstick and kissing the paper to make this card!

041

The caption reads “Blowing you kisses for a Happy Valentine’s Day”.

Another thing that I have done is take multiple pictures of my girls in different positions to create “I Love You”.  The first picture is of them pointing to themselves.  The next picture is of them holding a heart.  The last picture is of them pointing to the camera.  I print all 3 pictures and glue them on a piece of paper.  It creates a fun card for loved ones!

Happy Valentine’s Day!

“Wonder what I will come up with next”…

Rainbow Birthday Party…

My daughter wanted a “Unicorn Rainbow” birthday party.  I found plates & napkins online at Oriental Trading, but there weren’t a lot of other decorations available.  I decided to use streamers and made my own rainbows.  I used white tissue paper to create fluffy clouds.

IMG_8890

I bought goody bags in rainbow colors and displayed them…

IMG_8889

I bought a cake at Costco to top off the rainbow theme.

IMG_8894

A very simple and inexpensive way to create a “Rainbow” party.

Happy partying…

“Wonder what I will come up with next”…

Christmas ornaments as wall decor…

I have a craft room that is “MY SPACE” only!  I have all my supplies stored in there.  Well, most of them, but I have spilled over into other rooms in the house.  SHHHH…don’t tell anyone!  Anyway, my craft room is decorated in shoes & purses…fancy!  I was given some shoe & purse Christmas ornaments that were absolutely darling, and I wanted to be able to display them year round.  They were flat painted wood.  I decided to frame them and hang them on the wall.

Happy hanging…
“Wonder what I will come up with next”…

Storing rolls of wrapping paper

Since I have professed my love of wrapped gifts and not gift bags, I, of course, have more rolls of wrapping paper than I know what to do with.  Storing all of the rolls in a way that is easy to access and see what you have is key!  I use tall boxes and store the rolls upright.

I even store smaller rolls inside larger rolls…
I have a separate box for Christmas paper…
Rolls of printed paper are separate from solids…
It’s not fancy, but it is very practical and works well.
Happy wrapping…
“Wonder what I will come up with next”…

Creative Personalized Photo Album covers…

Have you ever had a photo album that you wanted to create, but couldn’t find the “perfect” album to use?  OR, the “perfect” album is ridiculously priced?  I have experienced both of these situations and decided to take matters into my own hands.  I purchase basic, inexpensive albums and have used maps, house plans, and photos to cover an existing album, and make it “one of a kind”.

When my husband & I travelled to Barcelona Spain, I saved a map of the city and used it as my album cover.
I wrapped it around the entire album.
Once the map was placed where I wanted it, I taped it on the inside covers.  Then I covered the entire outside with strips of packaging tape, placed horizontally, and slightly overlapping.
This was an extra set of blue prints from construction at our house.
Again, I wrapped it around the entire outside of the album and taped it in place.
I even used the blue prints on the inside cover…
The aerial pictures on the bottom were taken during our hot air balloon ride.  I simply taped them to the album cover.  I used sky blue paper and cut out white clouds.  Very simple!
So you see, you can easily and inexpensively create your own, very personalized photo album for any occasion.
Happy travels…
“Wonder what I will come up with next”…

Creative thoughts…

I was rockin’ out in my car the other day to Sugarland and was totally relating as Jennifer Nettles belted out:
 “I aint settlin’ for just getting by, had enough so so for the rest of my life. Tired of shootin’ too low, so raise the bar high, I aint settlin’ for anything less than everything!”
 
It was an “AHH HA” moment for me!  This is the reason I decided to start this blog in the first place.  Because I am tired of settlin’ and not doing things that I am totally passionate about!  Using my creative brain was what I was born to do!  I get totally “Twitterpated” (Remember Bambi?) when I think about doing something crafty, creative, or a theme décor.  I get lost in my project and forget to eat!!!  I have said that I am “an artist trapped in a sales reps body”!
 
So, what I ask of you, as readers, is for feedback, please!  Let me know when you like something, or think something could be improved.  Let me know if you have ideas, or things you would like me to write about.  I absolutely welcome your comments!  Thanks!
 
Weezy…