Chocolate Dipped Spoons

When it’s cold outside, I’m in the mood for hot chocolate!  Some prefer coffee.  Either way, a fun treat to add to your warm beverages are chocolate dipped plastic spoons.  For the holidays this past year, I dipped spoons and added sprinkles, crushed peppermint, and mini marshmellows.  I coupled the spoons with Keurig cups and created some awesome gift baskets for special people in my life.

012

These spoons only have sprinkles, but you get the idea.  I used the Wilton melting chocolates.  Immediately after dipping approximately 6 spoons, I added the sprinkles, marshmellows, or peppermint.  Then I continued dipping.  I let them dry on parchment paper for several hours.

014

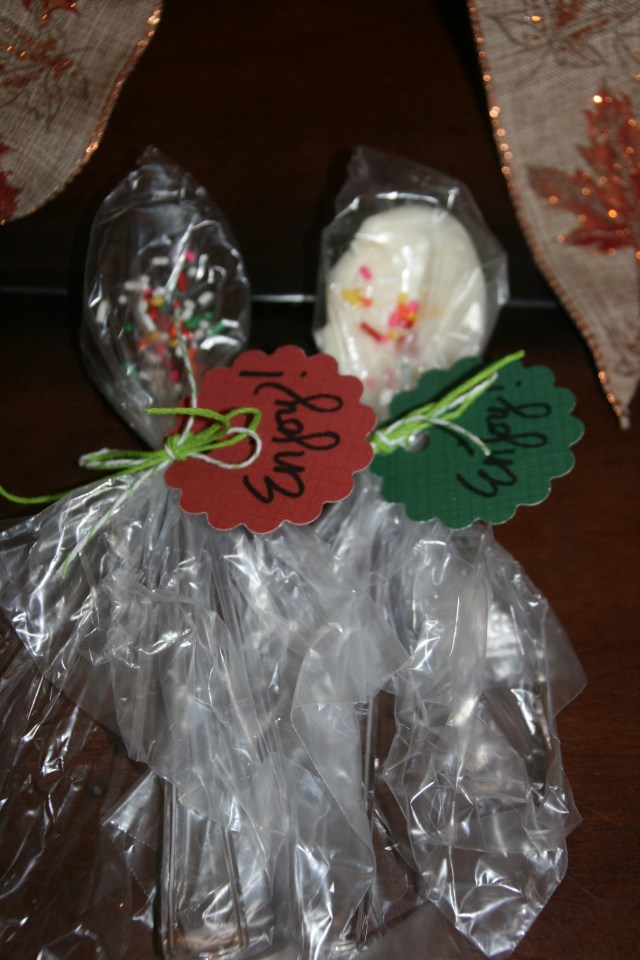
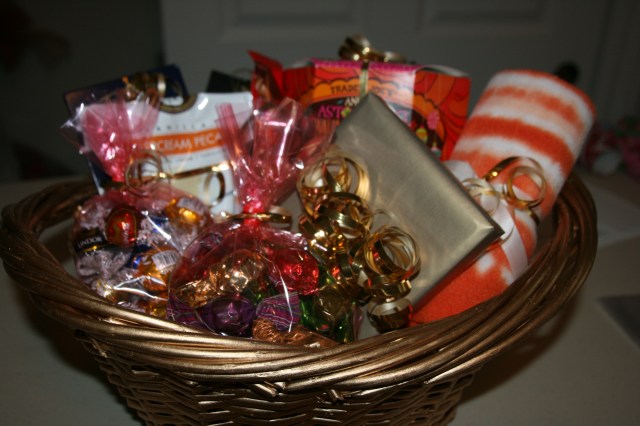
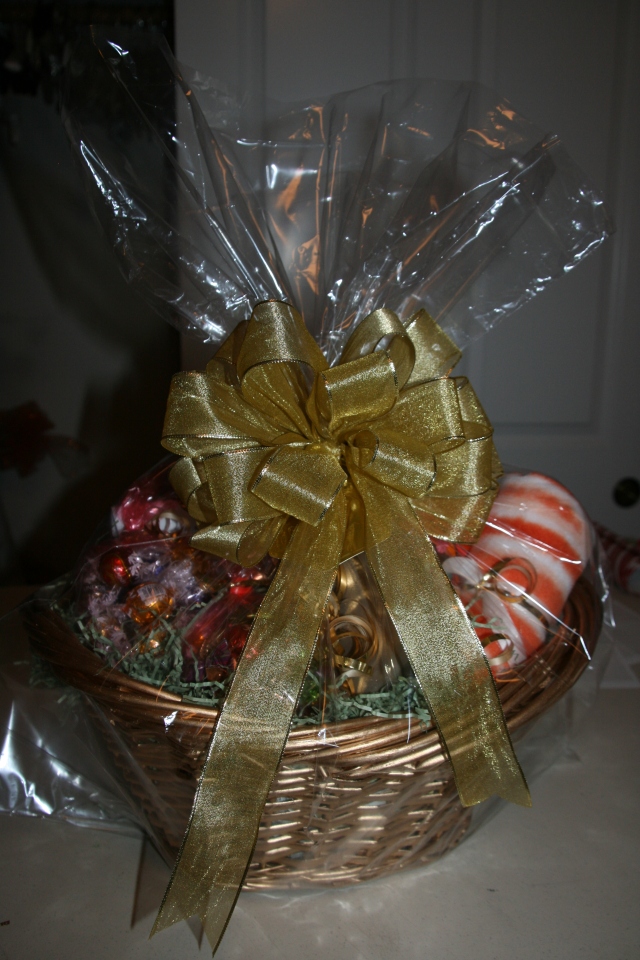
Since the “little” things are so important when creating gifts for people, I individually wrapped each spoon in a fold top sandwich bag.  I used bakers twine to tie it off and included a fun sign that read “Enjoy” or “Yum” to each spoon.  I propped the spoons up in a box that I wrapped with wrapping paper, and added a bow.  For some of the gifts, I propped up the spoons in the basket with the Keurig cups.  The spoons were a HIT!!!

012

Happy dipping…

“Wonder what I will come up with next”…

Using Keys for Decoration

I had so much fun using keys on the Valentine’s Day jars.  I found some additional keys at Michael’s crafts that I fell in love with…literally.  My mind started racing with all of the fun things that I could do with the keys!  I think I came up with some pretty awesome stuff.  Keep reading to see what I did.

IMG_20160126_110622_470 (1)

I purchased several rustic picture frames and scrapbook paper.  I removed the glass from the frames, cut the paper to fit in the frames, and added the keys.

143

This was the easiest one of all.  I added scrapbook paper that looks like barn wood.  When I hang the frame on the wall, I will hang the large key slightly higher, so that it hangs in front of the frame.

I found this darling scrapbook paper that has numerous keys on it…how appropriate!  The keys came on the ring, so this was easy to assemble.  I tied jute onto the key ring, and draped it through the frame, all the way to the back, then closed up the back of the frame.  I tied a knot at the top of the jute so that it doesn’t slip.  Notice the frame has it’s own “key ring” at the top.

This metal frame is so awesome.  It looks so old and rustic!  I used scrapbook paper with a globe on it.  These small keys are glued onto the paper with E6000 glue.  I think this might be my favorite one!

This is another rustic metal frame.  I off centered the scrapbook paper from left to right for interest.  I hung the key with jute and draped it through the frame, as I described on the frame with the “key ring”.

I had so much fun that I think I need to find more keys!!!  I know you will enjoy this simple craft.  Now I need to figure out where to hang them in my house.

Happy hanging…

“Wonder what I will come up with next”…

Valentine’s Day Decoration

Tis the season for LOVE…

Last year, I did a blog post on how to make these heart decorations.  I added a flower embellishments this year and wanted to share.

082

084

083

For a recap: I painted wood squares and wood hearts.  I glued them together with E6000 glue.  On some of them, I included a layer of burlap with tacks.

This year, I added the flowers.  I think the flowers finish off the decoration just perfectly.  Add a hanger to the back, and you have yourself a simple Valentine’s Day decoration.  If you don’t have an official hanger, you can always nail a pop tab from a can to the back.  They work amazingly well as a hanger.

Happy Valentine’s Day…

“Wonder what I will come up with next”…

Simple Valentine’s Day Jar Lanterns

If you are looking for a simple gift for Valentine’s Day, look no further!  I’ve got it right here for you!  These jars can be filled with candy, or turned into a lantern by adding a tealight.  You can make them so quickly, that everyone you know will be getting one for Valentine’s Day this year.  I know of several teachers that will be receiving them!

081

I bought these key embellishments at Michael’s Crafts.  They were in a pack of 6 for $1.50, and they had slightly larger ones in a 4 pack for $1.50.  I couldn’t help myself!

I used marinara sauce jars, so there was no added expense, but you could purchase mason jars at any craft store or hardware store.  To cover the jars, I used burlap ribbon, jute, or a red wool ribbon.  Wrap the jar and glue the ends with a quick dry Tacky glue.

080

I then used a contrasting color of a thinner jute to add color.  I tied knots under the chalkboard heart I purchased at Michael’s and the key.  On the chalkboard heart, I wrote “love” with a chalk marker.

On some of the jars with red ribbon, I added an adhesive heart embellishment that I purchased at Michael’s.  These came in a 9 pack for around $5.

087

My daughters have male principals at their schools, so I created a few that were a bit more masculine, using burlap ribbon, jute and a key.  I left out the “love heart” on these.

For more detailed instructions, watch my YouTube video.  You can subscribe to my channels on YouTube.  Weezys Wonderland and Weezy’s Wonderland.

Happy jarring…

“Wonder what I will come up with next”…

How to Create an AMAZING Gift Basket

Have you ever wondered how people create the most amazing gift baskets?  They look professional, yet were done by an amateur.  I will show you how simple the process is and then you can create AMAZING gift baskets too!

054

Start with a basket and a magazine that you no longer want.  You don’t want to use newspaper because the ink will rub off onto your hands.  Wad up magazine pages until you fill the majority of the basket.  This will become your base.

055

Next, you will place the items in the basket, on top of the wadded up magazine.  Place taller items in the back.  Stagger the items so you can visually see each of them.

Now you will put in the basket filler.  Only put it where you can see the wadded up magazine.  Push the filler down into the basket and slightly under the items.  This will save you from using more filler than you need.

I have found that using celophane bags is so much easier than using celophane rolls.  I usually purchase bags at the Dollar Tree.  You can get a set of 2 for…you guessed it…$1.00!  Place your basket in the celophane bag.  Be sure to center in at the bottom.  Pull up on the bag tightly until all of the slack is gone.  Use a twist tie or a piece of thin ribbon  to tie a knot at the top.  Tie on your gift tag and you are ready to attach an amazing bow!

060

Congratulations!  You can now make amazing gift baskets!  Have fun!

“Wonder what I will come up with next”…

Halloween Jar Lanterns…

I absolutely LOVE crafting with jars!  I save them all year long!  I wanted to make some unique Halloween lanterns for teacher gifts and found the perfect lace like ribbon at Hobby Lobby and transfer decals at The Dollar Tree.  I purchased the spiders at the 99cent store.

171176

To create these fun jars, start by applying the transfer decals.  They go on very easily!  Follow the directions on the package.  Be sure the transfer is completely adhered to the jar before pulling off the backing.

155

Next, glue on the lace like ribbon.  I used Tacky glue.  Lastly, glue on the spiders.  I started with Tacky glue, but found that E6000 glue worked better.  Finish with a knotted ribbon around the top of the jar.

172173174

The possibilities are endless!  I even created some without the lace ribbon, for a more masculine look.

170

Happy creating…

“Wonder what I will come up with next”…

MORE scrapbook paper initial art…

On May 5th, I posted the “how to” for these, but I have created more since then and thought I would share.  They are so easy to make and the possibilities are endless!!!  They make GREAT gifts!  I am using them for end of the year teacher gifts!

046

Here, I used corrugated steel letters to create a last name.

001002

Both of these have similar vintage paper.

003004

Perfect for a music teacher…

005

I thought this wooden block paper was great for a preschool.

006

I used this paint paper for an art teacher.

I hope these give you more inspiration and ideas for special people in your lives.  As I mentioned before, the possibilities are absolutely endless!!!

Happy creating…

“Wonder what I will come up with next”…

Framed Initial Art…

019

A few weeks ago, I posted a similar idea using scrapbook paper as the background.  Here, I glued fabric to a cut piece of mat board and created a fantastic piece of art for a friend who LOVES all things Paris!

054

Start by painting a wood block letter.  You can either use spray paint, or brush on the paint.

013

Cut the fabric approx 2 inches larger than the piece of mat board on each side.  Spread Tacky glue on the mat board and carefully place the fabric on the glued side.  Be sure to center your fabric design and make sure that it is not sideways.  Smooth the fabric with your hands to ensure there are not any wrinkles in the fabric.  Do not use a quick dry glue…it makes it very difficult to maneuver the fabric once it touches the glue.

015

Turn the piece over and fold up the sides.  Glue the folded sides.  Make sure they are pulled snug.  After all 4 sides are glued, I added packaging tape to ensure the edges of the fabric would adhere to the mat board.

016

Remove the backing and glass from the frame.  Place the mat board into the frame, and close off the back.

019

Glue the painted letter in the center of your mat board.  I used E6000 glue for this.  Let dry, wrap, and give to a friend!  This is a very easy way to personalize a gift for someone special!

Happy framing…

“Wonder what I will come up with next”…

Glass Bead Magnets…

024

These are so easy to make!!!  It is even a fun craft to do with your children.  This is also another great gift for Teacher Appreciation Week.

013

Start with large glass beads.  I purchased these at The Dollar Tree.  They come in a mesh bag.  Be sure to get the beads that are approximately 1.5″ in diameter.

014015

I have used numerous different scrapbook papers for these magnets.  I also use sticky back magnets.  I purchased these sheets at an office supply store.  They are meant to be used with a business card, to make it a magnet.

016

Place a glass bead over the area that you want to show.  Trace around the bead and cut it out.

017

Put a dollop of glue on the decorative part of the paper.  I used Elmers Glue.

018

Press the glass bead down on the glue.  Be sure to wipe off the excess glue.

020021

Cut the magnets into squares.  Turn the glass bead face down and stick the magnet square onto the back of the scrapbook paper.  Let the magnets dry.

024

You have now created fun bead magnets!

Happy creating…

“Wonder what I will come up with next”…