SIMPLE Pudding cups…

008

It was a Saturday morning, and I realized it was my neighbors birthday.  I wanted to make something special for her, but I didn’t have a lot of time.  I ran to my pantry and stood there hoping and searching for something to JUMP out at me!  I saw a box of instant vanilla pudding and thought, “OF COURSE”, I’ll add graham cracker crumbs and strawberries, and “Wa La”…I will have the quick treat I am looking for!

004

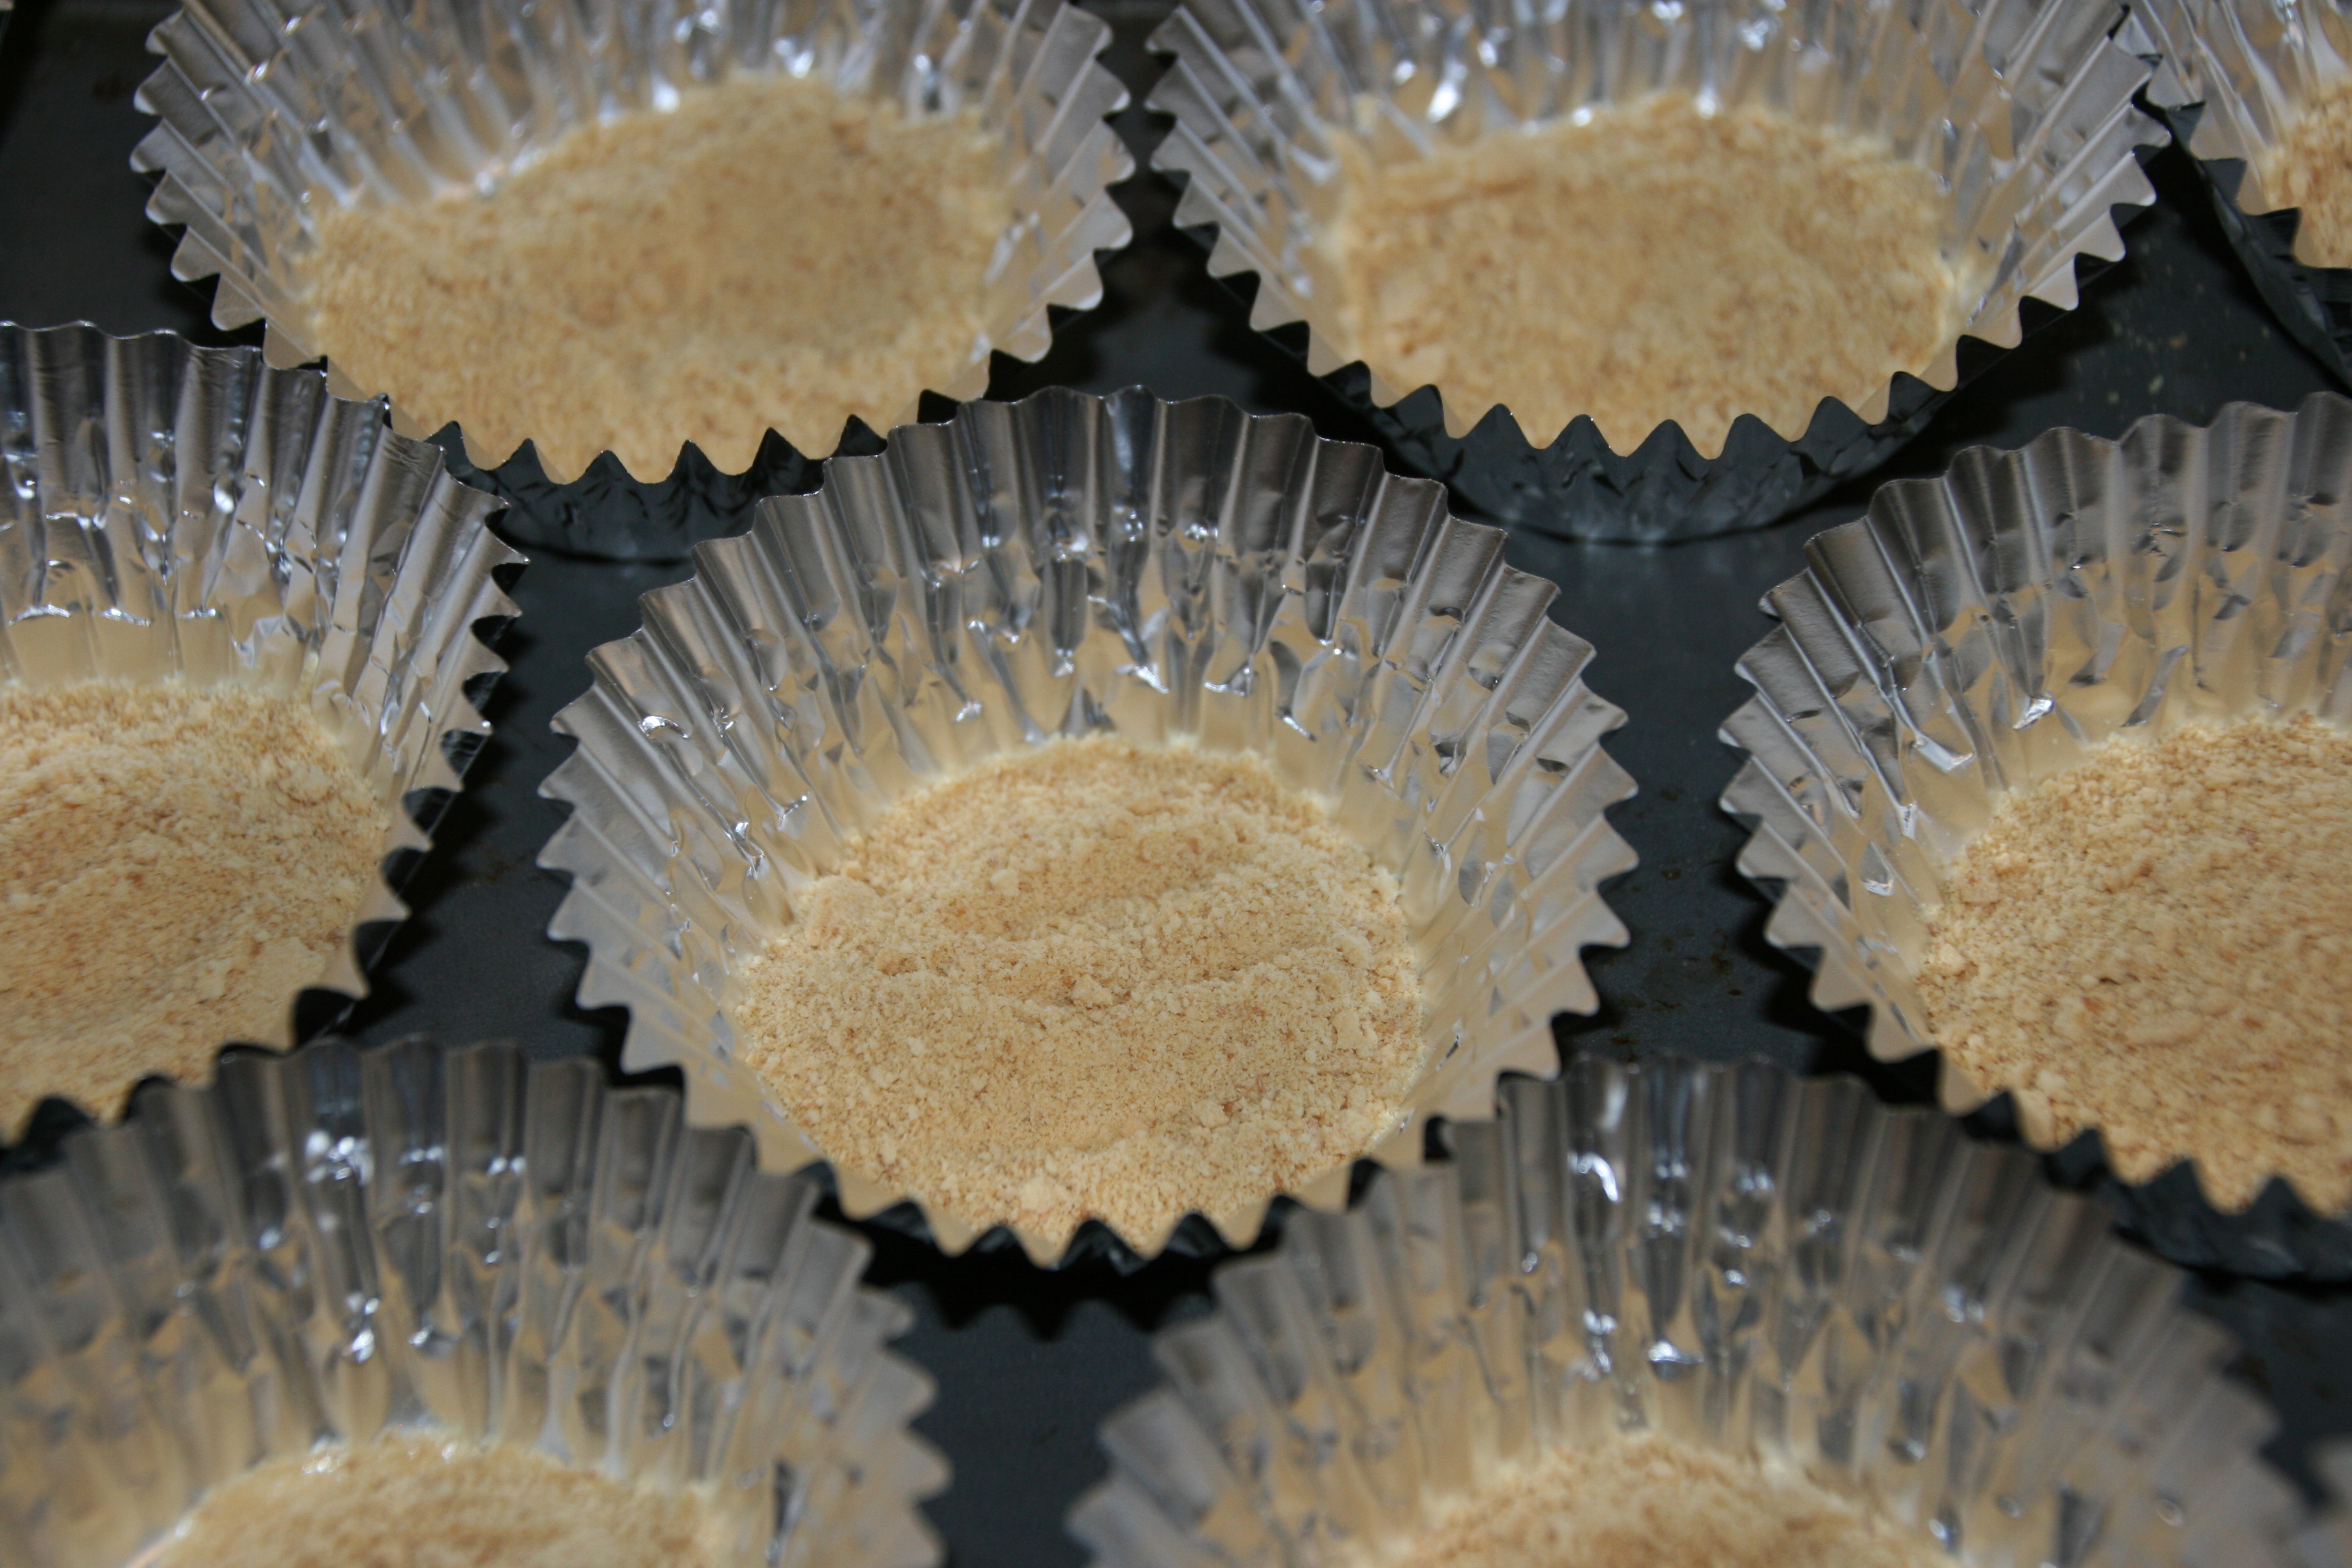
I started with foil cupcake papers because they are more stable than regular cupcake papers.  I covered the bottom with graham cracker crumbs.

005

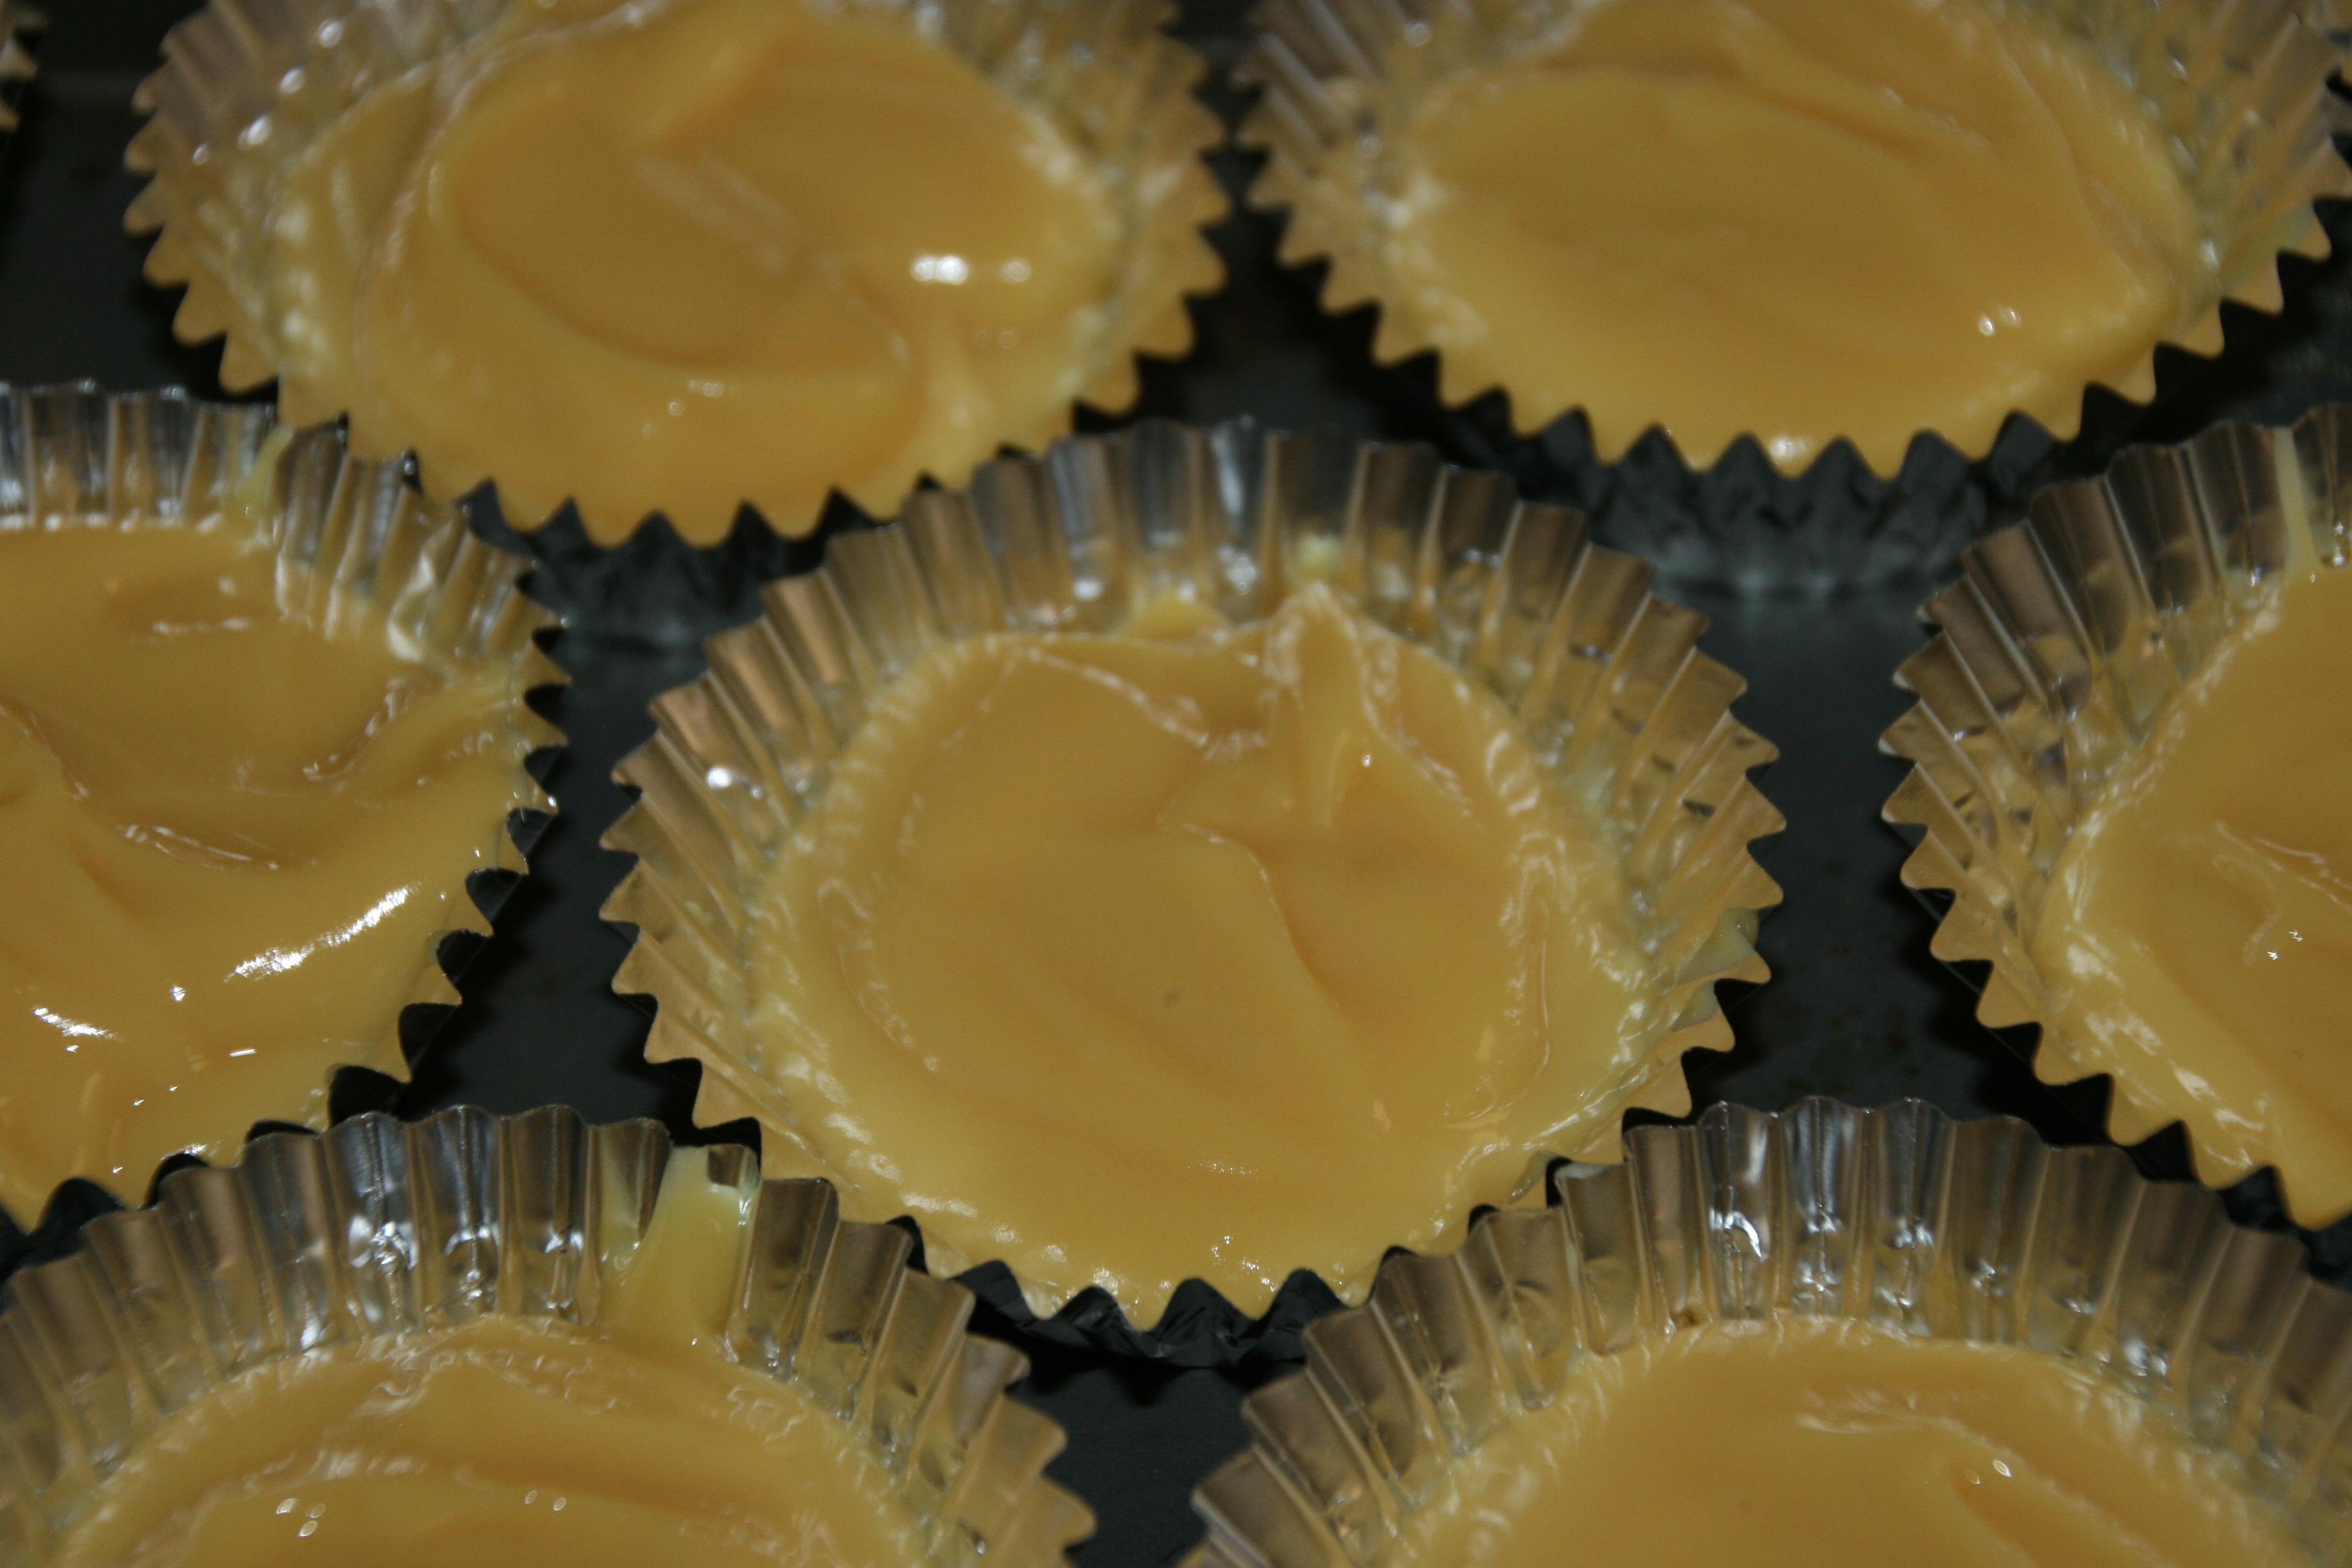
After the instant pudding set, I spooned in the pudding on top of the graham cracker crumbs.

006

I then sprinkled more graham cracker crumbs on top of the pudding.

007

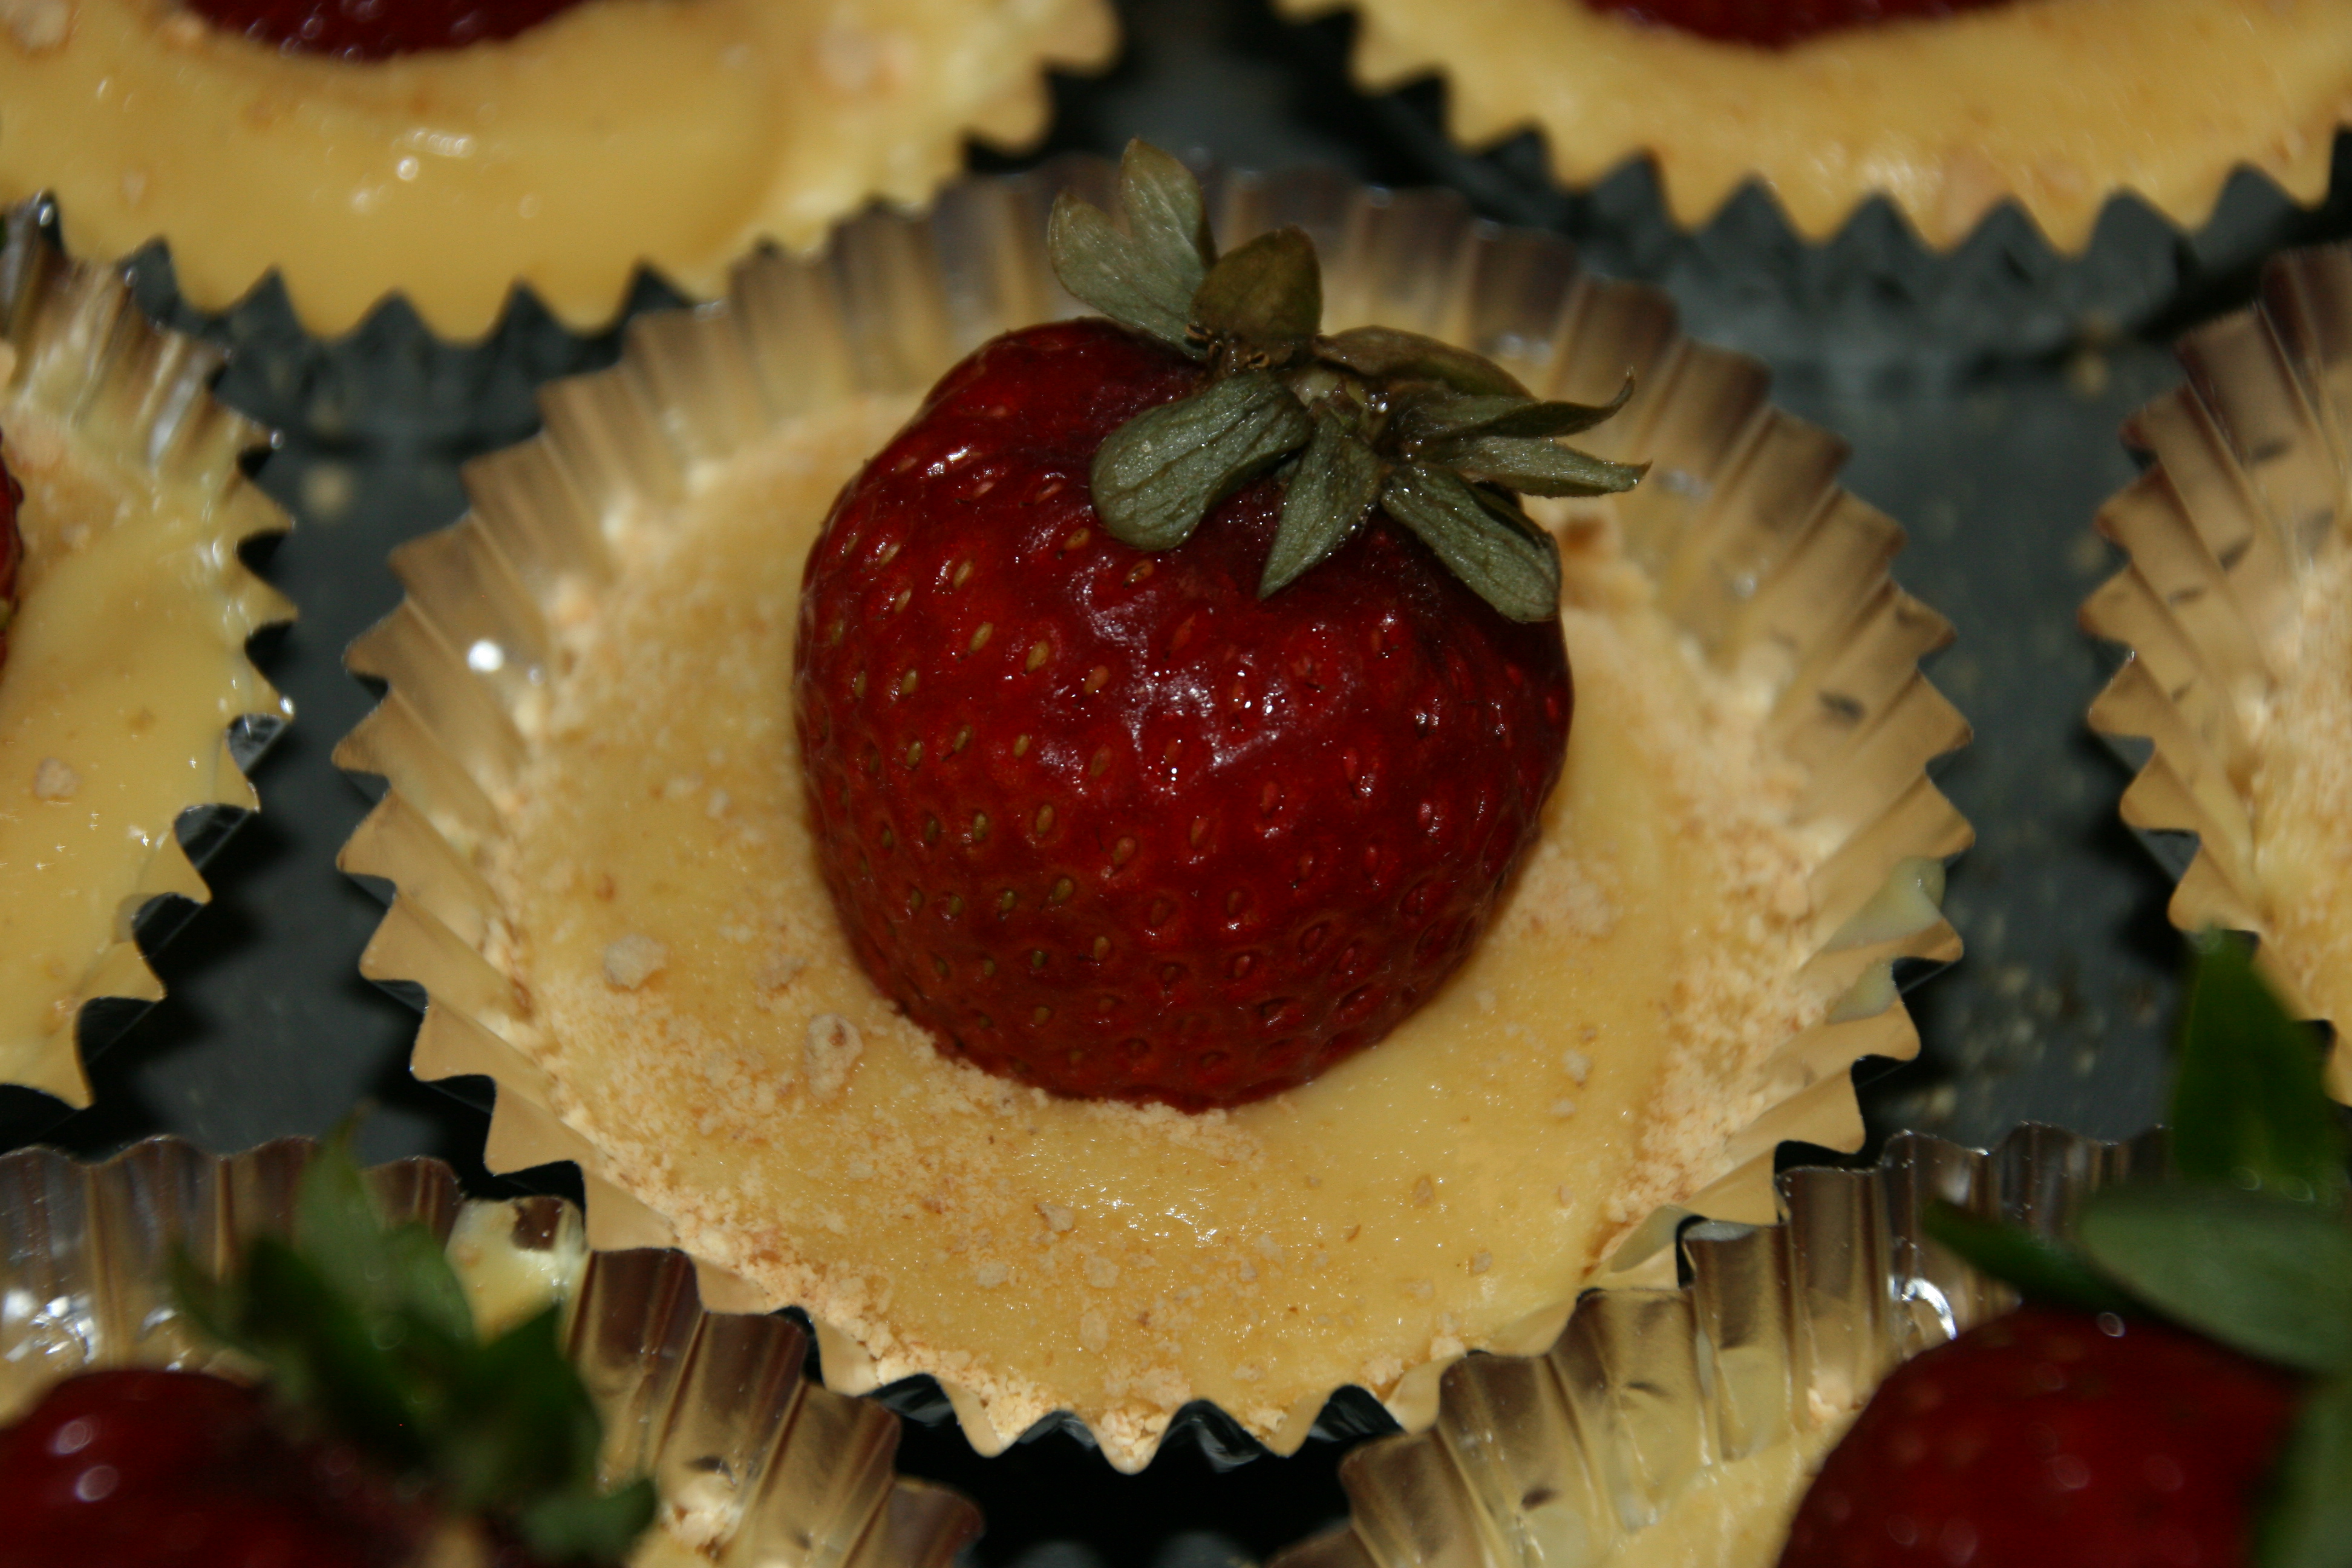
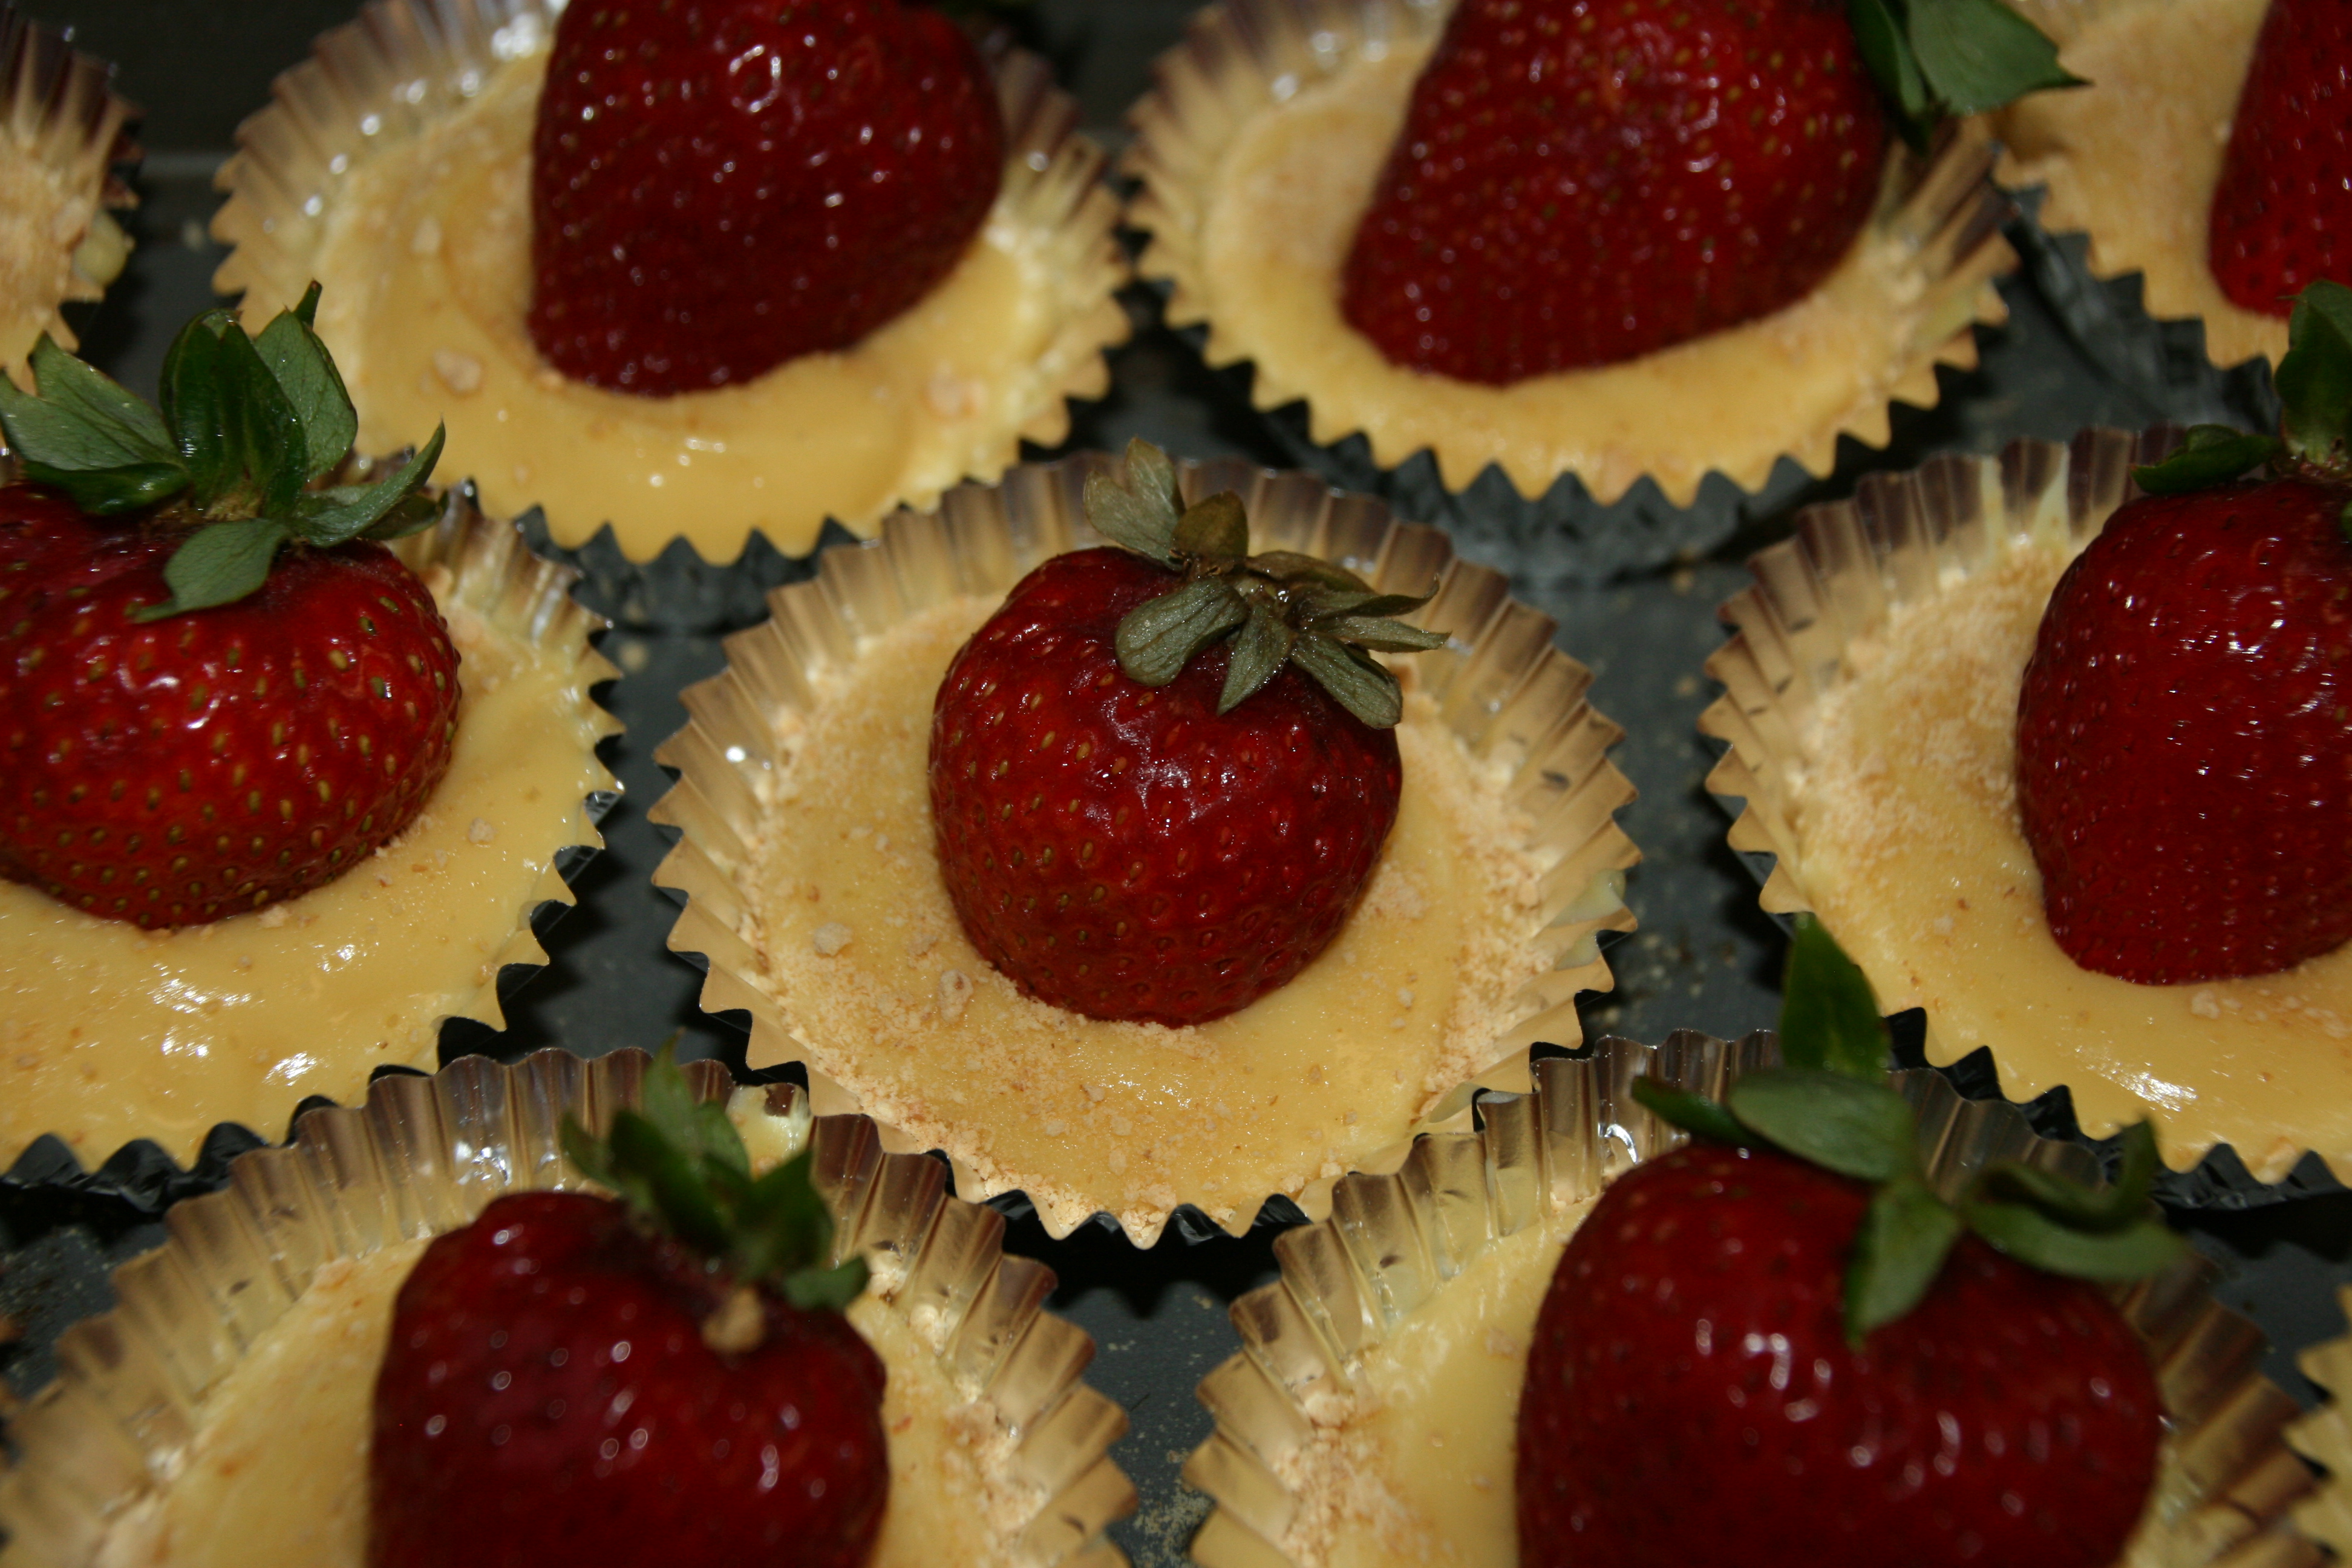
Last, I gently placed a plump strawberry on top.  DONE!  Oh, so simple, easy, and quick!!!  Anyone can do this!!!

008

Oh, and, by the way, they were quite tasty!!!

Happy eating…

“Wonder what I will come up with next”…

Framed Initial Art…

019

A few weeks ago, I posted a similar idea using scrapbook paper as the background.  Here, I glued fabric to a cut piece of mat board and created a fantastic piece of art for a friend who LOVES all things Paris!

054

Start by painting a wood block letter.  You can either use spray paint, or brush on the paint.

013

Cut the fabric approx 2 inches larger than the piece of mat board on each side.  Spread Tacky glue on the mat board and carefully place the fabric on the glued side.  Be sure to center your fabric design and make sure that it is not sideways.  Smooth the fabric with your hands to ensure there are not any wrinkles in the fabric.  Do not use a quick dry glue…it makes it very difficult to maneuver the fabric once it touches the glue.

015

Turn the piece over and fold up the sides.  Glue the folded sides.  Make sure they are pulled snug.  After all 4 sides are glued, I added packaging tape to ensure the edges of the fabric would adhere to the mat board.

016

Remove the backing and glass from the frame.  Place the mat board into the frame, and close off the back.

019

Glue the painted letter in the center of your mat board.  I used E6000 glue for this.  Let dry, wrap, and give to a friend!  This is a very easy way to personalize a gift for someone special!

Happy framing…

“Wonder what I will come up with next”…

Glass Bead Magnets…

024

These are so easy to make!!!  It is even a fun craft to do with your children.  This is also another great gift for Teacher Appreciation Week.

013

Start with large glass beads.  I purchased these at The Dollar Tree.  They come in a mesh bag.  Be sure to get the beads that are approximately 1.5″ in diameter.

014015

I have used numerous different scrapbook papers for these magnets.  I also use sticky back magnets.  I purchased these sheets at an office supply store.  They are meant to be used with a business card, to make it a magnet.

016

Place a glass bead over the area that you want to show.  Trace around the bead and cut it out.

017

Put a dollop of glue on the decorative part of the paper.  I used Elmers Glue.

018

Press the glass bead down on the glue.  Be sure to wipe off the excess glue.

020021

Cut the magnets into squares.  Turn the glass bead face down and stick the magnet square onto the back of the scrapbook paper.  Let the magnets dry.

024

You have now created fun bead magnets!

Happy creating…

“Wonder what I will come up with next”…

Framed wood initial with scrapbook paper…

I am always thinking of new gift ideas for special people in my life.  This week is teacher appreciation week, and my kids teachers are pretty special people and deserve to be treated extra specially.

011

I came up with the idea of using a wood initial and mounting it onto scrapbook paper, then framing it.

007

Start by painting the wood letter.  I used a metallic brown spray paint.  A tip for painting…I usually use old newspaper to catch the over spray.  To keep whatever I am painting from sticking to the newspaper, I place a few pennies under the item being painted.  It is an inexpensive way to raise the item just enough so that it doesn’t stick, and I usually have pennies at my house.

013

Glue a 12×12 piece of scrapbook paper to a thick piece of cardboard.  I used a quick drying Tacky Glue.

014015

Next, glue the initial to the scrapbook paper.  For this, I used E6000 glue.  Be sure not to over glue the back of the wood initial.  If too much glue is squeezed out, it will leak out under the initial and show clumps of glue around the edges of the initial.  Be sure to allow the E6000 glue to thoroughly dry before moving on with this project.

012

011

Remove the piece of glass from the frame.  You won’t be needing this, so you can save it for another fun project.  Now frame the scrapbook covered cardboard and initial.  You have created a beautiful gift for someone.

Happy framing…

“Wonder what I will come up with next”…

Luau Party Gifts…

008009

If you have been reading my last several posts, then you know that I had a LUAU birthday party for my daughter.  OF COURSE, I have to wrap the gifts to match the theme of the party!!!  I used hibiscus flowers, blue ribbon, and palm tree scrapbook paper on these gifts.

013

On this gift, I wrapped the package with green streamers and glued Hula Girl pictures onto the box.  I topped it with a purple hibiscus flower.

012

On this gift, I created the #6 with hibiscus flower stickers because this was my daughter’s 6th birthday.  I wrapped the box with yellow, blue & green ribbon and topped it with a yellow hibiscus.

Happy wrapping…

“Wonder what I will come up with next”…

Luau Birthday Party Decor…

015

When I host a party, I GO BIG!!!  I have a ridiculous amount of fun planning and decorating for a party.  It is like a drug for me!!!  My husband gets into the fun also.  For our daughters LUAU birthday party, he parked his jeep in our front yard and decorated it with surf boards, boogie board, beach chairs, buckets, umbrella, tiki torches, and more.  This is the first thing that the guests saw as they arrived to the party.  Talk about a grand entrance!!!

033028

As the guests arrived, they were greeted with raffia table skirts hanging from the ceiling with colorful lanterns and palm trees, as well as flowers.  All guests received a grass skirt, lei, and flower clip as they entered the “Tiki Hut”.

036038

037

024025

On the table, I scattered hibiscus flowers and shells.  I also added table top tiki torches.

035

019020

The food table had buckets filled with clean cat litter and bright spiral candle sticks.  I also scattered hibiscus flowers.

To keep with the theme, we had Hawaiian King rolls with lunchmeat and cheese.  I made fruit skewers and stuck them into half of a watermelon.  I made smoothies for the kids and my husband made blue Hawaiian drinks for the adults.

027026

I created a photo booth area in front of the fireplace.  The kids had props and sunglasses they could put on for the pictures.  they had a blast posing for the pictures!

147148

I stacked coconut cups on the mantle and hung beads from a mirror for added decor.

149

030144

145146

As the guests departed, they received a goody bag filled with treats, including a gift card to Jamba Juice and a fish straw.  I created name tags by cutting out hibiscus flowers from scrapbook paper and glued them onto yellow tags.  I then stapled the tags to the bags.  Very festive!

As Hawaiian music played in the background, the guests ate, played and had fun.

Happy birthday planning…

“Wonder what I will come up with next”…

Luau Birthday Party cupcakes…

021022

If you saw my previous post on Luau Birthday Party Invitations, then you know how I created these fun Hula Girls!  To turn them into picks for cupcakes, simply tape a bamboo skewer, cut in half,  to the back of the Hula Girl.

105104

So simple and so festive!!!

023

Of course, the birthday girl needed candles!  In an effort to not light a Hula Girl on fire, I refrained from putting a Hula Girl on the cupcake with candles.  Instead, I added flamingo, palm tree, and pineapple candles that I found at the 99cent store.

022021

I used store bought frosting, green candy rocks, green sprinkles, and edible flowers to decorate the cupcake before adding the Hula Girl pick.

Happy eating…

“Wonder what I will come up with next”…

Luau Birthday Party Invites…

040

My daughter wanted to have a Luau for her birthday.  Oh what fun!!!  I think that I had more fun and was more excited than she was as I planned this party!

042043

I wanted to create fun invitations.  I bought these Hula Girl centerpieces at Party City and cut off the skirt.

044

I then made color copies onto white cardstock and cut out each Hula Girl.

045046

I used green streamers to make each girl a skirt and taped it to the cardstock cut out.  I cut strips vertically into the streamers to add to the skirt effect.  I then attached the Hula Girl to the invitation with double sided thick tape for a 3-D effect.

041

I typed and printed the party details on a coordinating purple paper and glued it next to the Hula Girl.

040

So simple and easy, yet so fun and festive!

Happy Inviting…

“Wonder what I will come up with next”…

Wooden Heart Plaques…

065

I love creating!  After I made the wood & burlap picture clips (see my post in “Gift Ideas” from October 2014), I decided to create wood plaques using the same concept.

055056

Start with wood squares & wood heart cutouts.  I bought the squares at Hobby Lobby & the hearts at Michaels.  Paint the wood whatever color you fancy!  I used both tempera paint & wall paint (I buy samples at Lowes & Target of different paint colors, which is an inexpensive way to have several fun colors).

057058

061

Once the paint dries, attach the burlap with furniture tacks, or any tack you like.

059060

Then, glue on the painted wood hearts.  I used E6000 glue to attach these hearts.  Notice I glued the hearts with the flat side up.  I thought this looked better than the double heart side.

064063

On the red & black plaque, I added a vinyl label and wrote “love” on it with chalk markers.

065

Here is the finished product.  I think it would be fun to add a ribbon tacked to the back and hang this on a wall.

062

You can not add the burlap and furniture tacks for a more simplified version of the plaque.

Happy creating…

“Wonder what I will come up with next”…

Decor ideas for a 50th anniversary party…

025

50 years of marriage is quite an accomplishment!  After a Google inquiry, I learned that only 6% of marriages last 50 years!  We recently celebrated my In-Laws 50th wedding anniversary by hosting an afternoon open house gathering.  I created a festive environment filled with framed pictures from their wedding.  I purchased the frames at The Dollar Tree!!!

021020

I used glass blocks as risers and white tulle to fancy up the “shrine” of pictures on the counter.  I used their original wedding book for guests to sign in and framed a poem about “A Golden Anniversary” that was found in my Grandmother’s poem book.

018017

I placed green tulle down the center of the tables, with vases full of fresh flowers.

024023

Using boxes that I covered with a white table cloth, I created risers on the food table.  I covered the lifted area with silver tulle, and put a vase full of flowers and pictures on top.

019

Lastly, I hung white tissue paper balls over the dessert counter.  Simple, yet elegant.

025

I hope you get the chance to celebrate a loved ones 50th wedding anniversary!  Be sure to impress upon them how special the accomplishment is!!!

Happy celebrating…

“Wonder what I will come up with next”…