Luau Birthday Party cupcakes…

021022

If you saw my previous post on Luau Birthday Party Invitations, then you know how I created these fun Hula Girls!  To turn them into picks for cupcakes, simply tape a bamboo skewer, cut in half,  to the back of the Hula Girl.

105104

So simple and so festive!!!

023

Of course, the birthday girl needed candles!  In an effort to not light a Hula Girl on fire, I refrained from putting a Hula Girl on the cupcake with candles.  Instead, I added flamingo, palm tree, and pineapple candles that I found at the 99cent store.

022021

I used store bought frosting, green candy rocks, green sprinkles, and edible flowers to decorate the cupcake before adding the Hula Girl pick.

Happy eating…

“Wonder what I will come up with next”…

Luau Birthday Party Invites…

040

My daughter wanted to have a Luau for her birthday.  Oh what fun!!!  I think that I had more fun and was more excited than she was as I planned this party!

042043

I wanted to create fun invitations.  I bought these Hula Girl centerpieces at Party City and cut off the skirt.

044

I then made color copies onto white cardstock and cut out each Hula Girl.

045046

I used green streamers to make each girl a skirt and taped it to the cardstock cut out.  I cut strips vertically into the streamers to add to the skirt effect.  I then attached the Hula Girl to the invitation with double sided thick tape for a 3-D effect.

041

I typed and printed the party details on a coordinating purple paper and glued it next to the Hula Girl.

040

So simple and easy, yet so fun and festive!

Happy Inviting…

“Wonder what I will come up with next”…

Decor ideas for a 50th anniversary party…

025

50 years of marriage is quite an accomplishment!  After a Google inquiry, I learned that only 6% of marriages last 50 years!  We recently celebrated my In-Laws 50th wedding anniversary by hosting an afternoon open house gathering.  I created a festive environment filled with framed pictures from their wedding.  I purchased the frames at The Dollar Tree!!!

021020

I used glass blocks as risers and white tulle to fancy up the “shrine” of pictures on the counter.  I used their original wedding book for guests to sign in and framed a poem about “A Golden Anniversary” that was found in my Grandmother’s poem book.

018017

I placed green tulle down the center of the tables, with vases full of fresh flowers.

024023

Using boxes that I covered with a white table cloth, I created risers on the food table.  I covered the lifted area with silver tulle, and put a vase full of flowers and pictures on top.

019

Lastly, I hung white tissue paper balls over the dessert counter.  Simple, yet elegant.

025

I hope you get the chance to celebrate a loved ones 50th wedding anniversary!  Be sure to impress upon them how special the accomplishment is!!!

Happy celebrating…

“Wonder what I will come up with next”…

Cheerleading Birthday Party…

018

Every birthday party needs party favors.  I used triangle shaped clear plastic bags that I purchased at Hobby Lobby.  I made name tags on blue cardstock and stapled them to the top of the bag.  I punched a hole in the top left corner and tied ribbon.  I strung the party favor bags with ribbon & clothes pins to create a “banner” look.

024025

I made banners to hang using cardstock and stickers.  They hung on ribbon tied to skewers stuck into cone styrofoam under the megaphones.  I put pom pom handles down the top of the megaphones.  I used glass blocks as risers to create different levels on the table.

104022

020

Snacks including cheese balls (pom poms) and Bugles (megaphones), as well as chocolate dipped pretzel rods and cupcakes topped with chocolate dipped Bugles (see previous post on how to), and rubber spiked balls that I washed and used as pom poms.

049019

I created a festive photo booth (see previous post on how to) and purchased several silly glasses, masks, etc for the girls to wear for pictures in the photo booth.

014013

The girls learned a cheer dance routine, and made cheer pyramids.  It was a great time had by all!

Happy Cheering…

“Wonder what I will come up with next”…

How to create a simple, yet festive photo booth…

013

My daughter had a Cheerleading Birthday party, and I thought it would be fun to create a photo booth for the girls to take pictures in.

156

I started with a simple pvc pipe frame.

071 072

I cut plastic rectangle table cloths into strips, leaving a folded area at the top.  This folded area is where I draped the table cloth over the pvc pipe frame.

073

I stored the table cloths on hangers until I was ready to create the photo booth.

013016

I staggered the length and colors of the table cloths on the frame to create interest.  Then I used mesh, that comes on a roll, to hide the pvc pipe in front, and to add dimension to the top of the booth.  I purchased silly masks, glasses, pom poms, megaphones, & ribbon twirlers as accessories for the girls to wear in the pictures.

015

The girls had a blast, and the photo booth was so simple to create.

Happy photographing…

“Wonder what I will come up with next”…

“FROZEN” birthday party

048

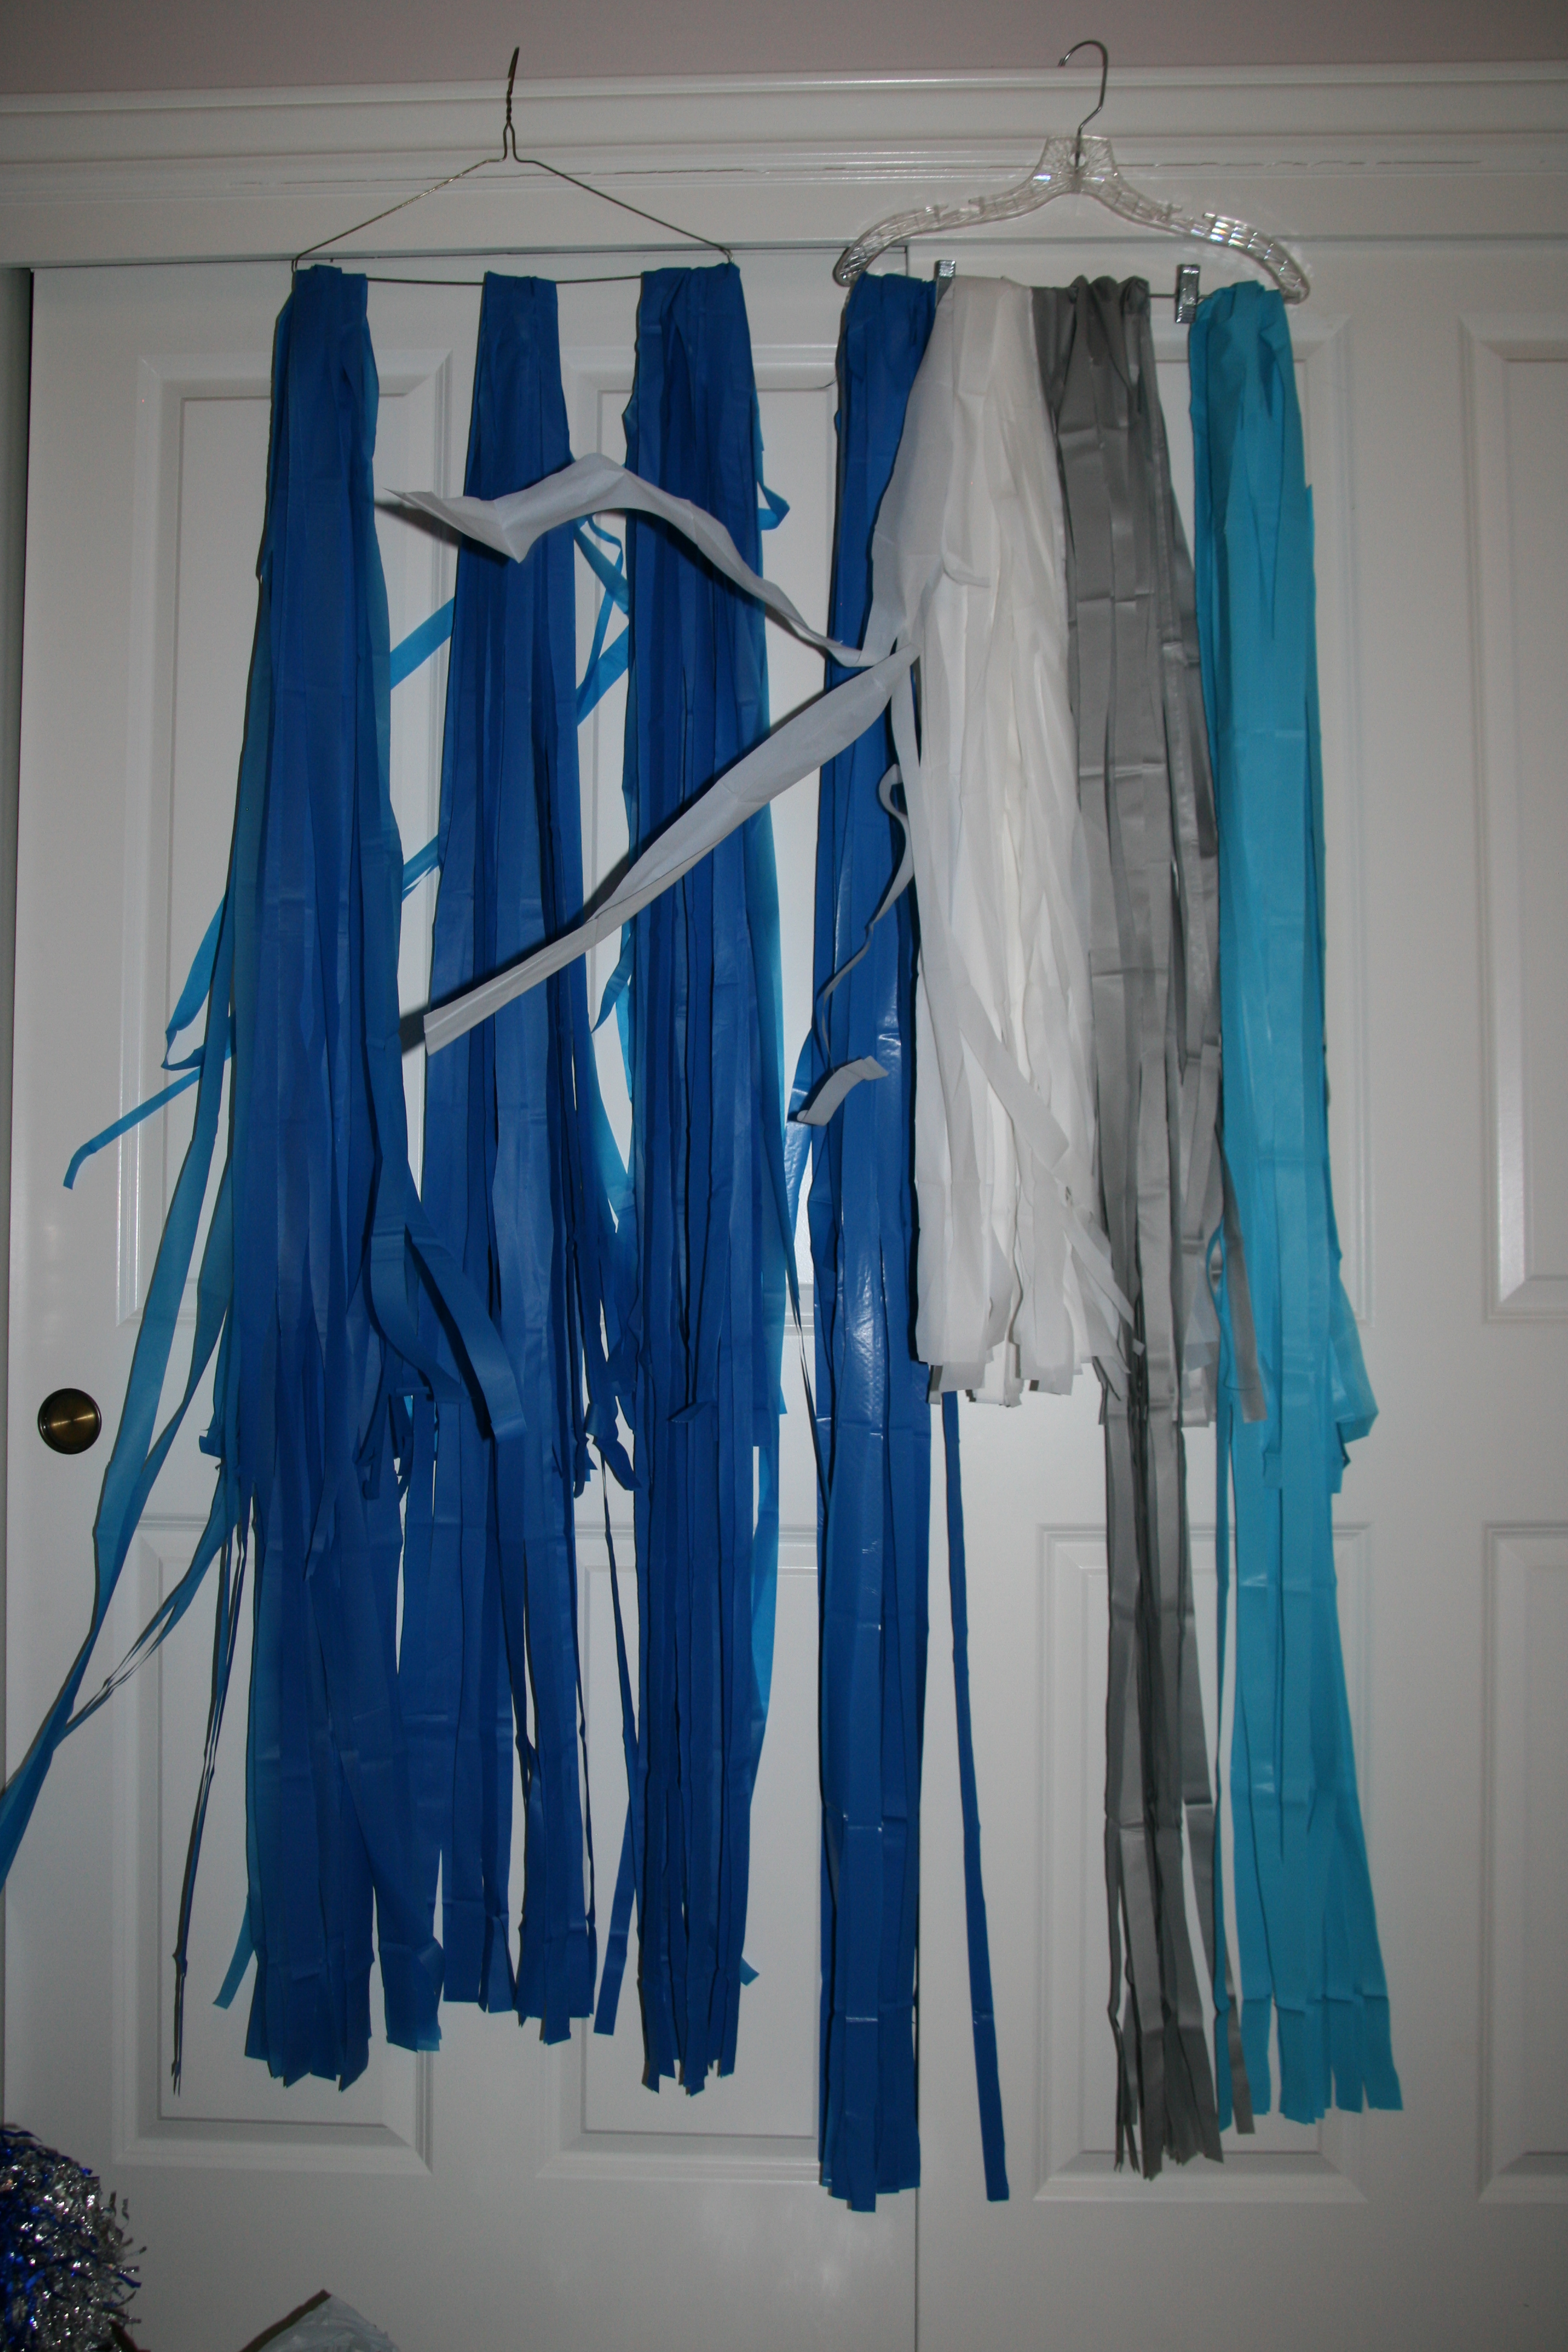
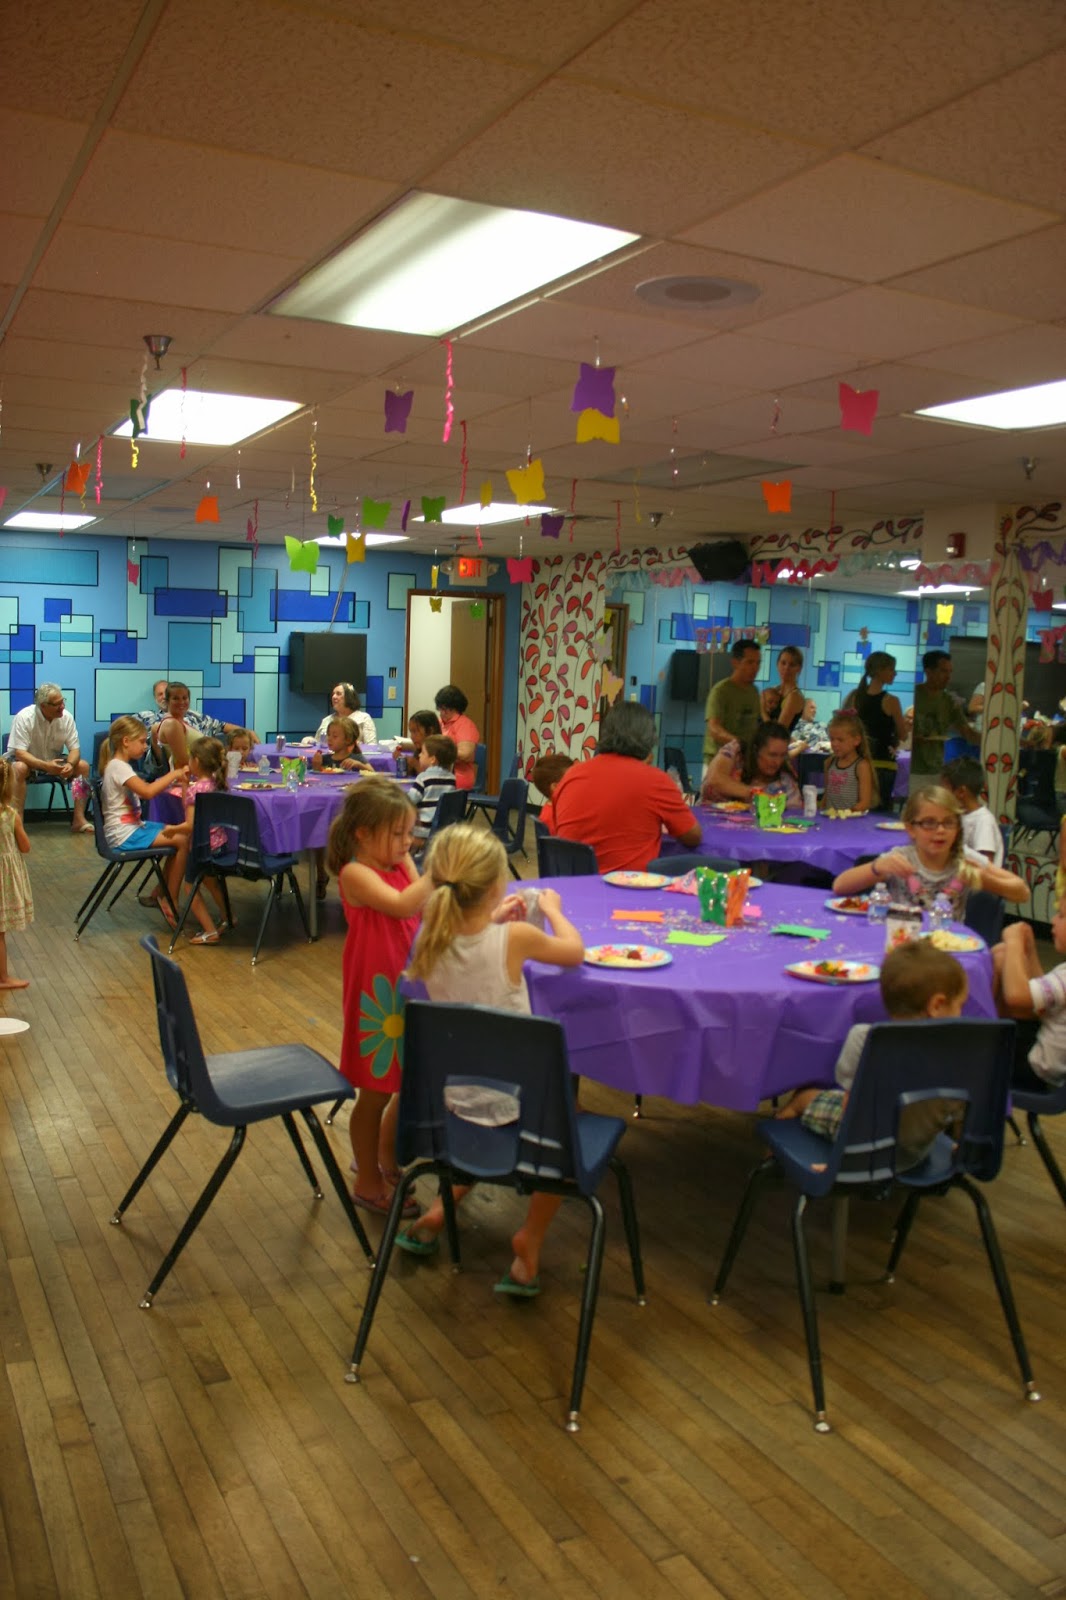
My daughter wanted a “FROZEN” themed birthday party.  I had a BLAST coming up with fun creative decorations!

042 046

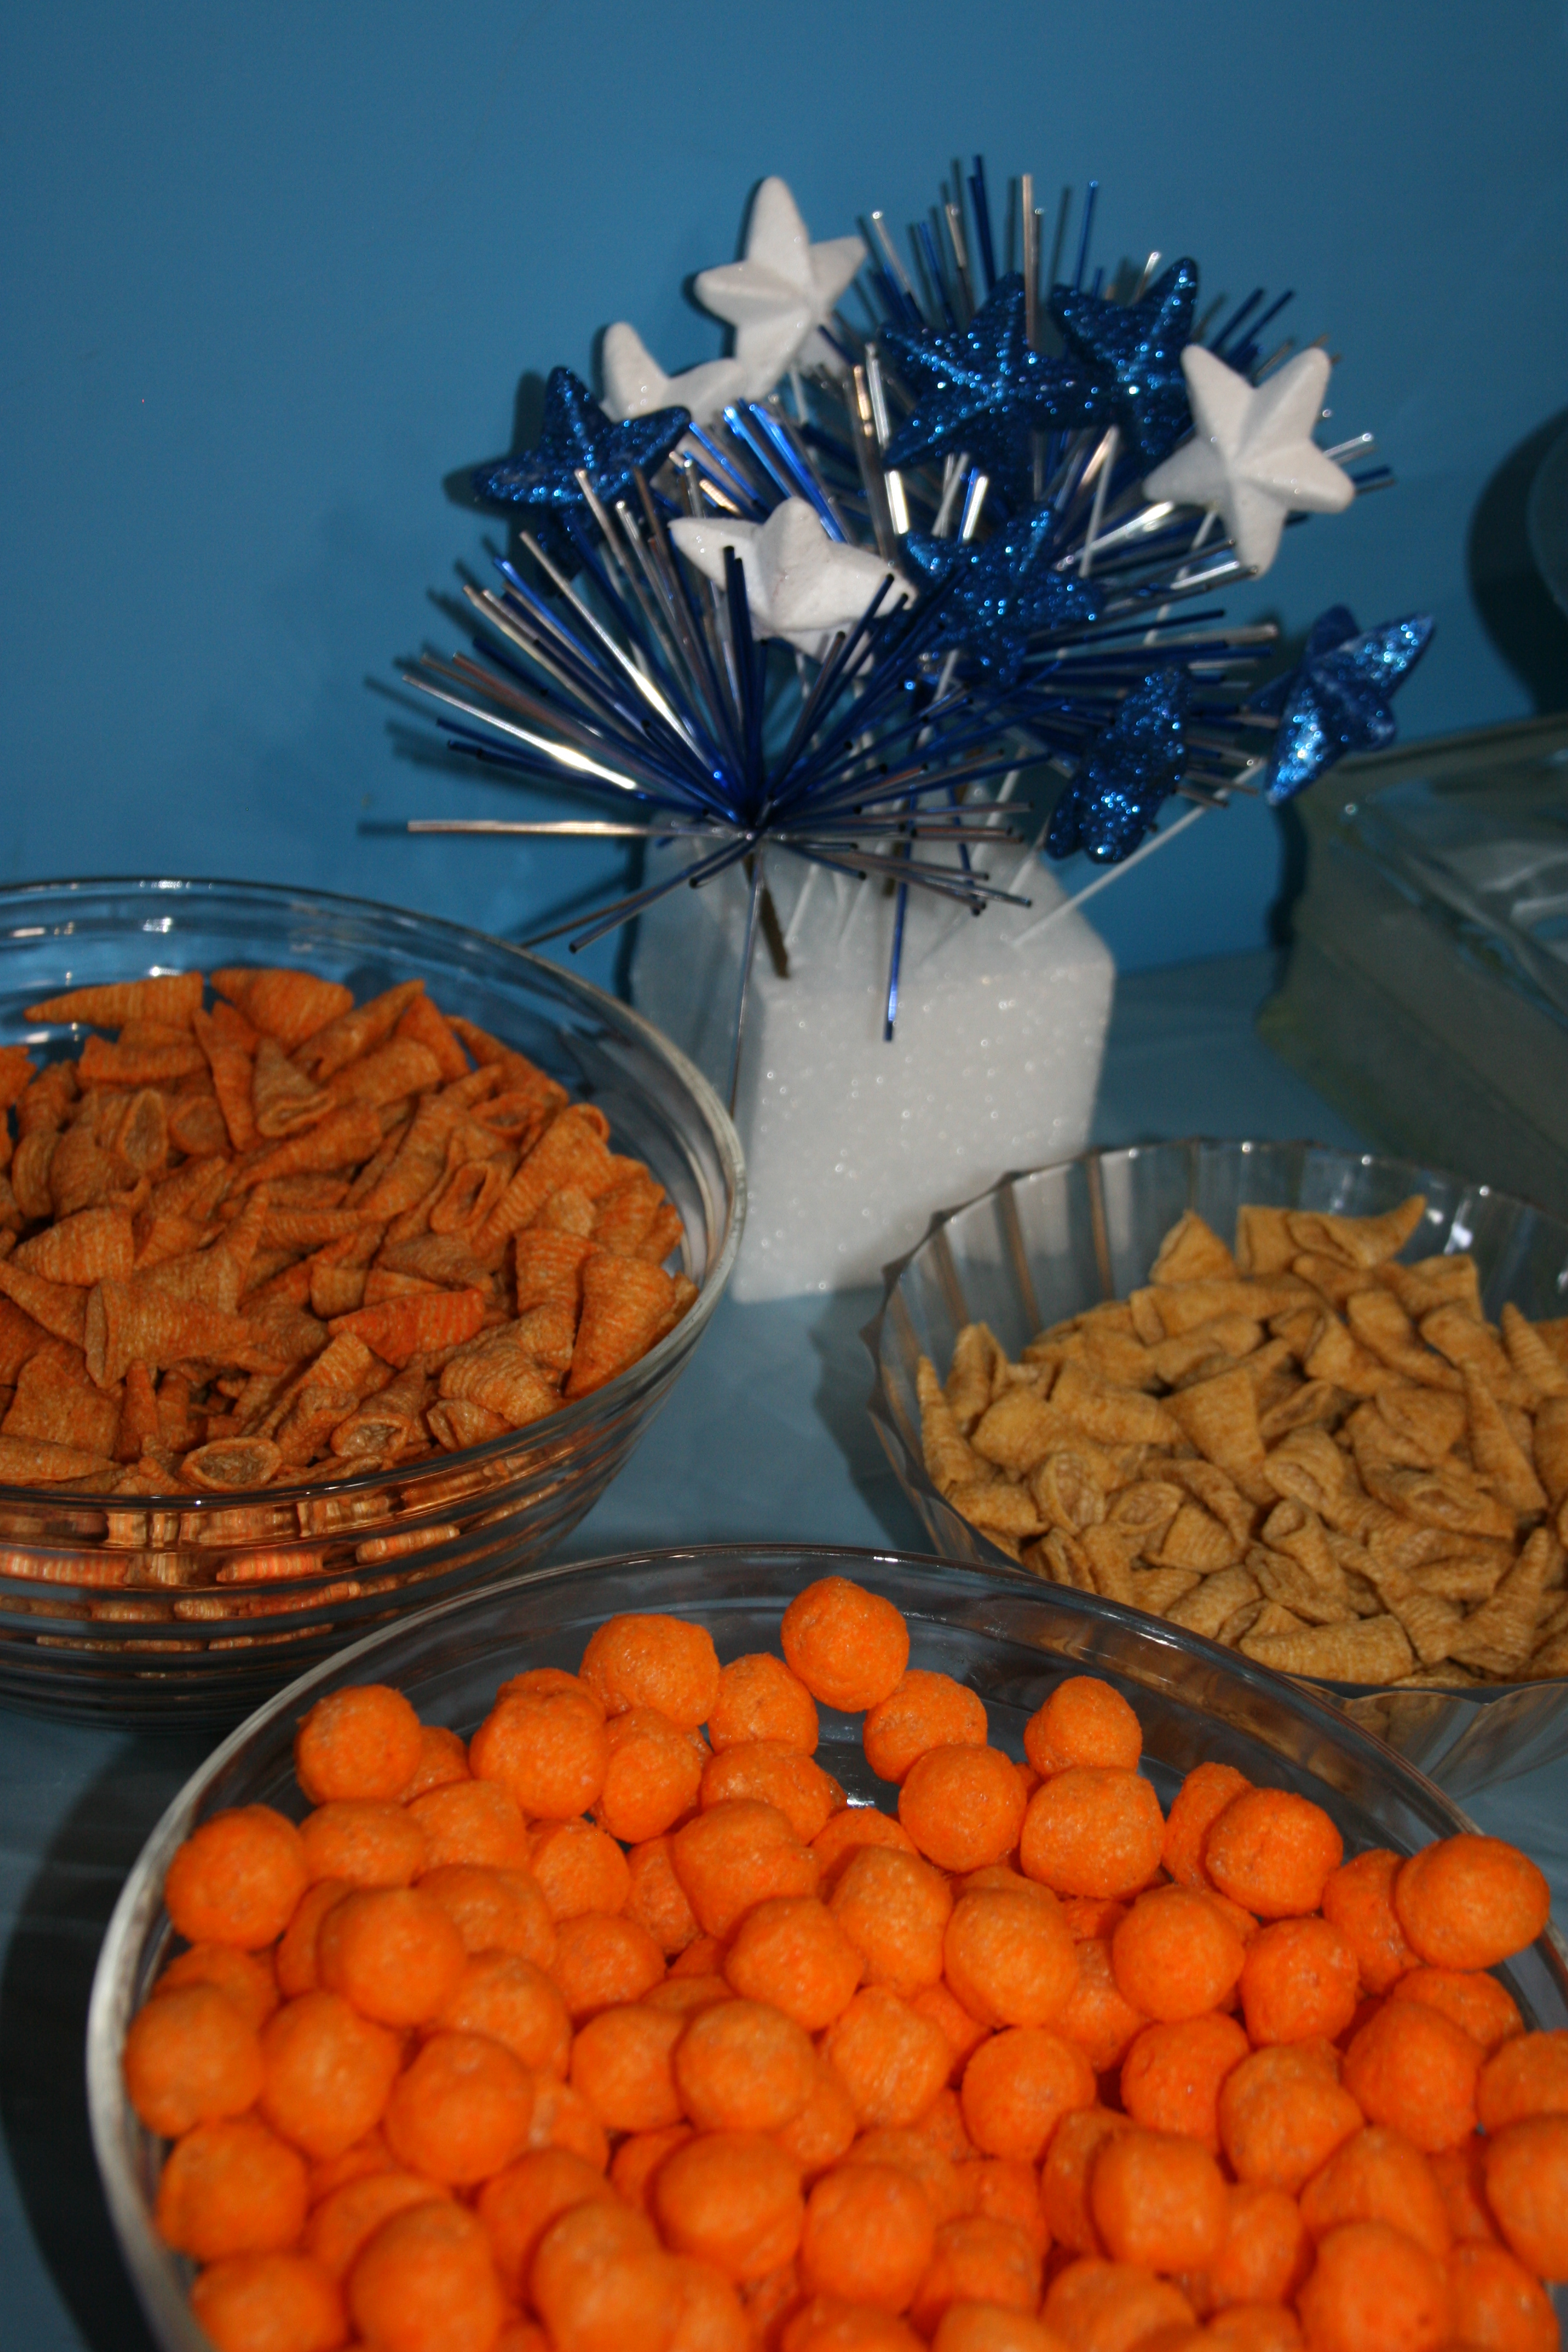
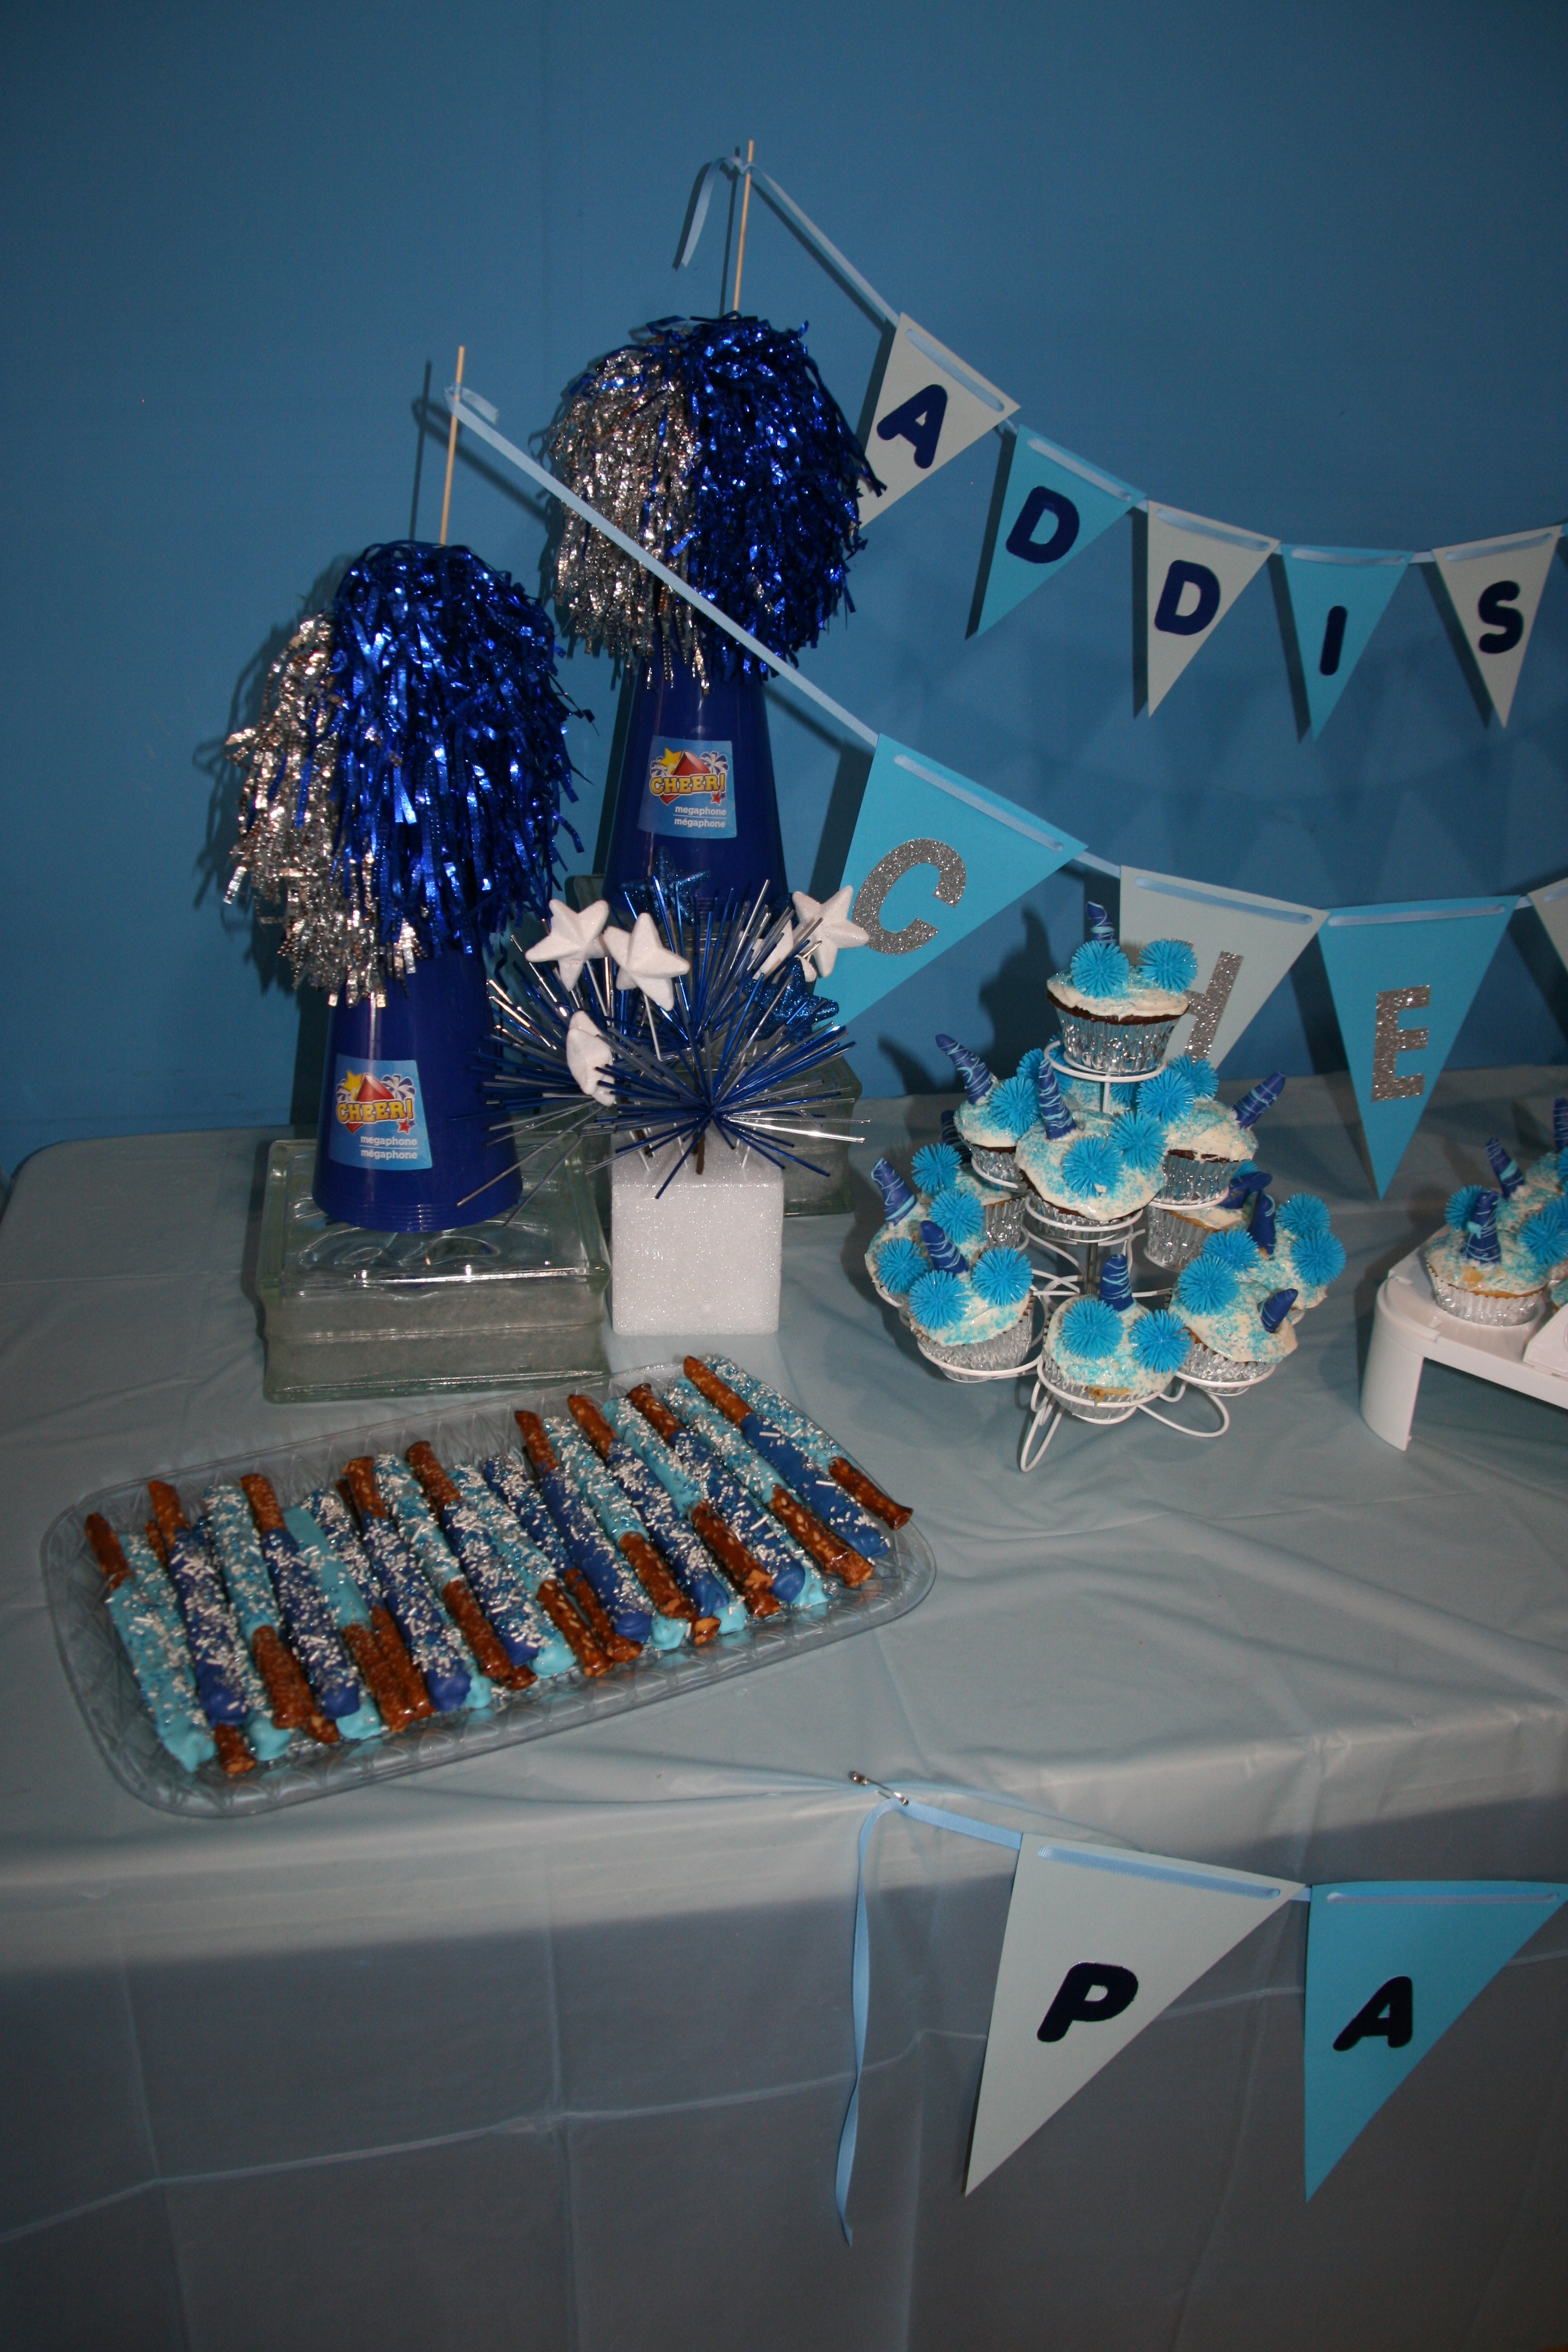
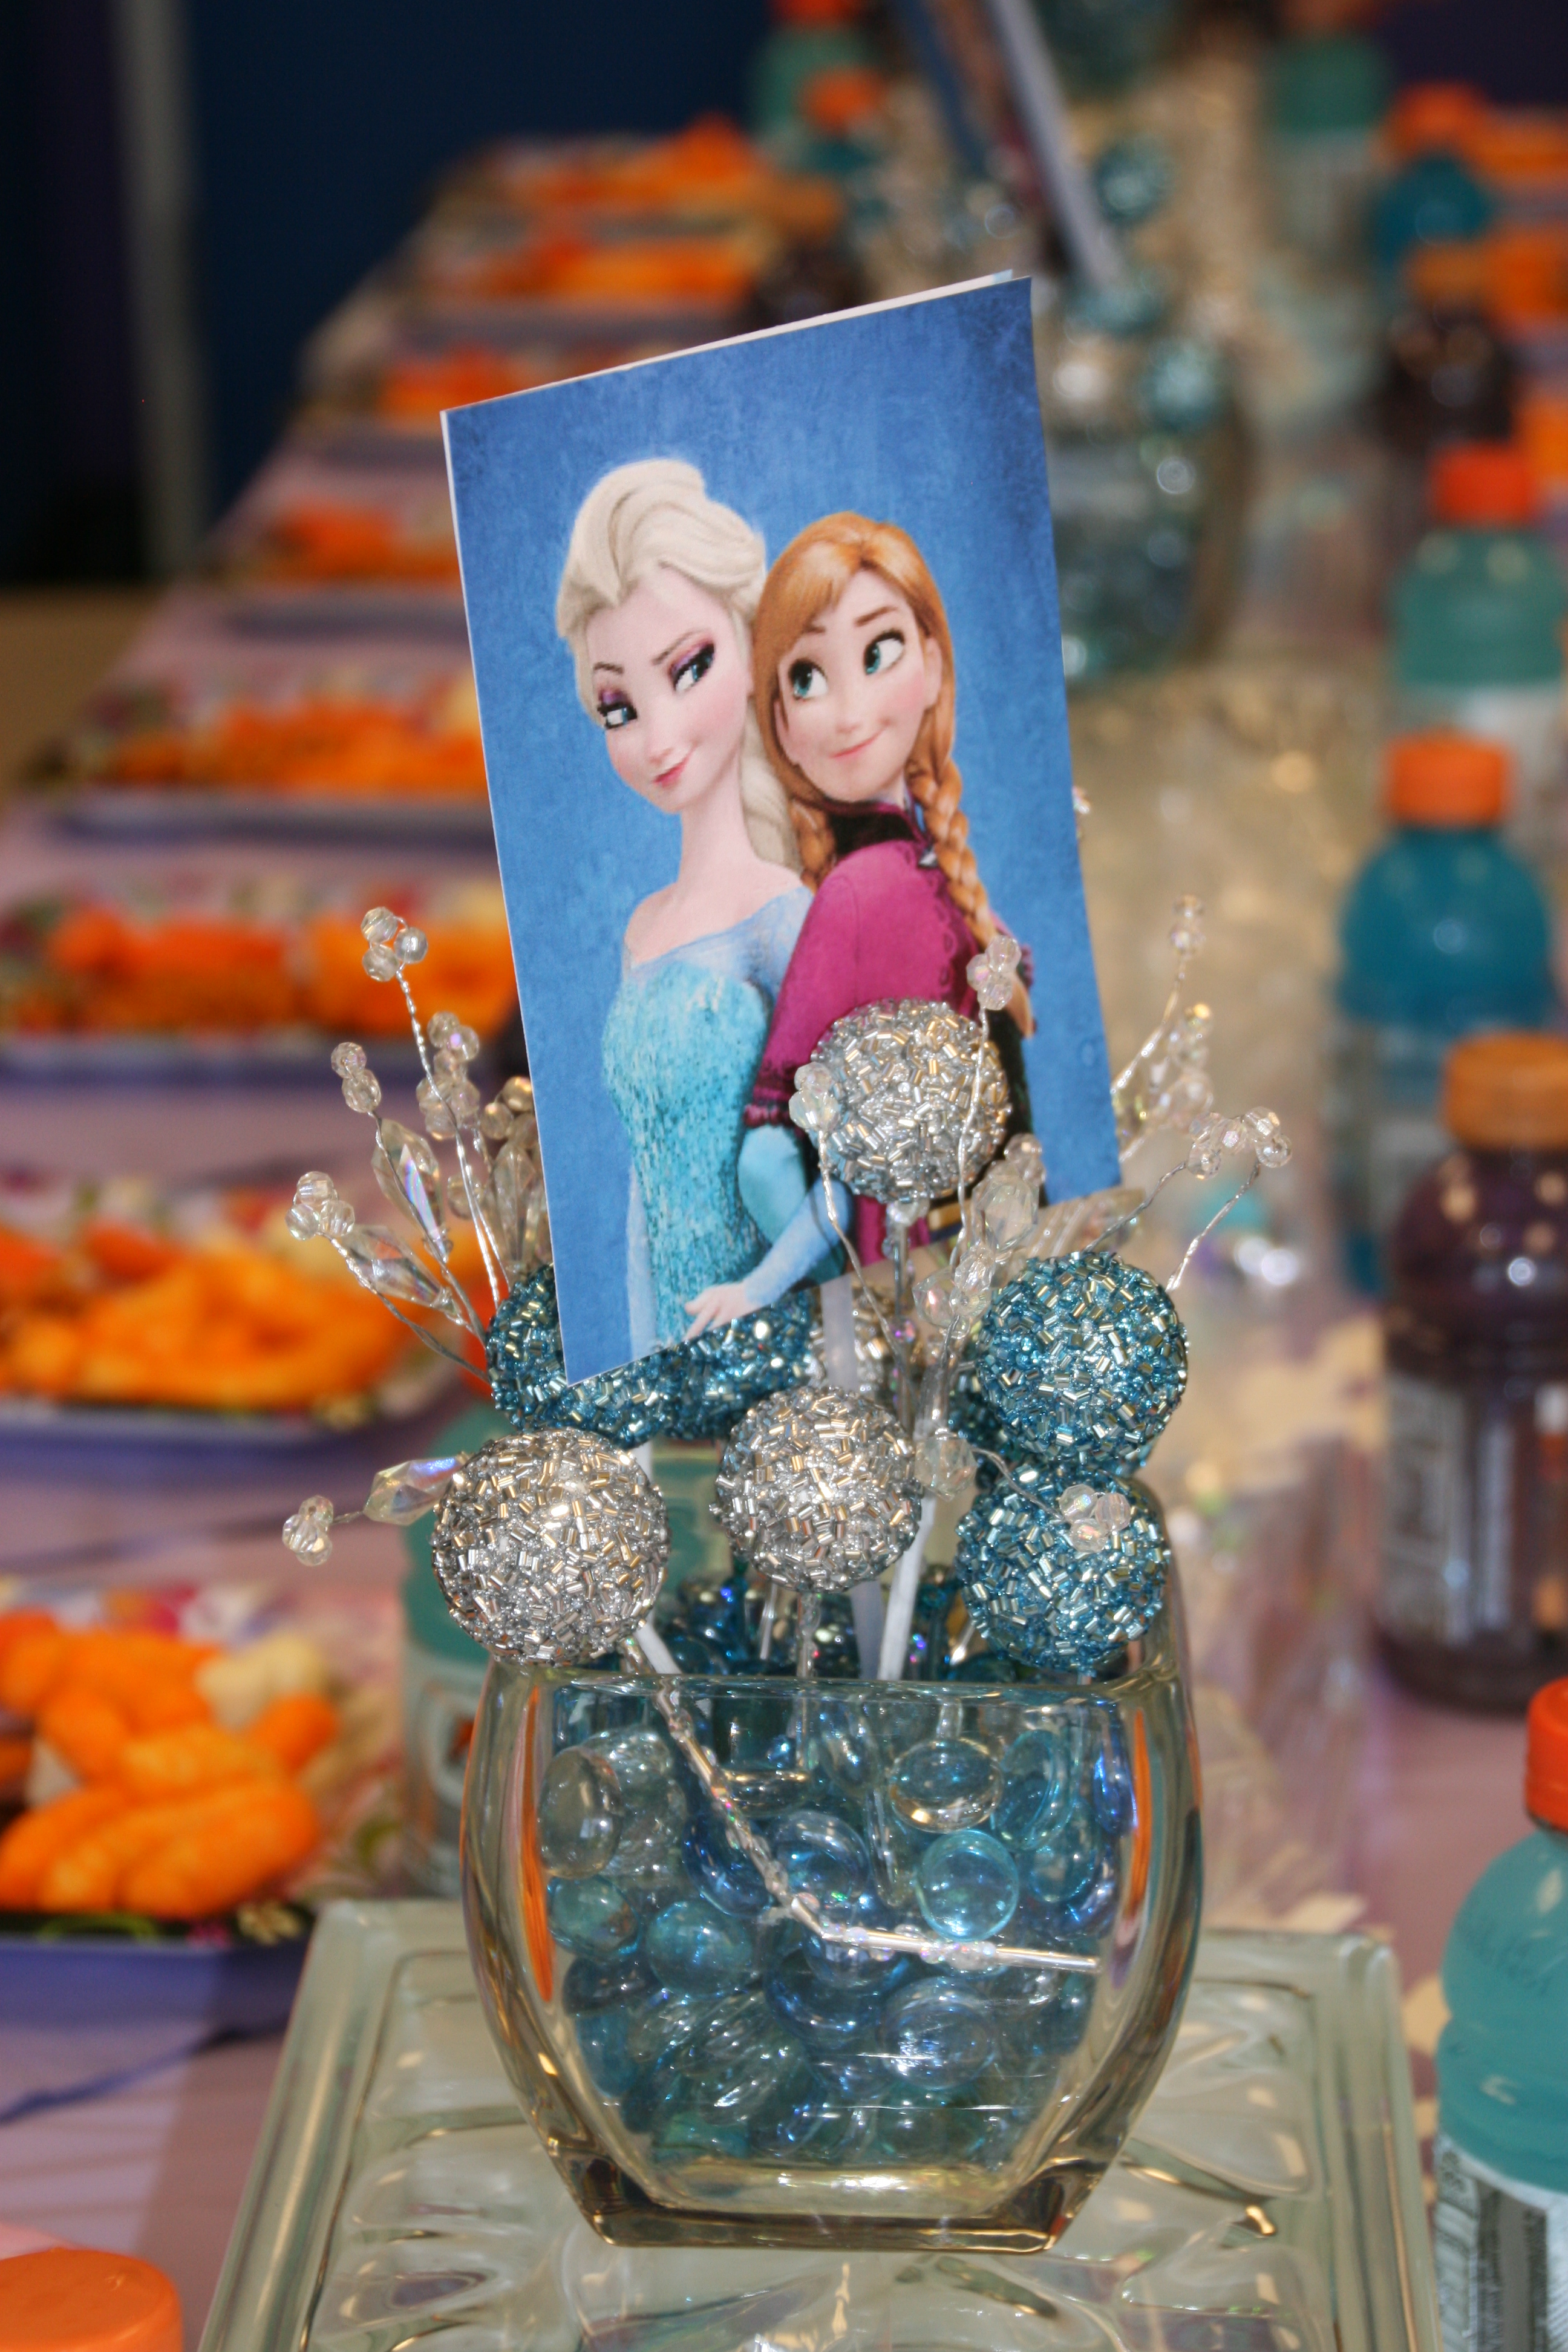
I bought glass beads at Dollar Tree and put them in square vases, topped with silver & blue beaded balls & picks that looked like ice from Hobby Lobby.  I placed the vases on top of glass blocks, which acted as risers.

049

I printed on white cardstock pictures of Elsa & Anna from the internet & glued them back to back with a glow stick in between.

043044

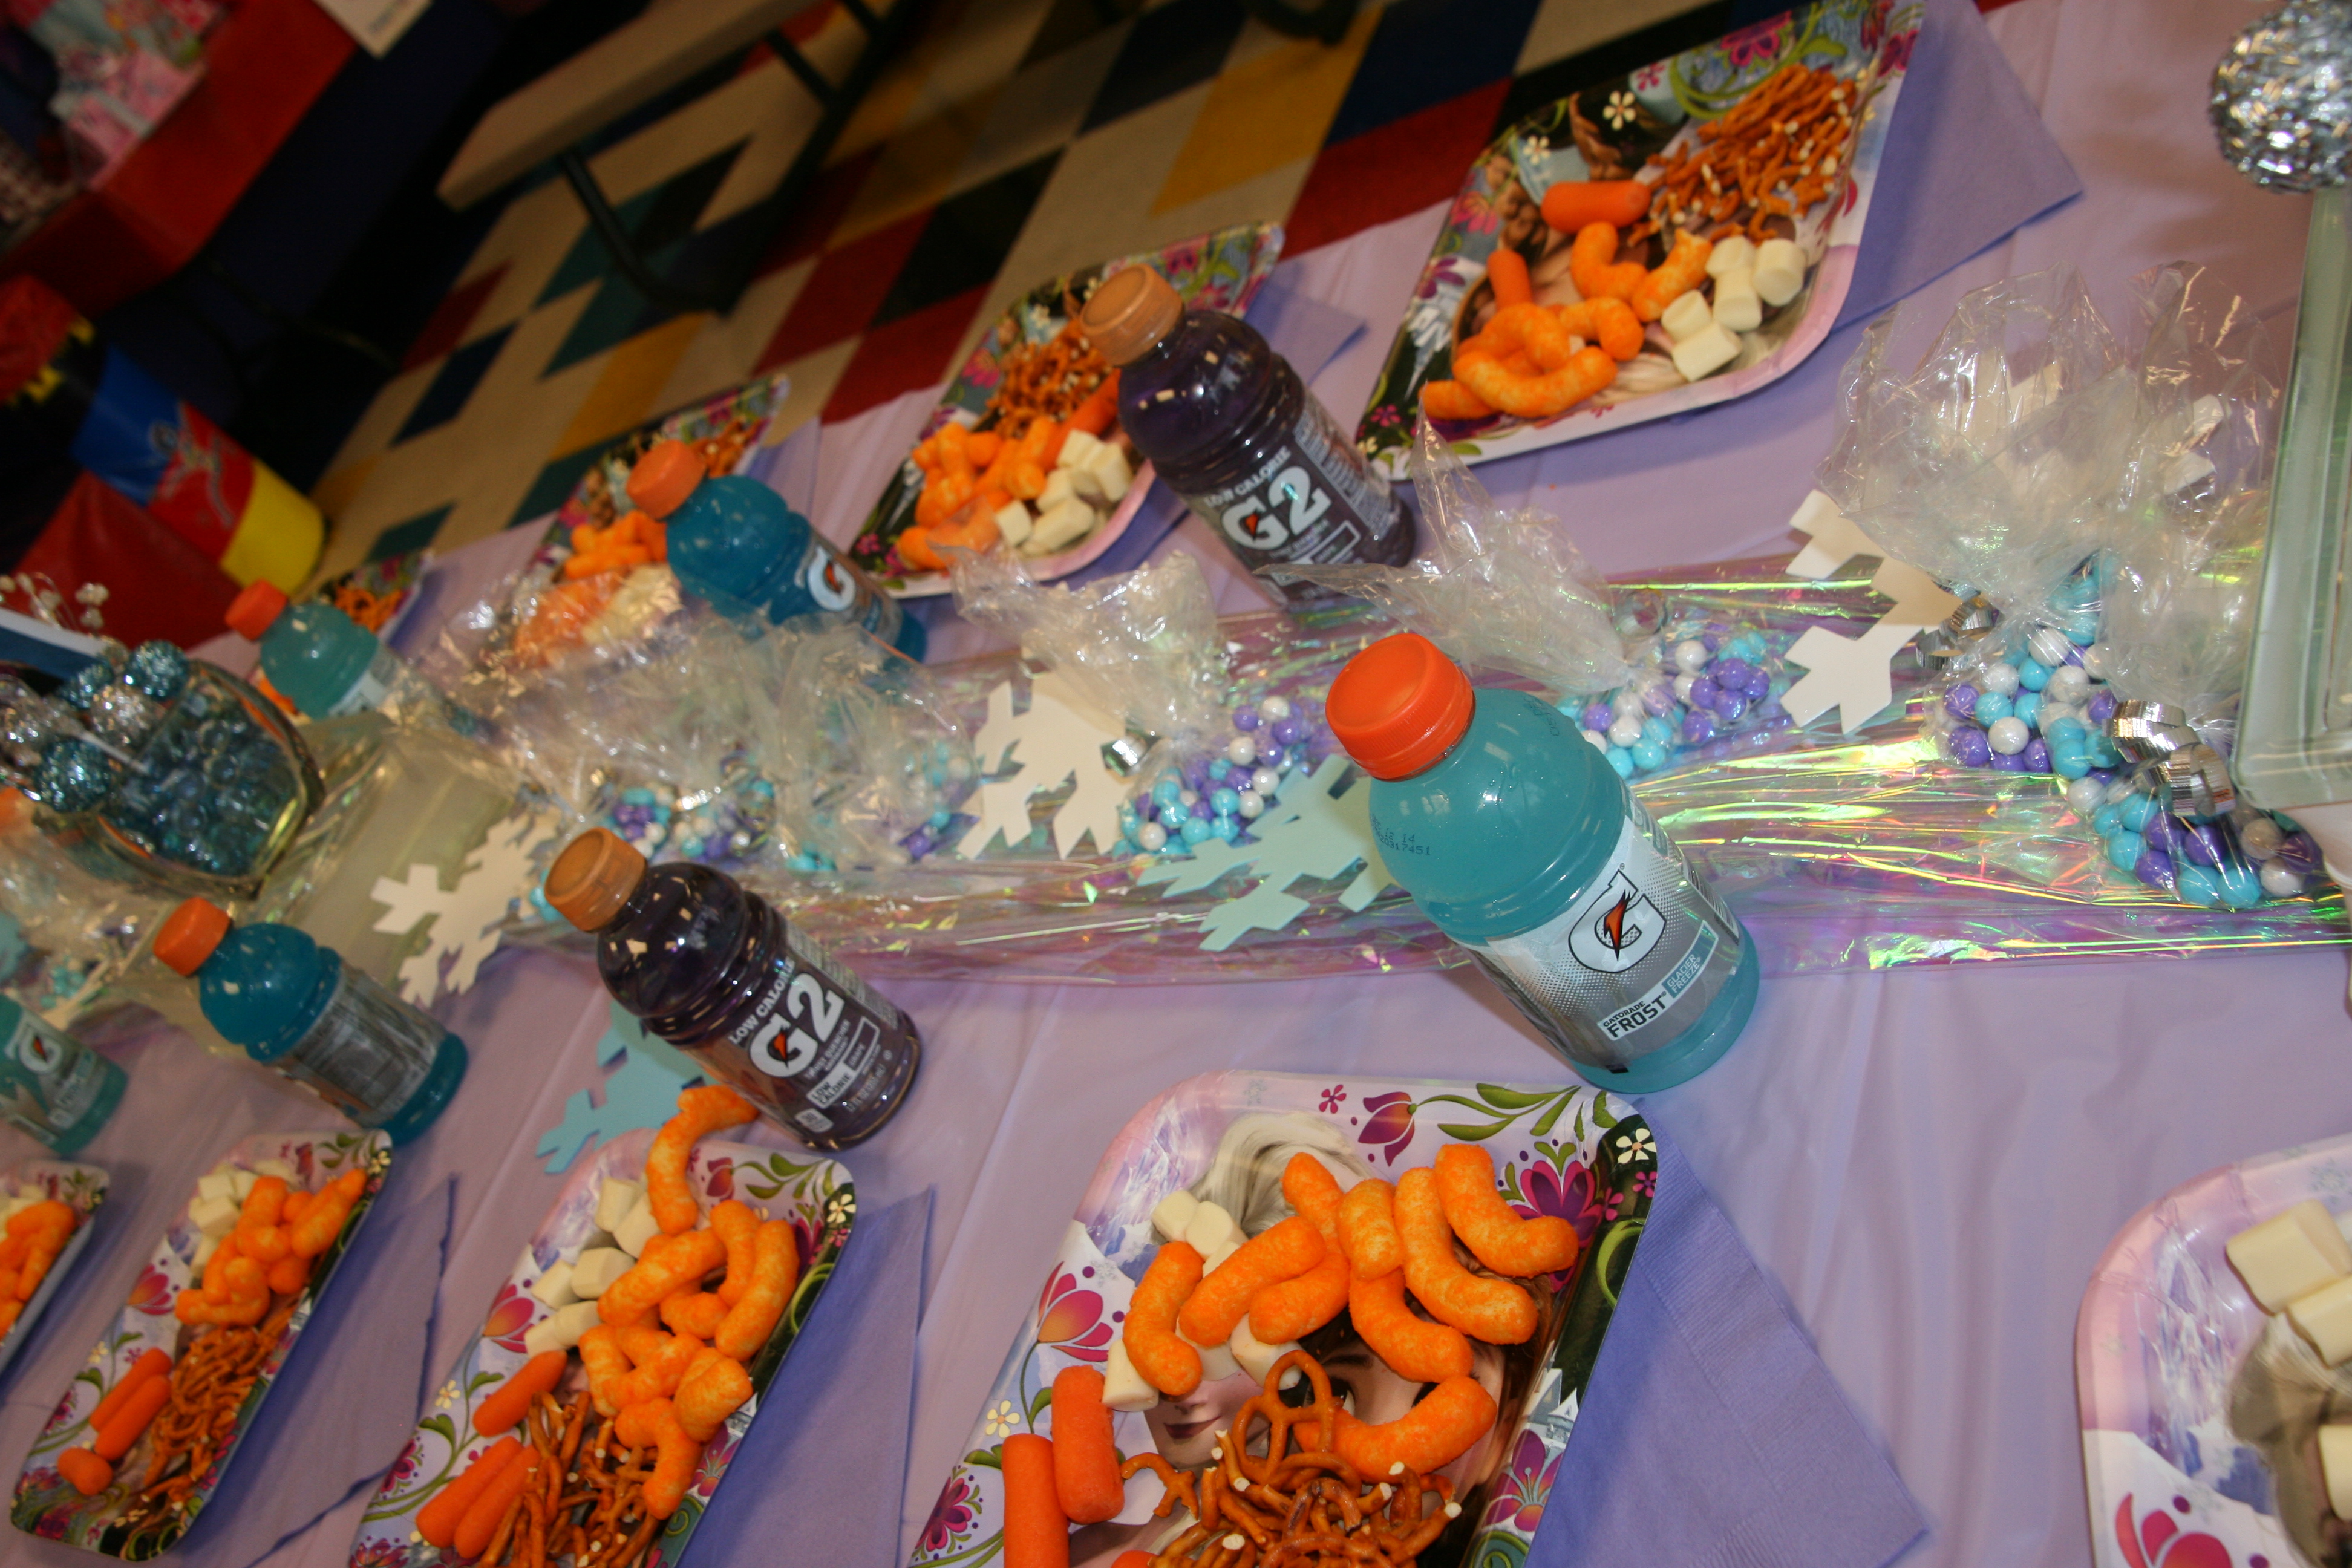
I ran iridescent cellophane down the center of the table, with purple & blue glow sticks underneath.  Different shades of blue & white foam snowflakes were placed on top of the cellophane.  I combined blue, purple, and white Sixlets candy balls in clear sandwich baggies, tied with silver curling ribbon, and scattered them with the snowflakes.

047  074

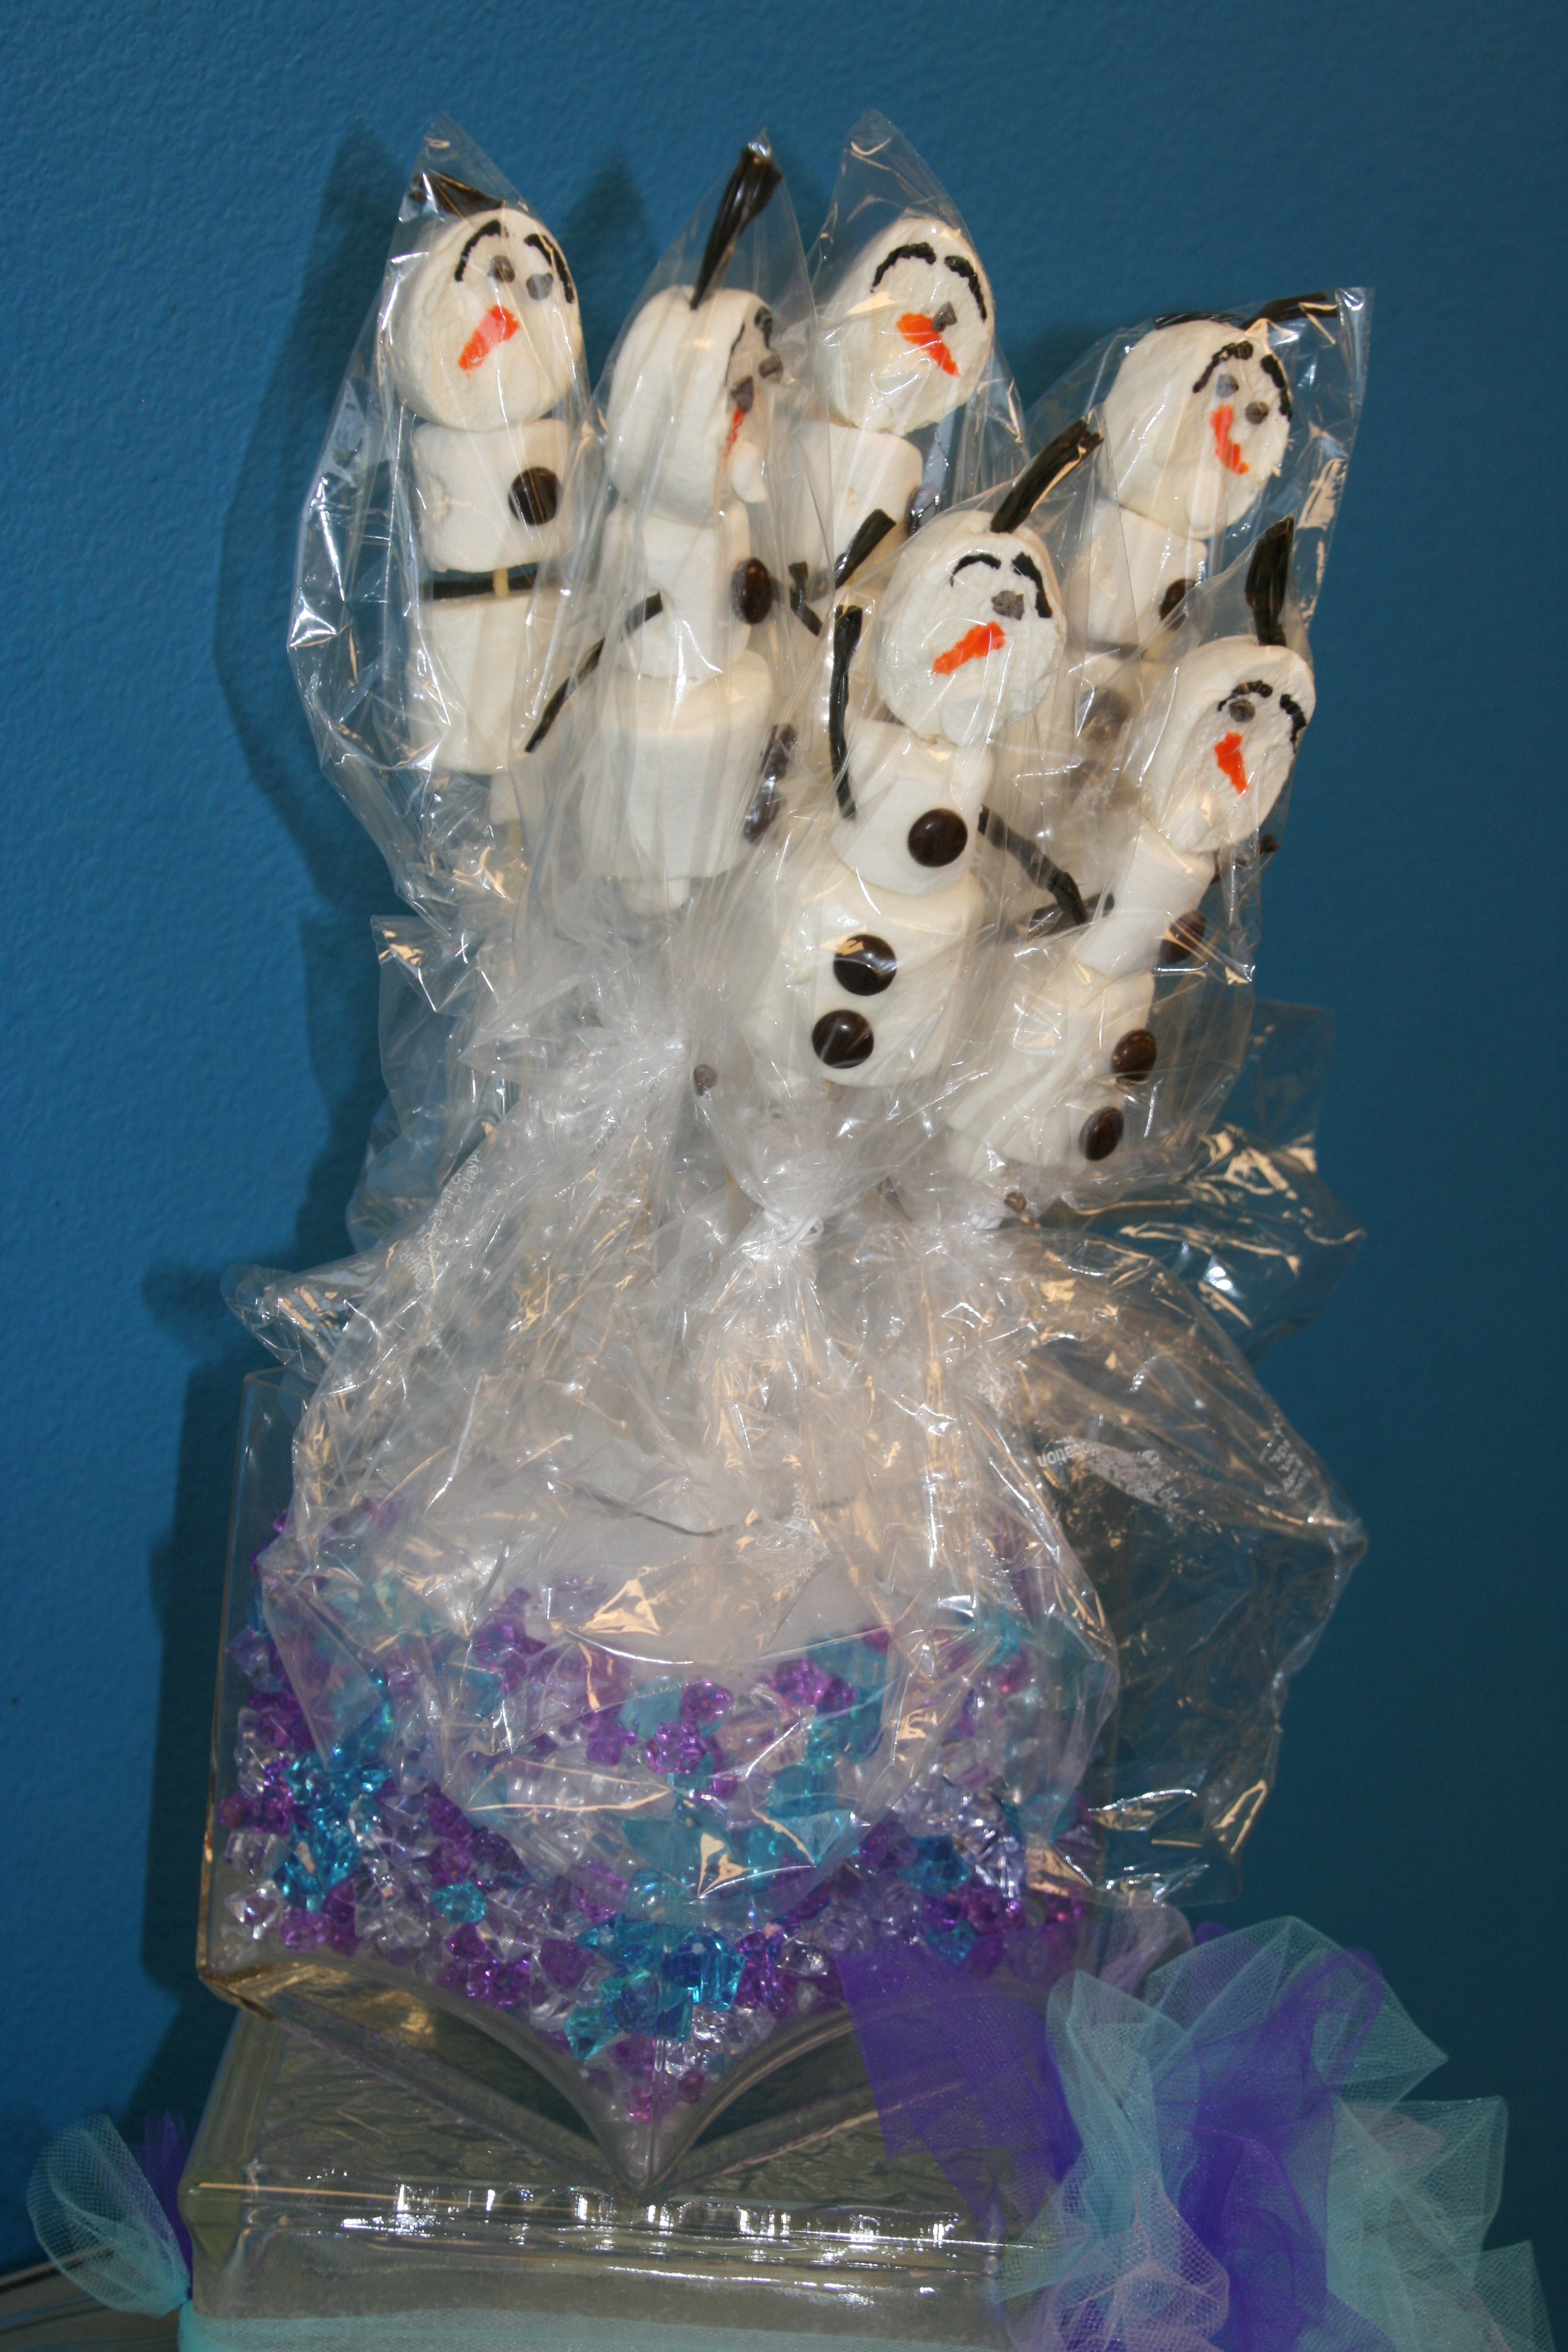
I made “Olaf” snowmen sticks, which I featured in a previous post on this blog.  I covered each stick with a clear plastic bag and stuck them in styrofoam cubes & flat pieces for decor.  These also were used as part of the party favors.

055

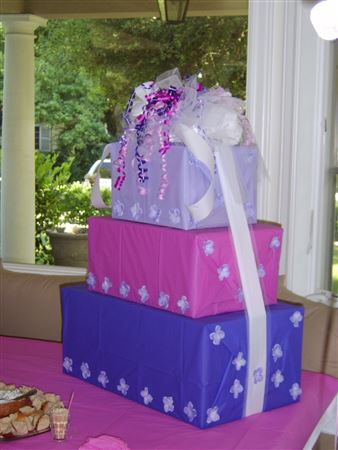
Party favor bags in varying shades of blue & white with “FROZEN” stickers, and snowflake name tags.

043 051

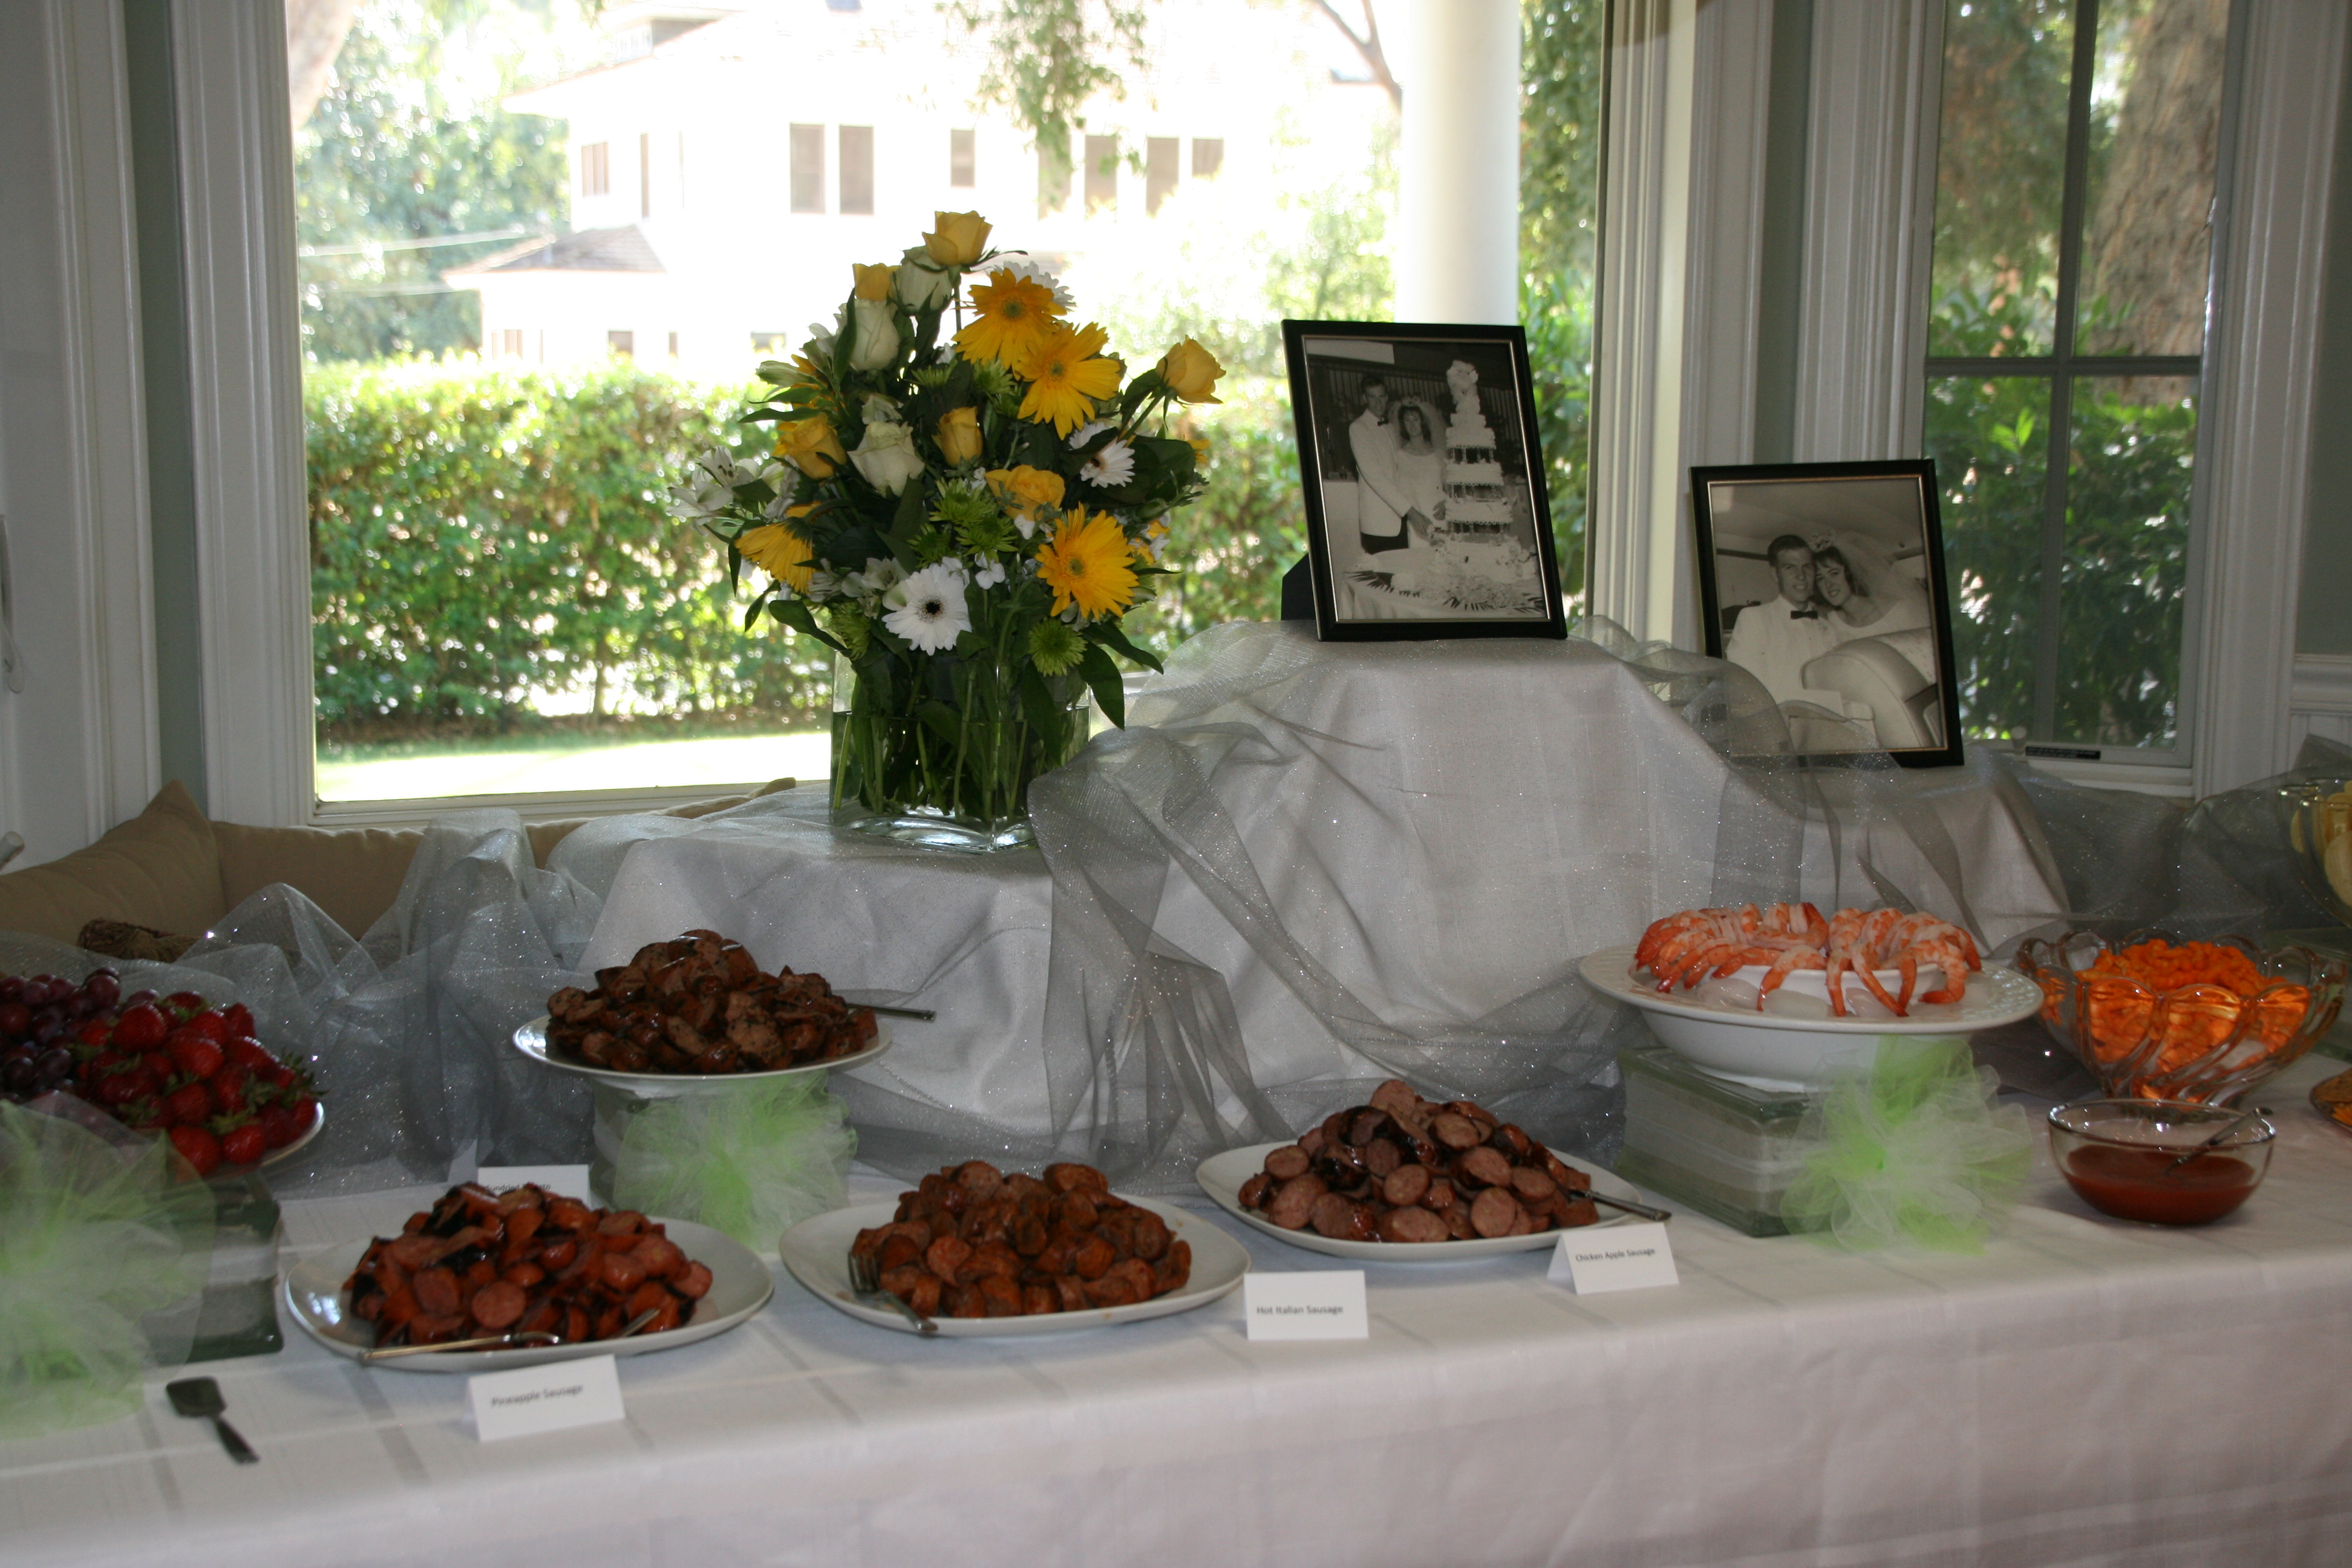
The snacks were carrots, Cheetos, cheese puffs, pretzels, and string cheese cut into cubes.  These were indicative of Olaf’s noses, ice blocks, and Sphen”s antlers.  The kids drank blue & purple Gatorade.

072 071

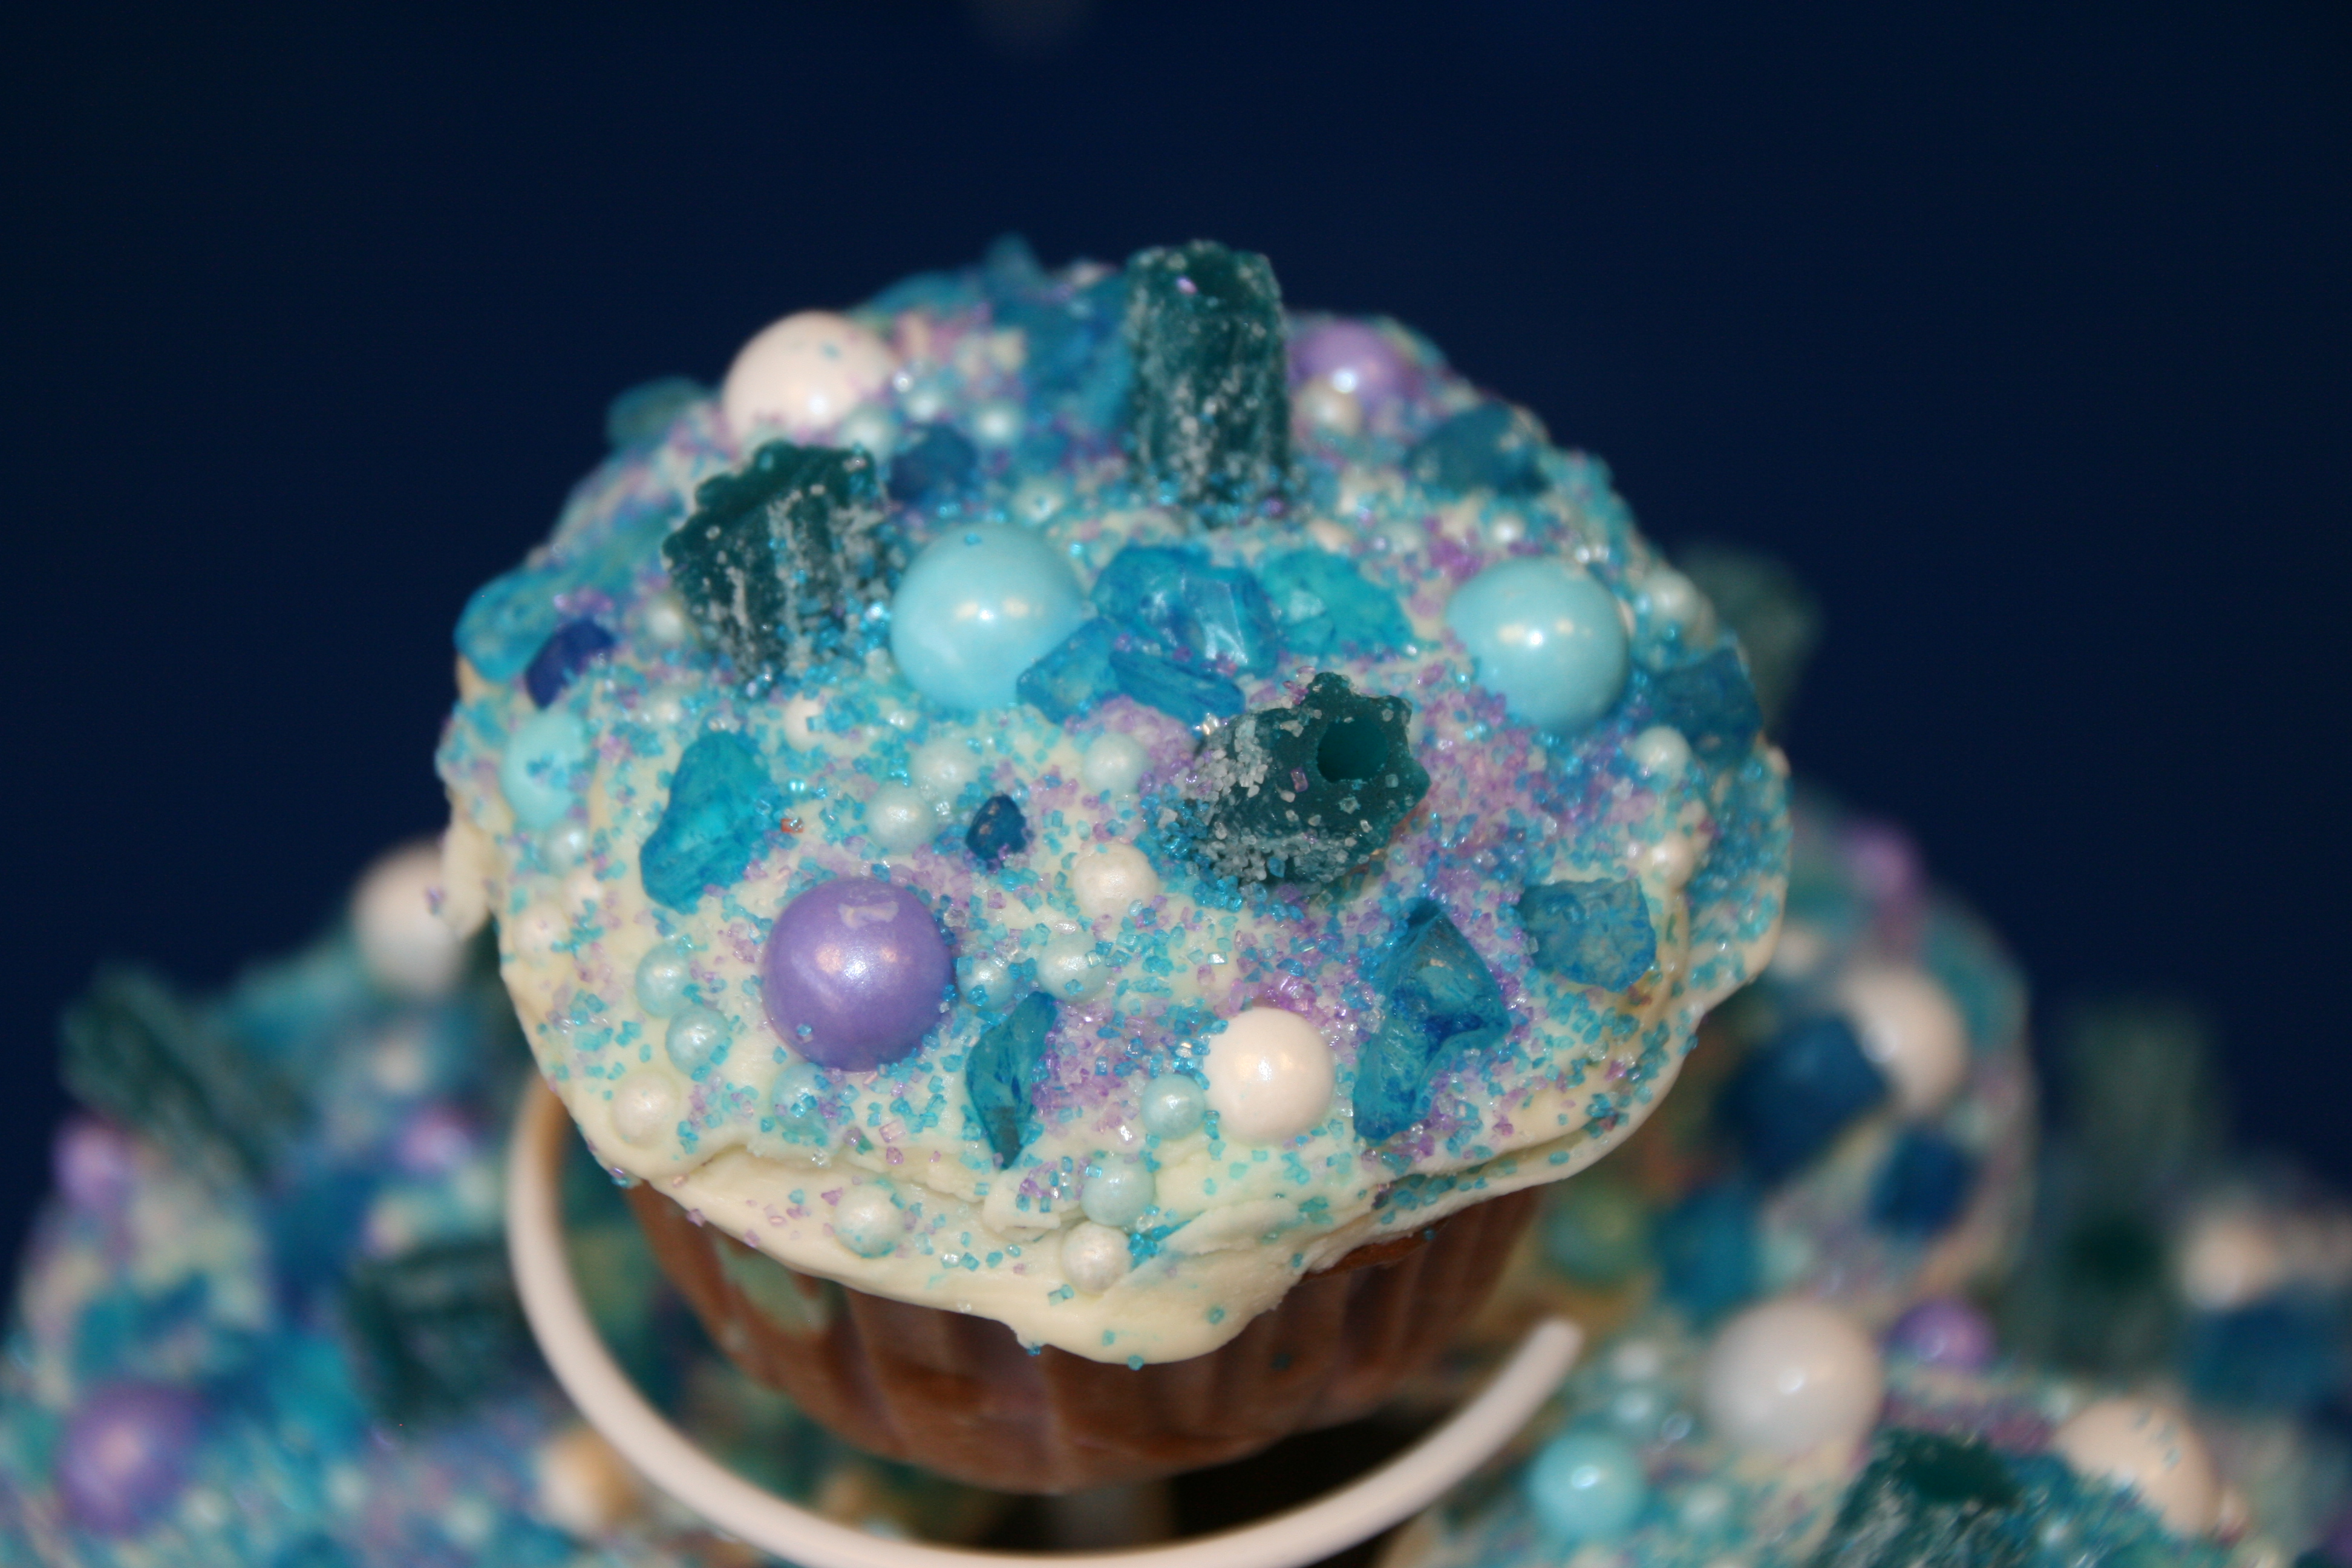
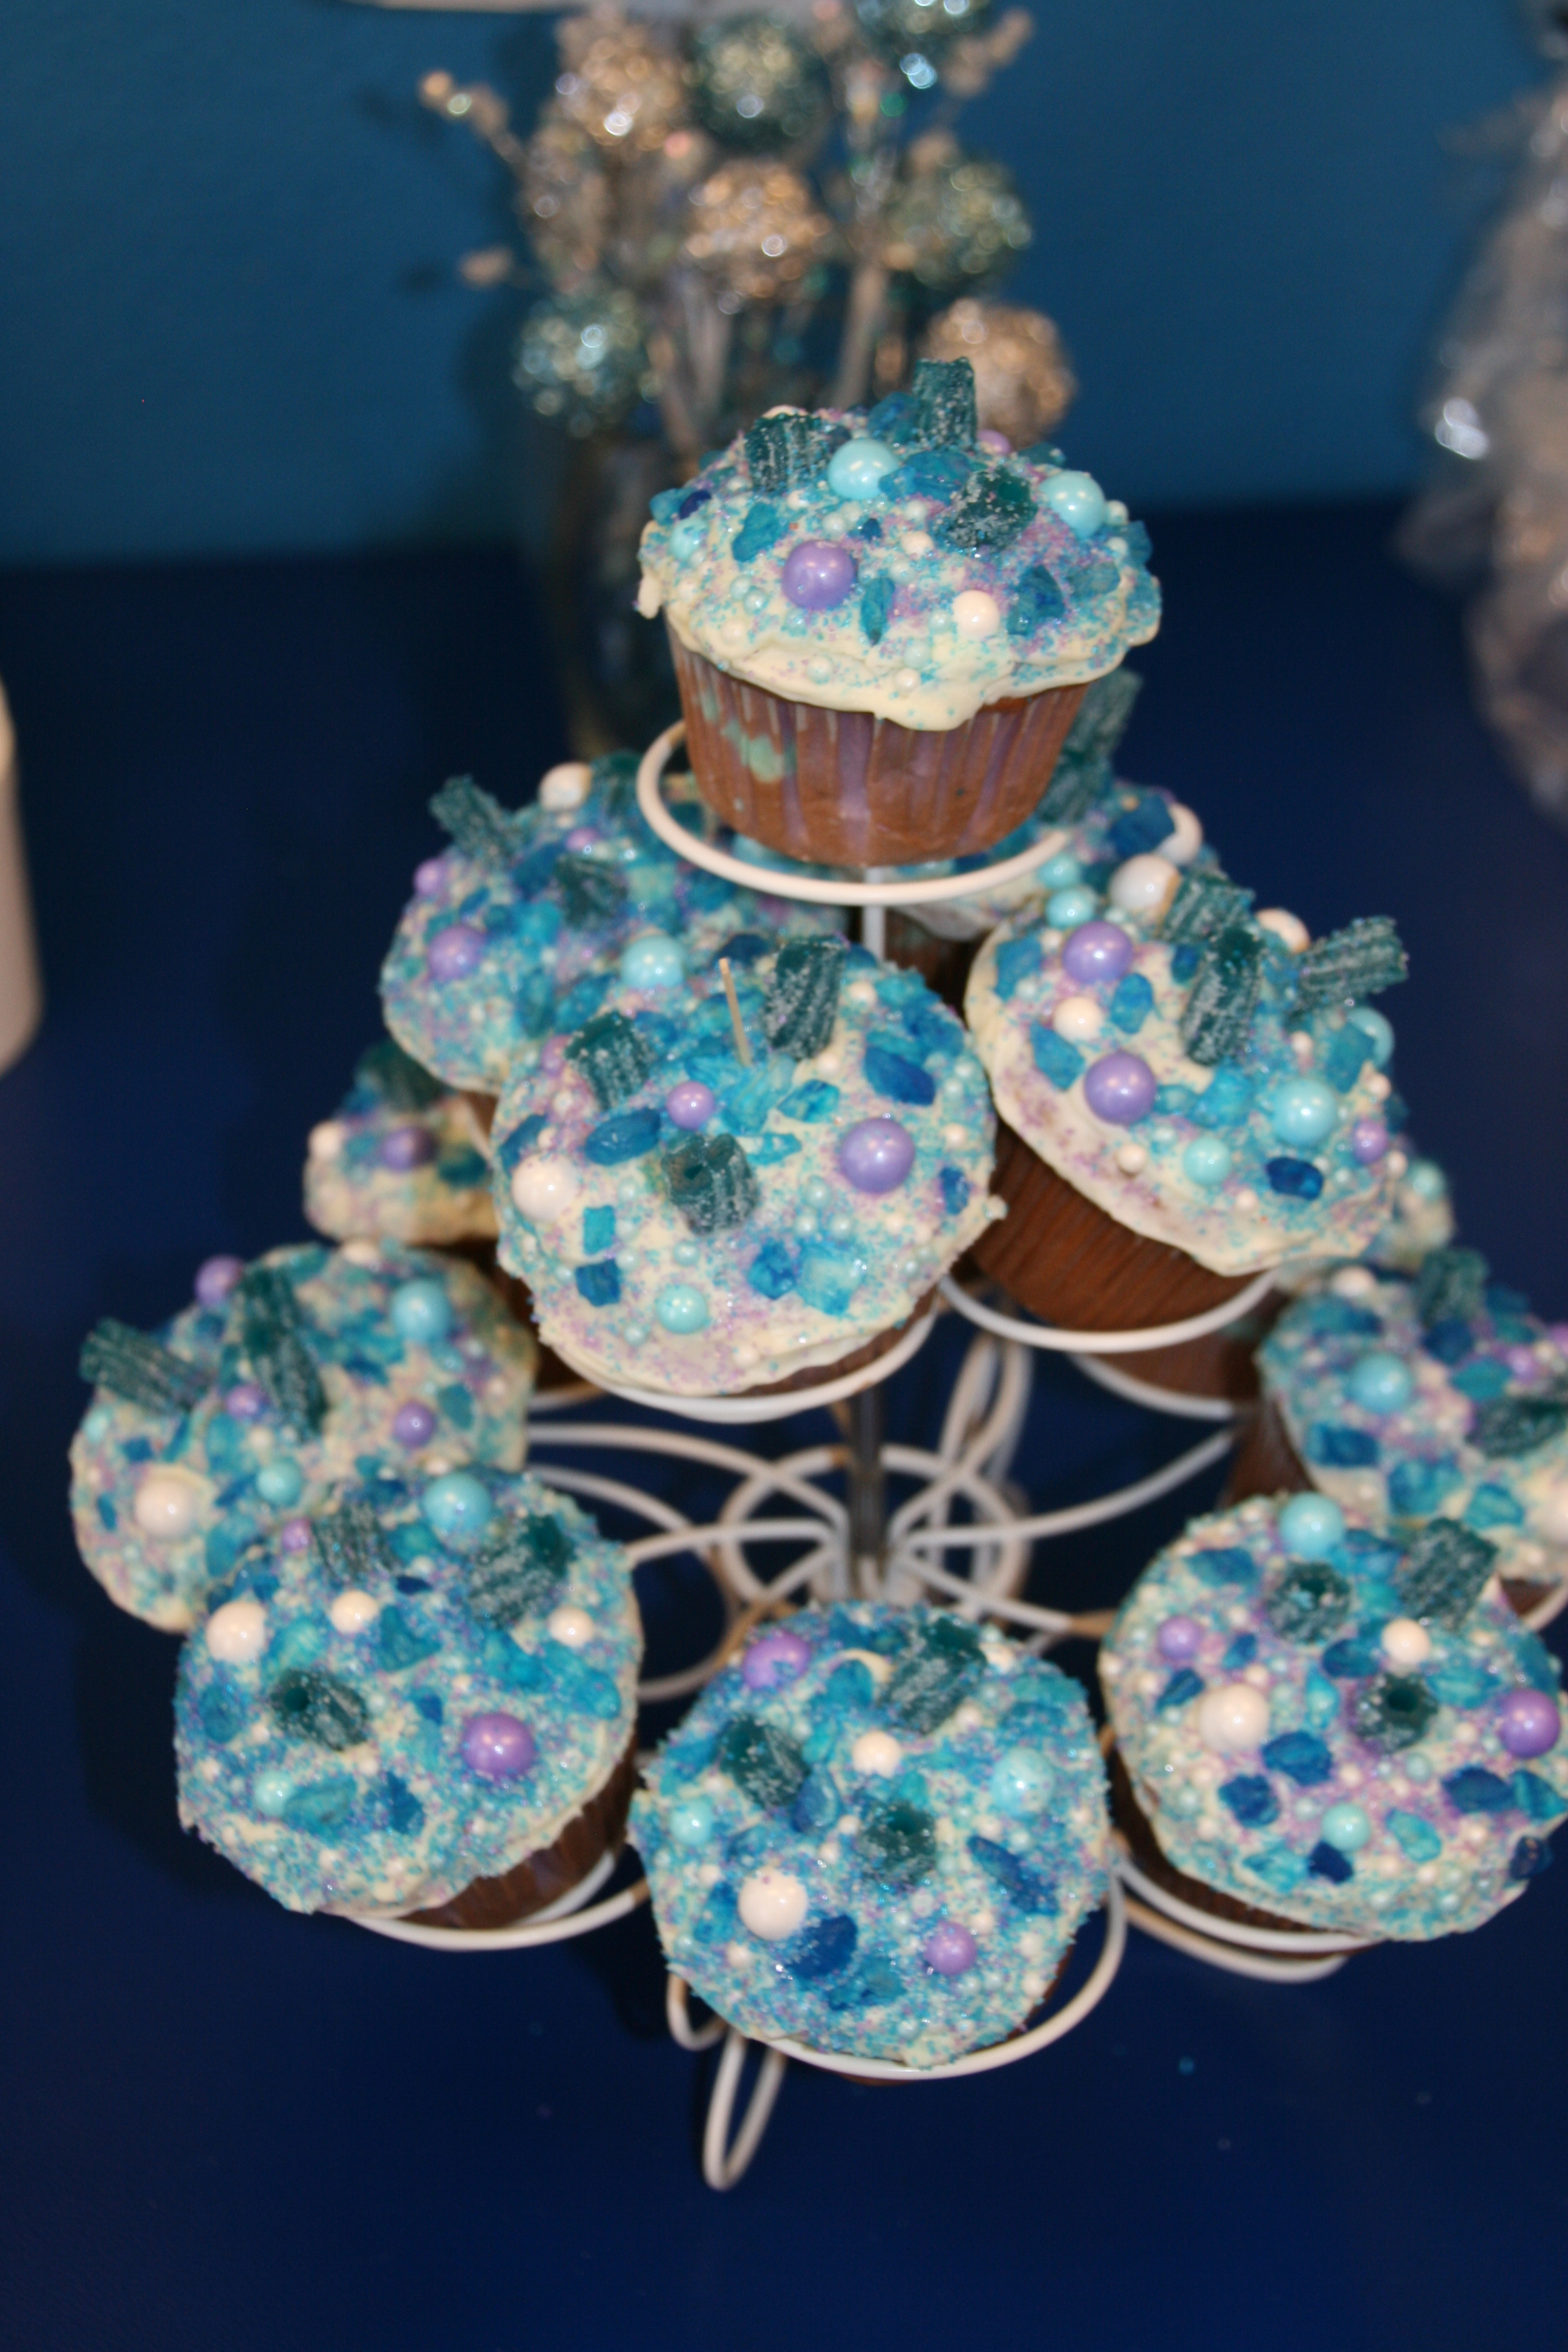
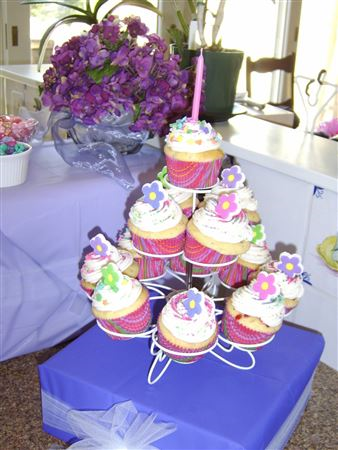
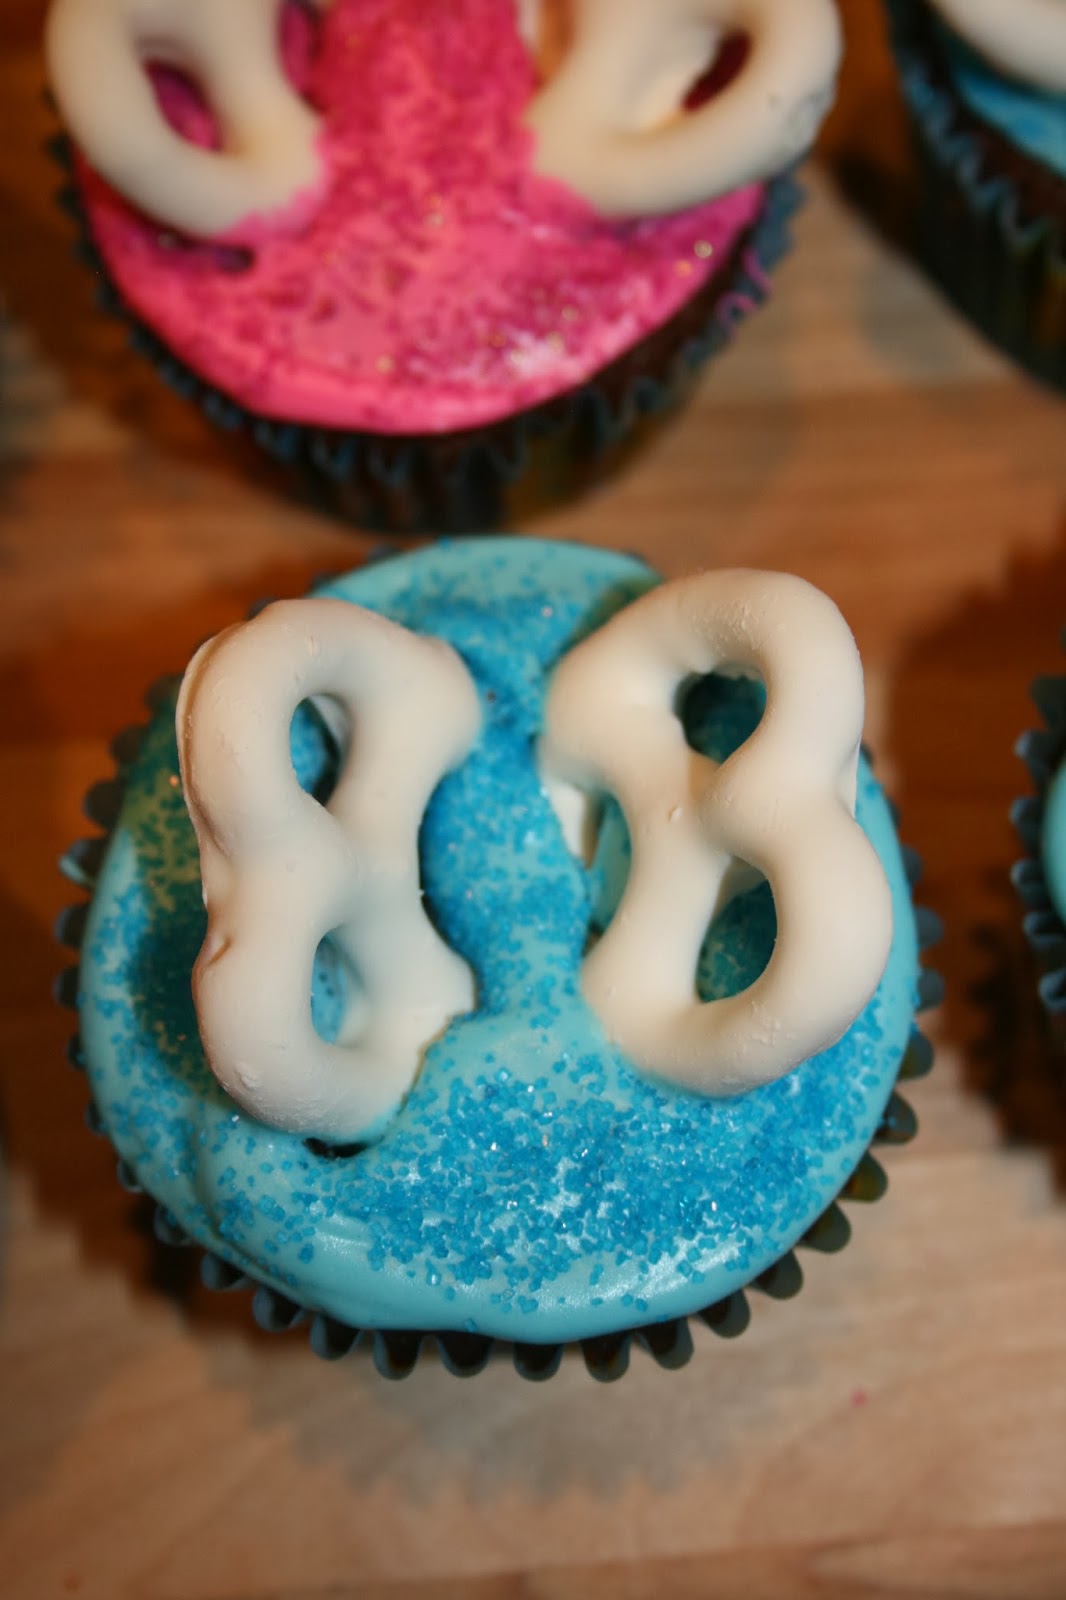
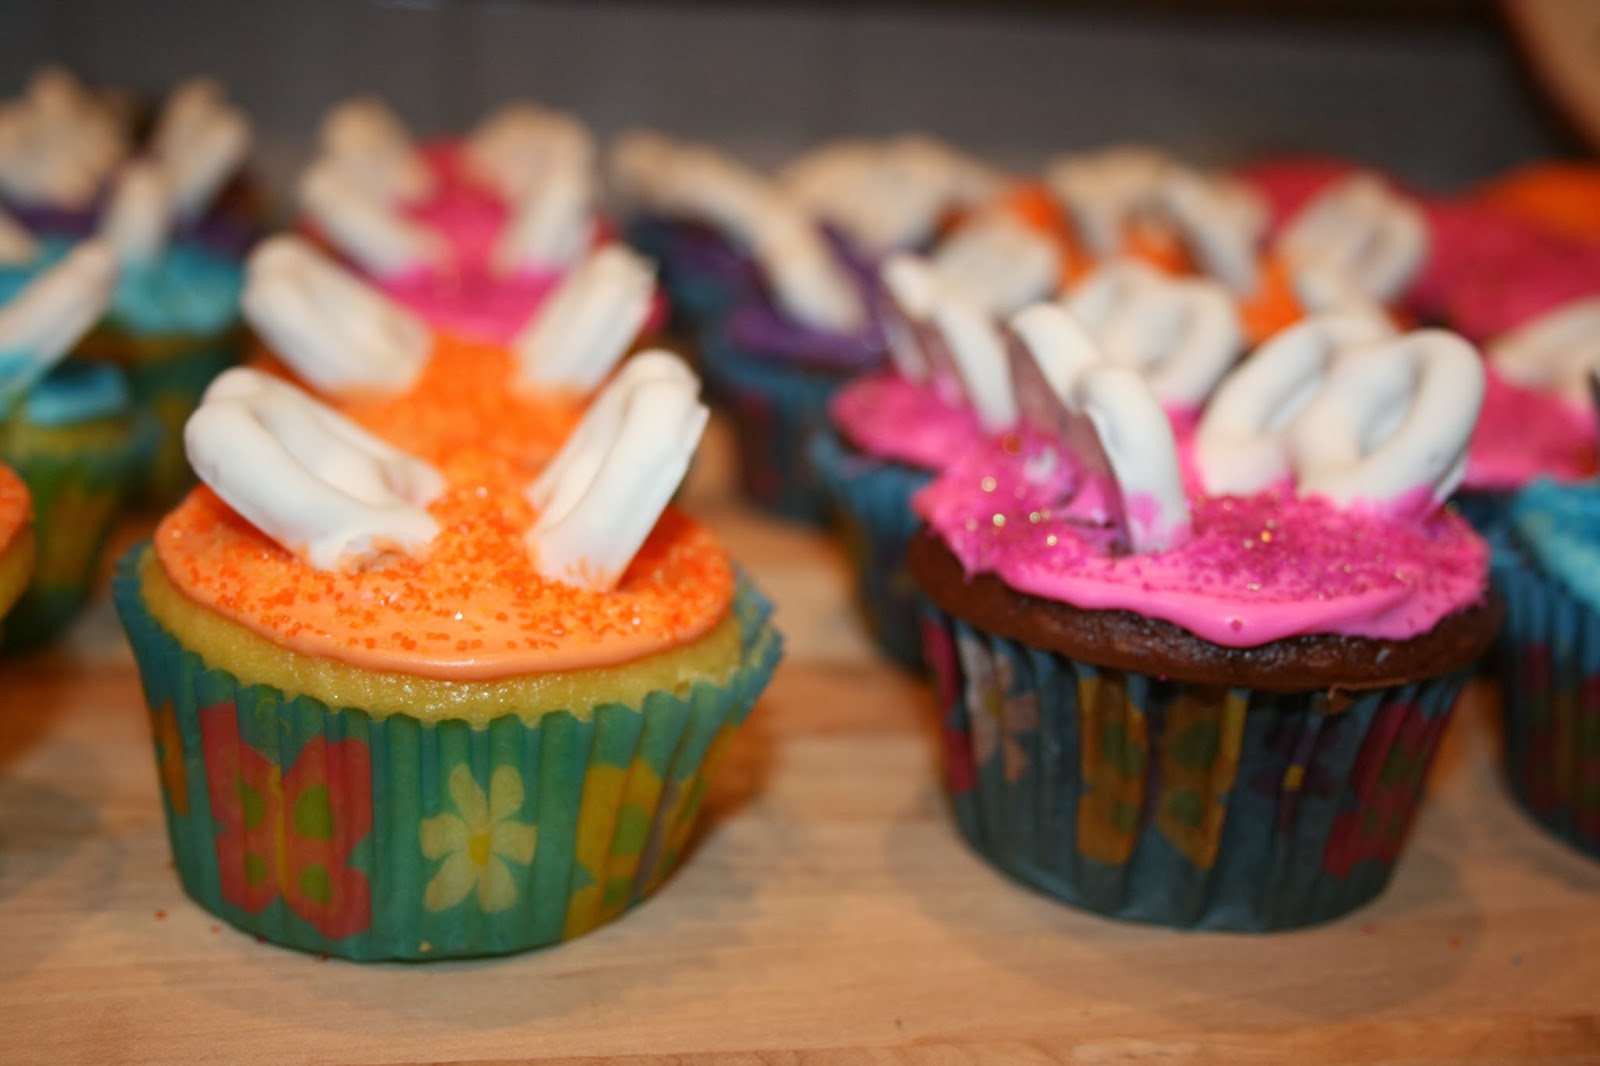
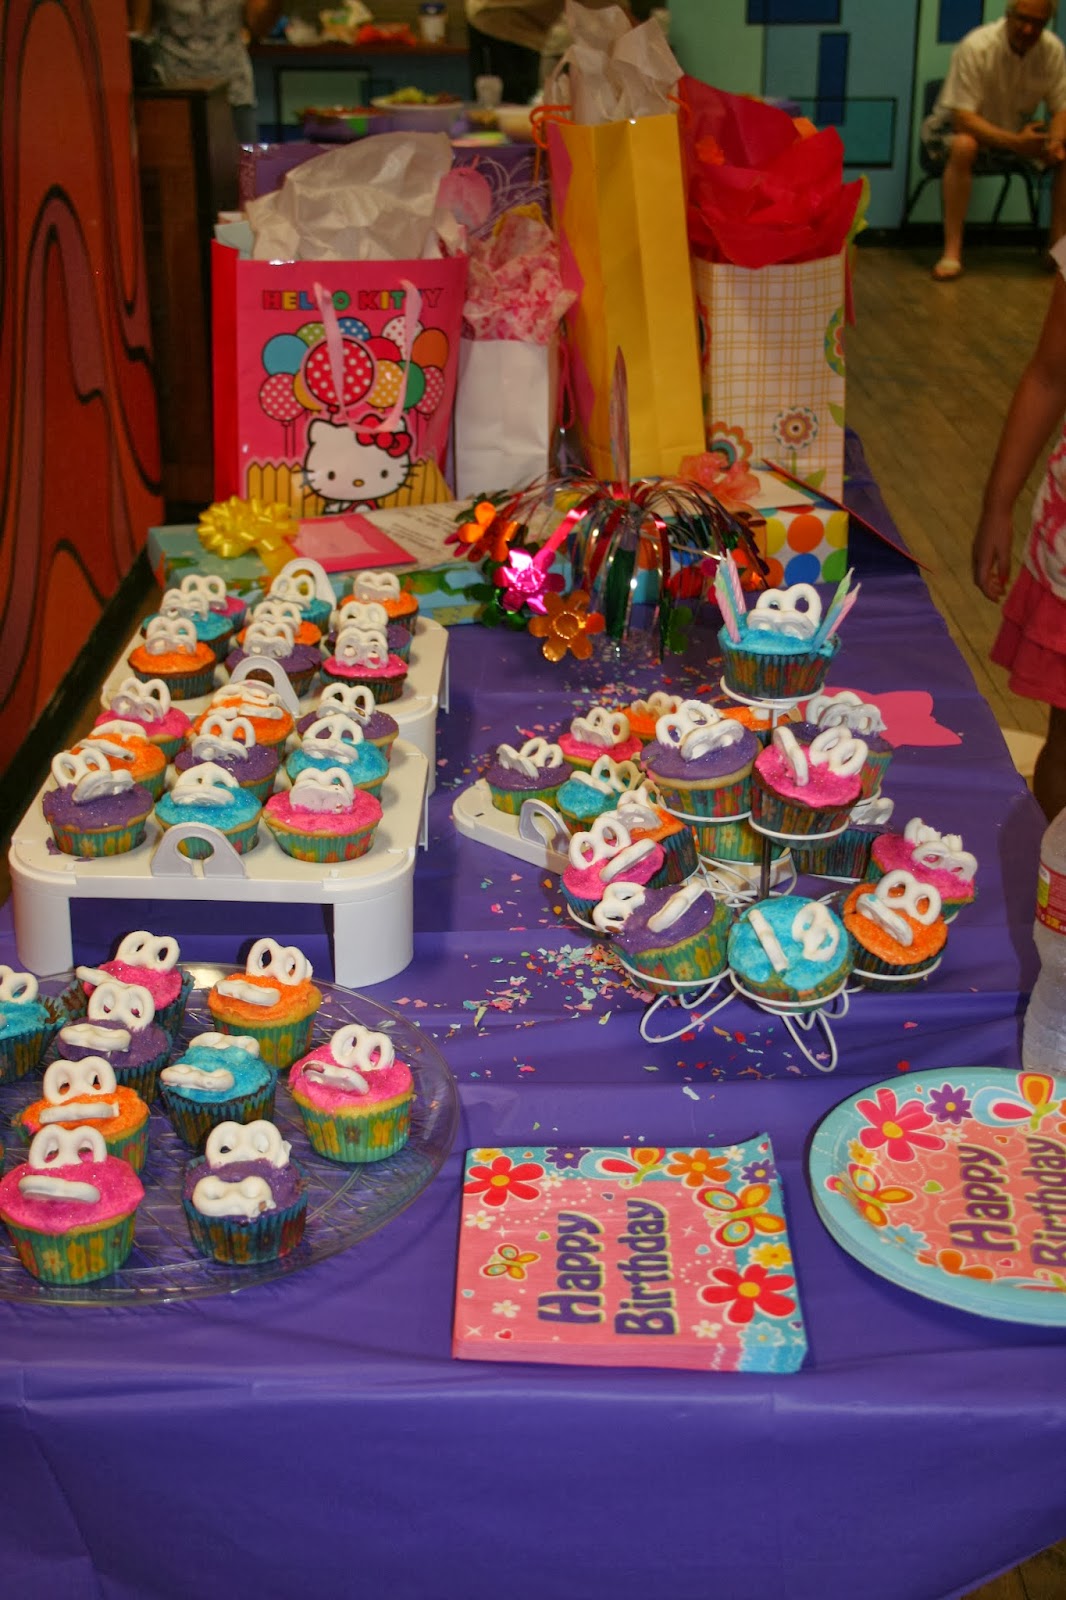
The cupcakes were blue & purple swirl.  I mixed food coloring into the cake batter.  I topped the cupcakes with vanilla frosting and a variety of candies to make them look like ice.  Candies included cut sour blue licorice, Sixlets, small blue & white pearls, rock candy topping, and blue & purple sprinkles.

048

It was a “FROZEN” fantastic time!

Happy birthday party planning…

“Wonder what I will come up with next”…

“Royal Ball” birthday party

The year my daughter turned 3, she wanted to have a “Royal Ball” princess birthday party.  OF COURSE, I was totally excited about planning this “Gala” event!!!  I sent out invitations inviting all princesses & princes to wear their best royal attire, and started thinking of all the grand ways I could decorate for the party.

IMG_3440IMG_3444

I started by draping pink sparkle fabric and pink tulle from the landing.  I added white Christmas lights behind the pink tulle and hung a sage green candle chandelier.  This made a “Grand” entrance to the “Royal Ball”.

IMG_3441IMG_3442

I hung pink & purple tulle anywhere and everywhere to accent, with hanging pink, purple, & blue sparkle paper stars.

IMG_3445 IMG_3443

  I made cupcakes in an ice cream cone shaped silicon pan.  I turned the cupcakes upside down and frosted them to look like “turrets” on a castle. I even included a flag on a toothpick as a topper…sorry, no pictures.  We ate them all before I could get the pictures taken. Ha-Ha-Ha!

It was simple to create the special atmosphere.  Anyone could do it!

Happy royalty…

“Wonder what I will come up with next”…

Using wrapped boxes as party decorations

When my daughter turned 1, I wanted to have simple but colorful decorations at her birthday party.  I wrapped boxes in plastic table cloths and added bows.  I used silk flowers with straight pins to add some fanciness to the boxes.  The boxes sat on the table with all of the food.  They added great color to the table and made a nice photo back drop, as well.

untitledimgsvrCAL7FPX3

I used another wrapped box as the stand for the cupcake display.  Notice the simple tulle bow…

1

Happy decorating…

“Wonder what I will come up with next”…

Rainbow Birthday Party…

My daughter wanted a “Unicorn Rainbow” birthday party.  I found plates & napkins online at Oriental Trading, but there weren’t a lot of other decorations available.  I decided to use streamers and made my own rainbows.  I used white tissue paper to create fluffy clouds.

IMG_8890

I bought goody bags in rainbow colors and displayed them…

IMG_8889

I bought a cake at Costco to top off the rainbow theme.

IMG_8894

A very simple and inexpensive way to create a “Rainbow” party.

Happy partying…

“Wonder what I will come up with next”…