Tick Tock, It’s a Clock Retirement Party…

We had a retirement party for my father-in-law last year and I kept struggling with what theme to use for the party.  I didn’t want the typical “retirement” type party.  I felt he deserved something more personal than that and I wanted the party to have a more masculine feel.  He had spent 50 years in the classroom as a teacher, both at the high school and university levels, and deserved to be celebrated in an extra special way.

Why a clock themed retirement party you may ask?  Think about it…when you are retired, time is irrelevant.  You no longer need to wake at a certain time, or be at work at a certain time.  You can spend your days at leisure and it doesn’t matter what time it is!  I had a blast planning this party!  The only problem is that now I can’t wait to retire!

031

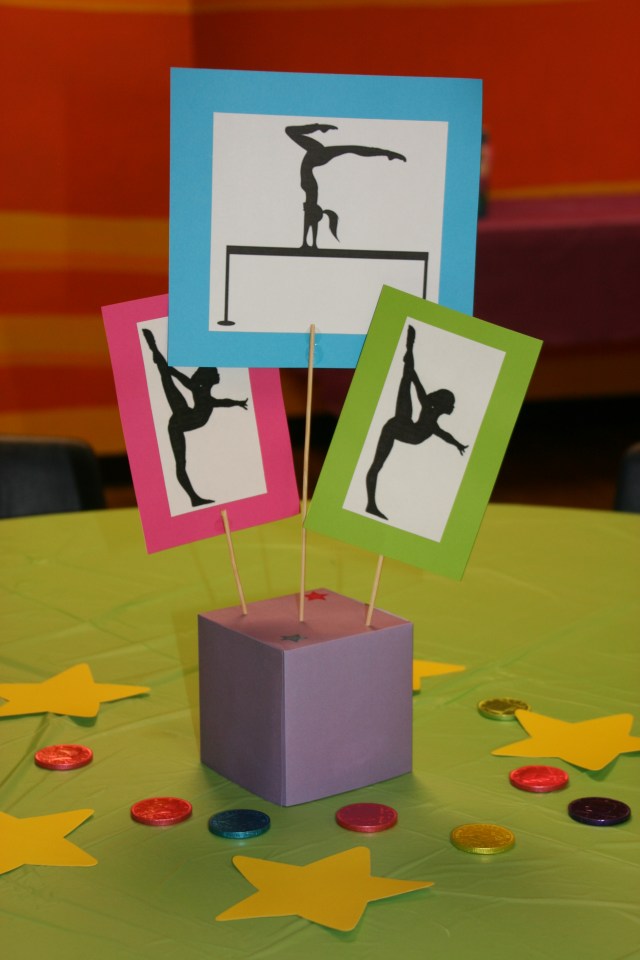
I created simple centerpieces with clocks that I printed from the internet.  I glued them back to back with a bamboo skewer in the middle and placed them in some simple low vases with green styrofoam and green basket filler on top.  It was festive, but had a masculine flare.

030

I decorated cupcakes to look like simple clocks…

I printed signs that read “Time is Irrelevant”, “Time does not matter”, and “Time is on Lew’s side” and placed them in Dollar Tree picture frames.  I had them scattered throughout the party.  My mother-in-law had a collection of antique clocks that I borrowed for the party and strategically placed them as decorations.

034

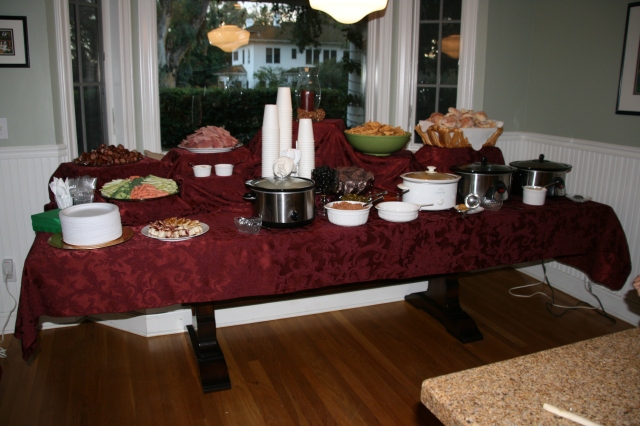
I also asked my father-in-law to bring anything of significance from his teaching career, and I put them on display.

022

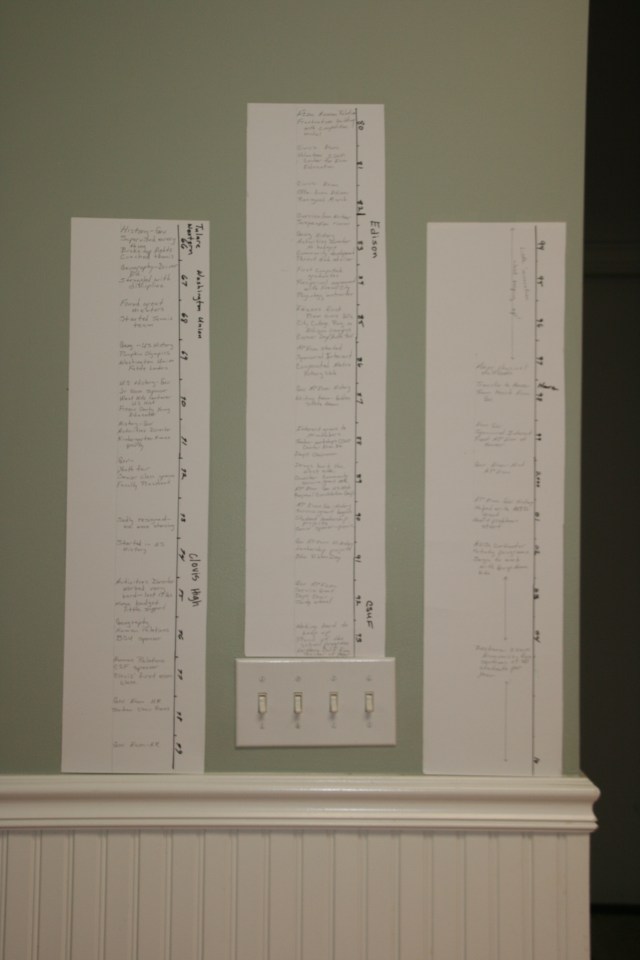
In my opinion, the most amazing attraction at the party was a timeline that my father-in-law created of his 50 years of teaching.  It was unbelievable to read about his entire career!  I hung it on the wall for all of the guests to view.

035

The party was a success!  My father-in-law is enjoying his retirement and truly doesn’t care what time it is!

Happy Retirement Lew!

“Wonder what I will come up with next”…

How to create different heights on your table display…

051-5

Whenever we have a large party, it is always a challenge to fit all of the food on the table.  I usually create different levels using boxes, which allows me to optimize the table space.

img_20161203_125756328_hdr

I first cover the table with a table cloth.  Then, I set up boxes to create the heights that I want.  Make sure to use sturdy boxes so they don’t cave in when you place platters full of food on them.

img_20161203_130356894

Cover the boxes with another table cloth that is the same as the flat table cloth.  Tuck under the edges and smooth it out onto the tops of the boxes.

Your table is ready for food!

051-5

Happy Celebrating!

“Wonder what I will come up with next”…

Gymnastics Birthday Party

053

Birthday parties are one of my favorite things to plan!!!  I think that I get more excited about them than my daughters.  This party was a gymnastics themed party held at a facility where the girls could take a gymnastics class.  I created a backdrop using a plastic table cloth taped to the wall.  Streamers & balloons with drop stars gave it the perfect touch.  I created the pennant banners with triangle shaped cardstock, ribbon and large letter stickers

Party favors included medals and water bottles.  I purchased both at The Dollar Tree.  The medals had red, white, & blue ribbons, which I switched out for the theme colors.  I used triangle shaped paper and glued on a printed gymnastics pose, stars and ribbon for the water bottle tags.

039

On the tables, I created these simple centerpieces.  I folded a 12×12 piece of scrapbook paper to create a 5 sided box and covered a styrofoam cube.  I downloaded from the internet pictures of gymnastics poses and attached them to cardstock and skewers.  A few scattered stars and medal candy for the finishing touches.

Cupcakes adorned with trophies I purchased at The Dollar Tree turned out so cute!  I topped the trophies with large marshmellows, gel & sixlets.  They were almost too cute to eat!

053

The decorations were simple but very festive.  The girls had a great time.  I can’t wait for the next birthday party to plan!

Happy birthday!

“Wonder what I will come up with next”…

“Candyland” Party Decorations

Oh my!  This event gave me the best “Candyland Dreams”!!!  I created decorations for my daughters carnival and had the time of my life!!

Let’s start with the “GRAND” entrance…

005x

007x

There is so much going on here that it will take me a few minutes to describe all I did.  The arch was created from pool noodles and pvc pipe.  I then used duct tape to attach the “Candyland” letters that I cut out of hot pink poster board and striped with masking tape.

I created “Lollipops” with paper plates, bamboo skewers, ribbon and gallon size twist top plastic bags.  I stuck the skewers into the pool noodle arch to make it look like lollipops standing on the arch.

I cut pool noddles into thirds and covered them with celophane and tied the ends with ribbon to create “Candies”.  Then I wedged the paper plate lollipops behind the tube candies.

I made large “Lollipops” with pool noodles that I rolled up and covered with celophane gift bags.  I then used a wrapping paper roll as the “stick”.

009x

I draped “Candy Streamers” made from paper plates, plastic table cloths cut into strips, and celophane, along the front walls.

010

We spray painted the grass with squares to look like the Candyland game board.  The paths led to different activities such as cake walk, silent auction, and inflatables.

020x

These ice cream cones were made from brown paper and pillow stuffing.  I rolled up the paper to form a cone shape and placed a large wad of stuffing on top.  Just to make it extra fun, I wadded up red paper to create a cherry, and glued sticks from my yard as the cherry stem.  Then I wrapped a box with pink wrapping paper, cut out wheels from black paper, and glued on a smaller ice cream cone to create an ice cream cart.

025x

With the help of other parents, we turned the covered table area into a “Gingerbread House”.

We taped on brown scalloped paper and added giant candy canes made from pool noodles striped with masking tape.  We taped on tissue paper covered toilet paper rolls that looked like candies, and paper plates covered in celophane that looked like peppermint candies.

028

We added more giant lollipops and candy canes under the roof.

032

We draped more of the paper plate streamers on the inside of the roof.

029

We wrapped the poles with streamers and taped on paper plate lollipops.  This created the cutest darn gingerbread house ever!

There was fun had by all and the decorations were talked about for weeks.  It made my heart so happy that everyone enjoyed the festive decorations and all the hard work.

Happy candy making!

“Wonder what I will come up with next”…

Mehndi Party Decorations

In my last post, I showed you how to make a festive invitation for a Mehndi party.  Here, I will show you all of the fun decorations that I created for the party.

I started with a color scheme of orange/yellow, turquoise, green, and salmon.  I purchased colored mason jars at Joann, which saved me tons of time in painting jars!  I used gold puffy paint and decorated the outside of the jars to create lanterns.  I placed lanterns on gold chargers and added groups of bangle bracelets tied with colorful ribbons.  Signs on the tables let guests know to wear the bangle bracelets.

Under the gold chargers and jar lanterns was fabulous rosette fabric.  We had bar top tables with white tablecloths, topped with the rosettes.  I used plastic table cloths cut in strips to tie the bottom of the white table cloths.  I also used these strips to create tassel banners.

009

019

Every Mehndi party needs a gold beaded curtain for extra bling!  I hung these at the entrance to the party, and draped fabric with the beads to create an amazing entrance.  I also hung 3 lanterns in the center.

010

015

On the food table, I draped fabric and overlapped it on boxes to create height.  We had Indian food in trays on the table.

029

With some extra rosette fabric I had, I covered a box and tied it with the plastic table cloth strips to create a riser for desserts.

The party would not have been complete without henna and bindi dots!

Happy party planning!

“Wonder what I will come up with next”…

Mehndi Party Invitations

044

Any good party starts with a festive invitation to get the mood going.  My friend wanted to have a 40th birthday party with an Eastern Indian Flare, so we had an Americanized Mehndi party.

To create these invitations, I started by printing the details in an orange/red color and stamped the swirls in turquoise.

To add some dimension, I used puffy paint to add dots onto the swirl stamp, and finished with adhesive rhinestones.

046

Let the paints dry, then use a glue stick to attach the festive cardstock on the back.

044

Let the party begin!!!

Happy planning!

“Wonder what I will come up with next”…

Parisian Bakery Birthday Party…

If you saw my last post, it was the invitations for this birthday party.  Fancy, fancy, and more fancy.

001

As you entered, I had a display with a couple of items of interest, including the “daily specials”.  Since I didn’t have a bodice, I used a floor lamp as a “bodice” to hang a dress from.

003 005

126

In order to create a true Parisian Bakery environment, I prepared numerous Parisian type desserts and displayed them.

127129

Everything from chocolate mousse (pudding) to parfaits

128

I made Nicoise and wrapped them with Eiffel Tower ribbon.  I even had Macarons!

131

To display the cupcakes, I filled apothecary jars with silk flowers and placed clear glass plates on top.

134136

135

I made high heeled shoe cupcakes also and decorated them with an Eiffel Tower charm on top, which was part of the party favor.

138

The table decor was simple…pink, white, & black tulle loosely braided down the center with Eiffel Tower statues in white & black.

139

I posted a similar picture to this back in June.  I made another one for my daughter and displayed it was part of the fancy decor during the party.

155a

I purchased an Eiffel Tower backdrop at Oriental Trading and used it as a photo booth.  The girls had so much fun with the props, including a white board for them to write the reasons they love Paris!  The girls topped off the party with a French lesson!  Magnifique!

Happy partying…

“Wonder what I will come up with next”…

Parisian Bakery Birthday Party Invitations…

053

A fun and festive invitation is the perfect way to invite guests to your party.  It will set the tone long before the party begins.  For my daughter’s 10th birthday, we had a Parisian Bakery themed party.  Of course, Paris is fancy, so the invitations needed to be fancy too.

047

I started by cutting black 8.5″ x 11″ card stock exactly in half.  I printed all of the party details on light pink paper and cut it slightly smaller than the black card stock, leaving about a 1/2″ border along all sides.  I then used a glue stick to glue the pink paper to the black card stock.

048

I stamped a silver Eiffel Tower onto velum that I cut the same size as the black card stock.

049

You can see how fun this looks when the velum is resting on top of the pink and black.

050

Take a single hole punch and evenly space out 2 holes.

051

Thread pink ribbon through the holes with both ends coming up.

052

Tie a pretty bow.

053

You now have a fancy invitation to send to your guests that was quite simple to make.

Happy stamping…

“Wonder what I will come up with next”…

Luau Party Gifts…

008009

If you have been reading my last several posts, then you know that I had a LUAU birthday party for my daughter.  OF COURSE, I have to wrap the gifts to match the theme of the party!!!  I used hibiscus flowers, blue ribbon, and palm tree scrapbook paper on these gifts.

013

On this gift, I wrapped the package with green streamers and glued Hula Girl pictures onto the box.  I topped it with a purple hibiscus flower.

012

On this gift, I created the #6 with hibiscus flower stickers because this was my daughter’s 6th birthday.  I wrapped the box with yellow, blue & green ribbon and topped it with a yellow hibiscus.

Happy wrapping…

“Wonder what I will come up with next”…

Luau Birthday Party Decor…

015

When I host a party, I GO BIG!!!  I have a ridiculous amount of fun planning and decorating for a party.  It is like a drug for me!!!  My husband gets into the fun also.  For our daughters LUAU birthday party, he parked his jeep in our front yard and decorated it with surf boards, boogie board, beach chairs, buckets, umbrella, tiki torches, and more.  This is the first thing that the guests saw as they arrived to the party.  Talk about a grand entrance!!!

033028

As the guests arrived, they were greeted with raffia table skirts hanging from the ceiling with colorful lanterns and palm trees, as well as flowers.  All guests received a grass skirt, lei, and flower clip as they entered the “Tiki Hut”.

036038

037

024025

On the table, I scattered hibiscus flowers and shells.  I also added table top tiki torches.

035

019020

The food table had buckets filled with clean cat litter and bright spiral candle sticks.  I also scattered hibiscus flowers.

To keep with the theme, we had Hawaiian King rolls with lunchmeat and cheese.  I made fruit skewers and stuck them into half of a watermelon.  I made smoothies for the kids and my husband made blue Hawaiian drinks for the adults.

027026

I created a photo booth area in front of the fireplace.  The kids had props and sunglasses they could put on for the pictures.  they had a blast posing for the pictures!

147148

I stacked coconut cups on the mantle and hung beads from a mirror for added decor.

149

030144

145146

As the guests departed, they received a goody bag filled with treats, including a gift card to Jamba Juice and a fish straw.  I created name tags by cutting out hibiscus flowers from scrapbook paper and glued them onto yellow tags.  I then stapled the tags to the bags.  Very festive!

As Hawaiian music played in the background, the guests ate, played and had fun.

Happy birthday planning…

“Wonder what I will come up with next”…