Coordinating wrapping for multiple packages

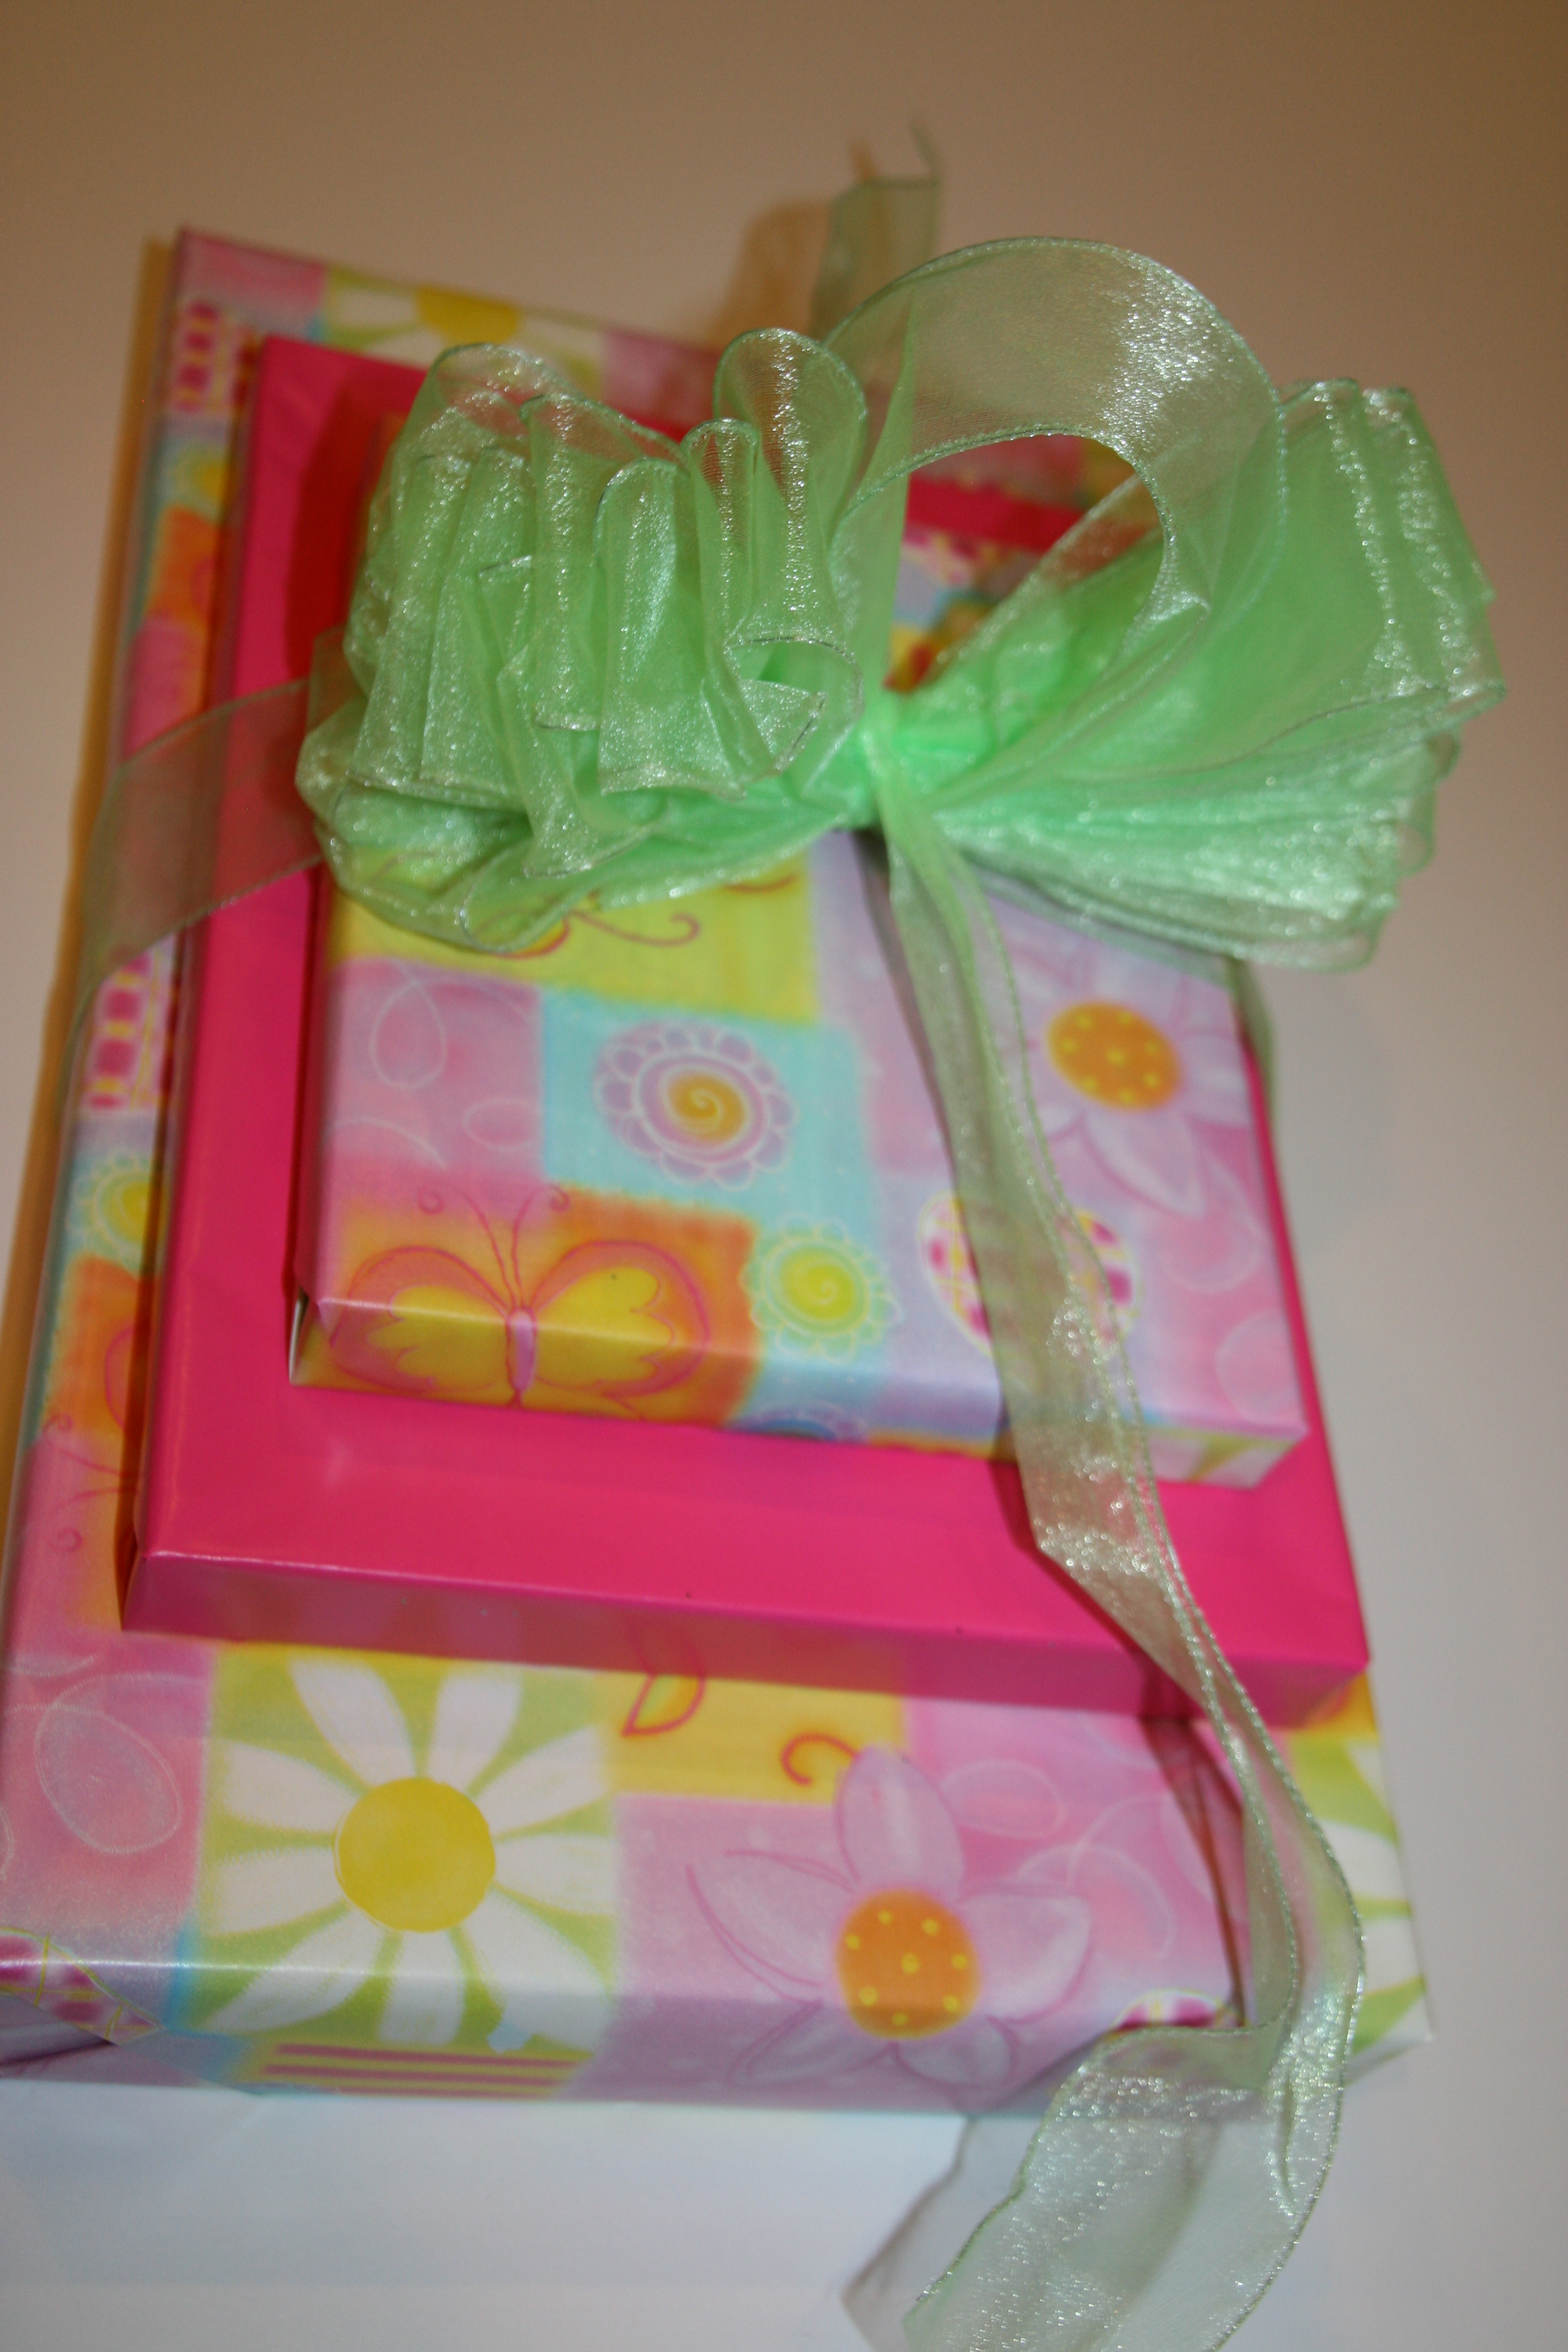
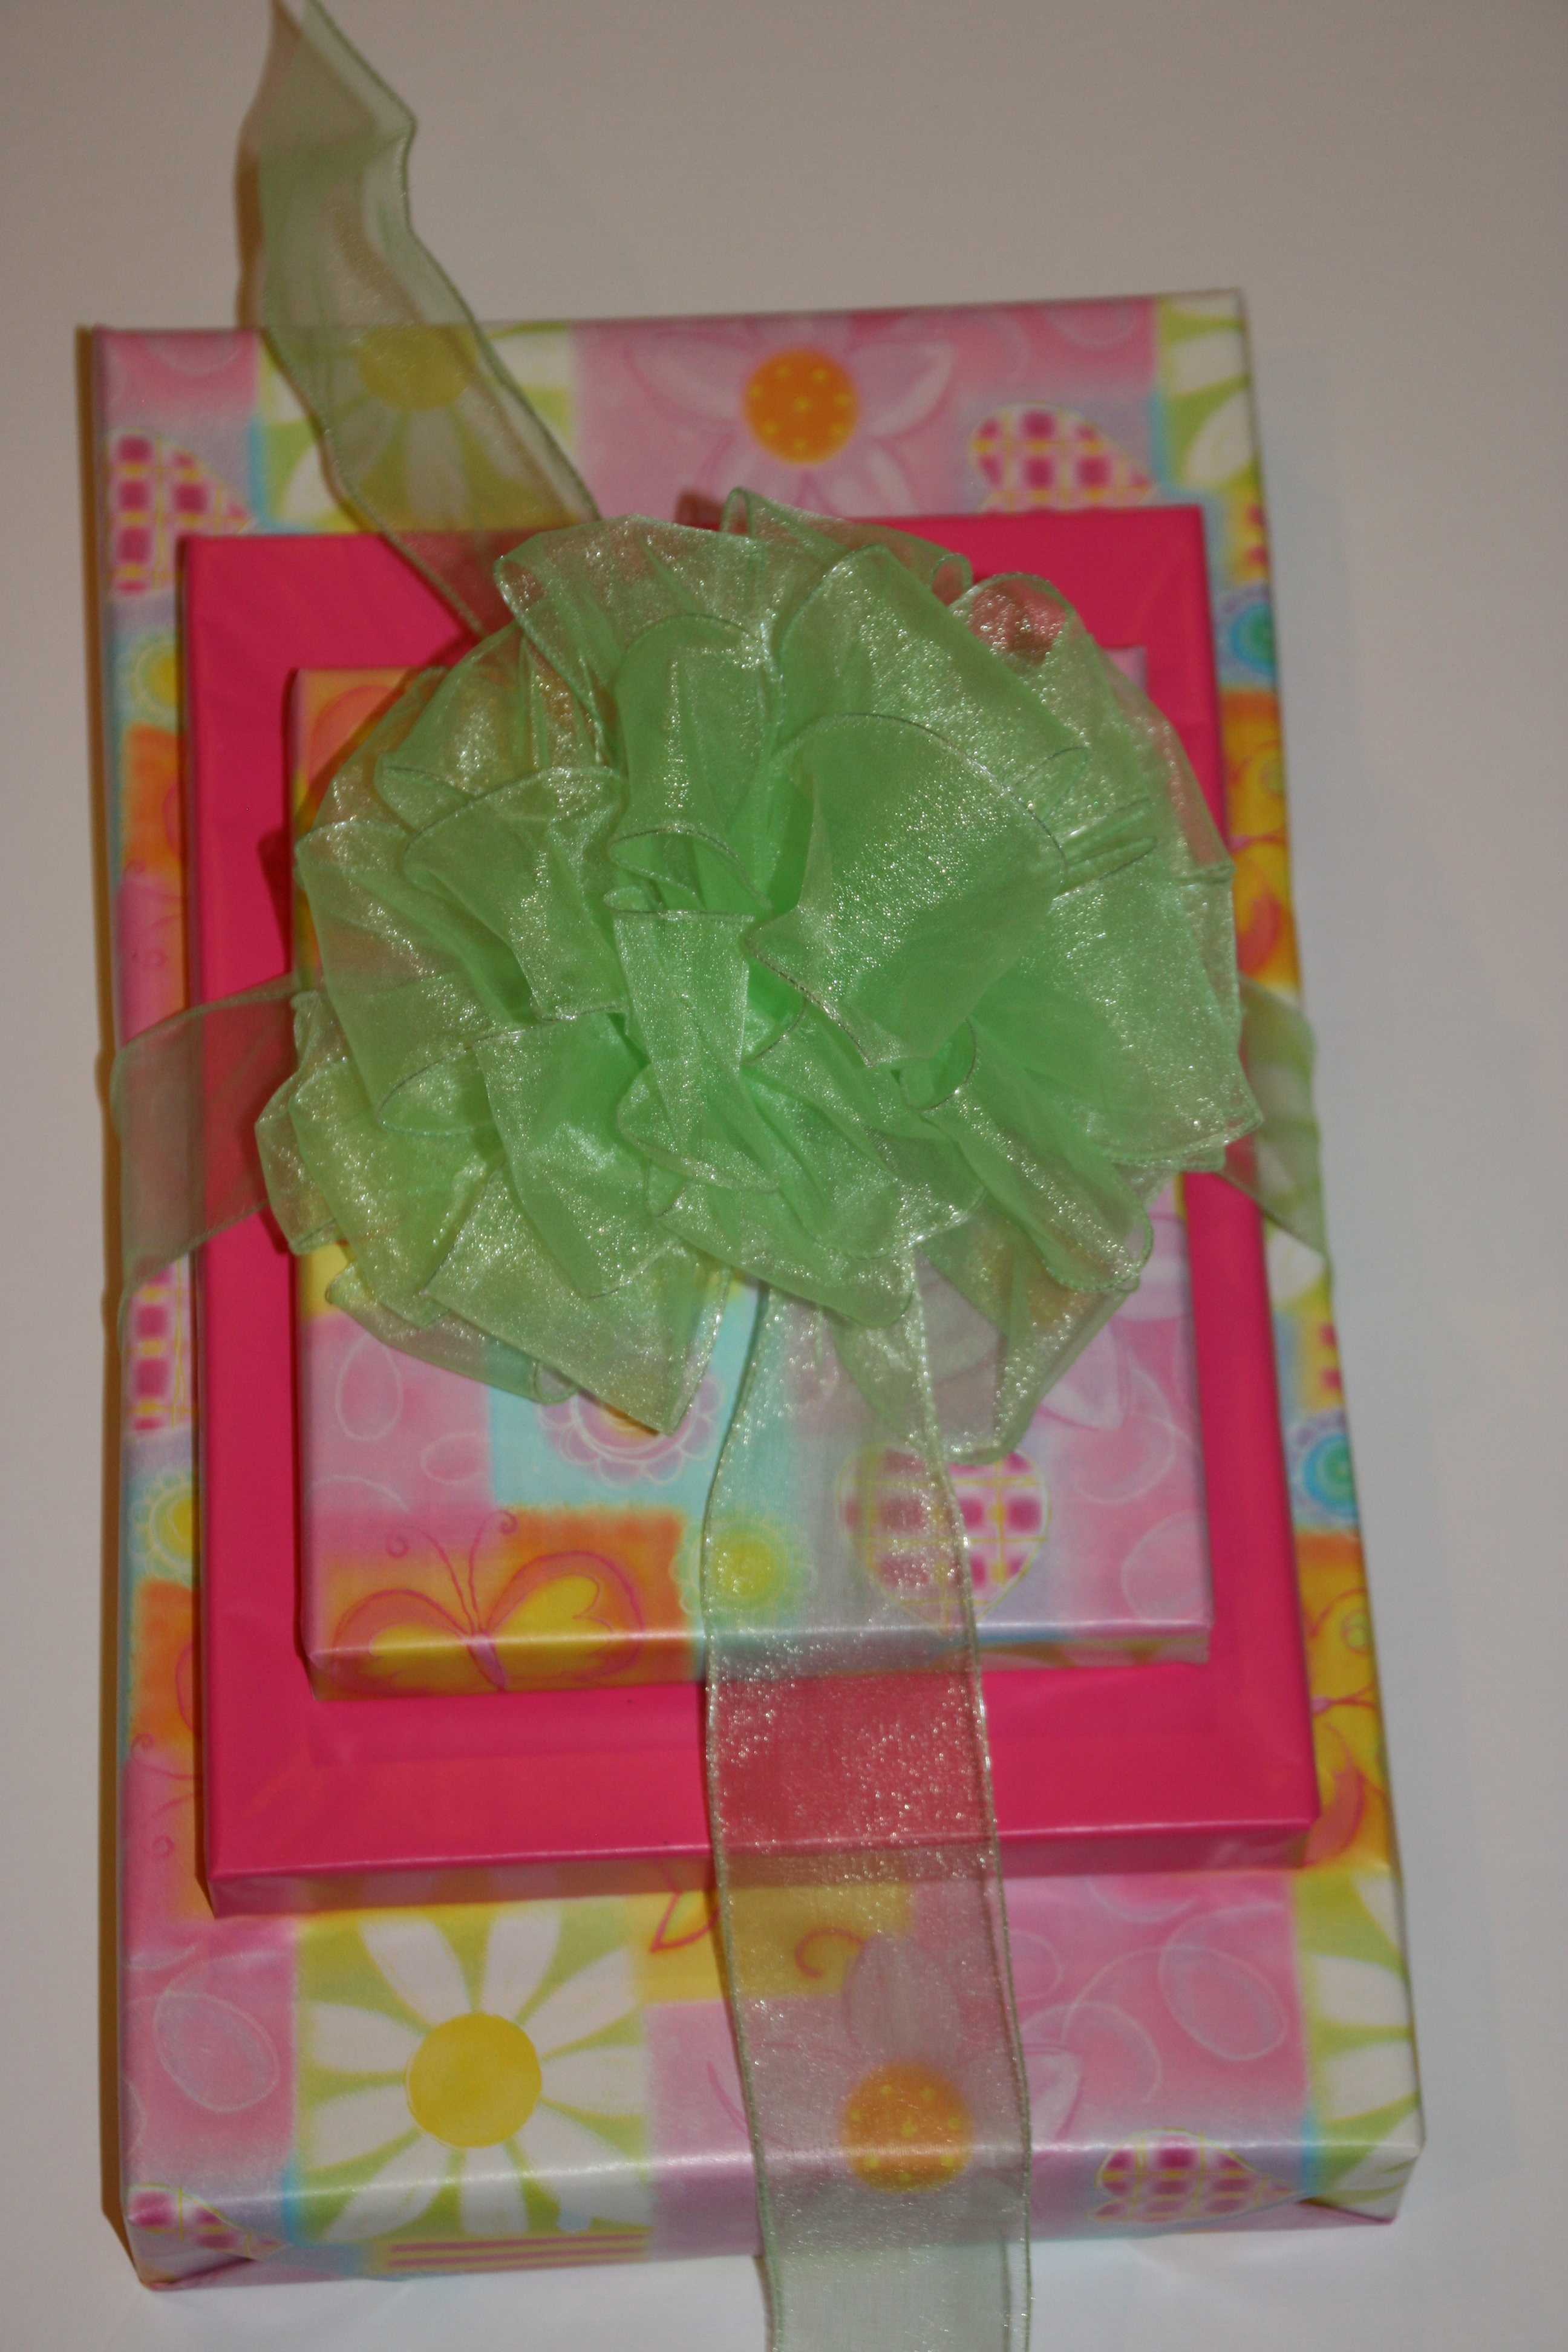
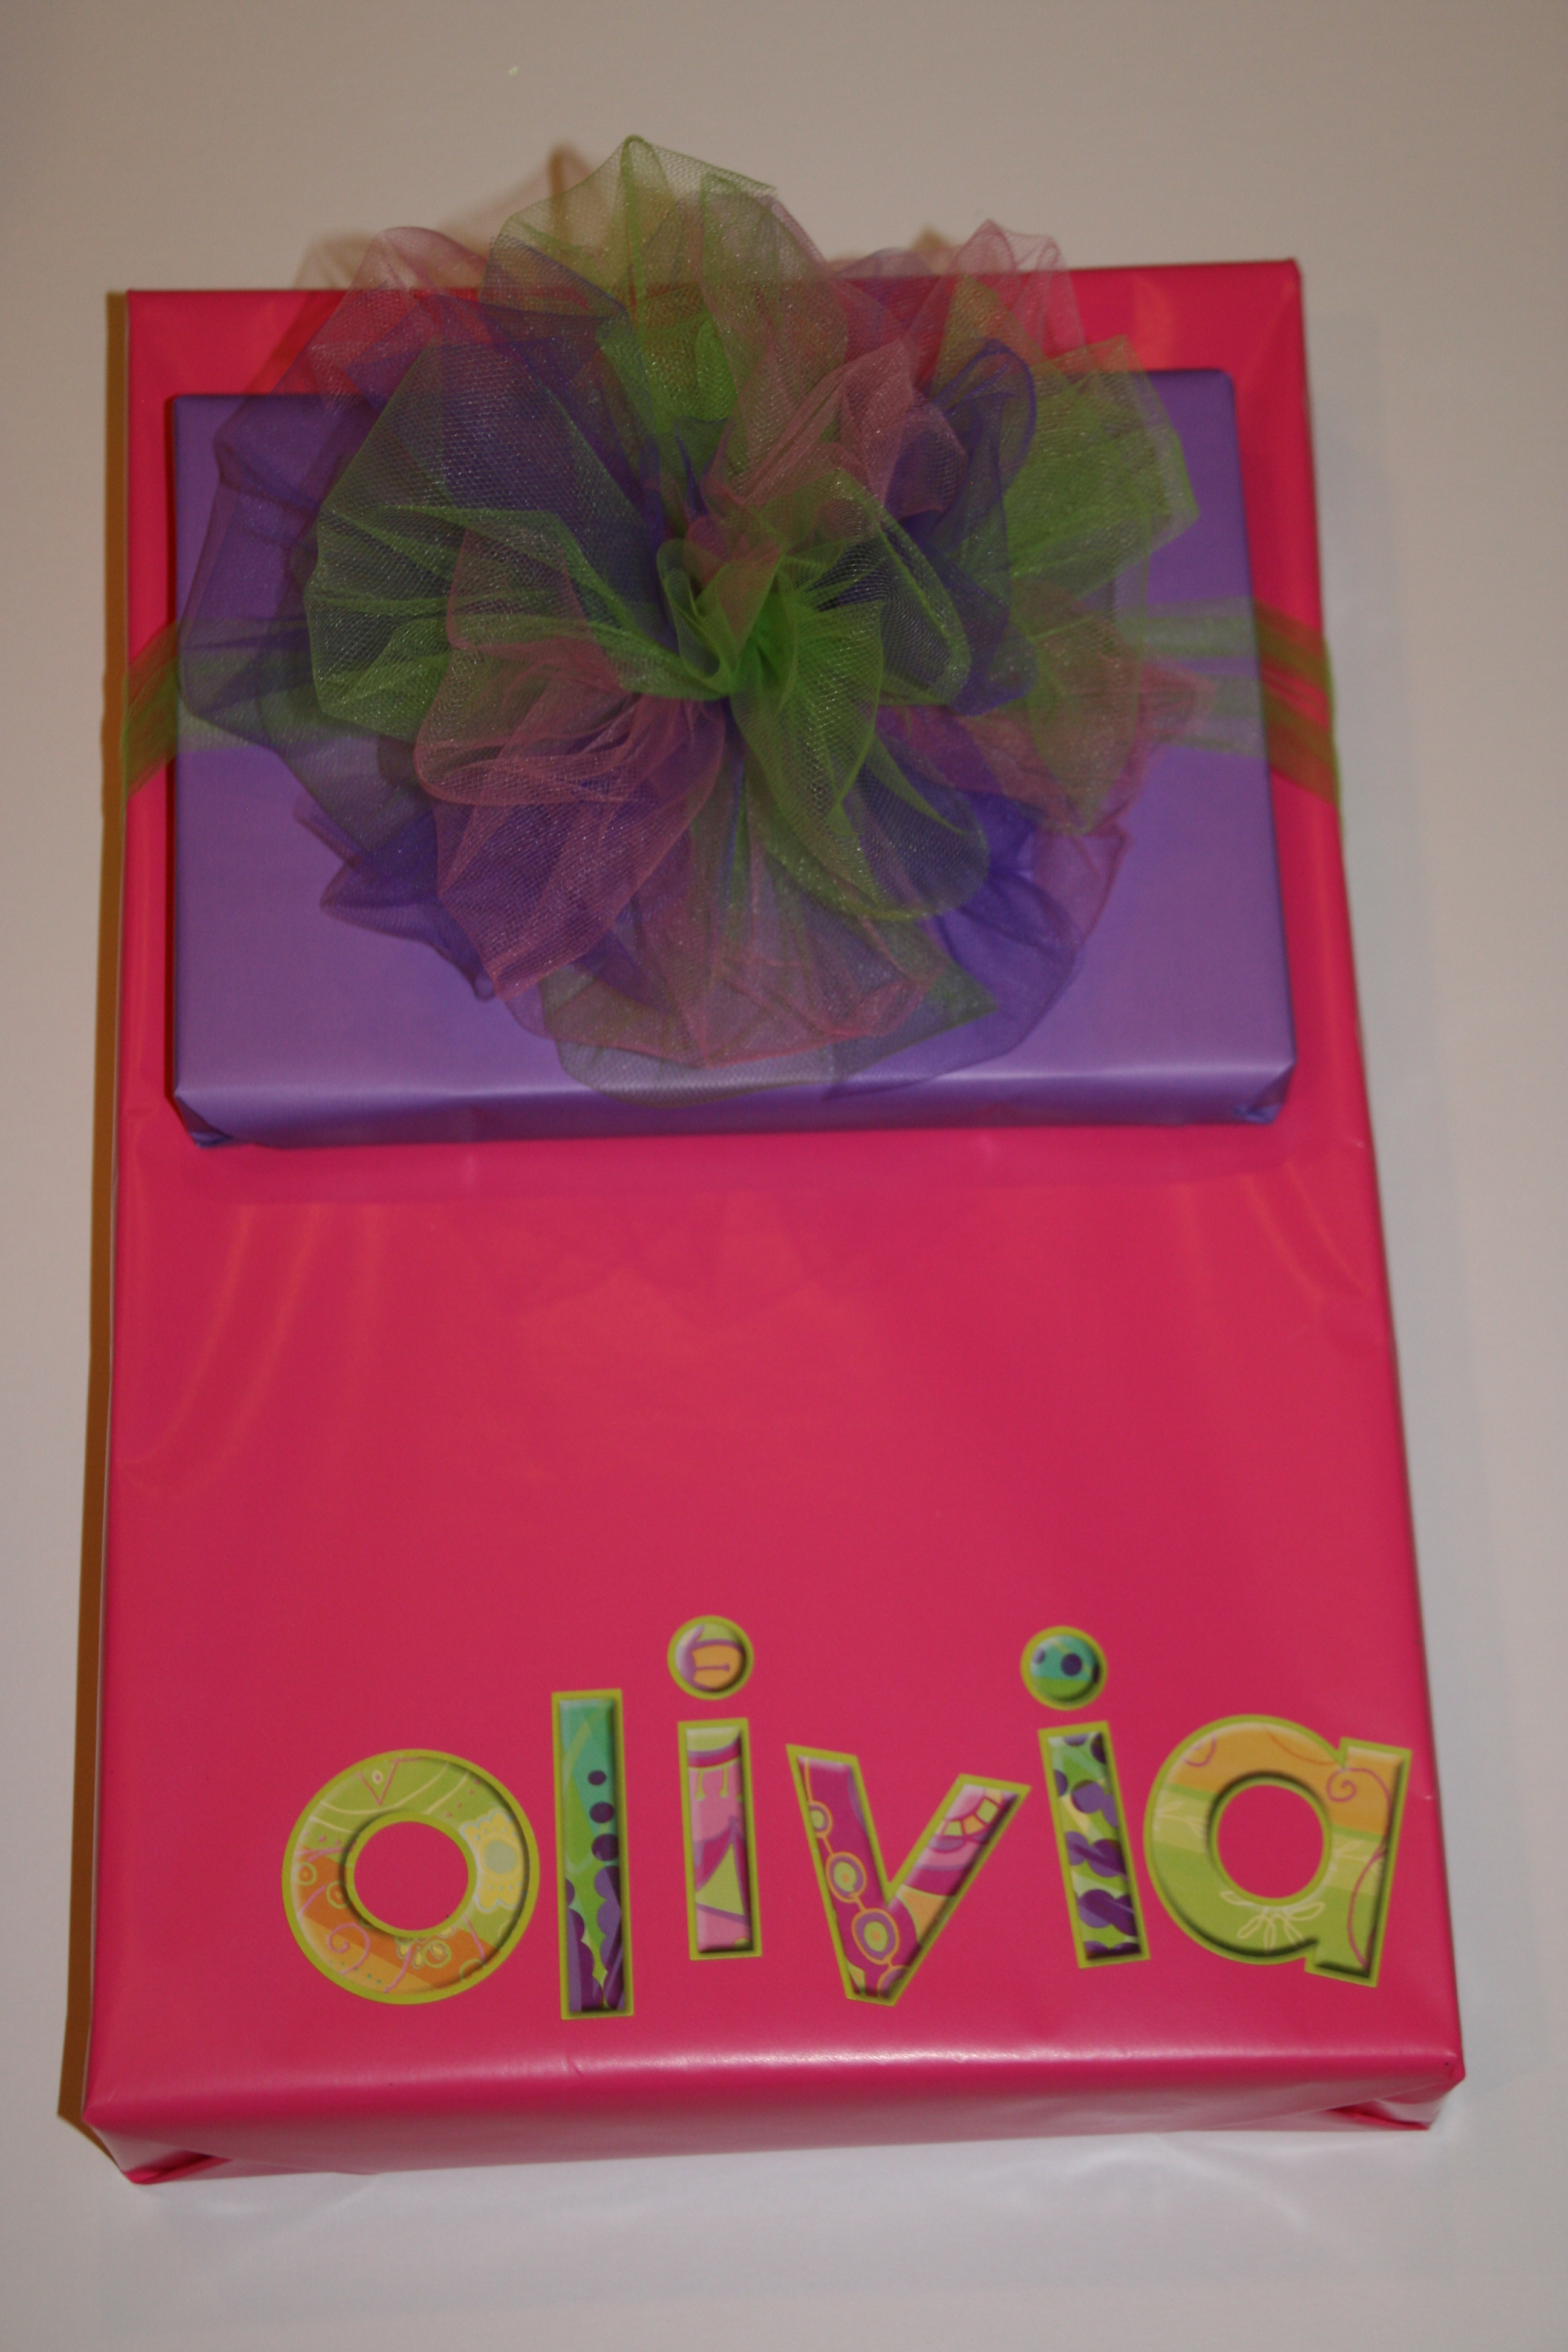
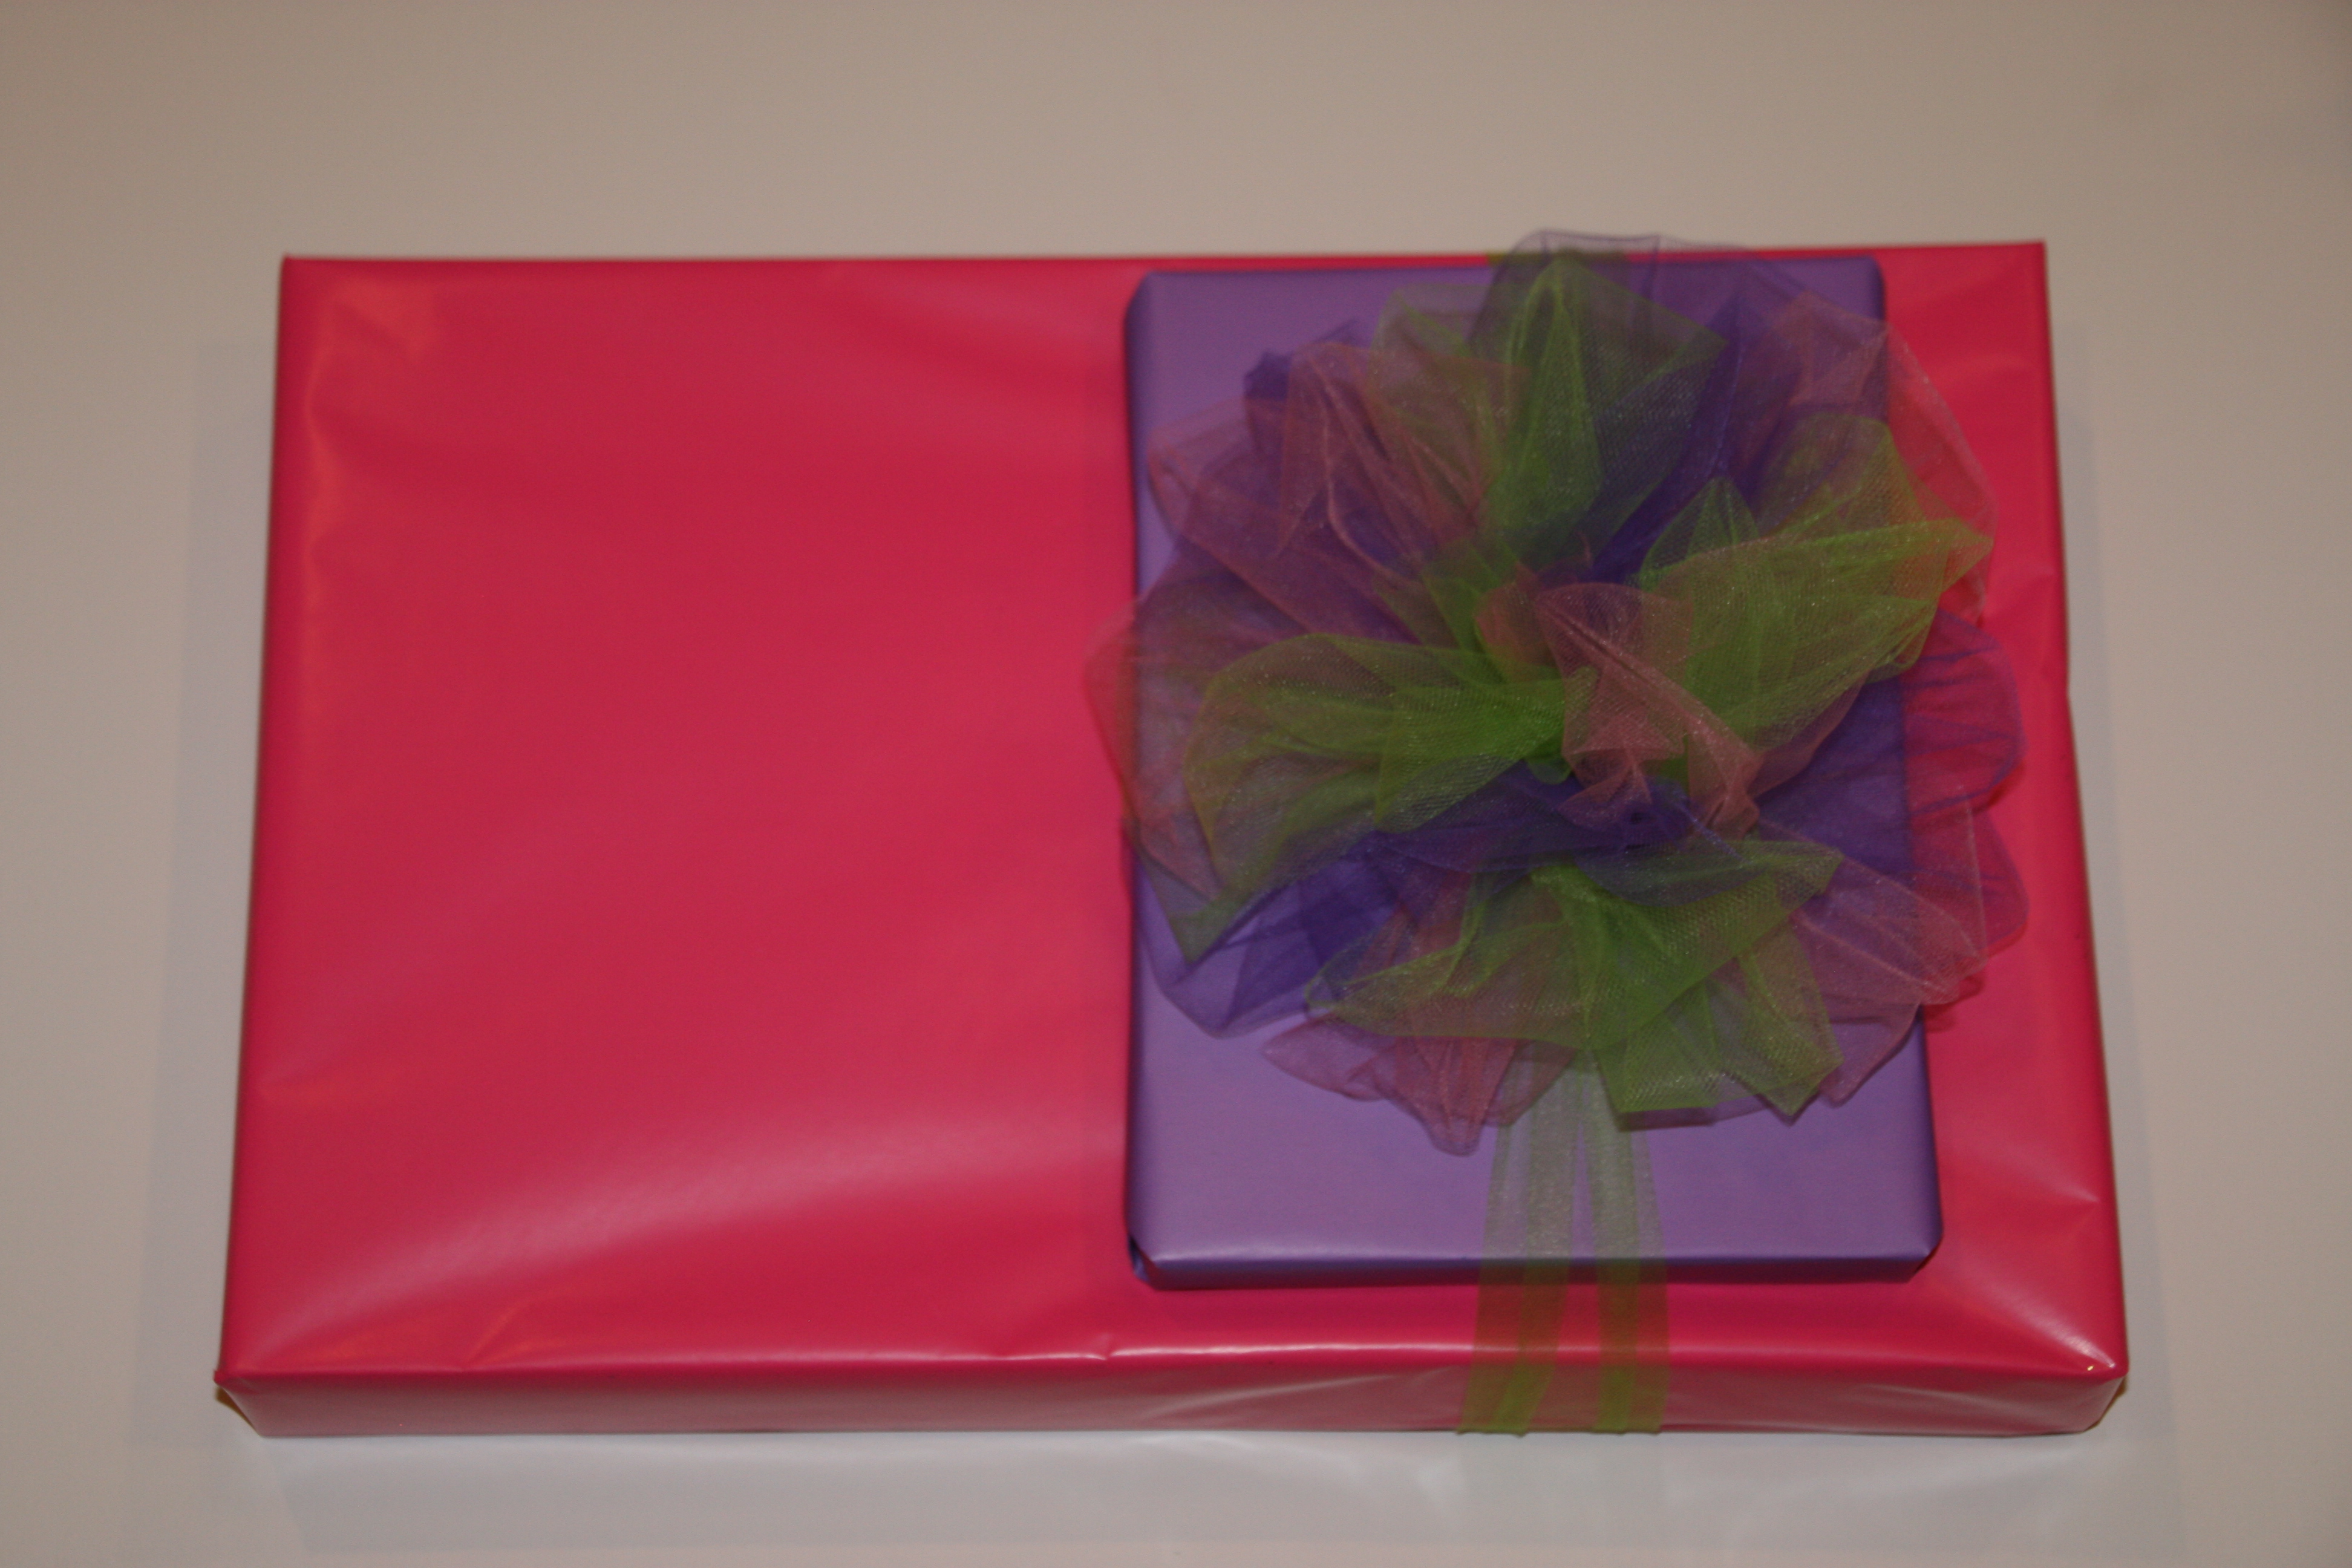
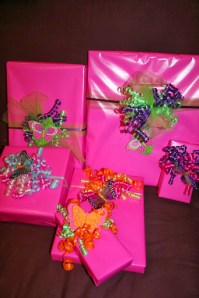
When I have multiple gifts to give to the same person, I like to coordinate the wrapping, but not make them identical.  This keeps it interesting and makes a gorgeous presentation before the gifts are opened.

023

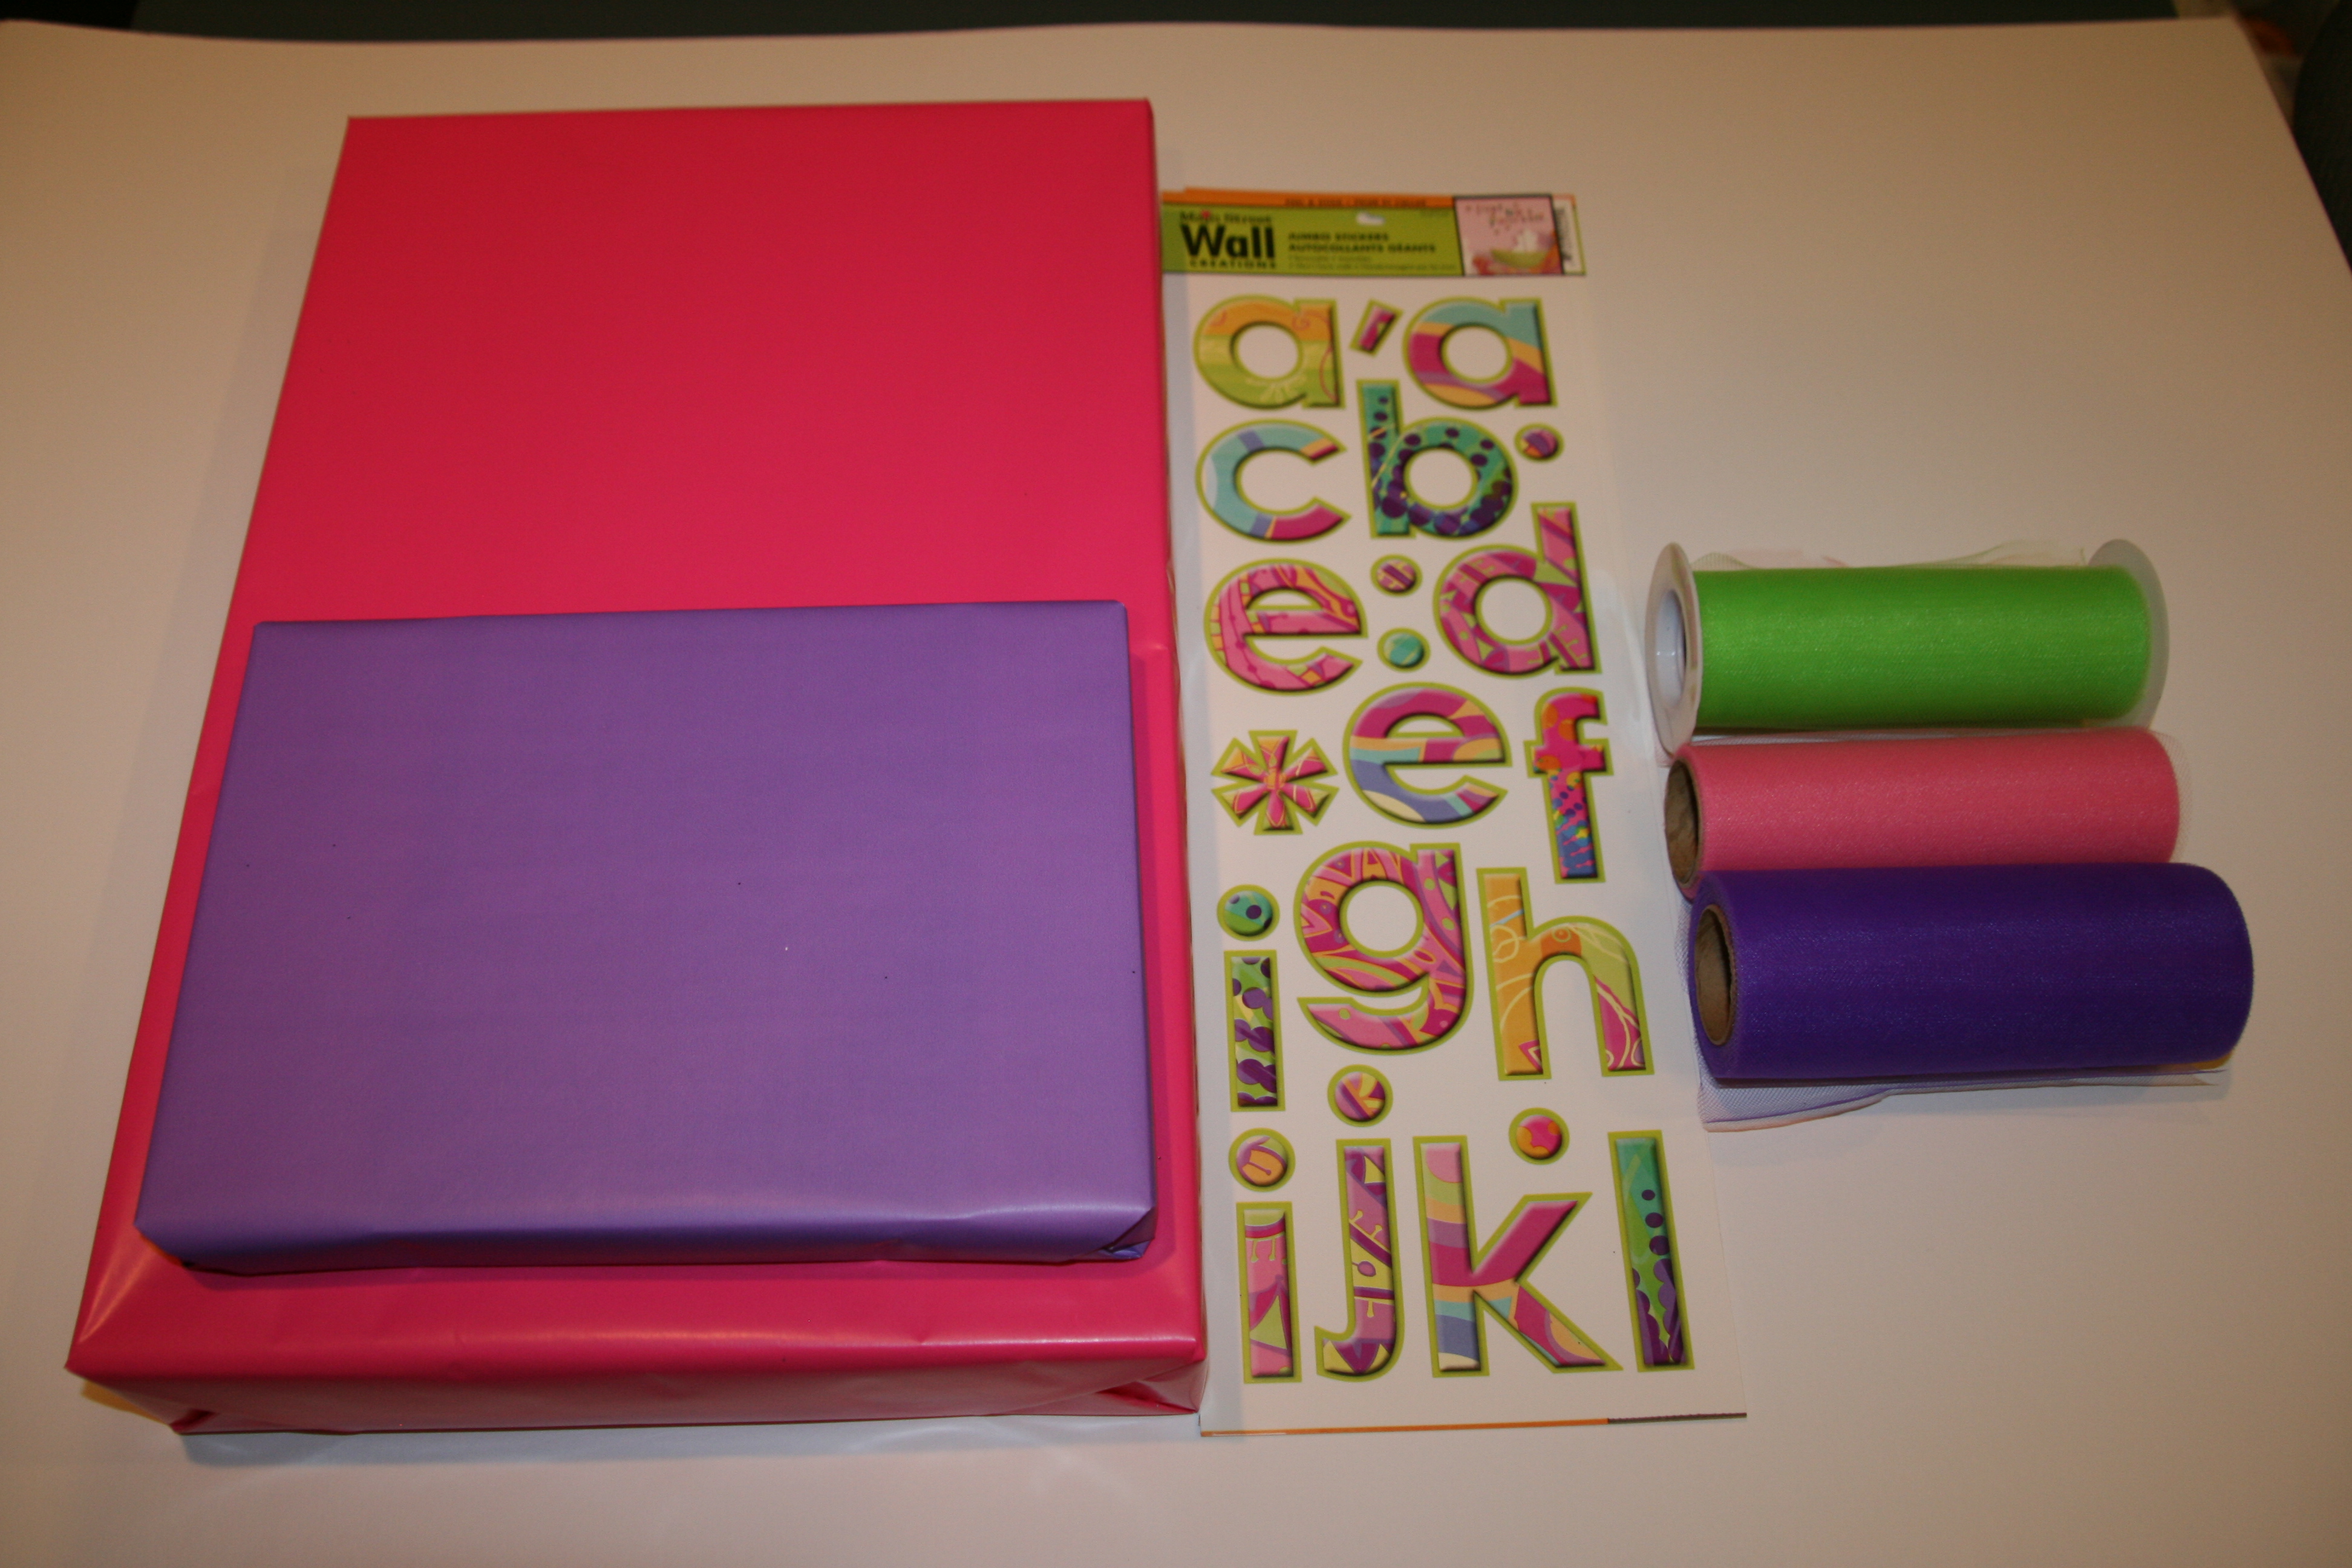
Start with the first packages.  Here I chose to use both tulle & curling ribbon and different colors of paper.

005006007

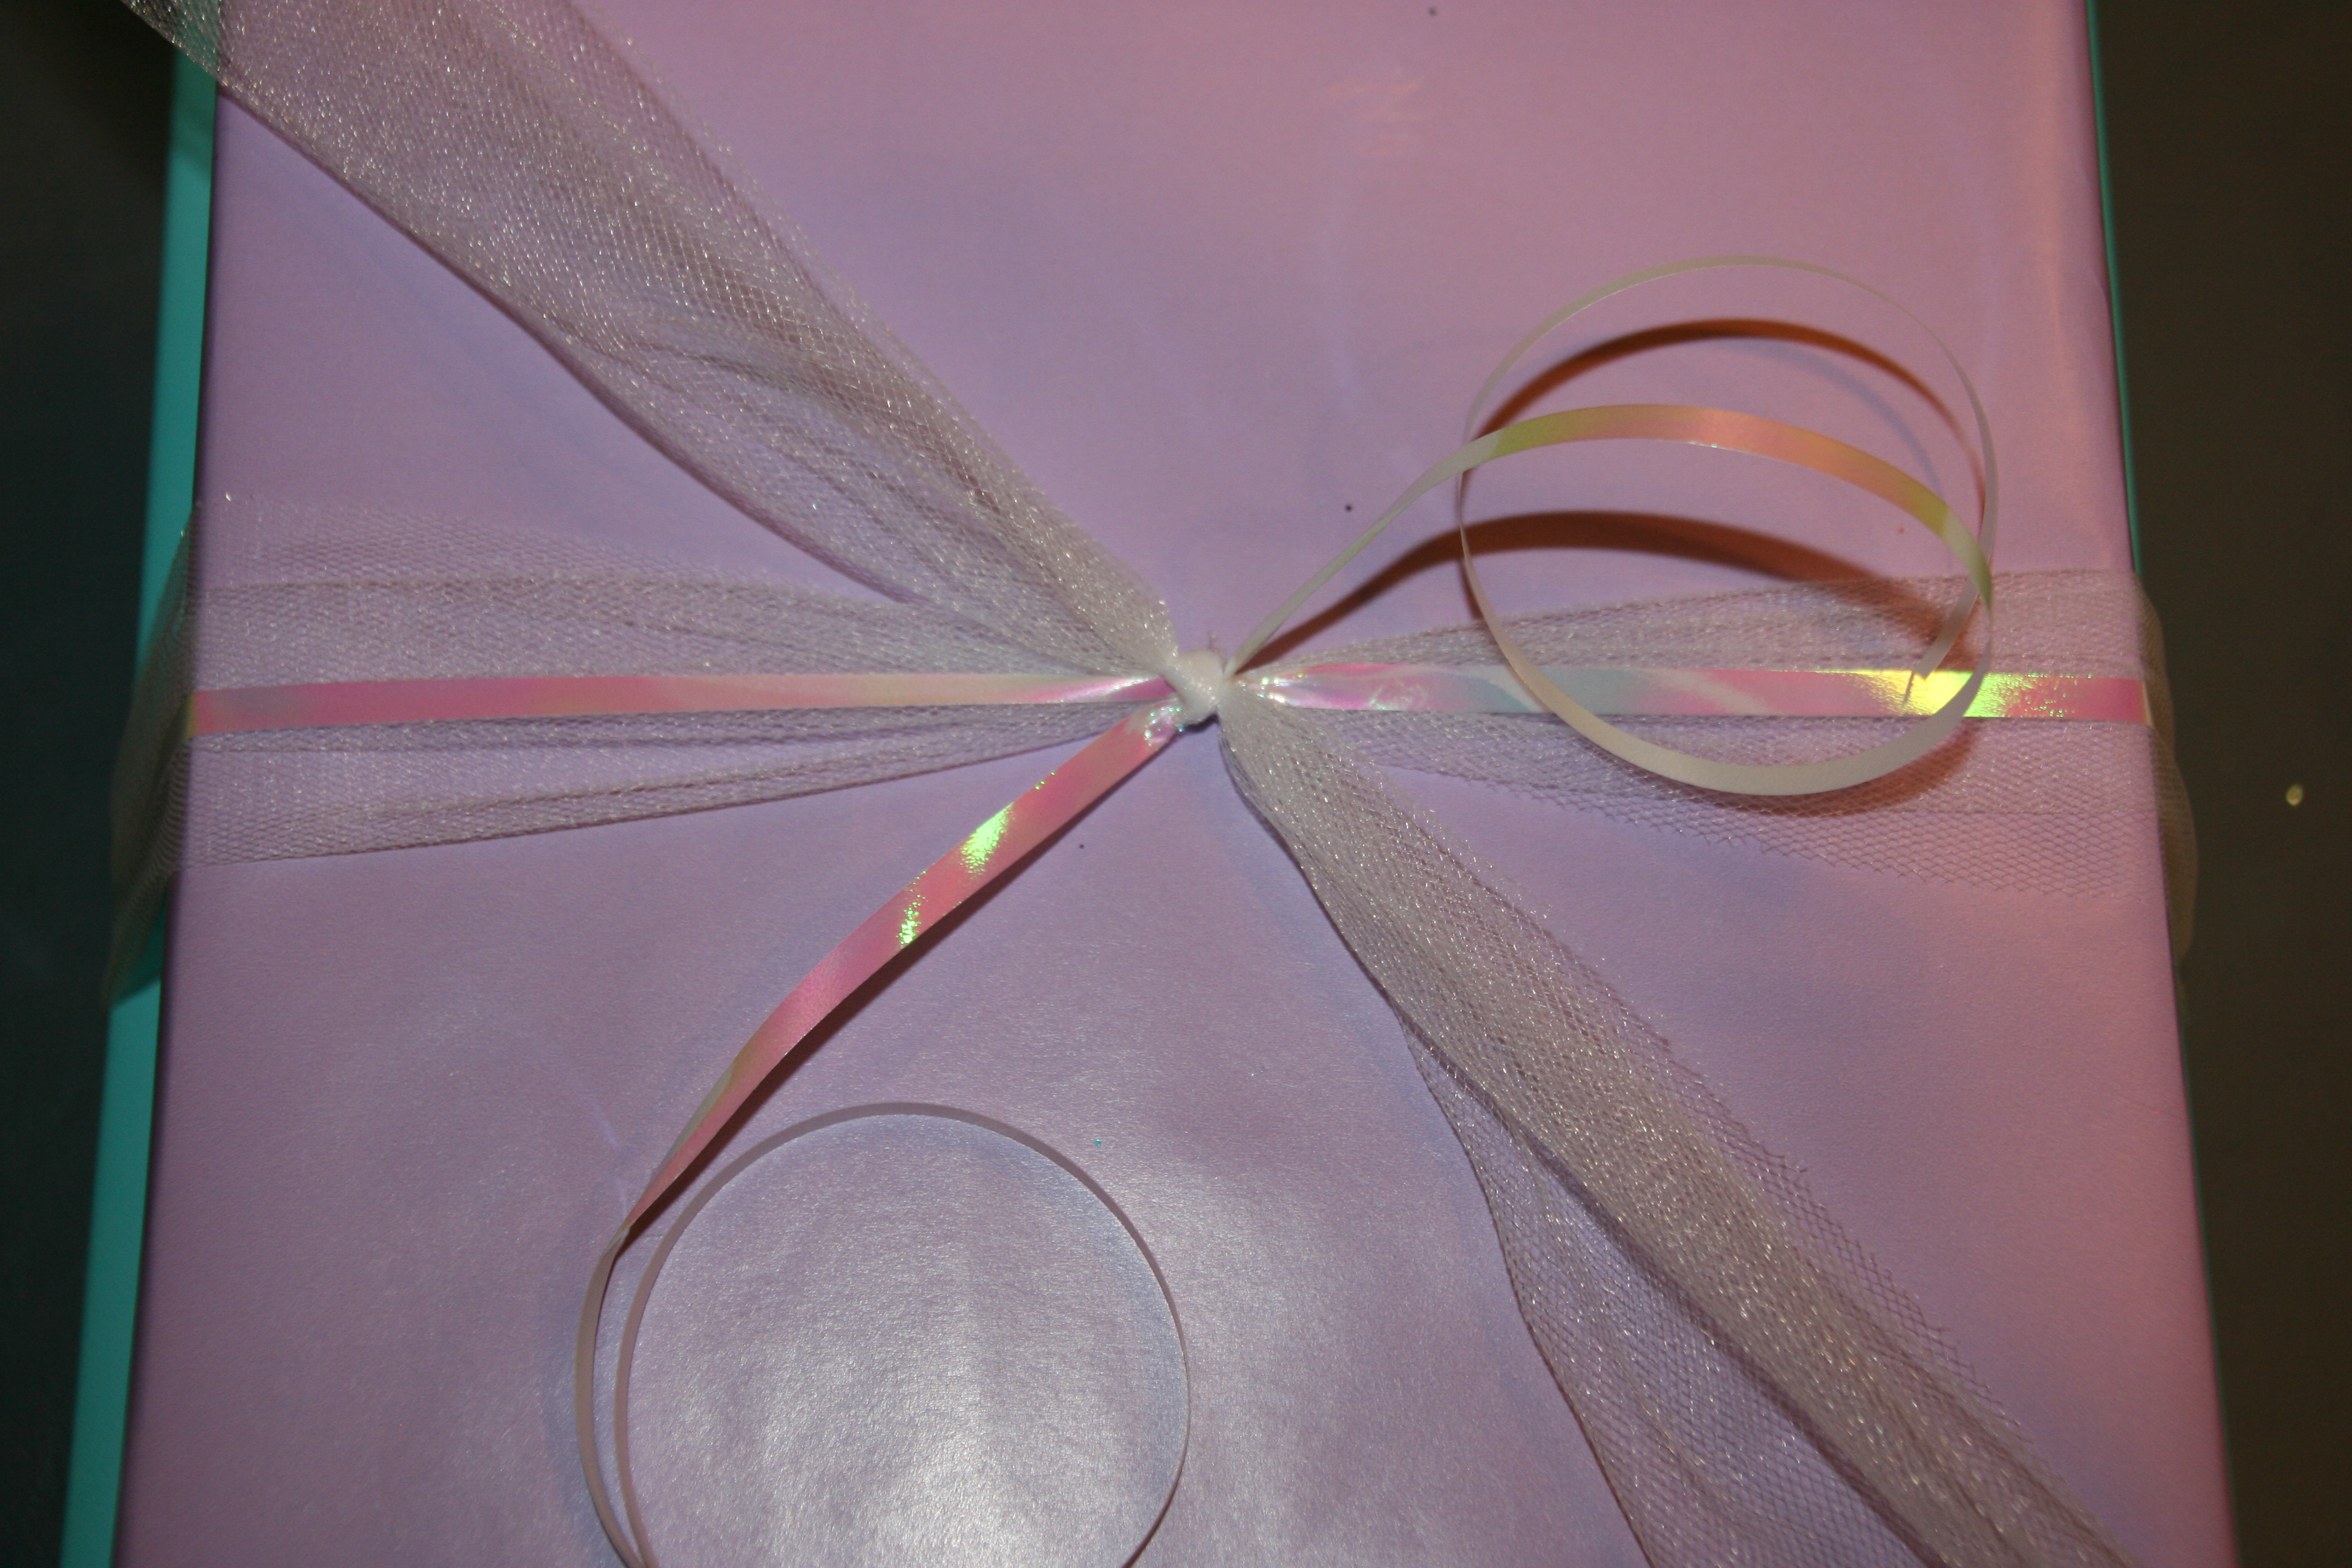
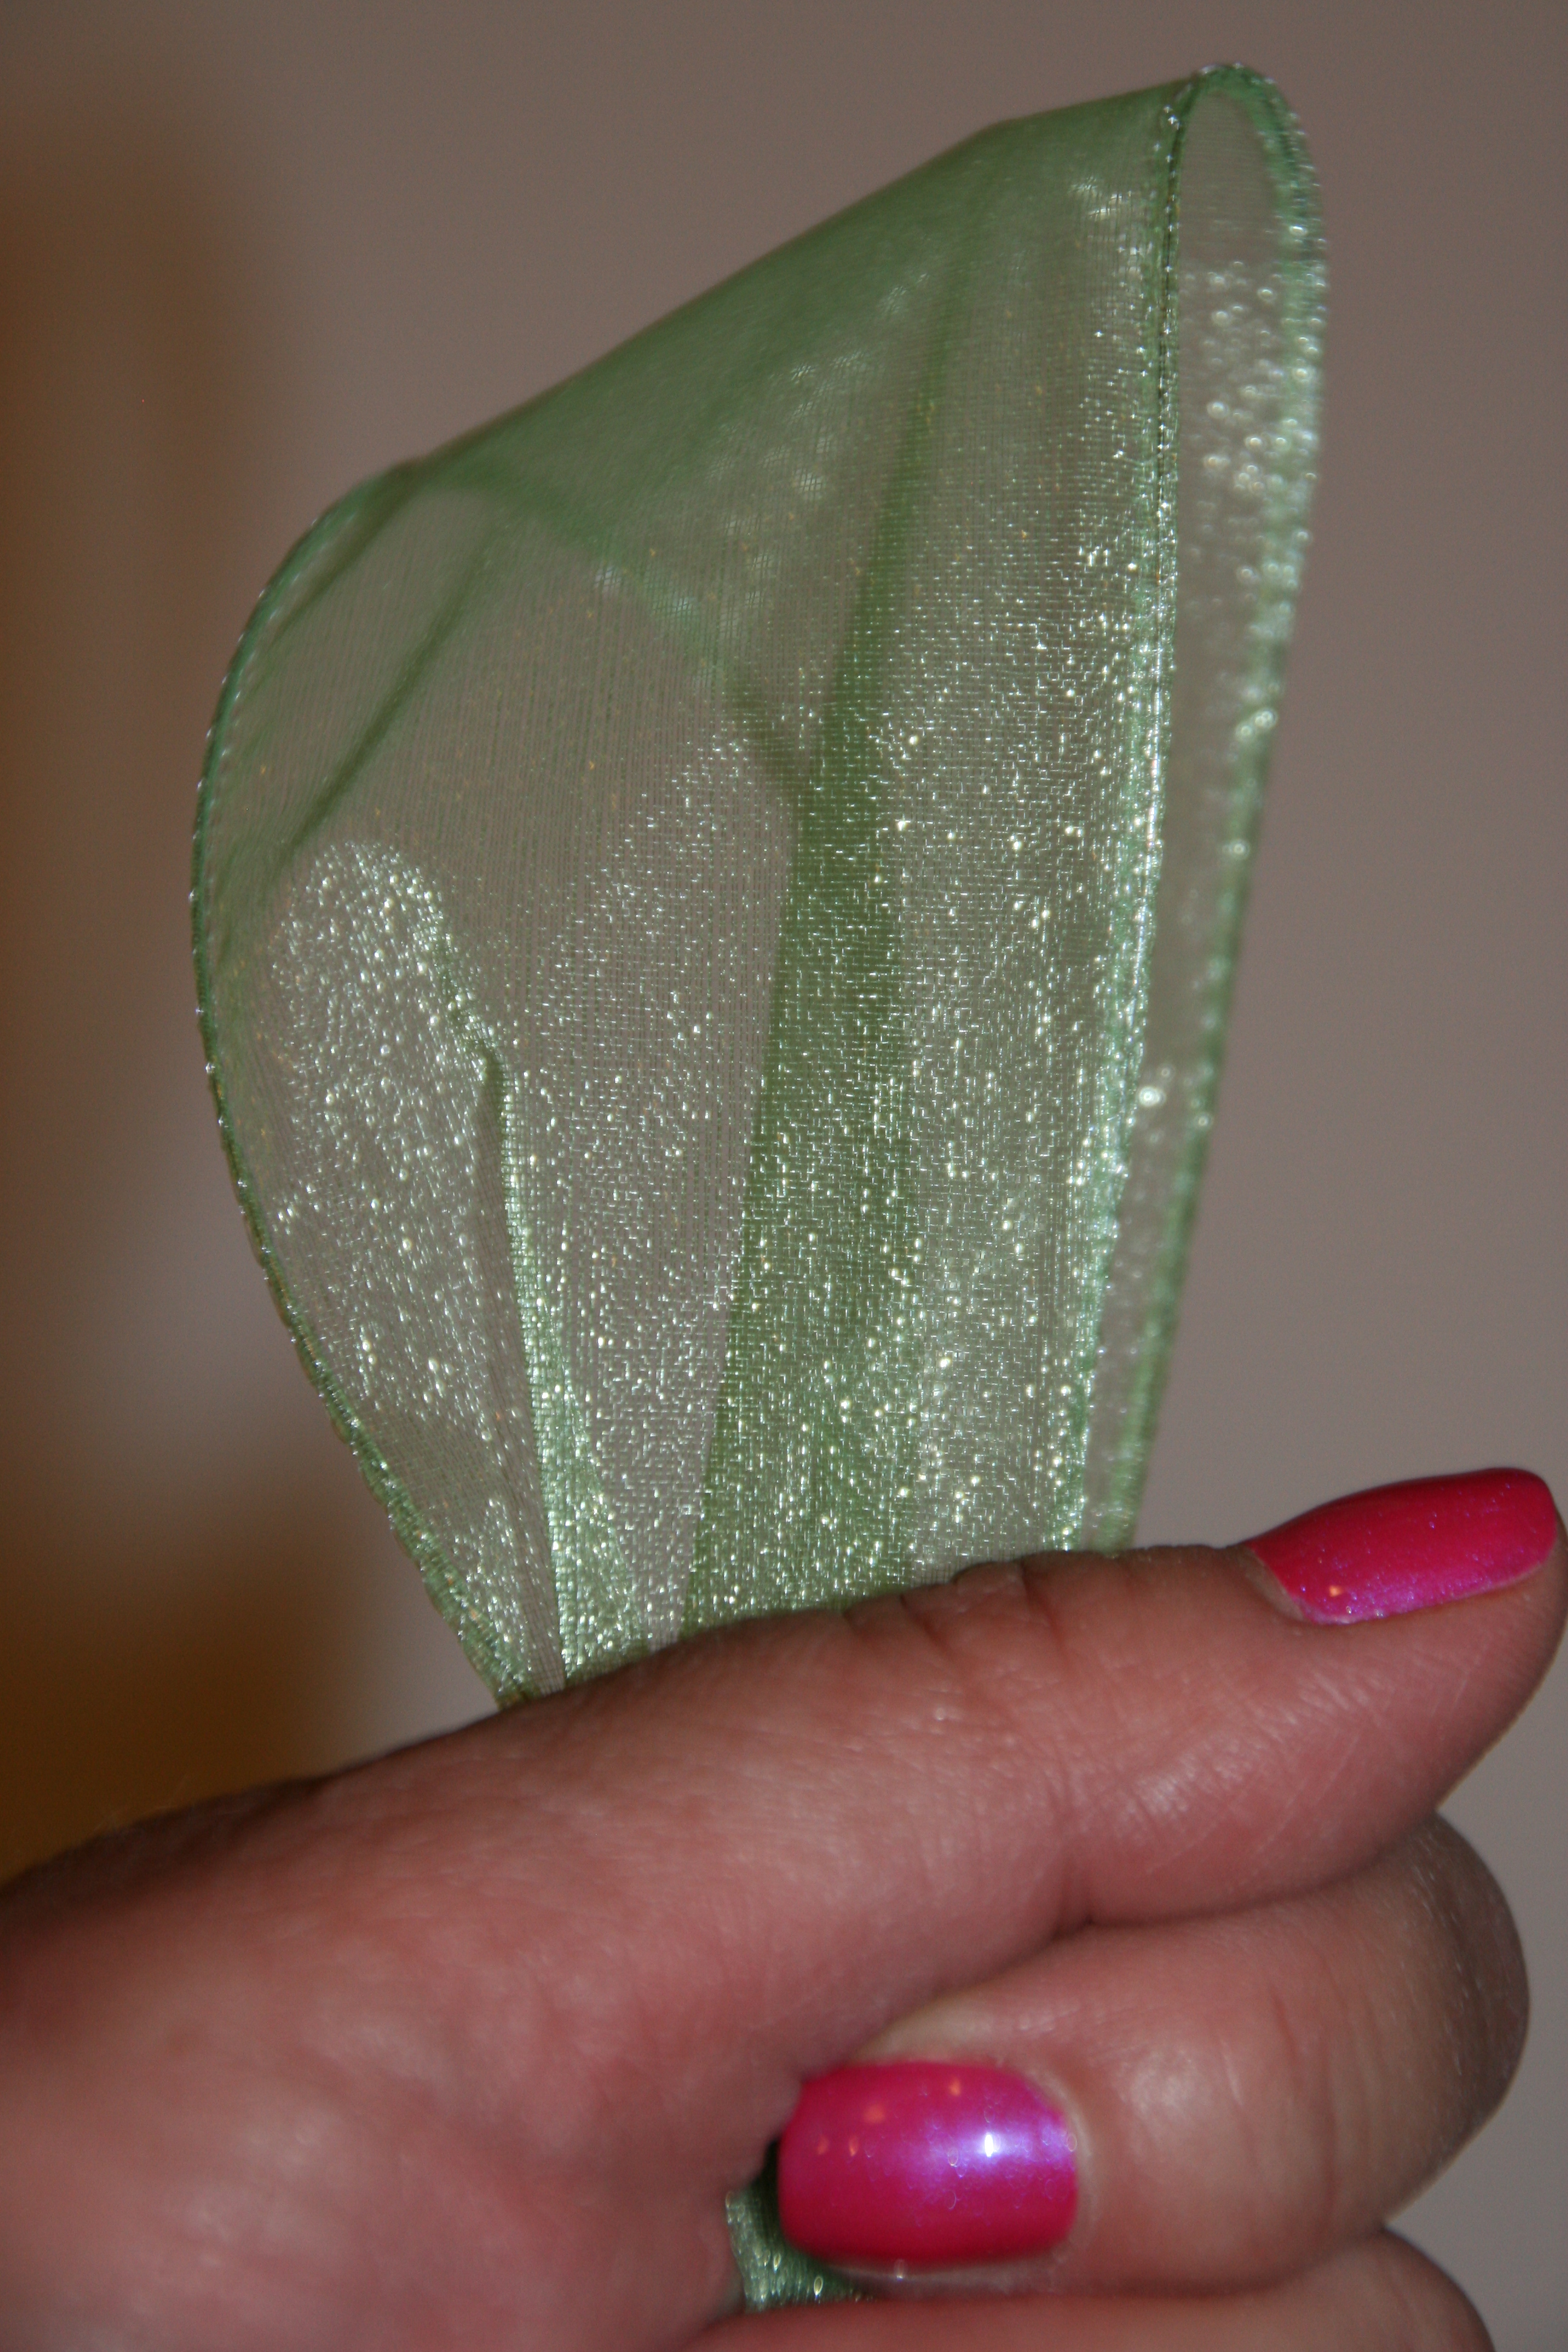
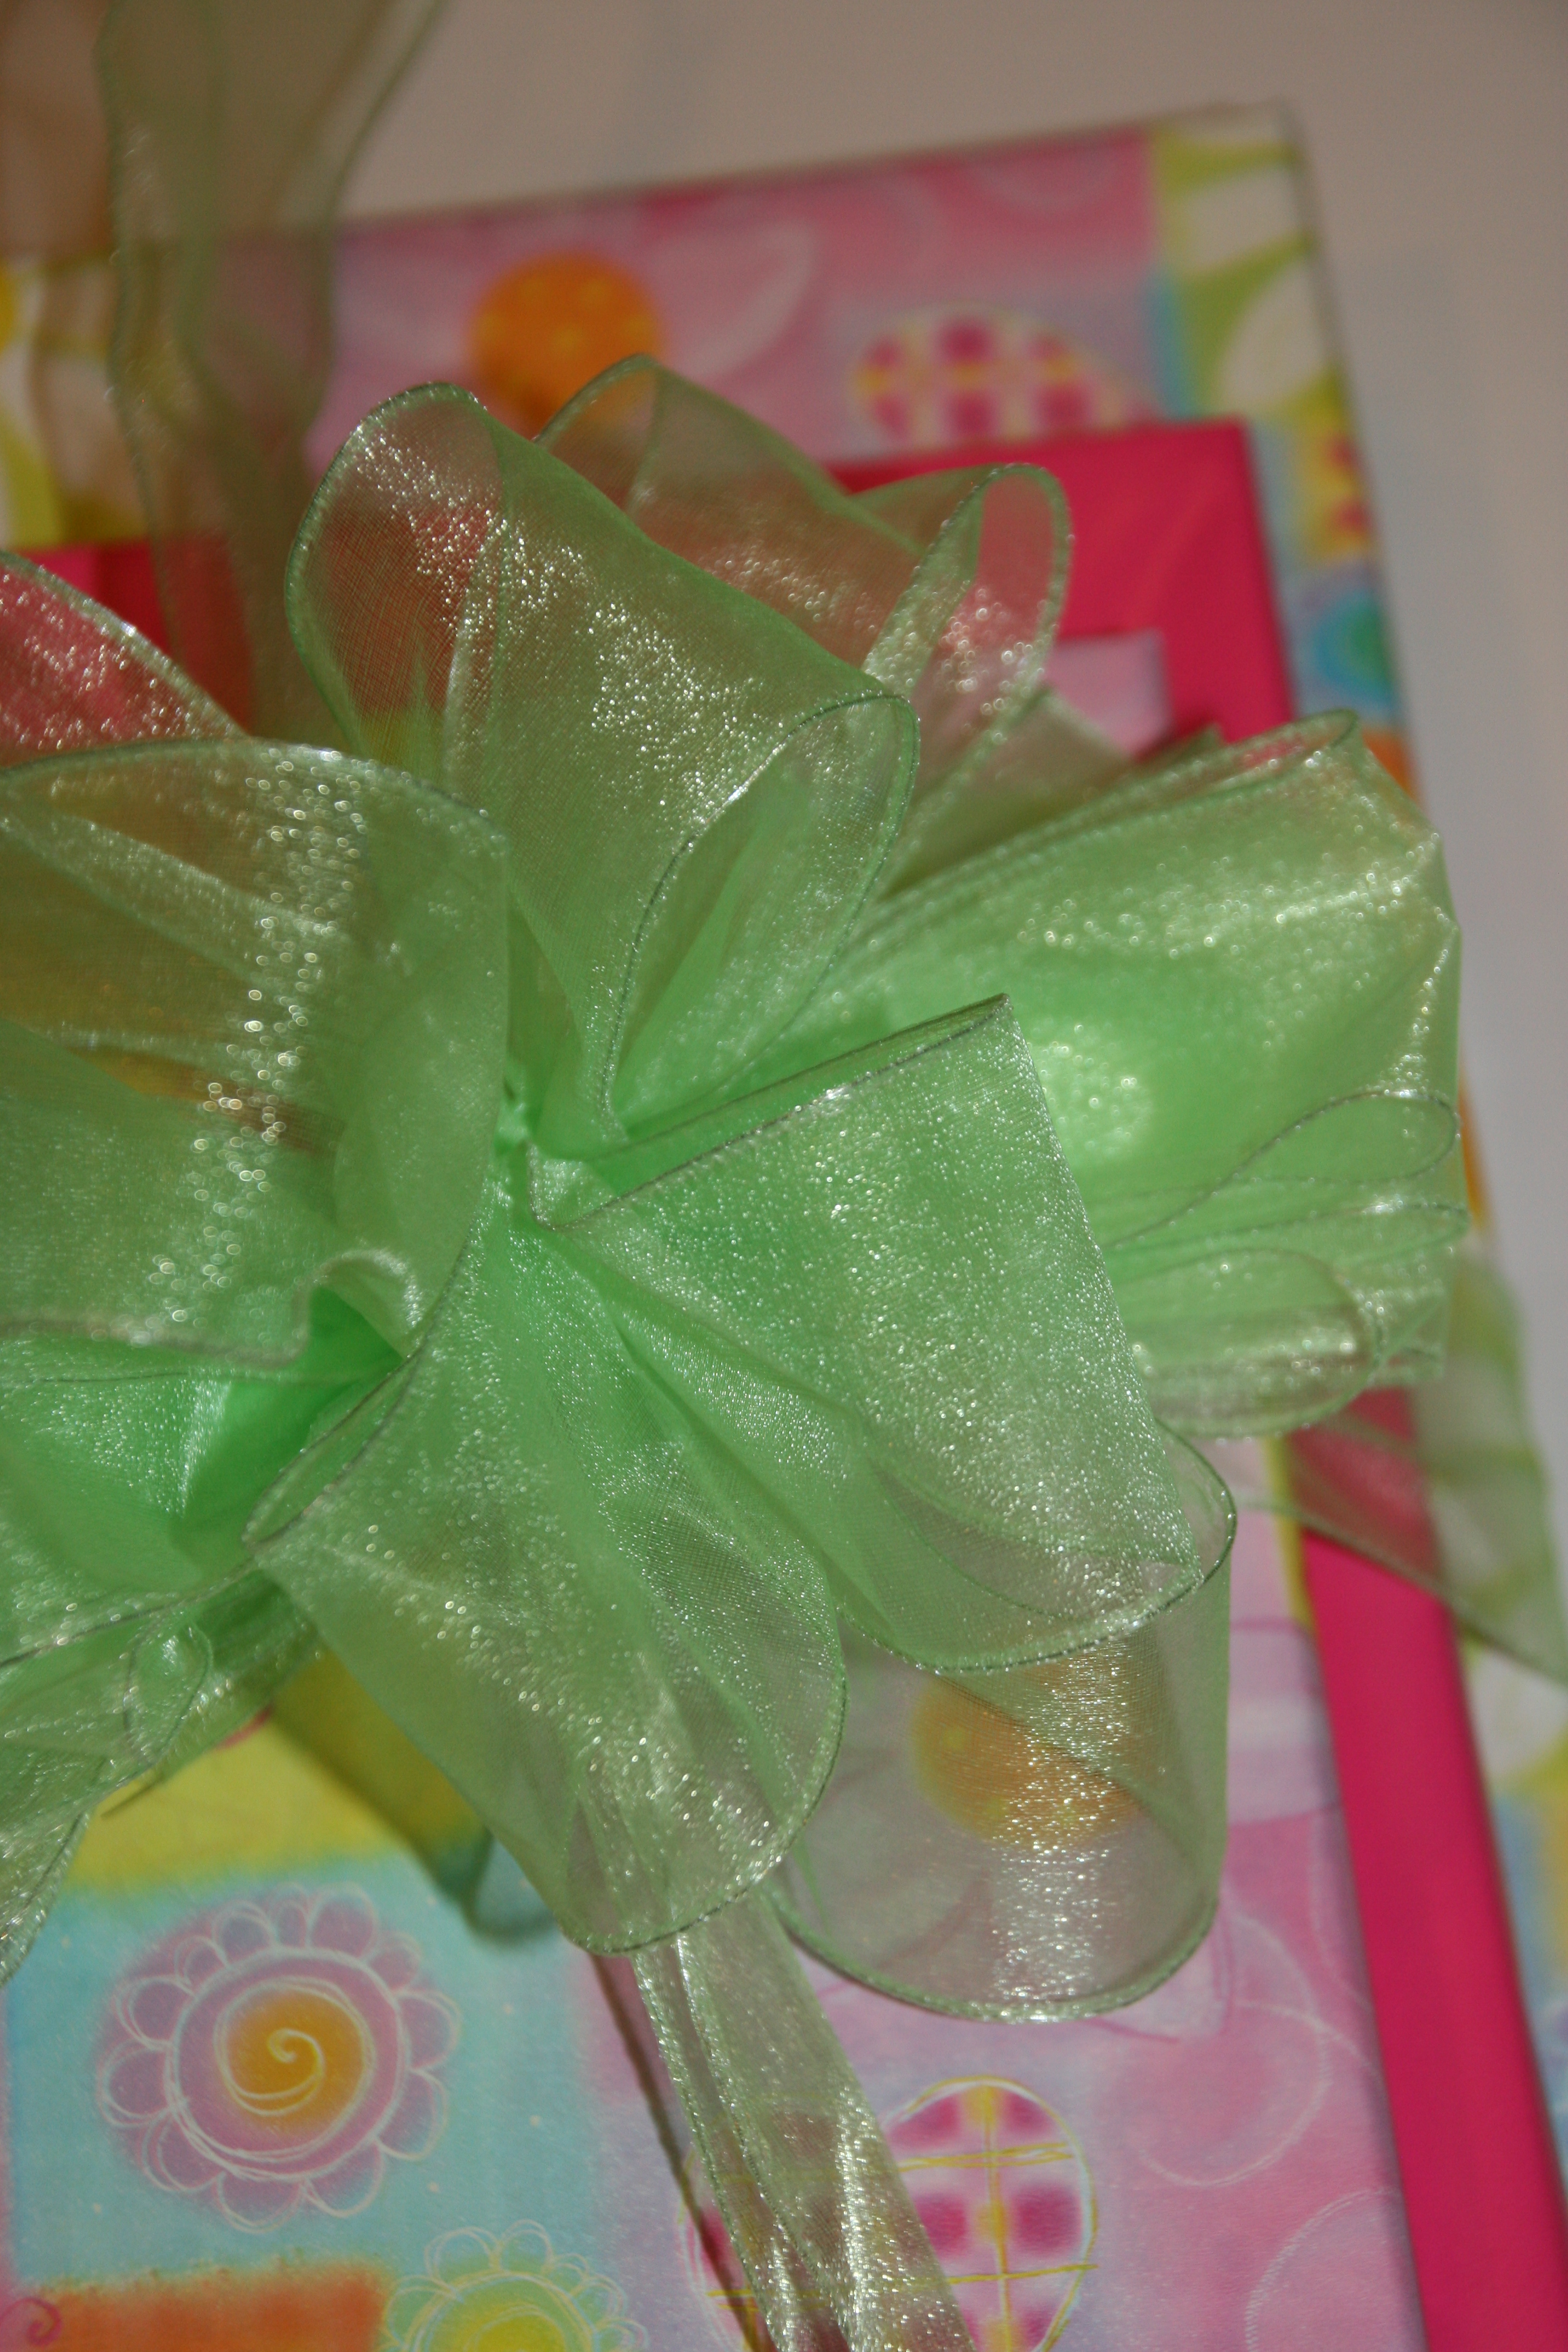
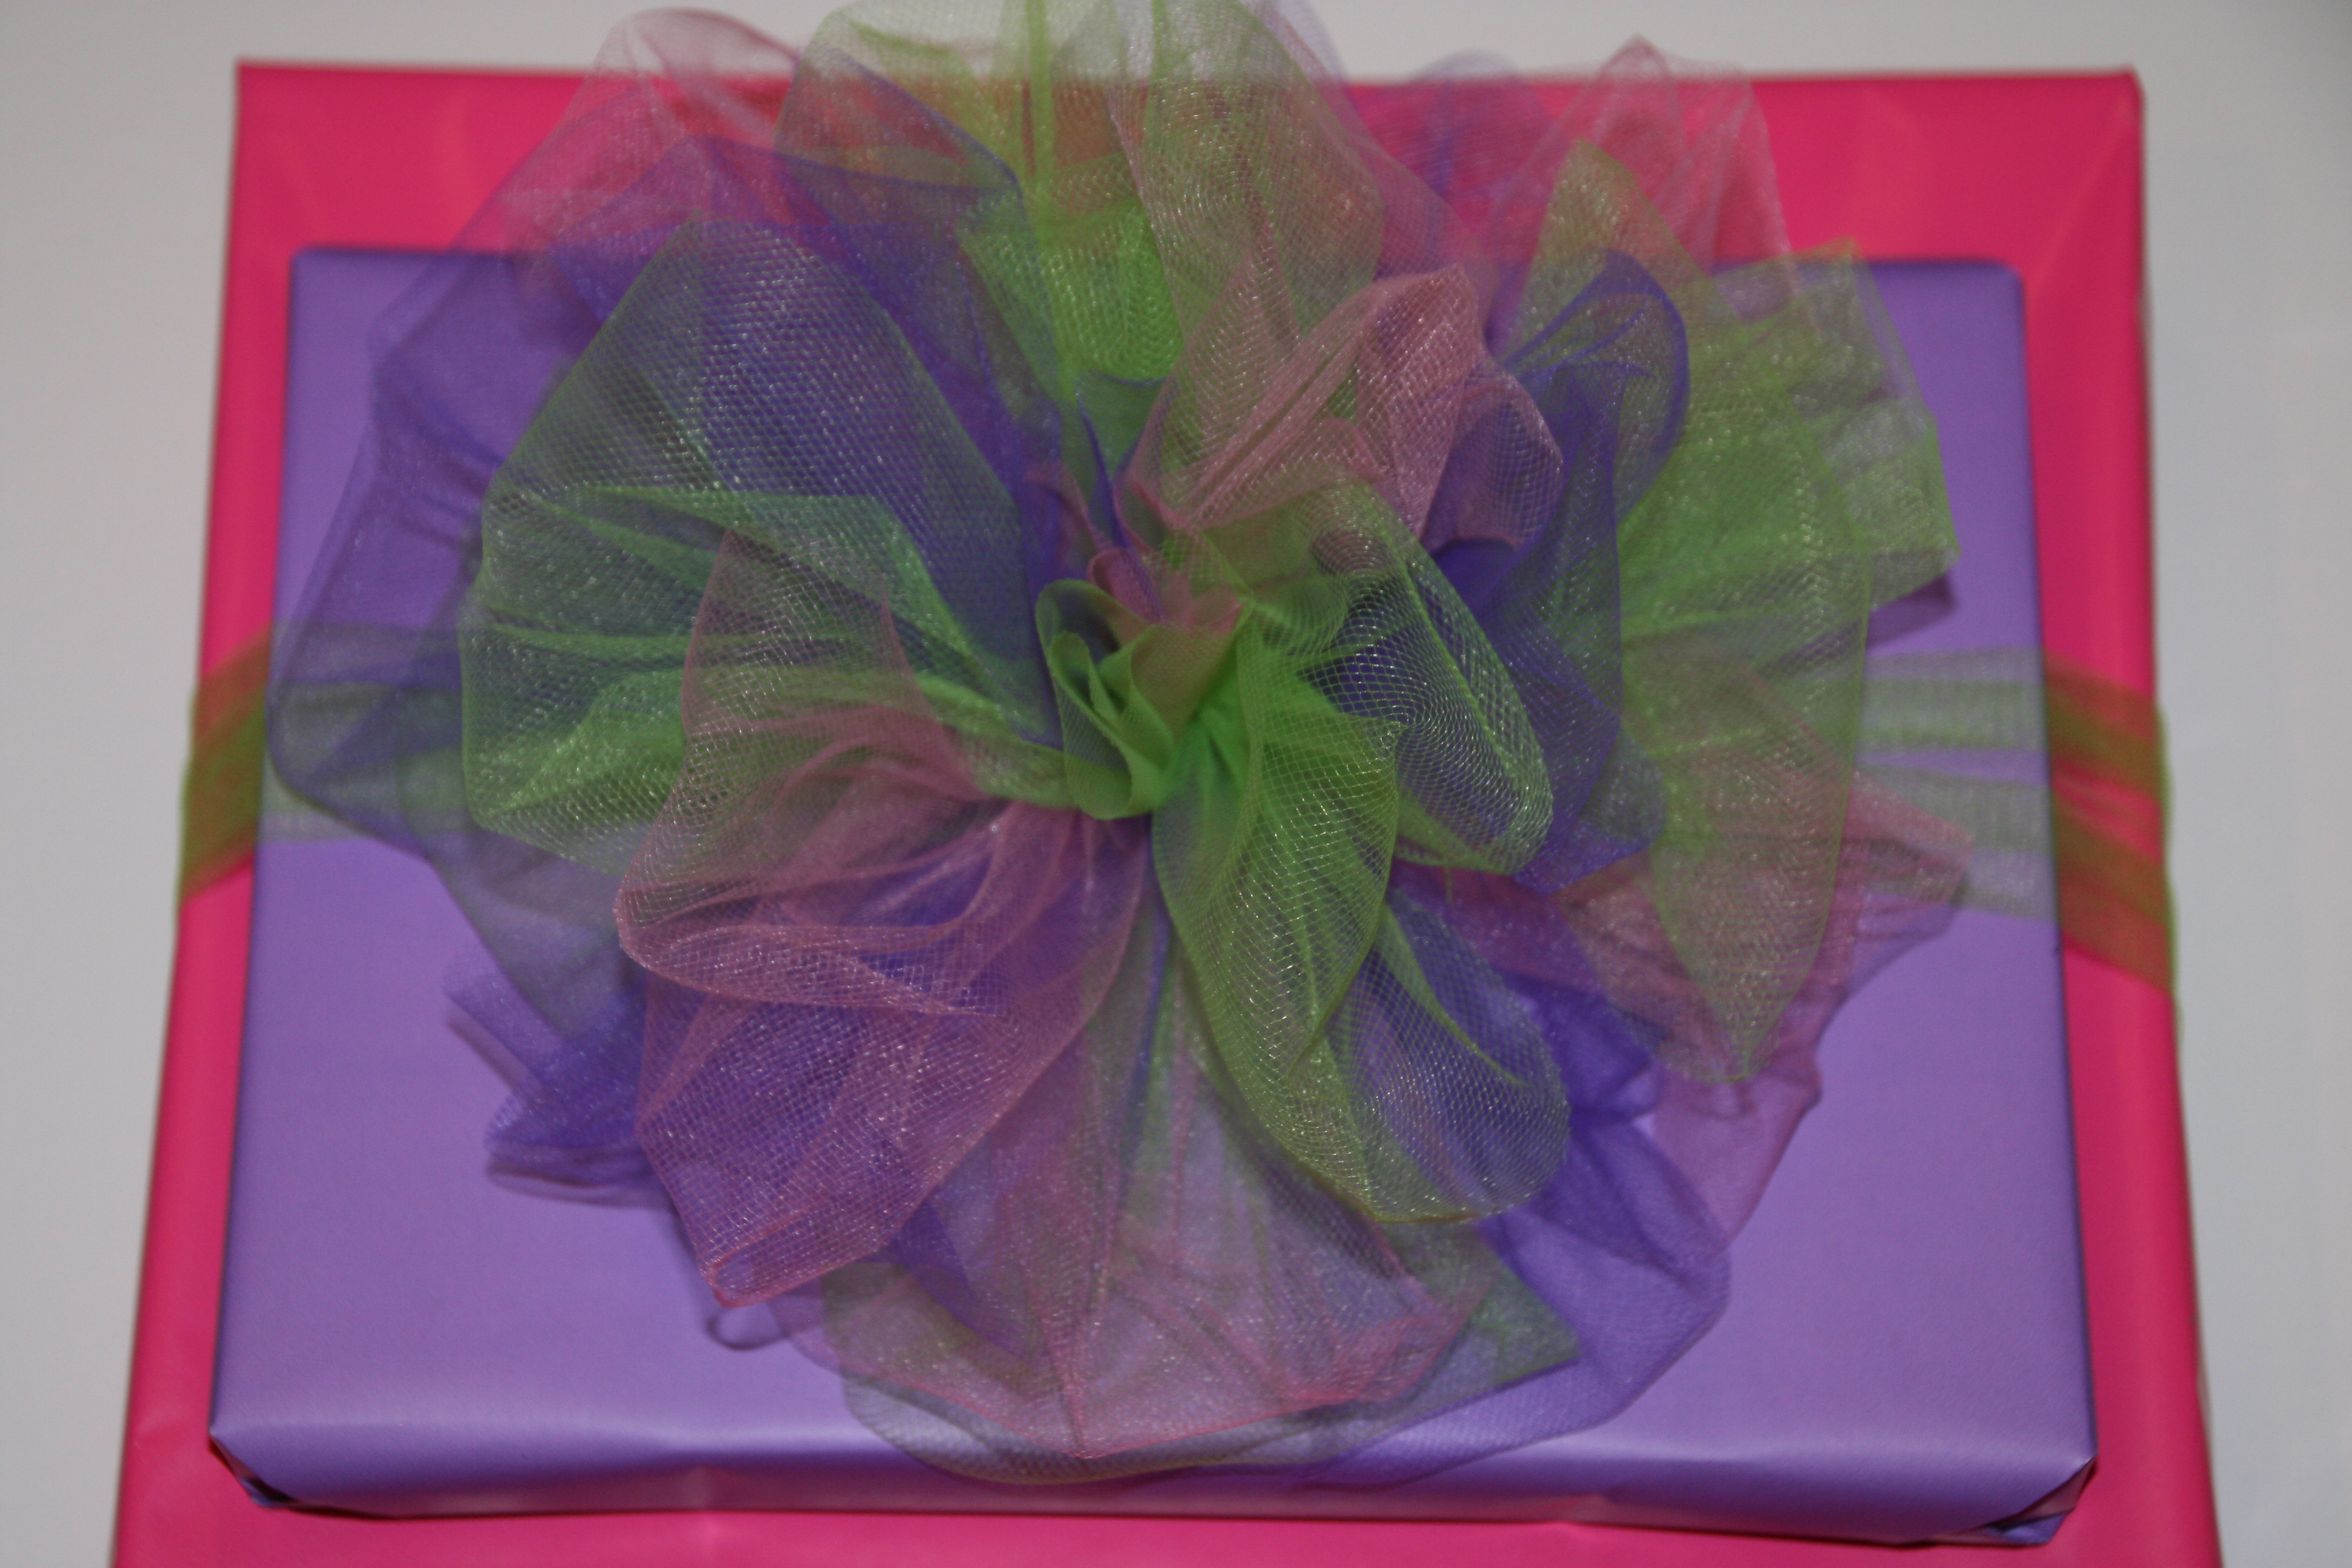
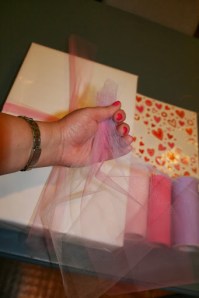
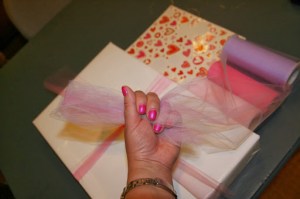
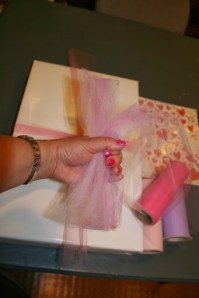
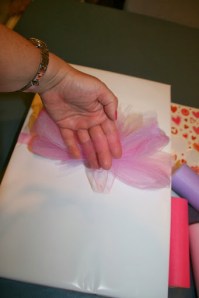
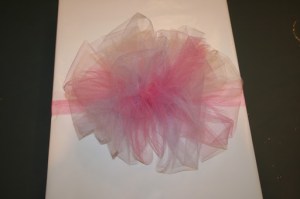
Make the tulle bow using multiple colors (see my post “Tulle”tally awesome bows for tulle bow how to).

008010

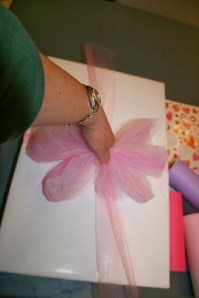
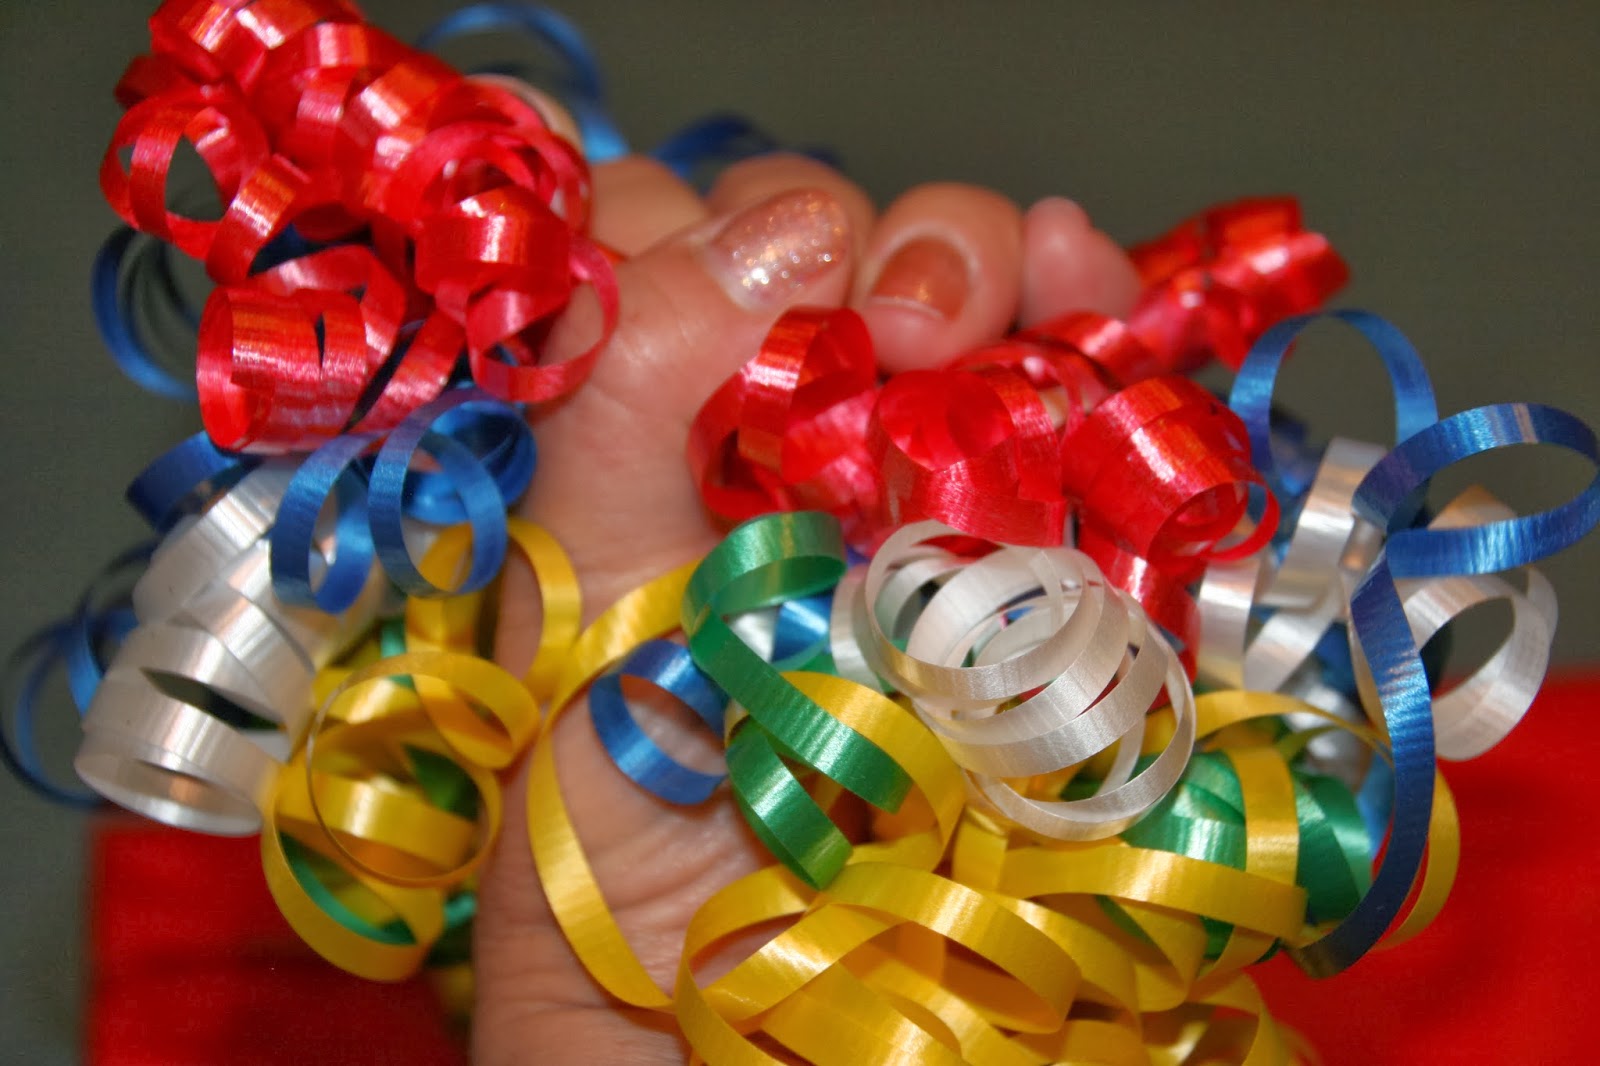
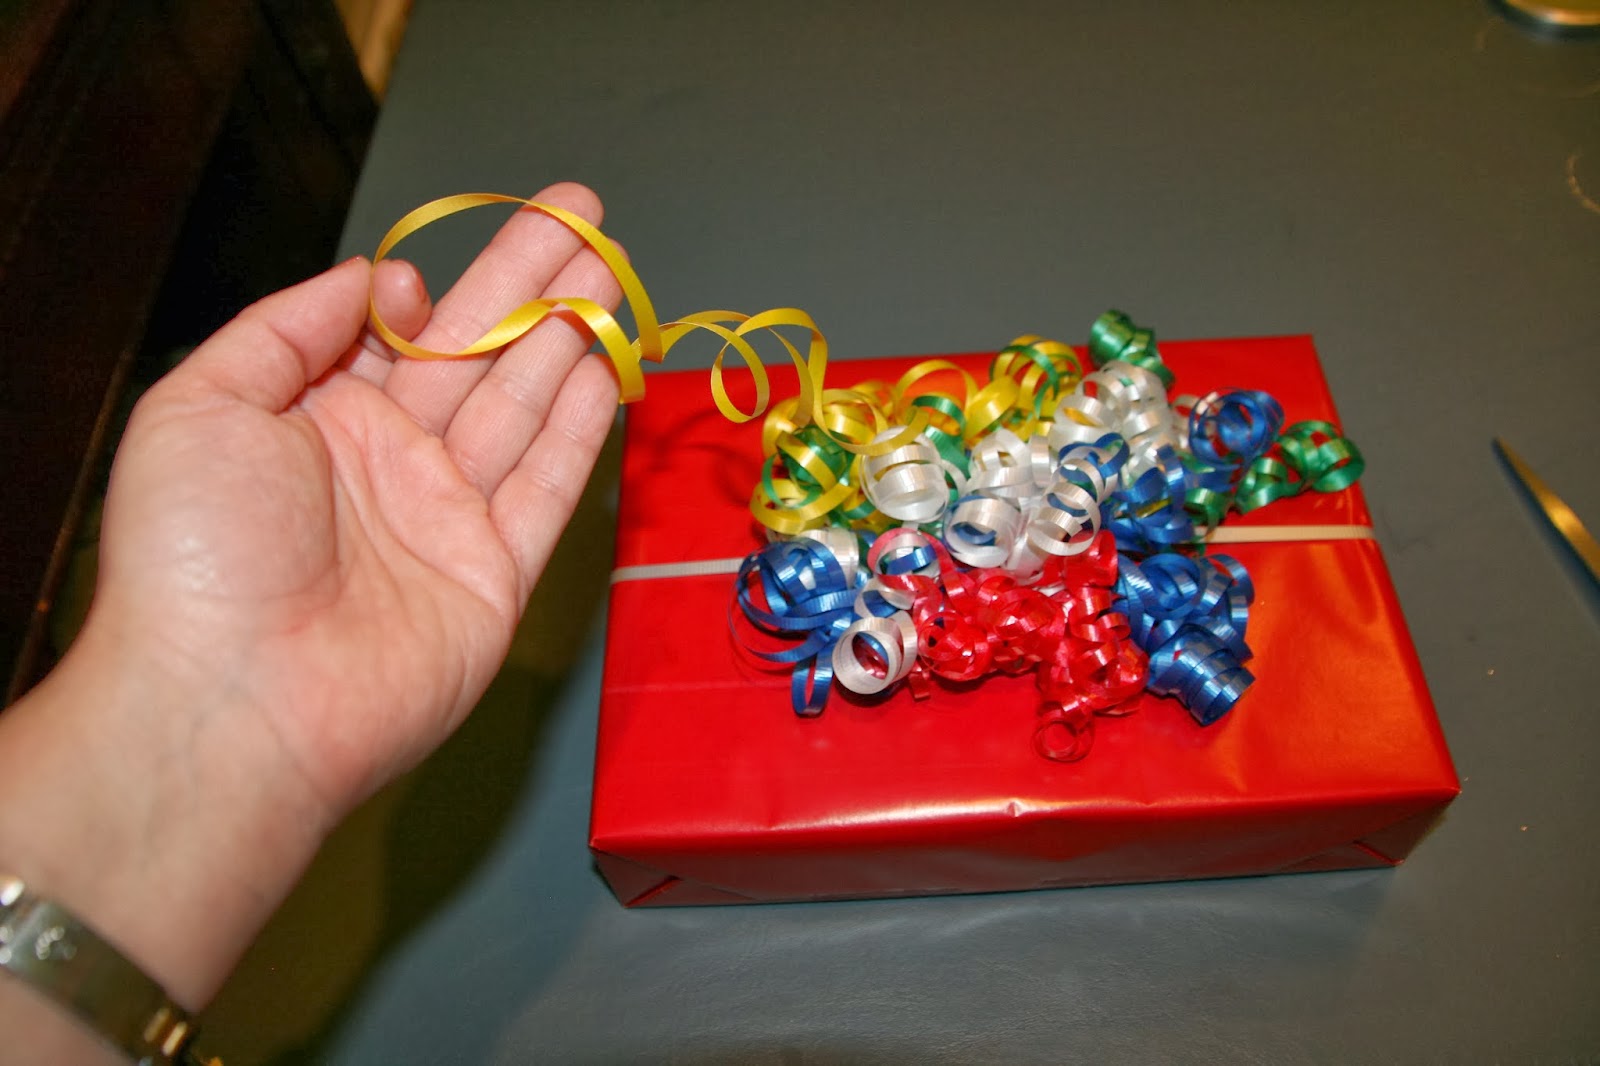
Once the tulle is tied onto the package, curl the curling ribbon and tie it on top of the tulle.

013

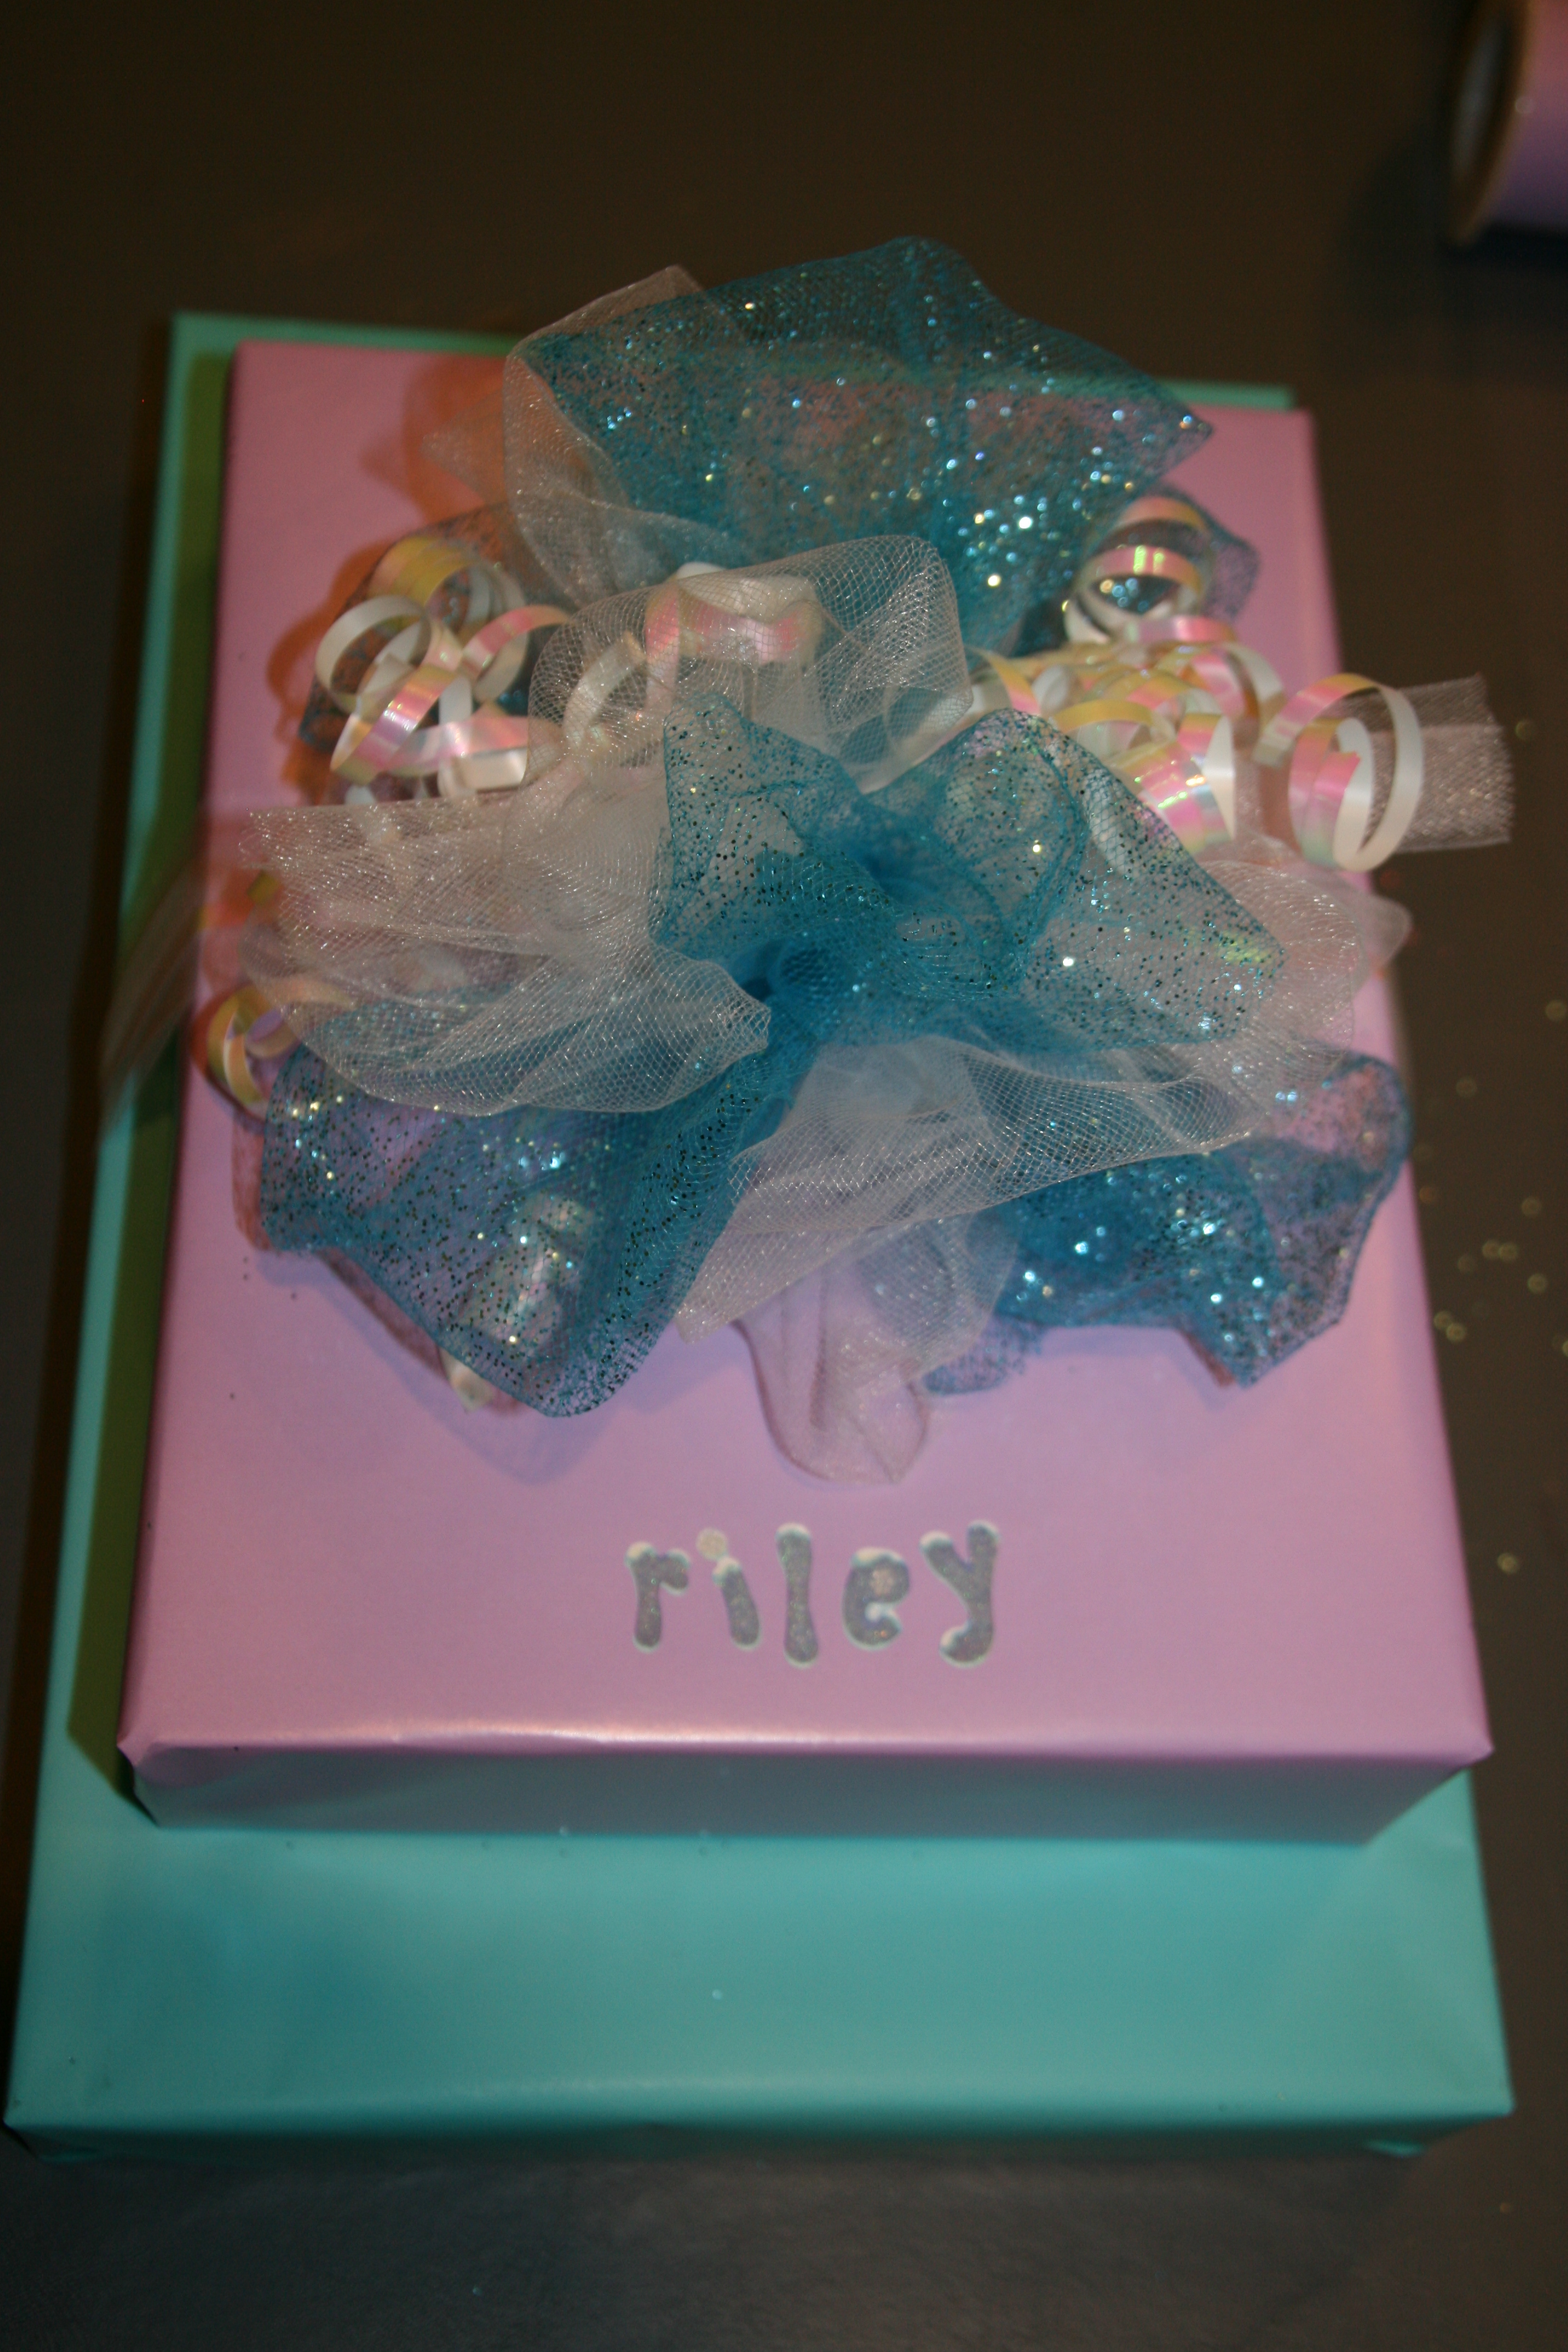
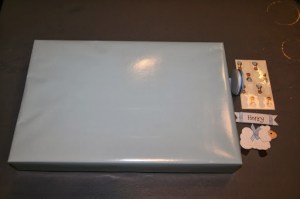
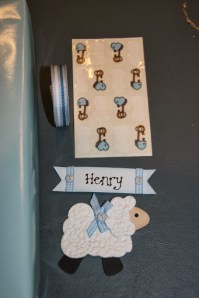
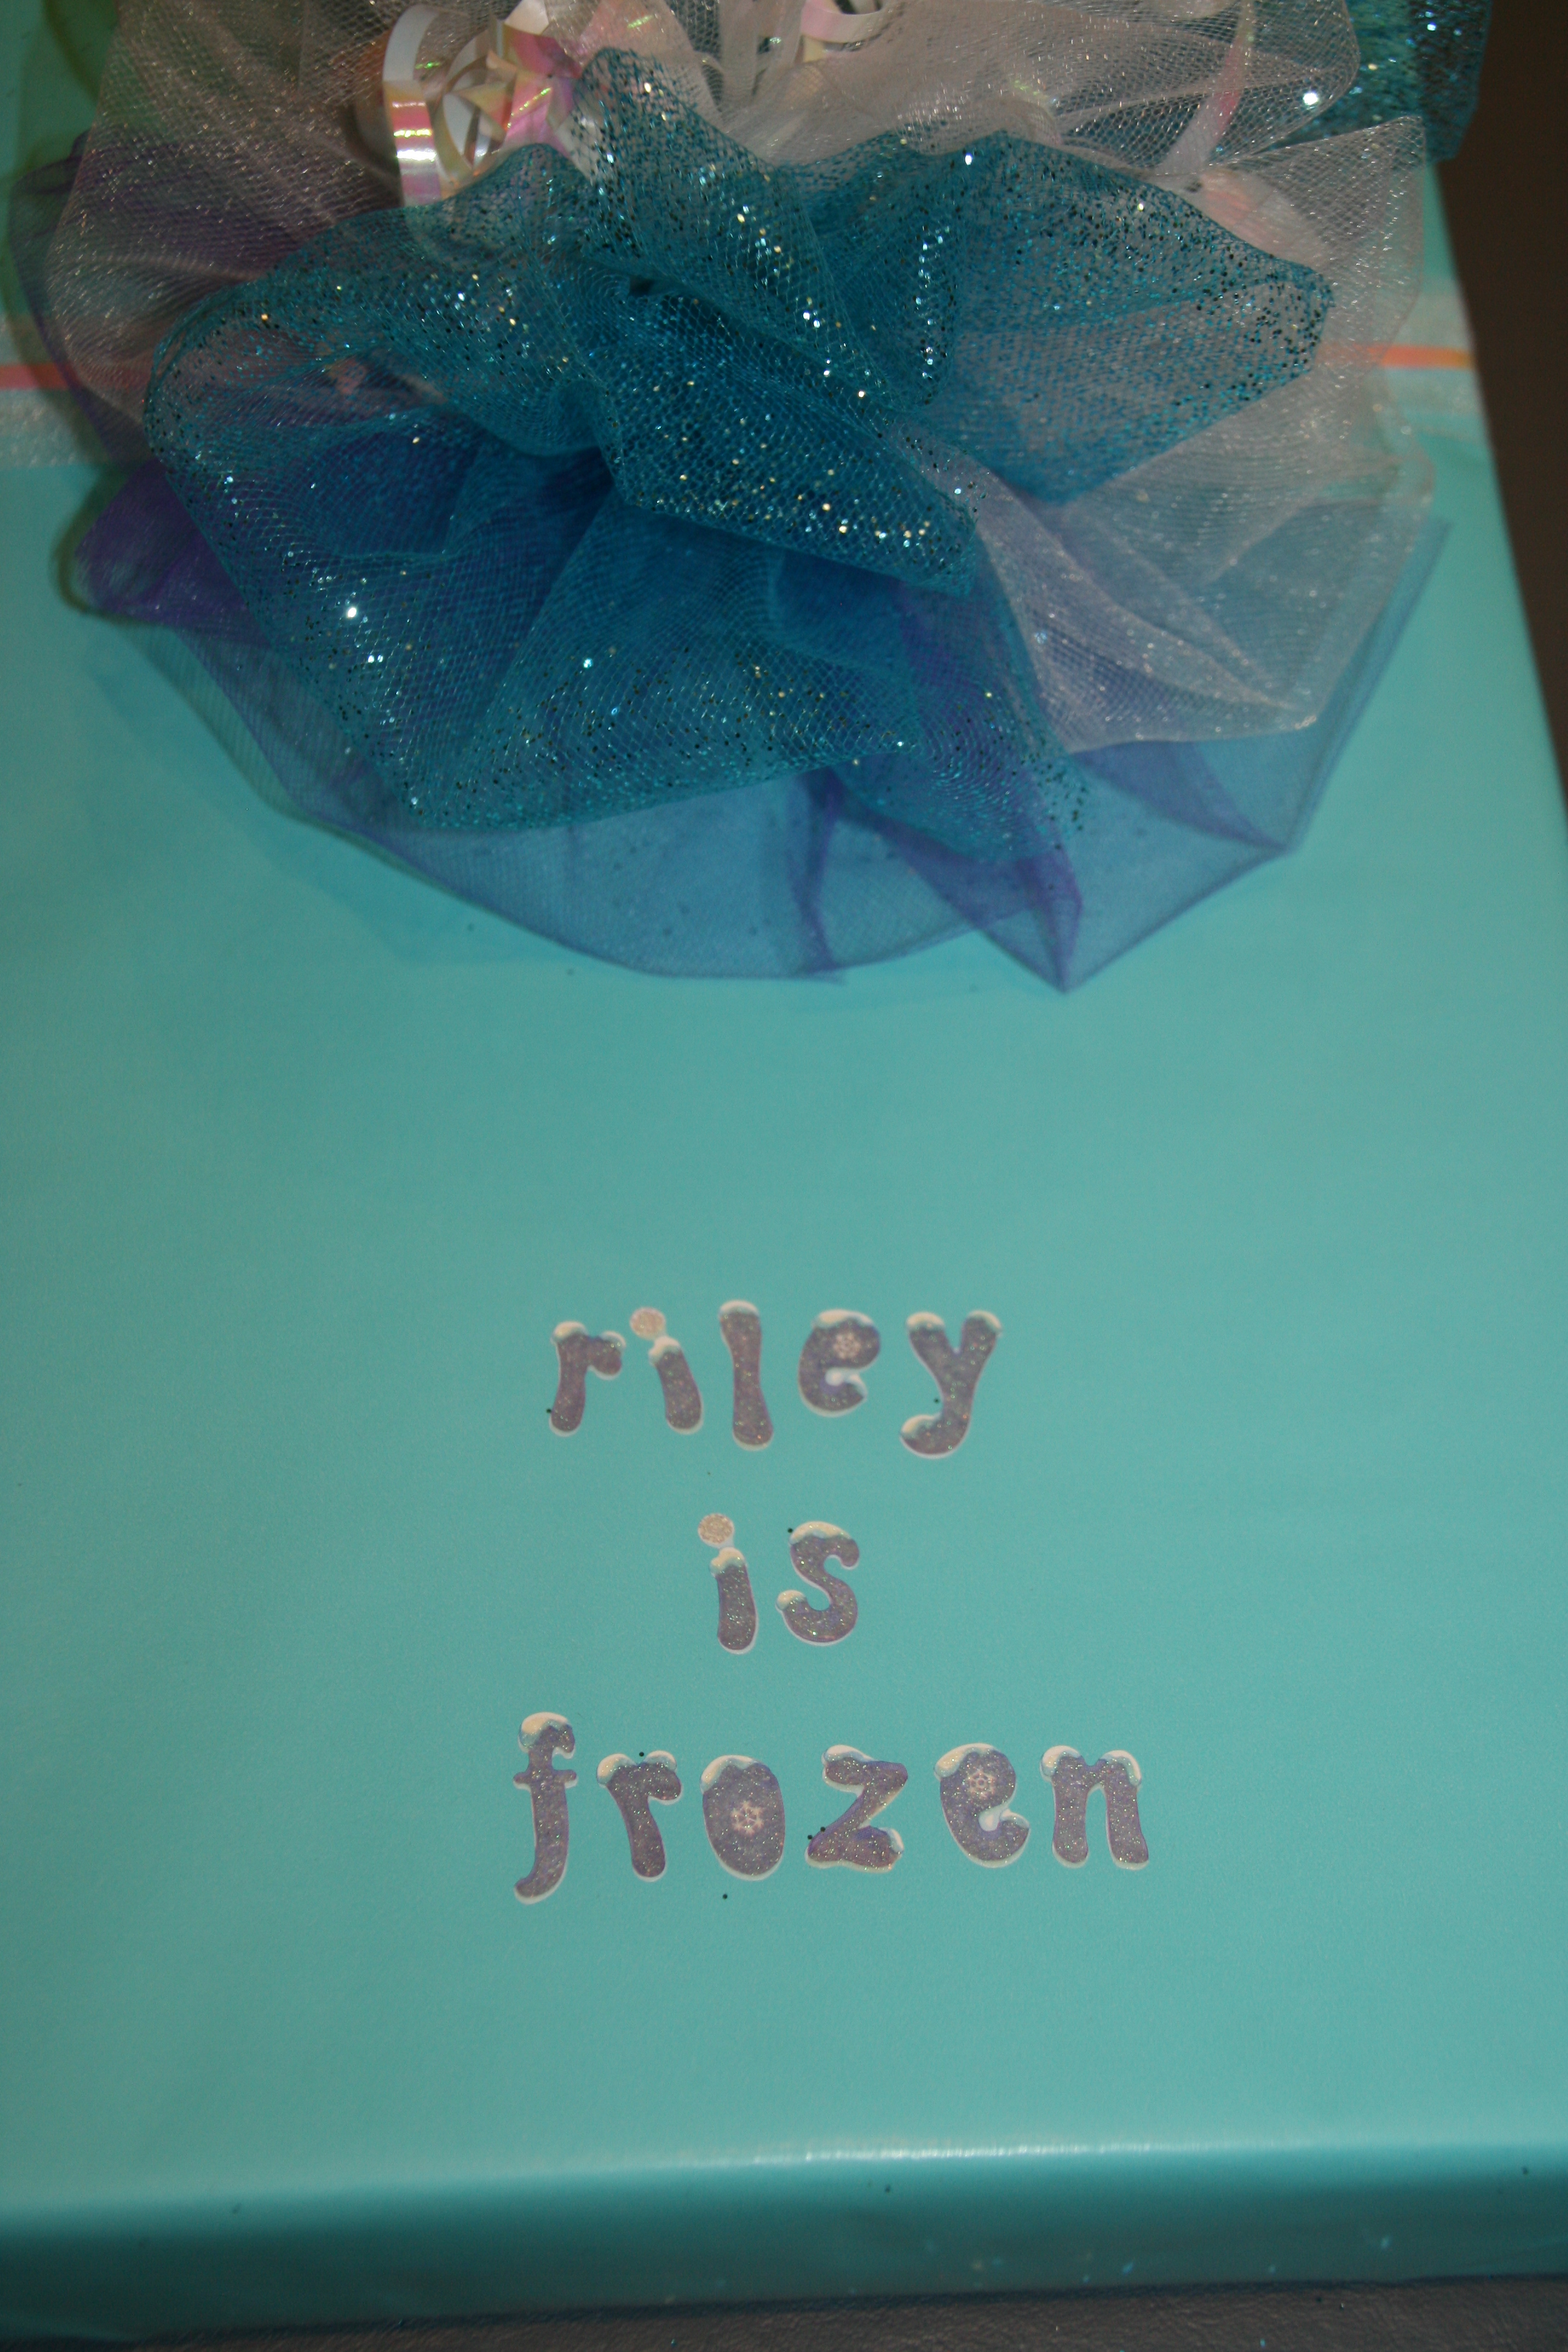
Fluff & separate the tulle.  Add stickers, if desired.

014015

Package #2 has tulle in the colors of the first packages wrapping paper, with white paper.

016019

Package #3 is similar to package #1, but only 1 layer.

021022

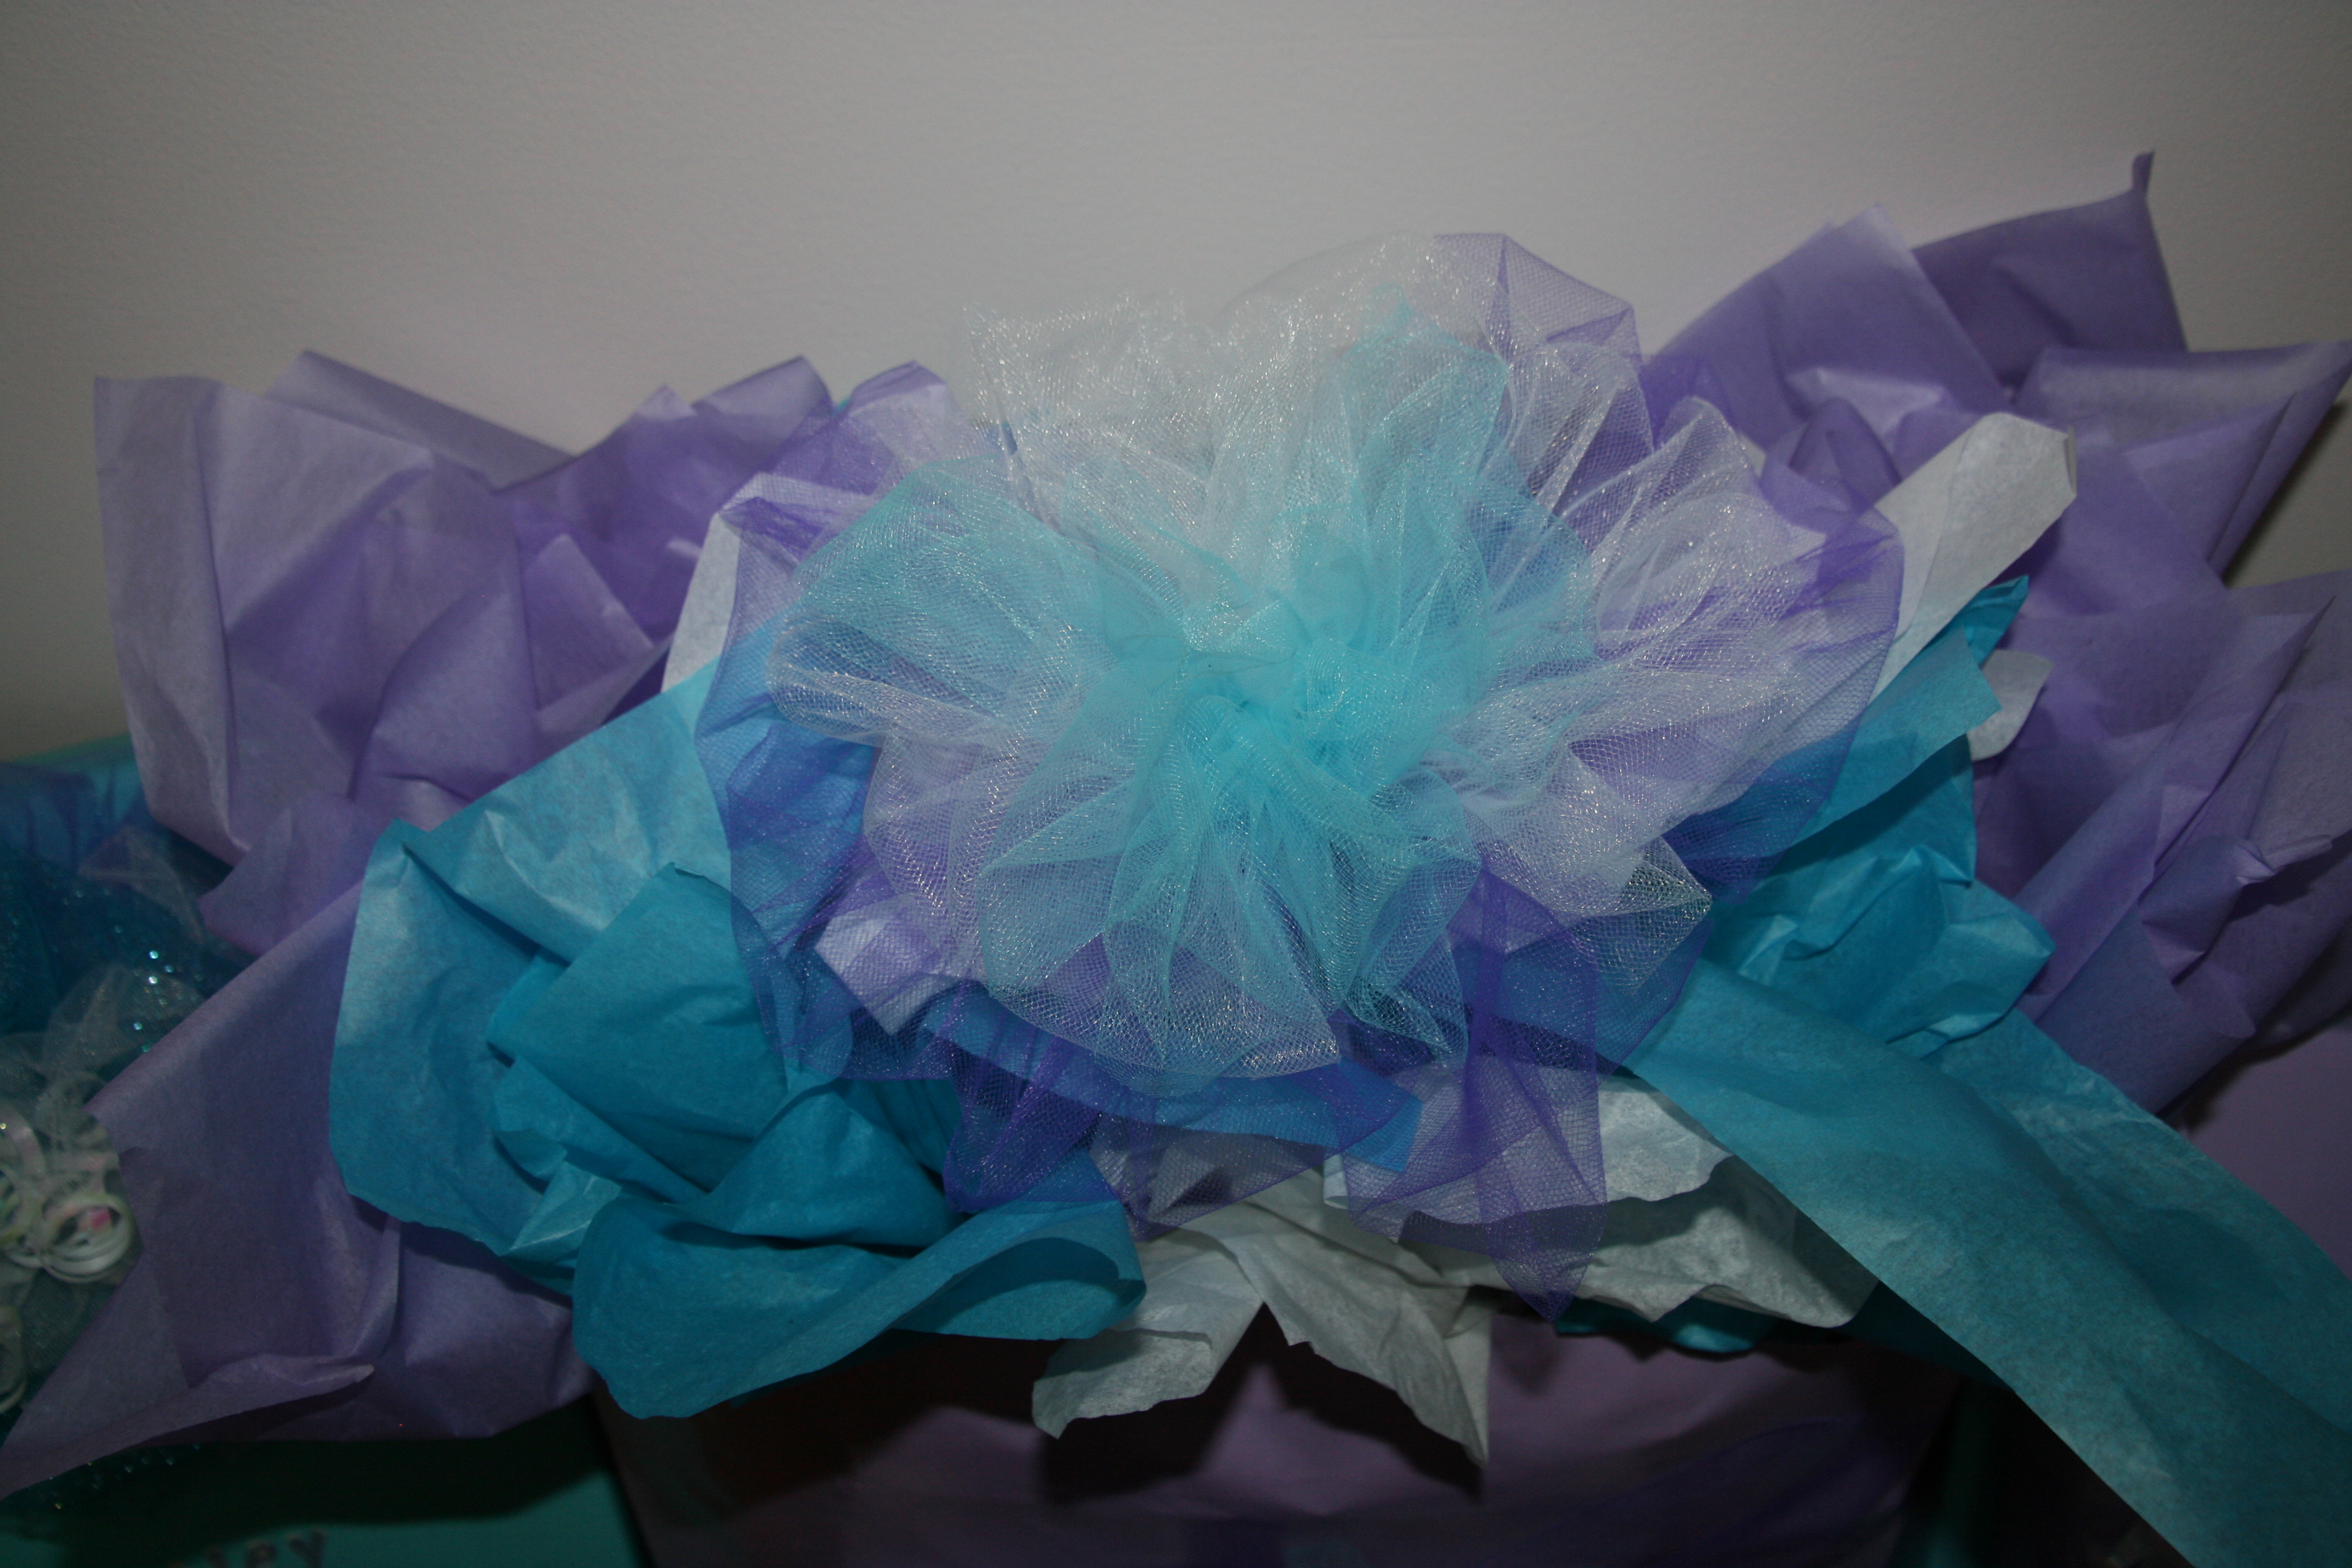
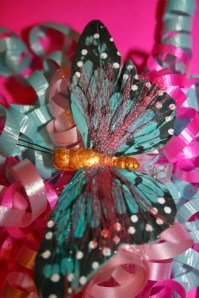
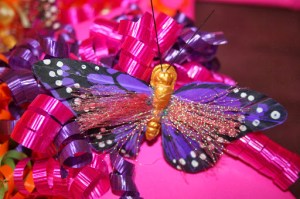
In this situation, I chose to use a gift bag, even though I am not a big fan of them.  The gift was an odd shape and larger than any boxes that I had.  I used tissue paper in the same colors of the wrapping paper and made a fluffy tulle bow to tie on top.

023

Quite a presentation when it is all put together.  Gorgeous coordinating!

Happy wrapping…

“Wonder what I will come up with next”…

BIG fluffy wire ribbon bows

I LOVE LOVE LOVE wire ribbon!!!  It is so versatile and easy to use.  One of my favorite bows to make is a BIG fluffy, loopy bow.

019

I chose colorful wrapping paper with a solid bright pink.  Wrap the gifts and stack them.  Be sure to tape the underside of the packages with double sided tape so they stay in place.

007008

The patterned paper has green, orange & yellow, but I chose to use the green ribbon.  Start with a loop, then another loop on the other side.  Be sure your loops are the same size or the bow will look lopsided.

009010

Continue to loop the ribbon back and forth.  Since this ribbon is the same on both sides, there is no need to twist the ribbon.  Keep looping until there are numerous loops in your hand.  The final loop will be positioned in your hand to create a circle.  This is where the bow is tied onto the package.

013

See the circle now that the bow is tied onto the package.

014015

Start with the center loop and use your fingers to open and separate each loop.  Pull the loops to each side and the middle as you separate each of them.

016017

Don’t forget to finish the bow by cutting the edge of the ribbon.

020

The gift is now ready to be given.  A very impressive bow that will make the recipient feel special.

019

Happy looping…

“Wonder what I will come up with next”…

Gift Wrapping with stickers

As I have professed previously, I am a HUGE fan of wrapping presents, putting BIG pretty bows and stickers on them.  I love to use letter stickers and spell out the recipients name.

006

The supplies needed are solid wrapping paper in coordinating colors, stickers and colorful tulle colors that match the stickers & paper.

002

Once the tulle bow is made, tie it onto the package and separate and fluff the tulle. (see my “tulle”tally awesome bows post for tulle bow how to)

003005

Add stickers spelling the recipients name.  I bought these at The Dollar Tree.  They are big and very colorful.

006

Happy wrapping…

“Wonder what I will come up with next”…

“Tulle”tally awesome bows…

Oh tulle, how do I love thee!  Let me count the ways…  Seriously, tulle is so easy to work with and makes the MOST AMAZING bows!!!  Used by itself or added to other ribbons, tulle can enhance the beauty of any package.  Let me show you how easy it is to use.

https://www.youtube.com/embed/A2PEcR7cvYg“>youtube “how to make a tulle bow” video
Grab the ends of each roll of tulle.  I chose 3 “Valentine’s Day” colors.
Loop the tulle on one side.  Make the loop the size that you want half of your bow to be.  You will then loop it again on the other side and that will give you the bow width.

Since I used 3 colors of tulle, I only looped the tulle 3 times on each side, giving me a total of 9 loops per side.

Tie the loops onto the package and separate each color of tulle, as well as open up each loop to “fluff” the bow.
Spread the different colors as you fluff.
Add stickers and you are done.
Shift the bow up on the package for something different, or you can center it.
Happy Valentine’s Day…
“Wonder what I will come up with next”…

Pack, Wrap, Ship…

Now that I have made my stance on pretty bows on packages, you may be asking yourself, “What does she do with a present she is shipping?”  Obviously, a pretty bow would get smashed during transport.  I take a little different approach on these types of packages.  I still don’t use a gift bag, though.  Ha-Ha-Ha.  In all seriousness, I DO use gift bags on occasion, but it is rare.  So getting back to a shipped package, I treat this package more like a scrapbook page.  I use ribbon and stickers to decorate the top of the package.

The present is still impressive even without a bow.  Now you are ready to cover the package in “brown packaging paper”, which comes in a roll like wrapping paper.  I frequently purchase this at the Dollar Tree.  Be sure to tape with packaging tape.  Address and ship.  Your recipient will be pleased with your presentation!

Happy shipping…

Just say "NO" to gift bags…

Ok, so I know that gift bags are easy to use.  Just throw your gift in, add a few pieces of tissue paper and you are done.  Yes, I get it!  BUT, is the presentation the same as when you wrap a gift and put a pretty bow on top?  Absolutely not!  Yes, you will need a few more items, but it is worth the time.  AND, gift bags aren’t cheap, unless you only get them at the Dollar Tree or 99 cent store.  Today I will show you a simple package using curling ribbon, solid wrapping paper (which I have become a BIG fan of), and stickers.  Quick, simple, and something to be proud of handing to your recipient.

Decide what colors you want to use based on the stickers you have chosen.  For this birthday boy, I chose to have a carnival theme package.  I used curling ribbon in the colors on the stickers.

Be generous with the amount of ribbon you use.  After you have curled it with an open pair of scissors, bunch it in your hand.  Prior to this step, be sure to have a piece of ribbon already tied onto your package.

Tie your handful of ribbon onto the package.  Curl the tie pieces.

Run your fingers through the ribbon and cut any “loops” that are in your bunch.  As you cut the loops, be sure to mix the colors around.

Now apply the stickers…

Ok, so maybe it took 10 minutes to assemble versus 2 minutes with a gift bag, but it is worth the extra 8 minutes.  Wrapping like this makes your recipient feel extra special.  As a side note, I never put a card on top of the gift unless it compliments the decoration.  Tape the card on the bottom.

Happy wrapping…