Fancy fake pumpkins…

https://www.youtube.com/embed/ZC2qqAano-A“>youtube “how to” video

005

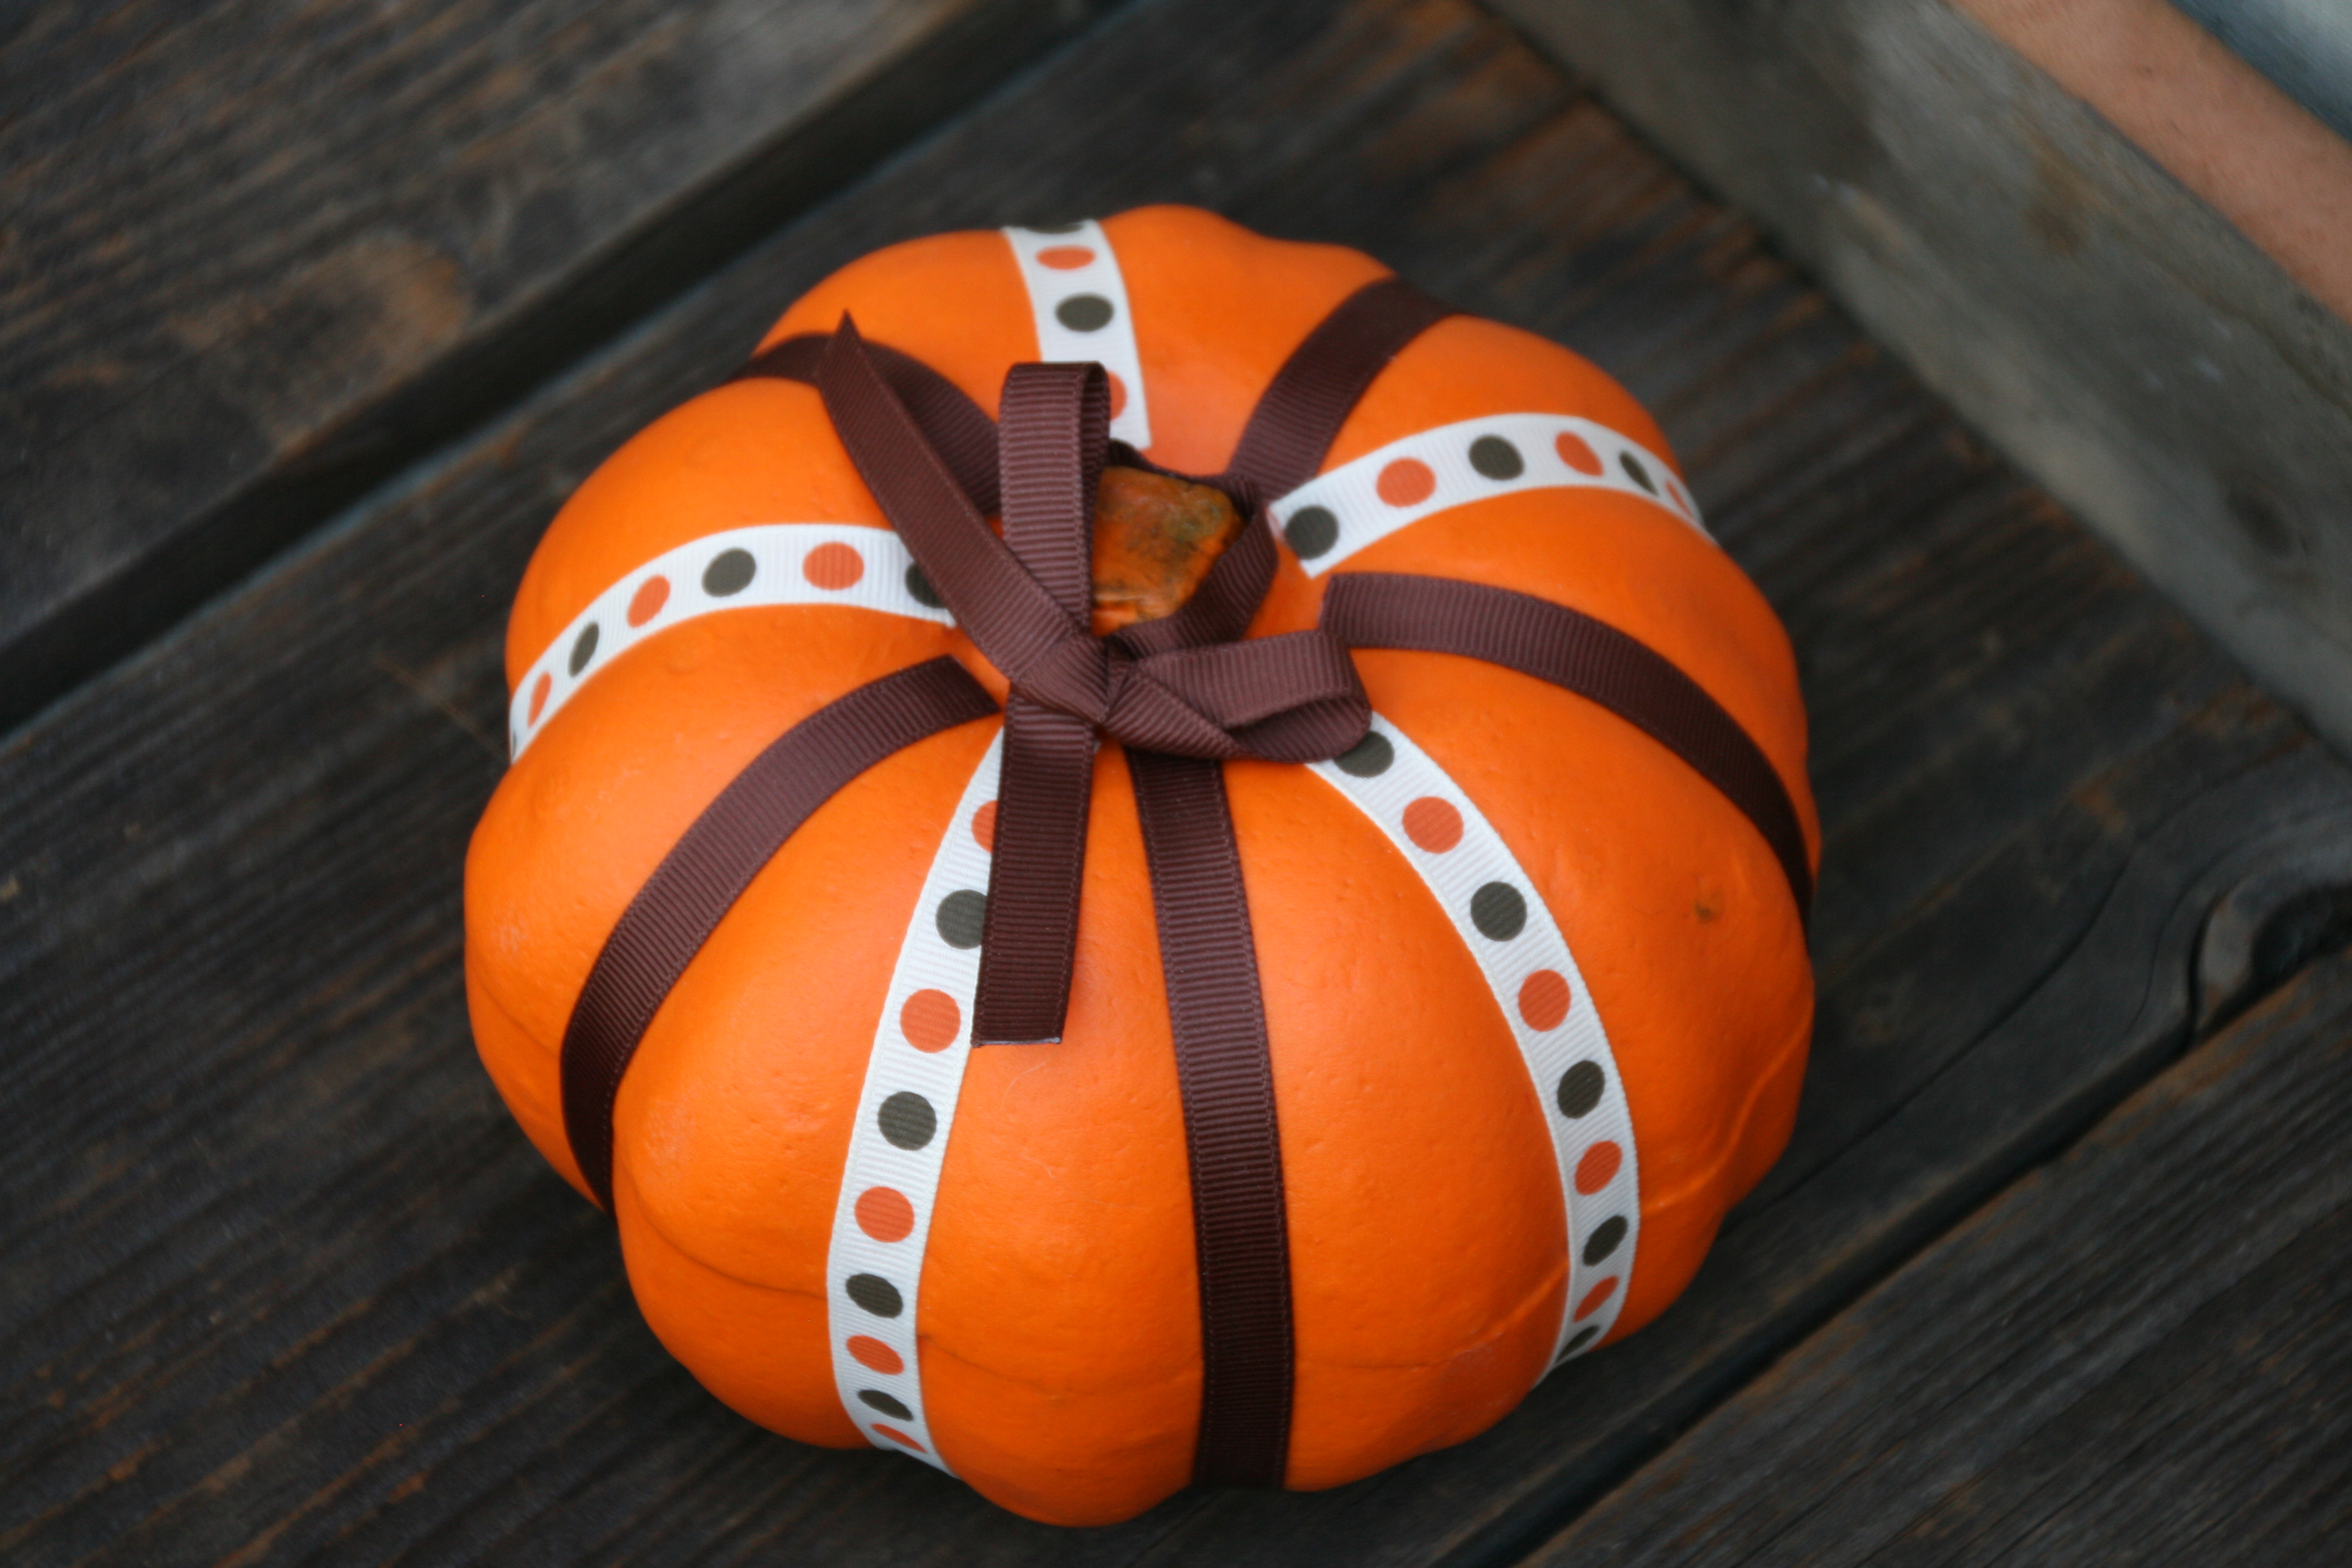
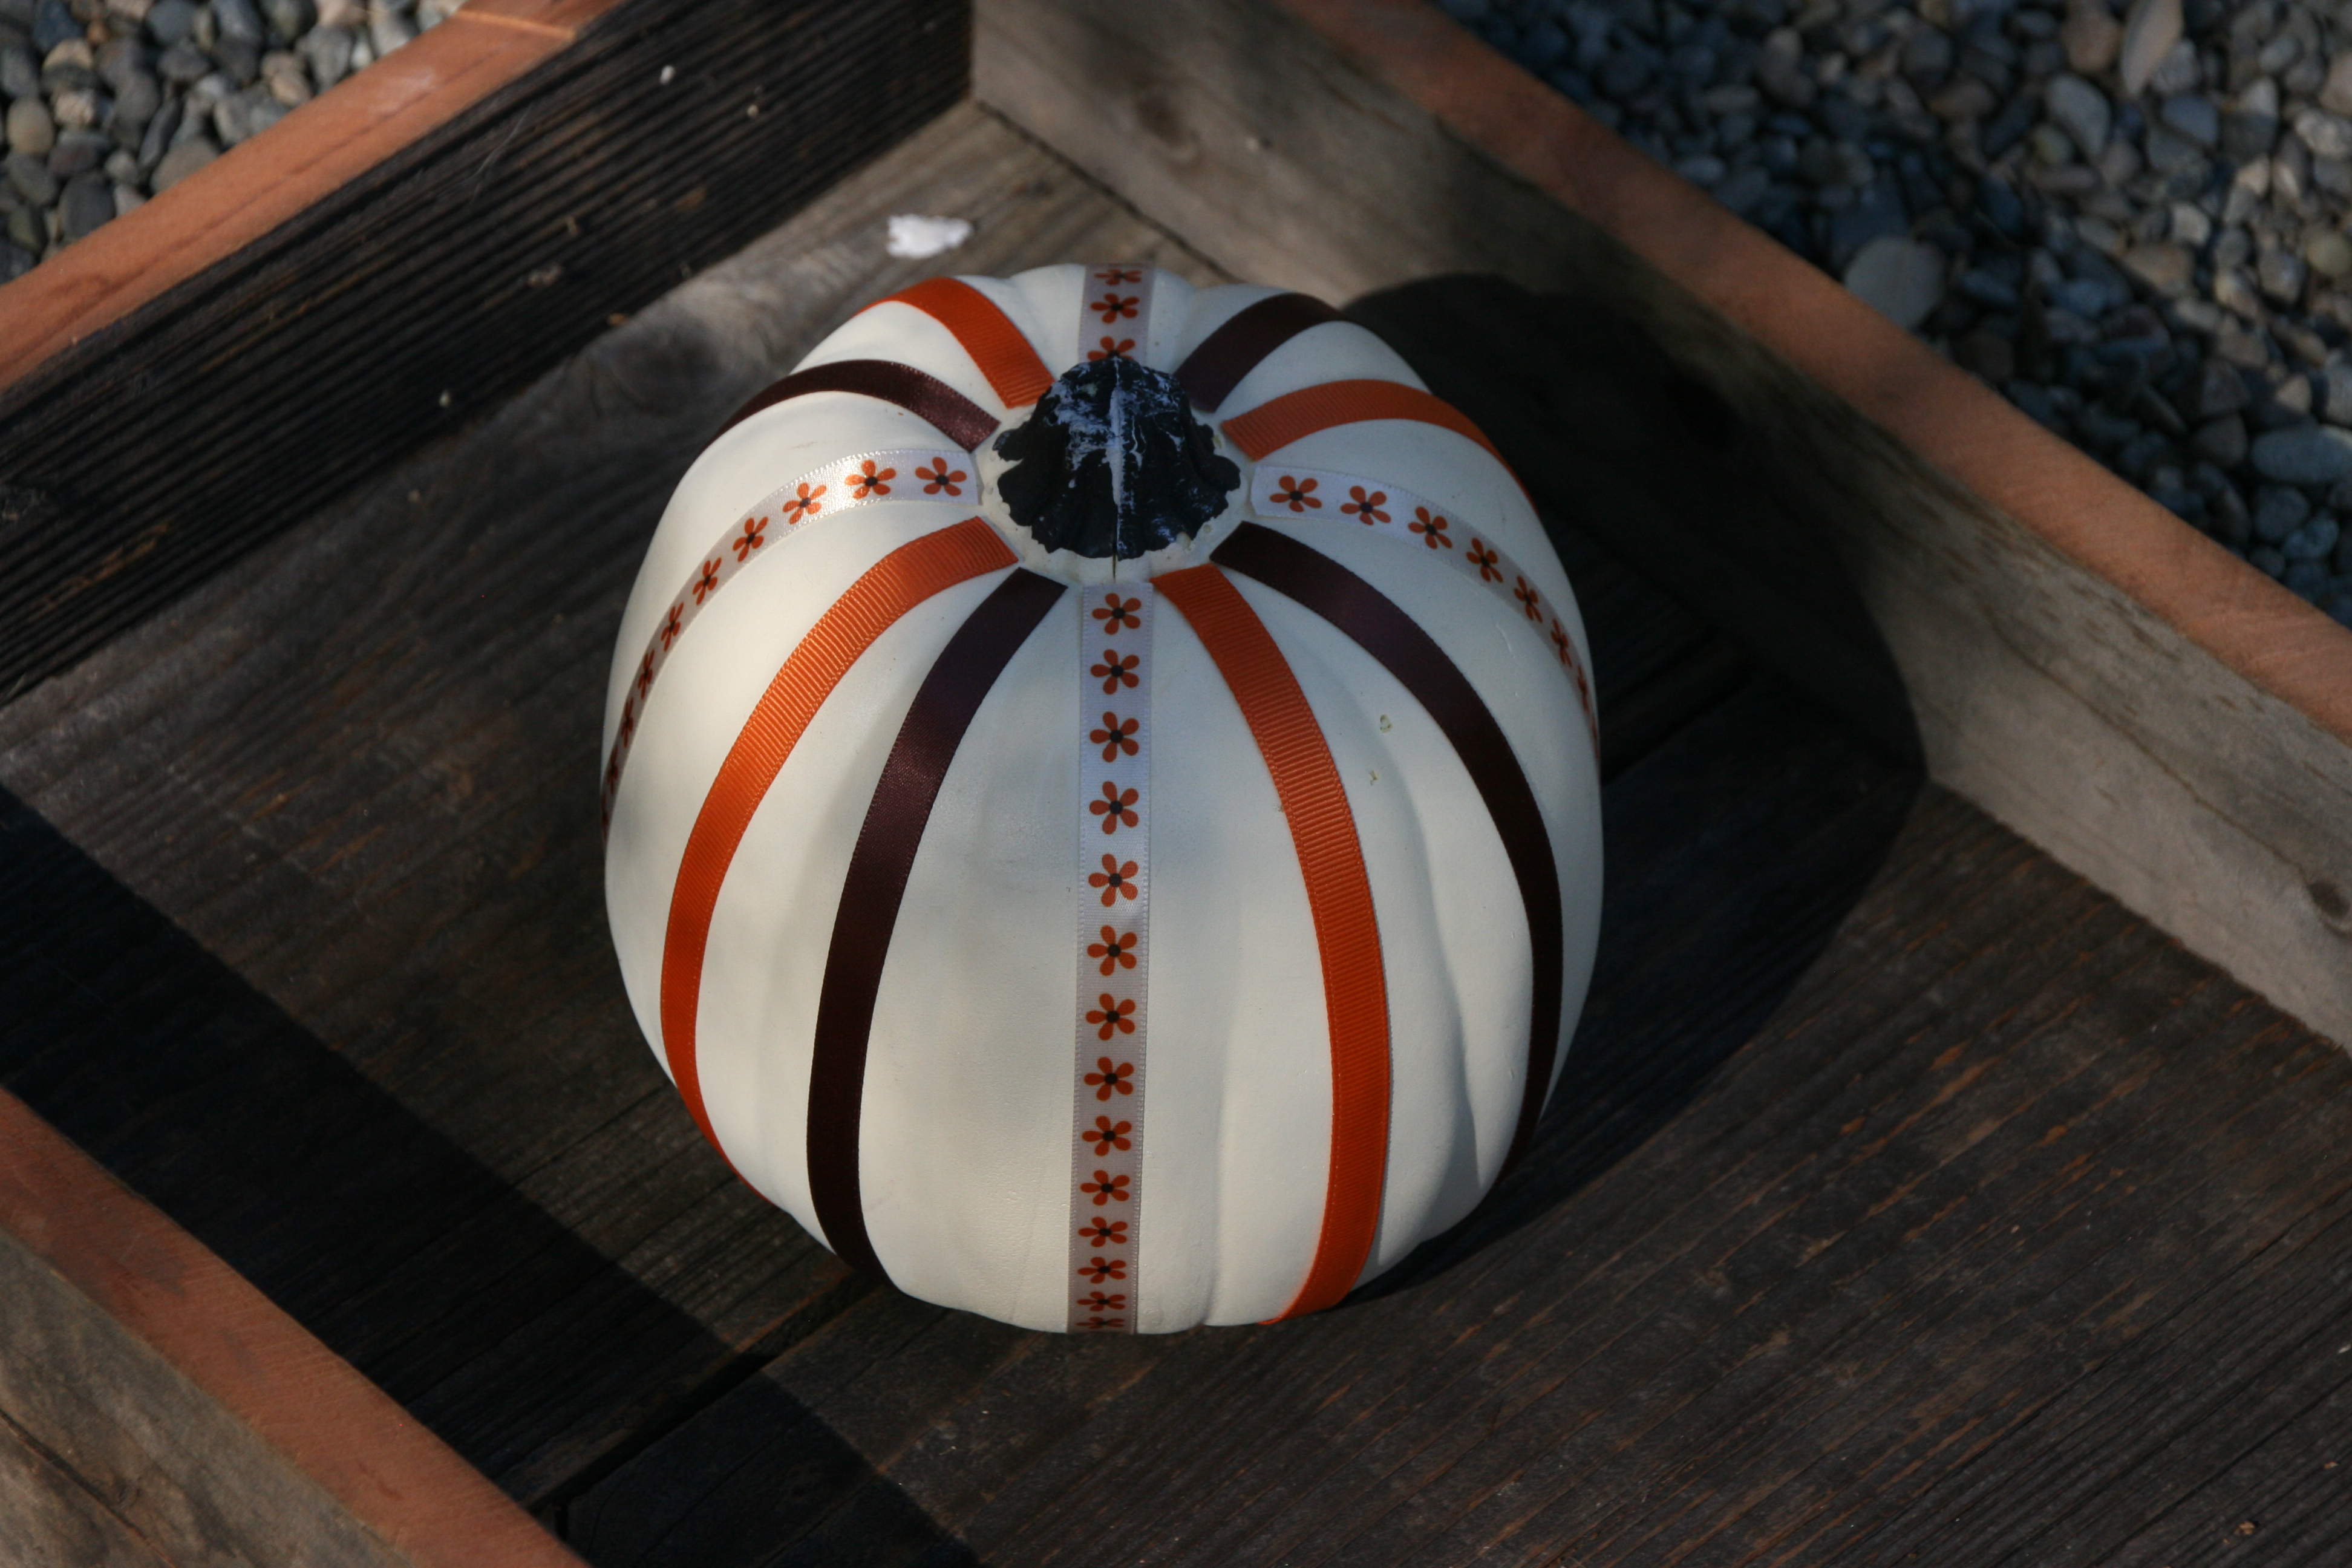
Fake pumpkins can be transformed into beautiful pieces of Fall decor with a few simple steps.

002004

Start by cutting the fabric in a 3’x3′ square.  Place the pumpkin in the center of the square.  Grab all 4 corners and bunch the fabric tightly at the top.  Tie with a ribbon.  Be sure to pull the fabric tight before you tie it, and then tug at the top once you have tied the ribbon.

005006

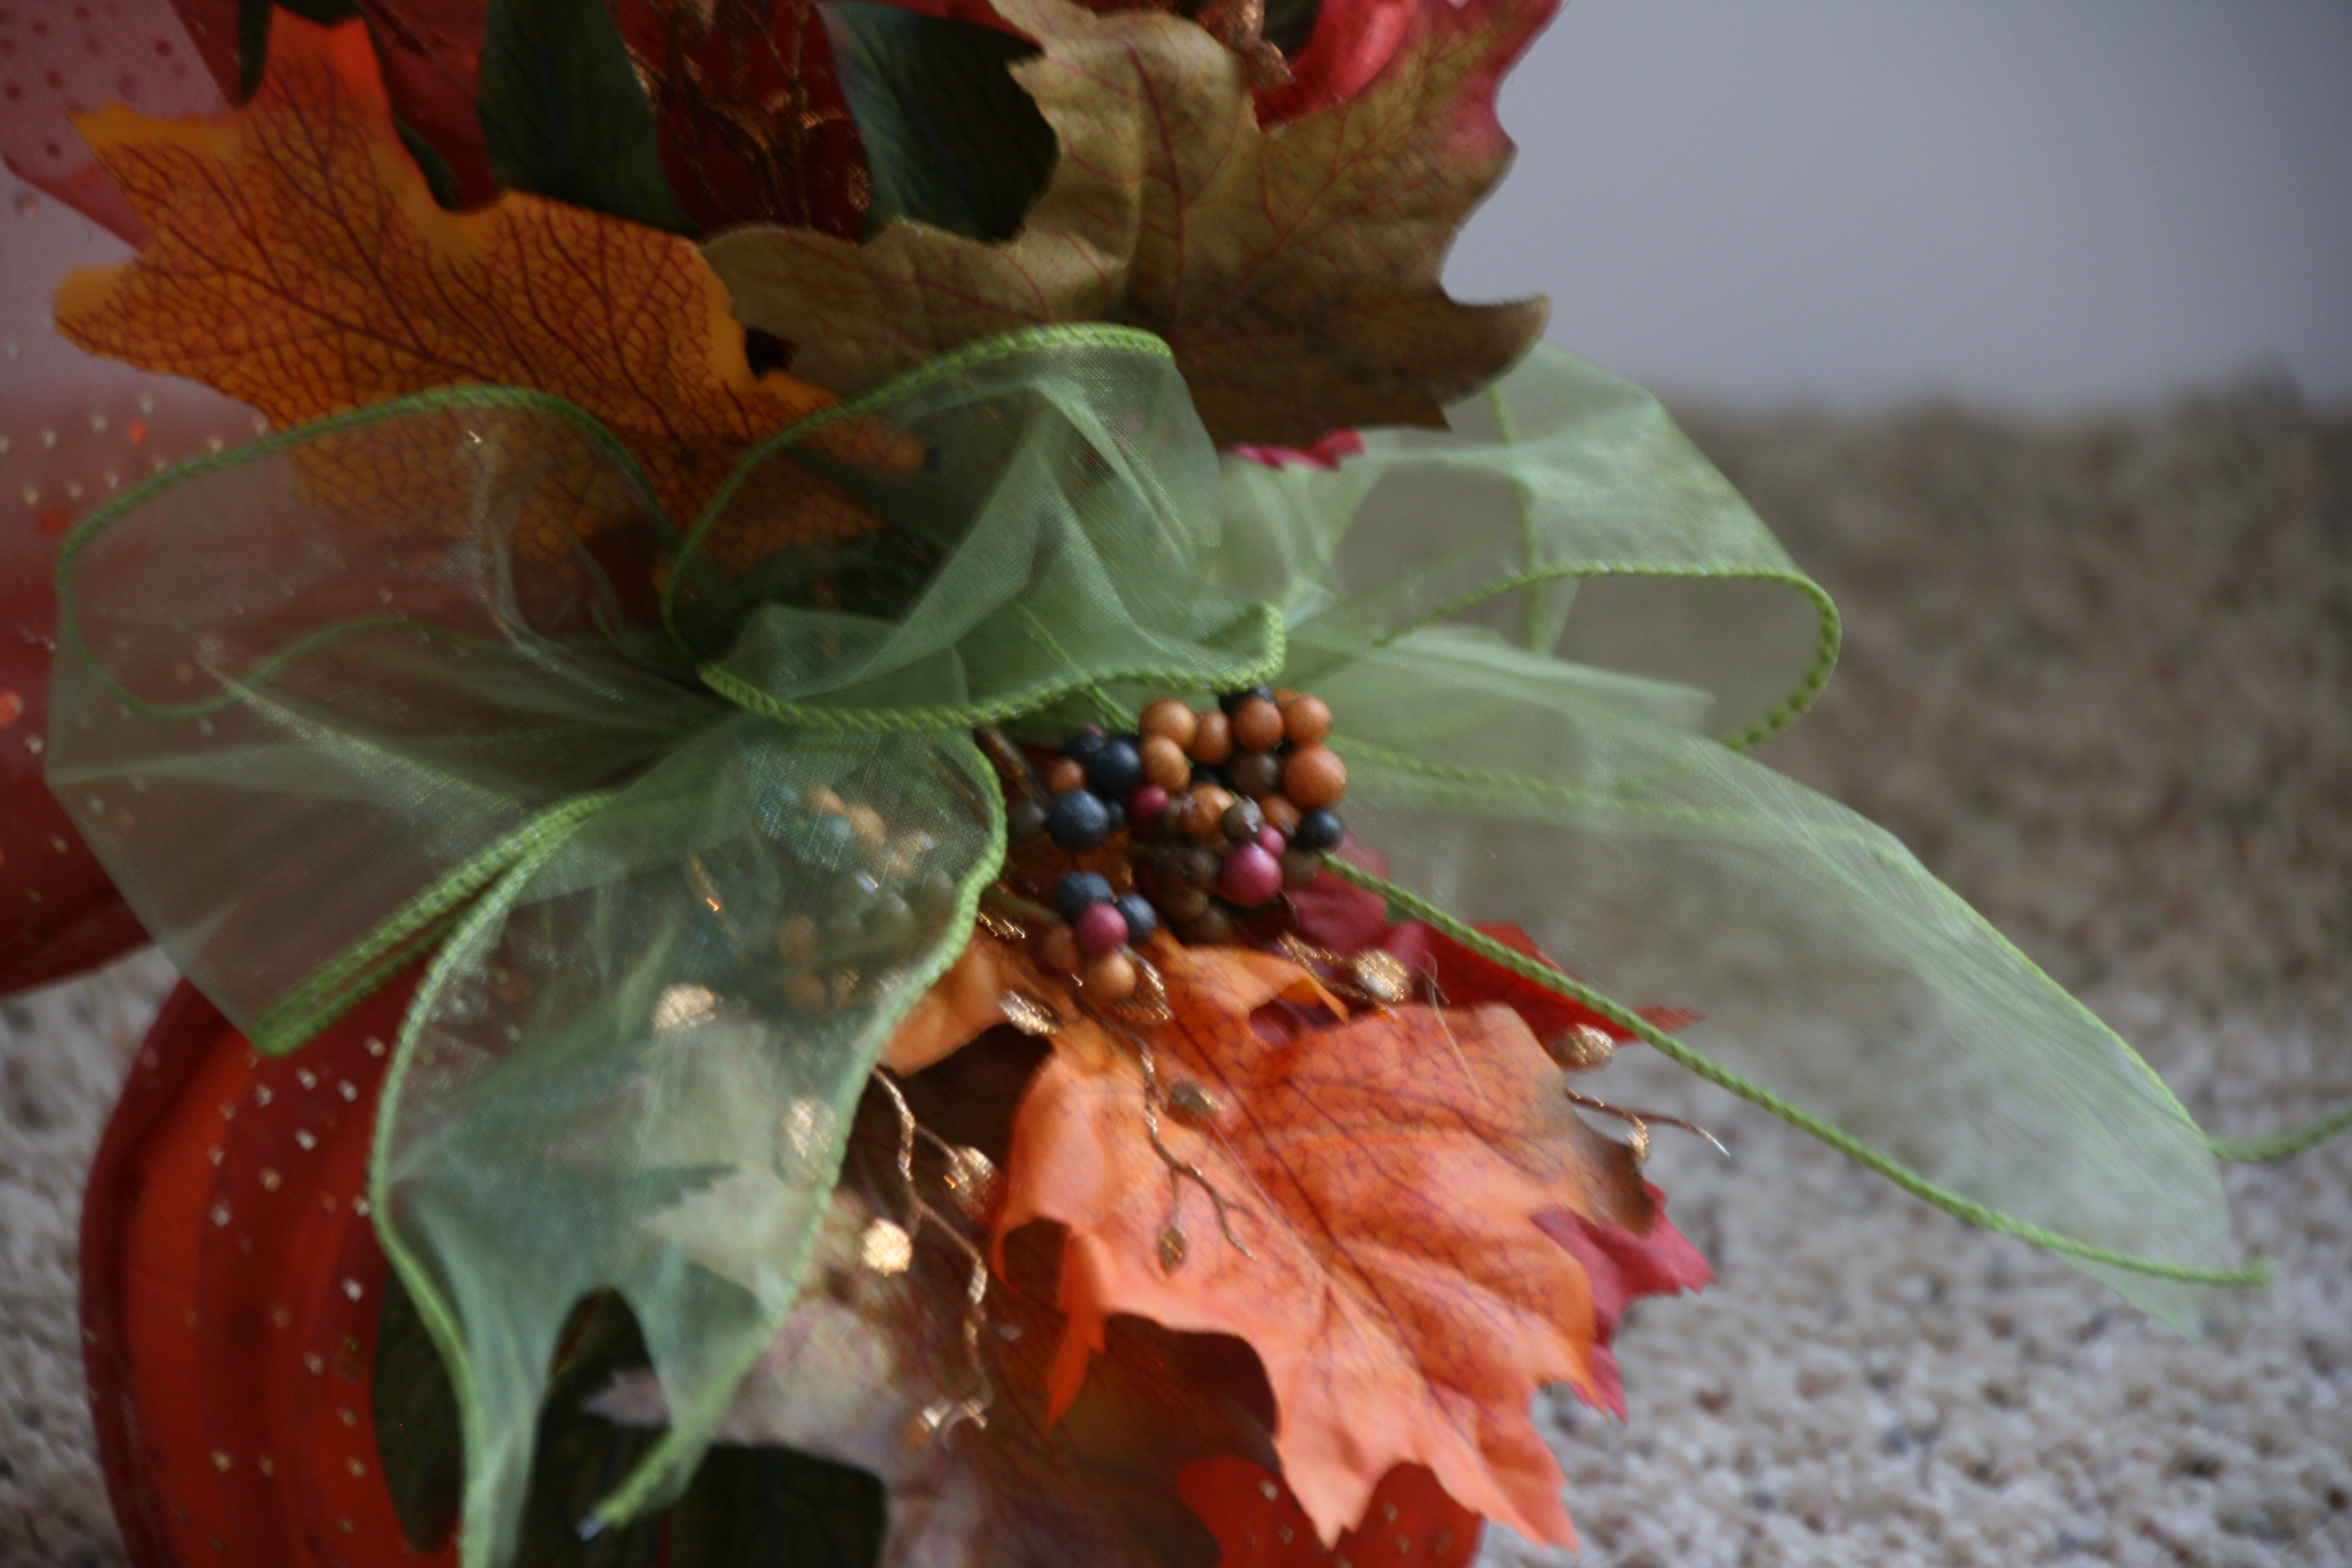
Using a pretty ribbon, tie a bow.  Glue on Fall leaves, berries, etc.  I used E6000 to adhere the leaves and berries.
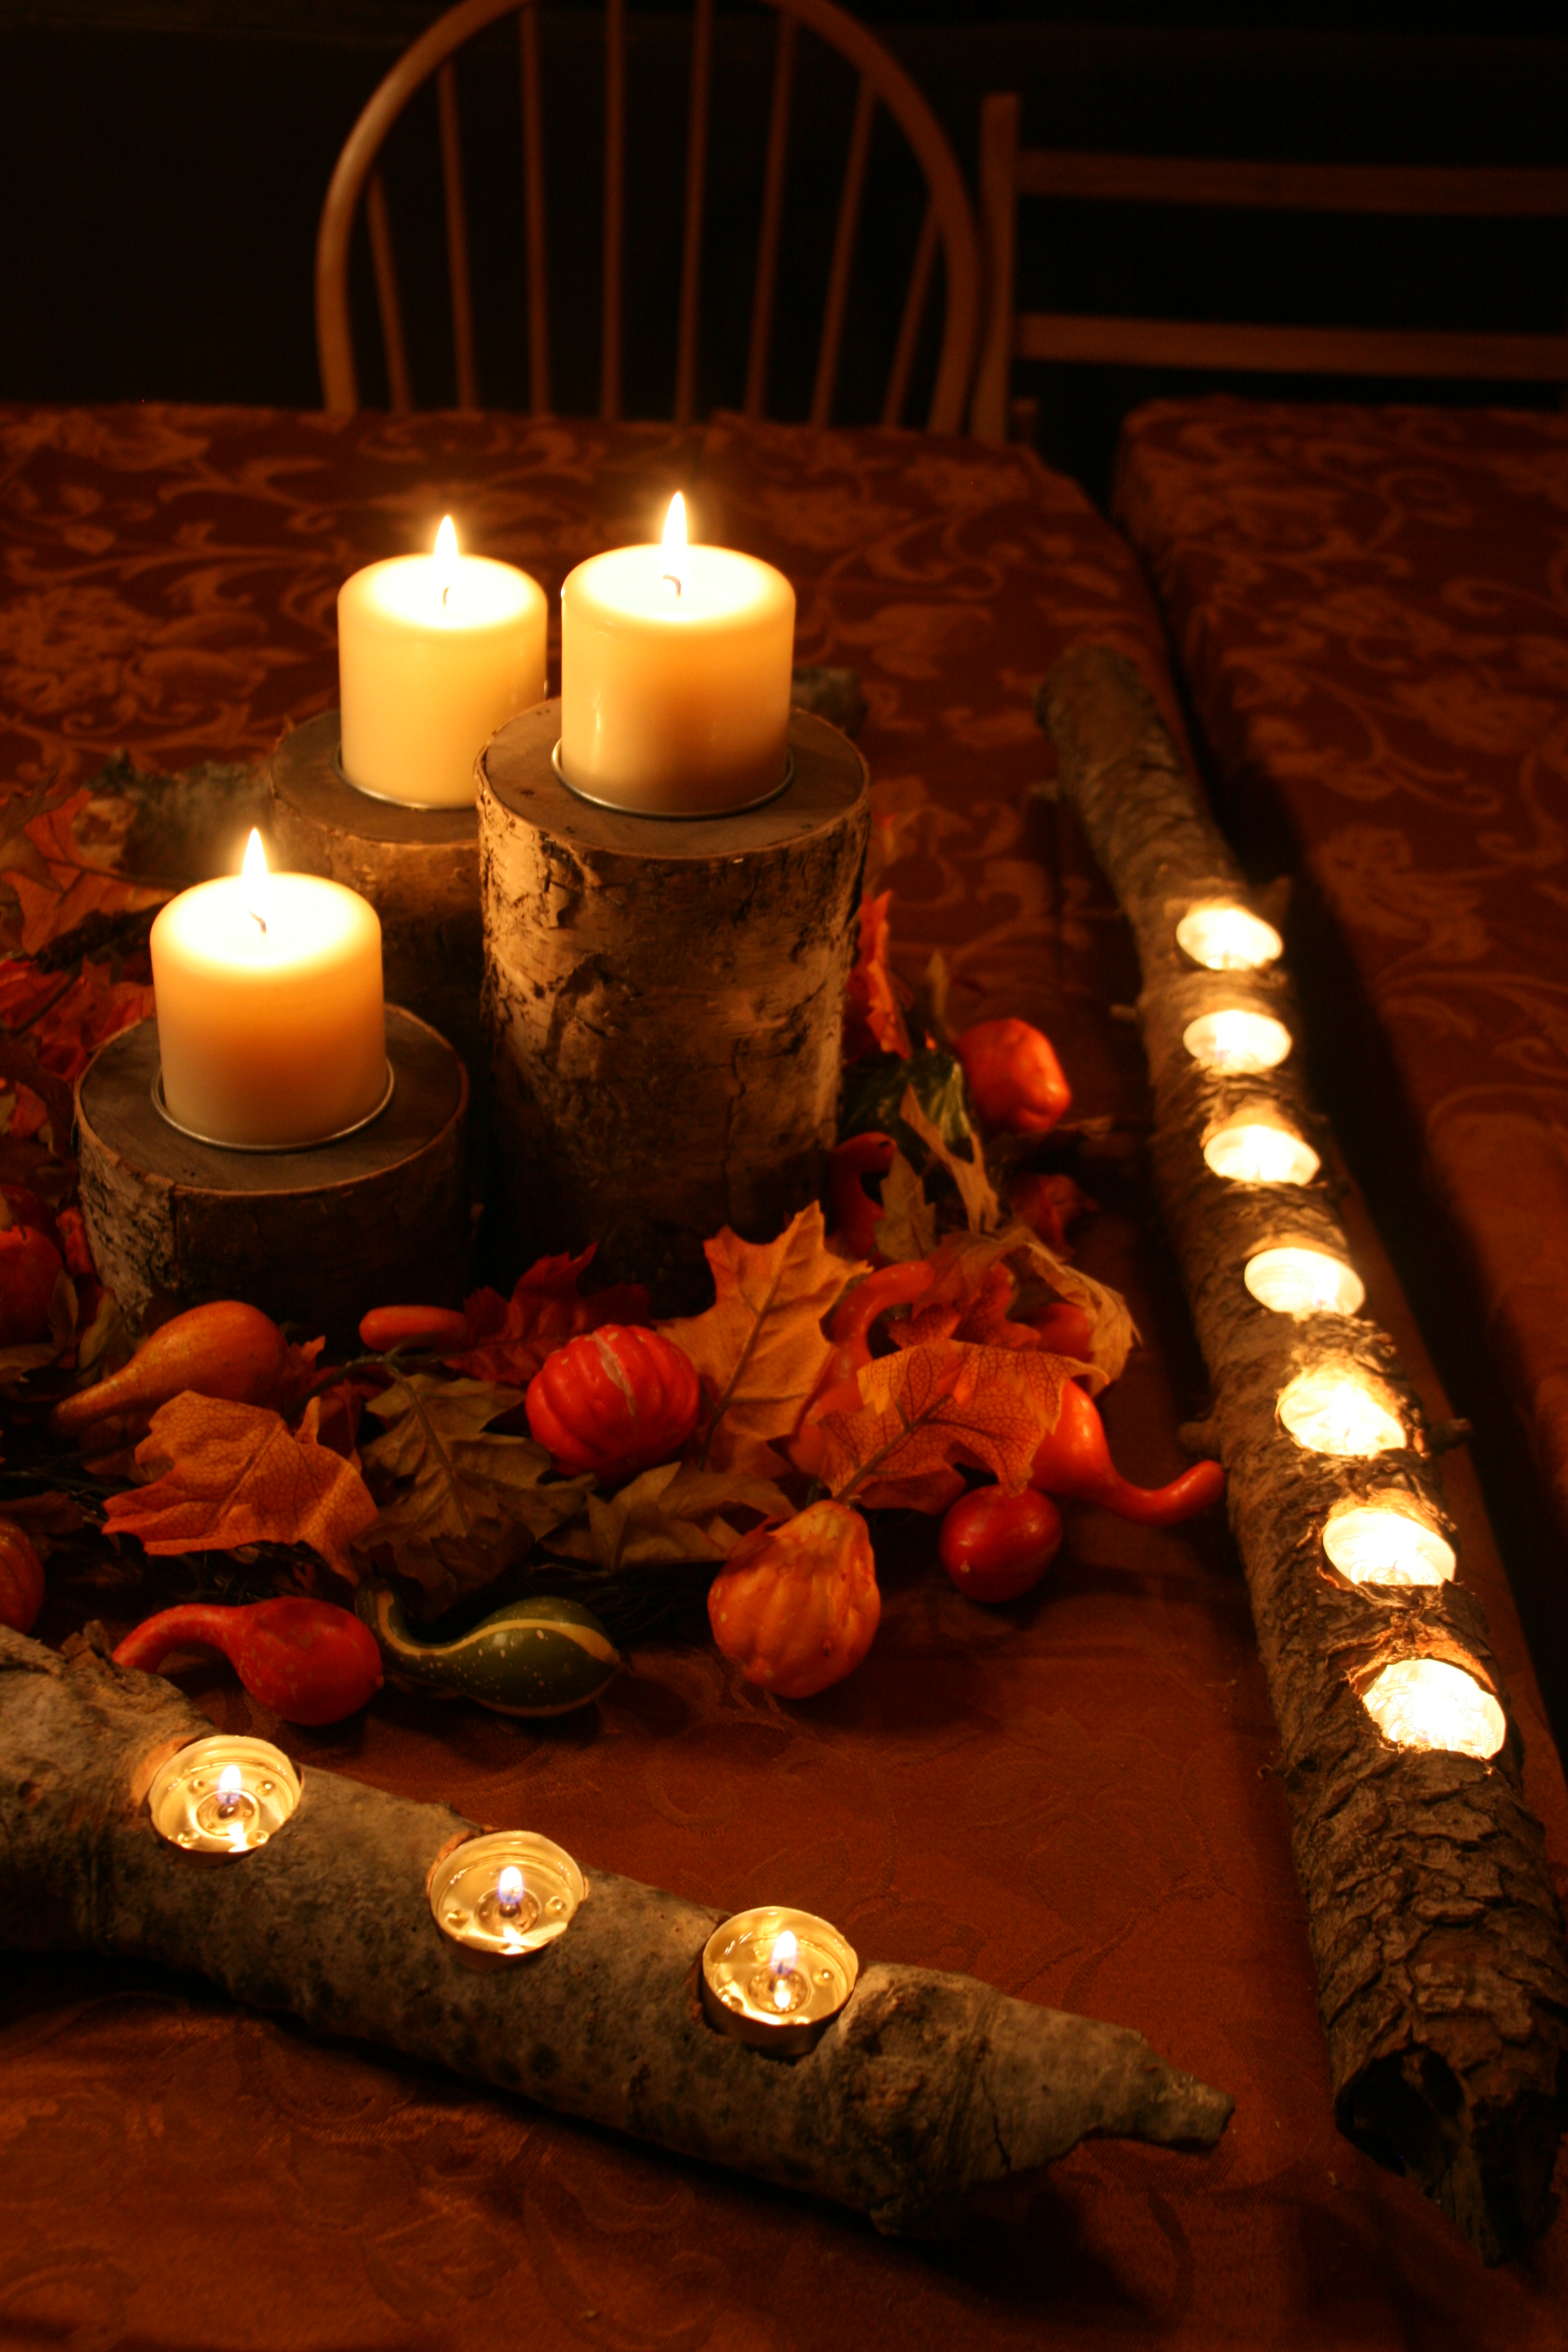
Happy Fall…

“Wonder what I will come up with next”…

How to decorate fake pumpkins…

058 060 061

Are you bored with your Fall decor?

Using ribbon and jute to decorate fake pumpkins is easy to do.  I used Glue Dots to adhere the ribbon and fancy tacks to hold on the jute.  I purchased the orange pumpkins at The Dollar Tree and the white one at Michaels.

Happy Fall…

“Wonder what I will come up with next”…

fall table centerpiece

I am ready for cooler weather.  Bundling up in a cozy scarf and feeling the wind blow.  I created this fall table centerpiece using the log tealight candle holders that I posted earlier.

001 (5) 024 (5)

It is very festive and cost very little to create.  See my post on how to make the log tealight candle holders.  I purchased the center log candle holders at Joann’s.  I then purchased tealights and fall leaves & gourds at the Dollar Tree.  I scattered the leaves around the center candles.  It created quite a mood and much to be thankful for.

Happy fall…

“Wonder what I will come up with next”…

Cabin kitchen countertop

This is cabin decor post number 3!  If you viewed my post on our cabin dining room table and liked it, you will LOVE these countertops.  They were created the same way as the table.  Start with plain 12″ pieces of wood.  Glue them together using wood glue.  Cut the edges with curves to create a natural look.  Cut up the edges and stain them dark to look like bark.  Being that this is a kitchen countertop, it needs to be protected from water.  We coated it with “bar top” a 2 part epoxy.  It created a beautiful shiny finish that is water proof.  It is not heat resistant, though, so be sure to use thick trivets, or don’t place hot items directly on the counter.

094 095

The slate stones were purchased at Lowe’s and adhered to the wall with thinset.

AHHHH, the fresh mountain air.  It is so much more than fresh when you can relax at a beautiful “lodge”.

Happy designing…

“Wonder what I will come up with next”…

Cabin dining room table

My amazing husband made this table for our cabin in the mountains.  He started with plain 12″ wide boards.  He glued them together with wood glue.  He cut the edges with curves to create a natural look.  He then cut up the edges and stained them dark to look like bark.  AMAZING and GORGEOUS!

092 093

We love to dine at our beautiful table in our peaceful mountain retreat!

Happy designing…

“Wonder what I will come up with next”…

Cabin Bathroom Decor…

My husband and I purchased and remodeled a cabin in the mountains.  It has been SO MUCH FUN!!!  We wanted a “lodge” feel.  Here is our completed bathroom.

084085

We made a cabinet to hide the stacked washer & dryer.  It is made from old fence boards.  We also used fence boards on the walls and as trim around the window.  We paired the fence boards with “knotty hickory” cabinets purchase at Lowes.

091

089086

Fence board frame around the mirror and a box to hold toilet paper are nice coordinating touches.

090

The countertop was created using mexican rocks from Home Depot.  They were placed with gray thinset, then “bar top” 2 part epoxy poured in to create a “rocks in the river” look.

087088

The shower walls were created using the same rocks as the countertop.  They were placed with gray thinset, then gray grout piped in between each rock.  Cement sealer was brushed onto the rocks for a continuous wet look.

We love our little home in the mountains.  I hope you can have a retreat like ours someday.

Happy decorating…

“Wonder what I will come up with next”…

Using curtains to make pillows…

Have you ever wanted to have a pillow in a certain fabric, but couldn’t find exactly what you were wanting?  This happens to me ALL the time!  I then solve the problem by making my own pillow, bed skirt, etc.  Here, I used fun zebra print curtains to make pillows for my craft room.

048

I started with pillow forms, curtains, ribbon & a bead strip.

050051

I took the plastic embellishments that look like “teeth” off of the curtains to use on a pillow.

036037

I sewed the square & stuffed it with the form.  I then added a row of strung beads, covered it with pink grogain ribbon (the same ribbon that is used as the curtain tie backs) and hand sewed on the “teeth”.

042043

On this pillow I created a non traditional bow with the same pink ribbon and added a buckle with bling.

044047

This tube pillow was so simple to create!  Once the fabric form was sewed, I inserted the form and closed the ends with a pink ribbon bow.

048

I got exactly what I wanted AND they were so fun to make!

Happy sewing…

“Wonder what I will come up with next”…

Adding beads to a lamp shade

Have you ever had an old lamp shade that needed a” little something”?  When I was decorating my daughters bedroom, I didn’t want to spend a lot of money on a fun lamp shade.  I found an old one burried in our house, and added some beads.  It was just the thing that the shade needed!

005006

I bought already strung beads and tacked them with a needle & thread.  Fabric glue would work also, and would probably be easier.

007

Happy creating!

“Wonder what I will come up with next”…