Giddy Up Horse birthday party

Giddy up!  Theme birthday parties make me soooooo giddy!  I start thinking about them 2-3 months before the event!  My mind spirals OUT OF CONTROL with all of the fun & fantastic things that I want to do and how I want to decorate!!!  This was a horse theme birthday party that I had so much fun planning!

I got small plastic horses and used green & brown sprinkles on the cupcakes.  It looks like horses standing in the grass…too cute!
The food was all displayed in galvanized metal trays and buckets.  Each serving piece had a green cardstock paper label tied on with jute and read what the food items were “meant” to be.  For instance, I had pretzel sticks and potato shoe strings as “Hay”, trail mix and popcorn as “Grains”, churro flavored cereal as “Oats”, and apples, strawberries, carrots & celery in a “Trough”.
The table was set with a lime green table cloth “grass”, as well as grass scrapbook paper down the center.  I had a wood stable in the center with numerous horses lining the center of the table.  I added a few blue bandanas for color.
Horse plates, napkins and stickers at each place setting.
…and a horse tail made of yarn and blue ribbon tied on to the birthday girl’s chair.
Happy horsing around…
“Wonder what I will come up with next”…

Re-purpose glass jars…

Glass jars can be used for so many fun things.  I save all kinds of glass jars.  I have jars coming out my ears…well not literally, but I do have quite a collection.  I have baby food jars, pickle jars, jelly jars, sauce jars, pepper jars…well you get the point.  I have used them for numerous projects.  My latest project was converting them to button & ribbon spool storage containers.

All I did was soak off the labels.  Be sure to scrape them good to remove all of the glue.  I then spray painted the lids, top & bottom, with Silver spray paint.  I filled them with the goods and displayed them on a shelf in my craft room.  They are fun to look at and easy to access.

Happy jar filling…

“Wonder what I will come up with next”…

Buckets full of hugs & kisses…

How many of you are looking for a simple teacher gift for Valentine’s Day?  I have a quick and easy gift idea for you…and darn cute, if I don’t say so myself.
I bought inexpensive tin buckets at Hobby Lobby and filled them with Hersheys Kisses & Hugs candies.  I wrapped the buckets in cellophane and put fun fluffy tulle & ribbon bows on top.
Start by bunching the cellophane up around the buckets and tie the top with tulle.  Be sure to leave extra tulle to tie on the bow.
Loop the tulle & ribbon in your hand.  Loop it back and forth until you get the desired number of loops per side.  I made 3 loops per side on these.
Tie the loops onto the buckets, using the tulle already tied on the cellophane.
Cut each loop in half.  Mix up the ribbon & tulle for  the desired effect.
                                and…  “TA DA”.  Valentine’s teacher gifts are ready to hand out.
Happy bow making…
“Wonder what I will come up with next!”

“Tulle”tally awesome bows…

Oh tulle, how do I love thee!  Let me count the ways…  Seriously, tulle is so easy to work with and makes the MOST AMAZING bows!!!  Used by itself or added to other ribbons, tulle can enhance the beauty of any package.  Let me show you how easy it is to use.

https://www.youtube.com/embed/A2PEcR7cvYg“>youtube “how to make a tulle bow” video
Grab the ends of each roll of tulle.  I chose 3 “Valentine’s Day” colors.
Loop the tulle on one side.  Make the loop the size that you want half of your bow to be.  You will then loop it again on the other side and that will give you the bow width.

Since I used 3 colors of tulle, I only looped the tulle 3 times on each side, giving me a total of 9 loops per side.

Tie the loops onto the package and separate each color of tulle, as well as open up each loop to “fluff” the bow.
Spread the different colors as you fluff.
Add stickers and you are done.
Shift the bow up on the package for something different, or you can center it.
Happy Valentine’s Day…
“Wonder what I will come up with next”…

Heart “felt” purse…

I made these felt purses for my favorite Southern girls…you know who you are.  Auntie Weezy is gonna do some spoilin’ when she comes to the Big D!!!  The purses are darling and were very simple to make.

I started with a piece of felt, cut it in half with a fabric cutter.  Then I pinned and sewed the 2 halves together, only on 3 sides, with a small zig zag stitch.
Punch holes in the top 2 corners of the side that is not stitched
Push the end of a super fluffy pipe cleaner through a hole and bend it together using pliers
Repeat on the other side
Cut out felt flowers.  I used a pattern to make my flowers and used different sizes.
Stack the flowers and hand sew onto the purse with a button on top.  Then glue a rhinestone to the center of the button.  I used E6000 glue, which sticks to just about everything.  I applied it with a small disposable paint brush.
Now the purses are ready to fill with treats…
Happy crafting…
I “wonder” what I will come up with next…

Valentine’s Day simple decor…

Several years ago I had Valentine’s Day “saying” hearts candies that were old and probably stale.  I decided to give them a second chance at life.  I added them to a glass hurricane vase with a candle.  What a cute display for Valentine’s Day…

Do your kids love to make Valentine’s crafts?  Mine do!!!  The challenge that I face is finding a place for ALL of them.  I like to use a stretcher rod, here in an opening between the kitchen and family room, to hang their creativity from.  I get the pleasure of looking at their handy work and they have the delight of having it on display to show guests.  I punch holes in each piece of art and open a large paper clip to hang with.  Very simple and quick to do…

Happy decorating…

“Wonder what I will come up with next…”

Pack, Wrap, Ship…

Now that I have made my stance on pretty bows on packages, you may be asking yourself, “What does she do with a present she is shipping?”  Obviously, a pretty bow would get smashed during transport.  I take a little different approach on these types of packages.  I still don’t use a gift bag, though.  Ha-Ha-Ha.  In all seriousness, I DO use gift bags on occasion, but it is rare.  So getting back to a shipped package, I treat this package more like a scrapbook page.  I use ribbon and stickers to decorate the top of the package.

The present is still impressive even without a bow.  Now you are ready to cover the package in “brown packaging paper”, which comes in a roll like wrapping paper.  I frequently purchase this at the Dollar Tree.  Be sure to tape with packaging tape.  Address and ship.  Your recipient will be pleased with your presentation!

Happy shipping…

Just say "NO" to gift bags…

Ok, so I know that gift bags are easy to use.  Just throw your gift in, add a few pieces of tissue paper and you are done.  Yes, I get it!  BUT, is the presentation the same as when you wrap a gift and put a pretty bow on top?  Absolutely not!  Yes, you will need a few more items, but it is worth the time.  AND, gift bags aren’t cheap, unless you only get them at the Dollar Tree or 99 cent store.  Today I will show you a simple package using curling ribbon, solid wrapping paper (which I have become a BIG fan of), and stickers.  Quick, simple, and something to be proud of handing to your recipient.

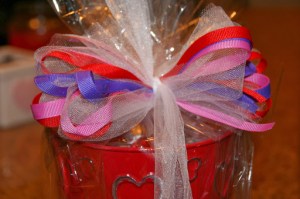
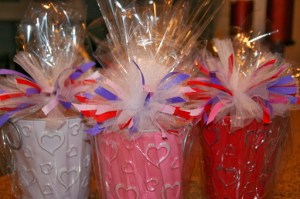
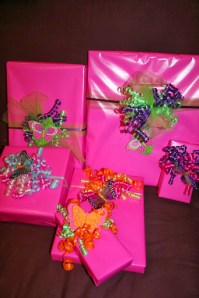
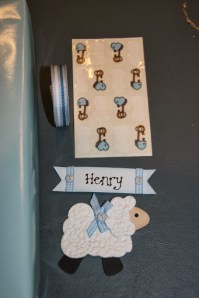
Decide what colors you want to use based on the stickers you have chosen.  For this birthday boy, I chose to have a carnival theme package.  I used curling ribbon in the colors on the stickers.

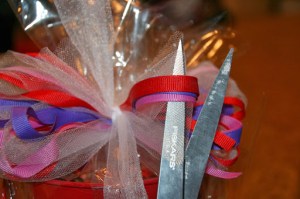
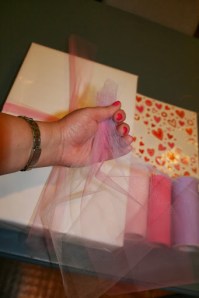
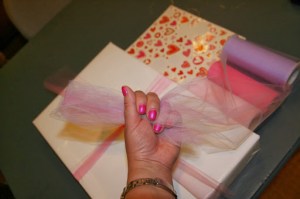
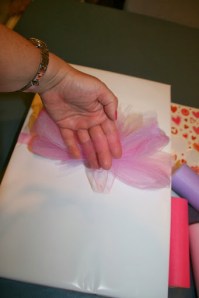
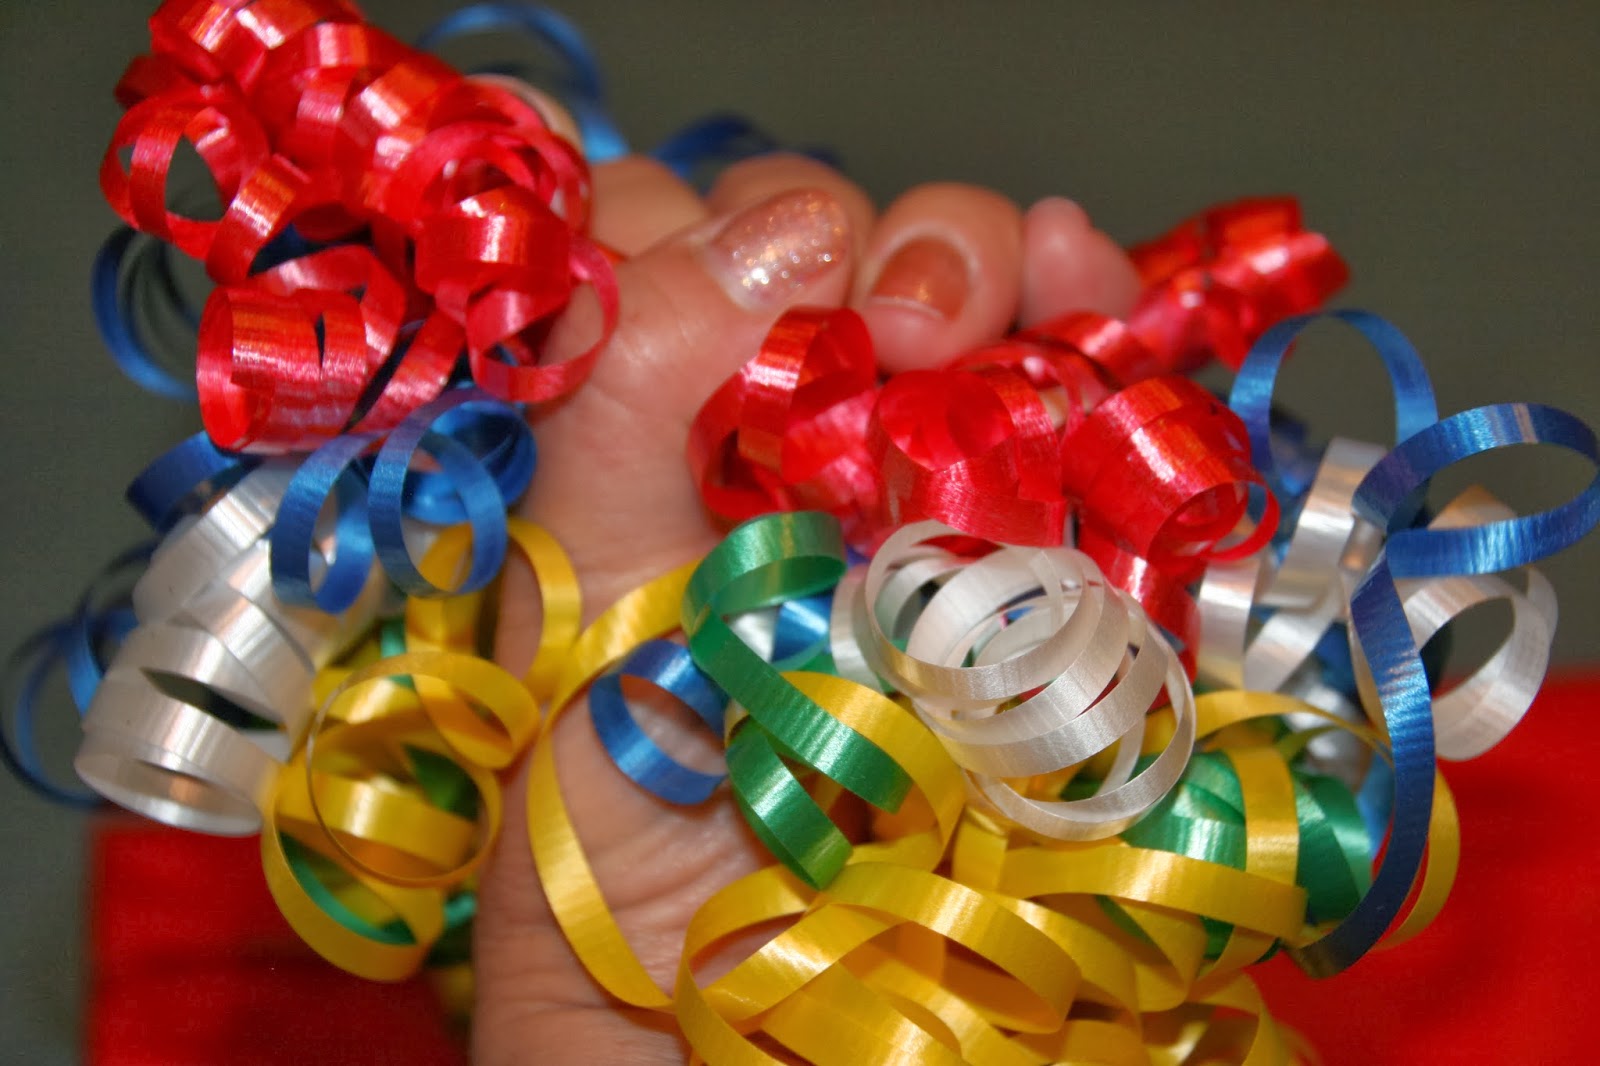
Be generous with the amount of ribbon you use.  After you have curled it with an open pair of scissors, bunch it in your hand.  Prior to this step, be sure to have a piece of ribbon already tied onto your package.

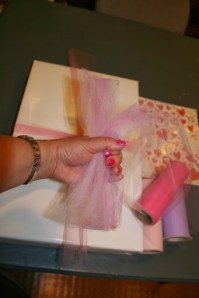
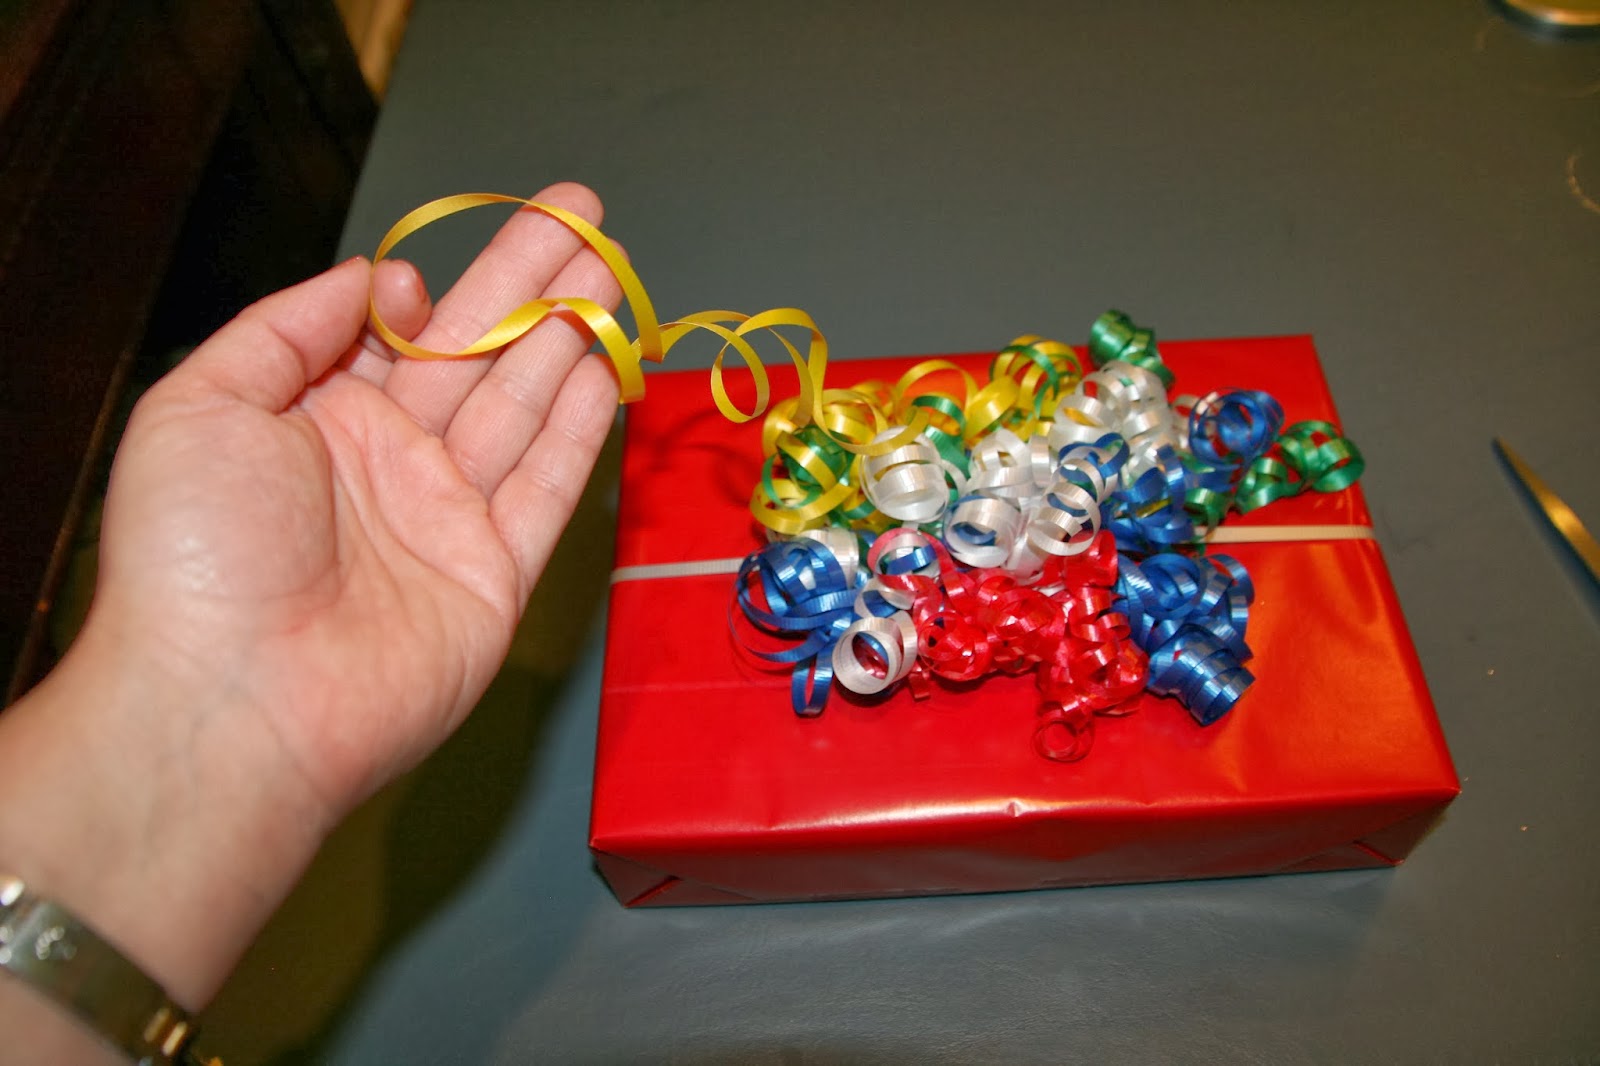
Tie your handful of ribbon onto the package.  Curl the tie pieces.

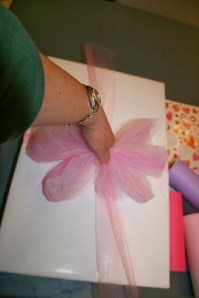
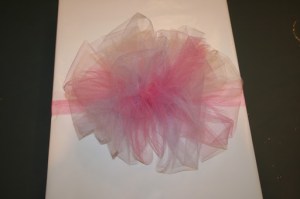
Run your fingers through the ribbon and cut any “loops” that are in your bunch.  As you cut the loops, be sure to mix the colors around.

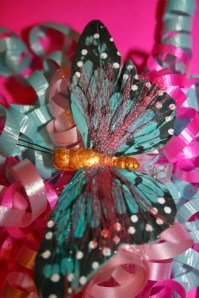
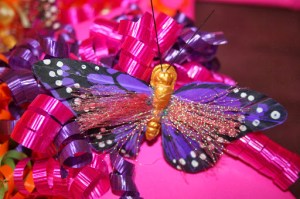
Now apply the stickers…

Ok, so maybe it took 10 minutes to assemble versus 2 minutes with a gift bag, but it is worth the extra 8 minutes.  Wrapping like this makes your recipient feel extra special.  As a side note, I never put a card on top of the gift unless it compliments the decoration.  Tape the card on the bottom.

Happy wrapping…